Apple /// Restoration
by Stephen Gillespiepublished on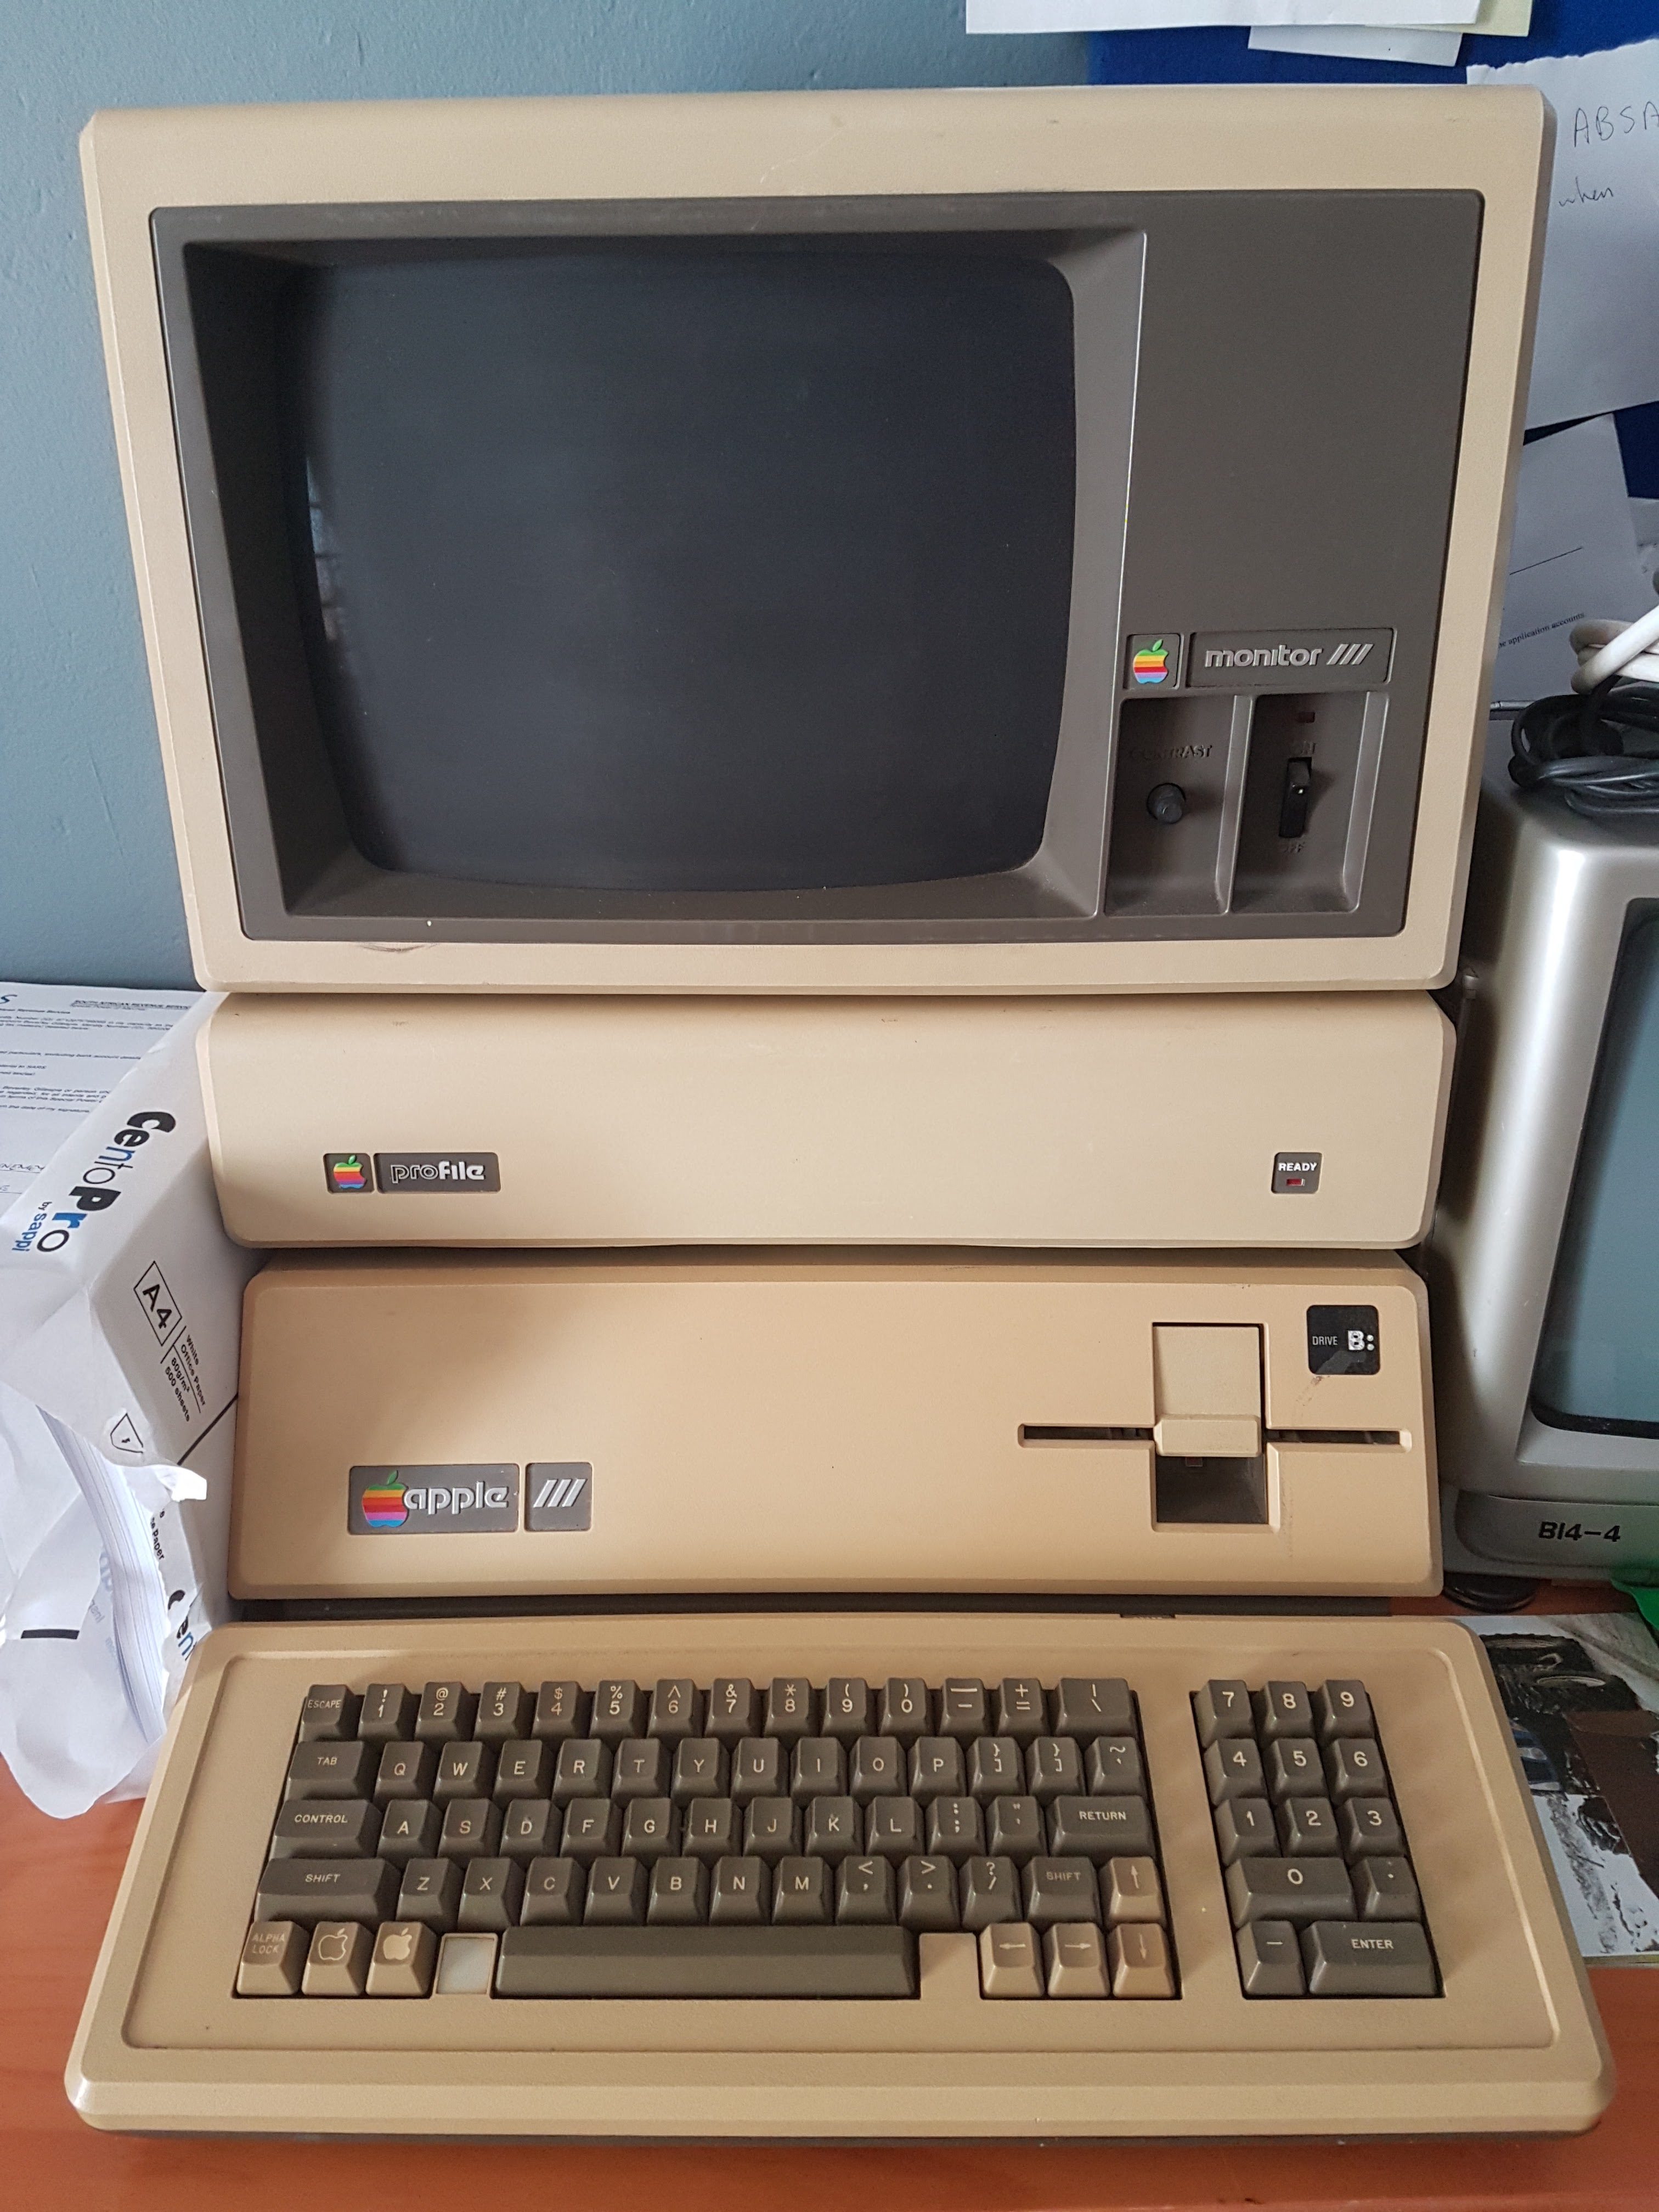
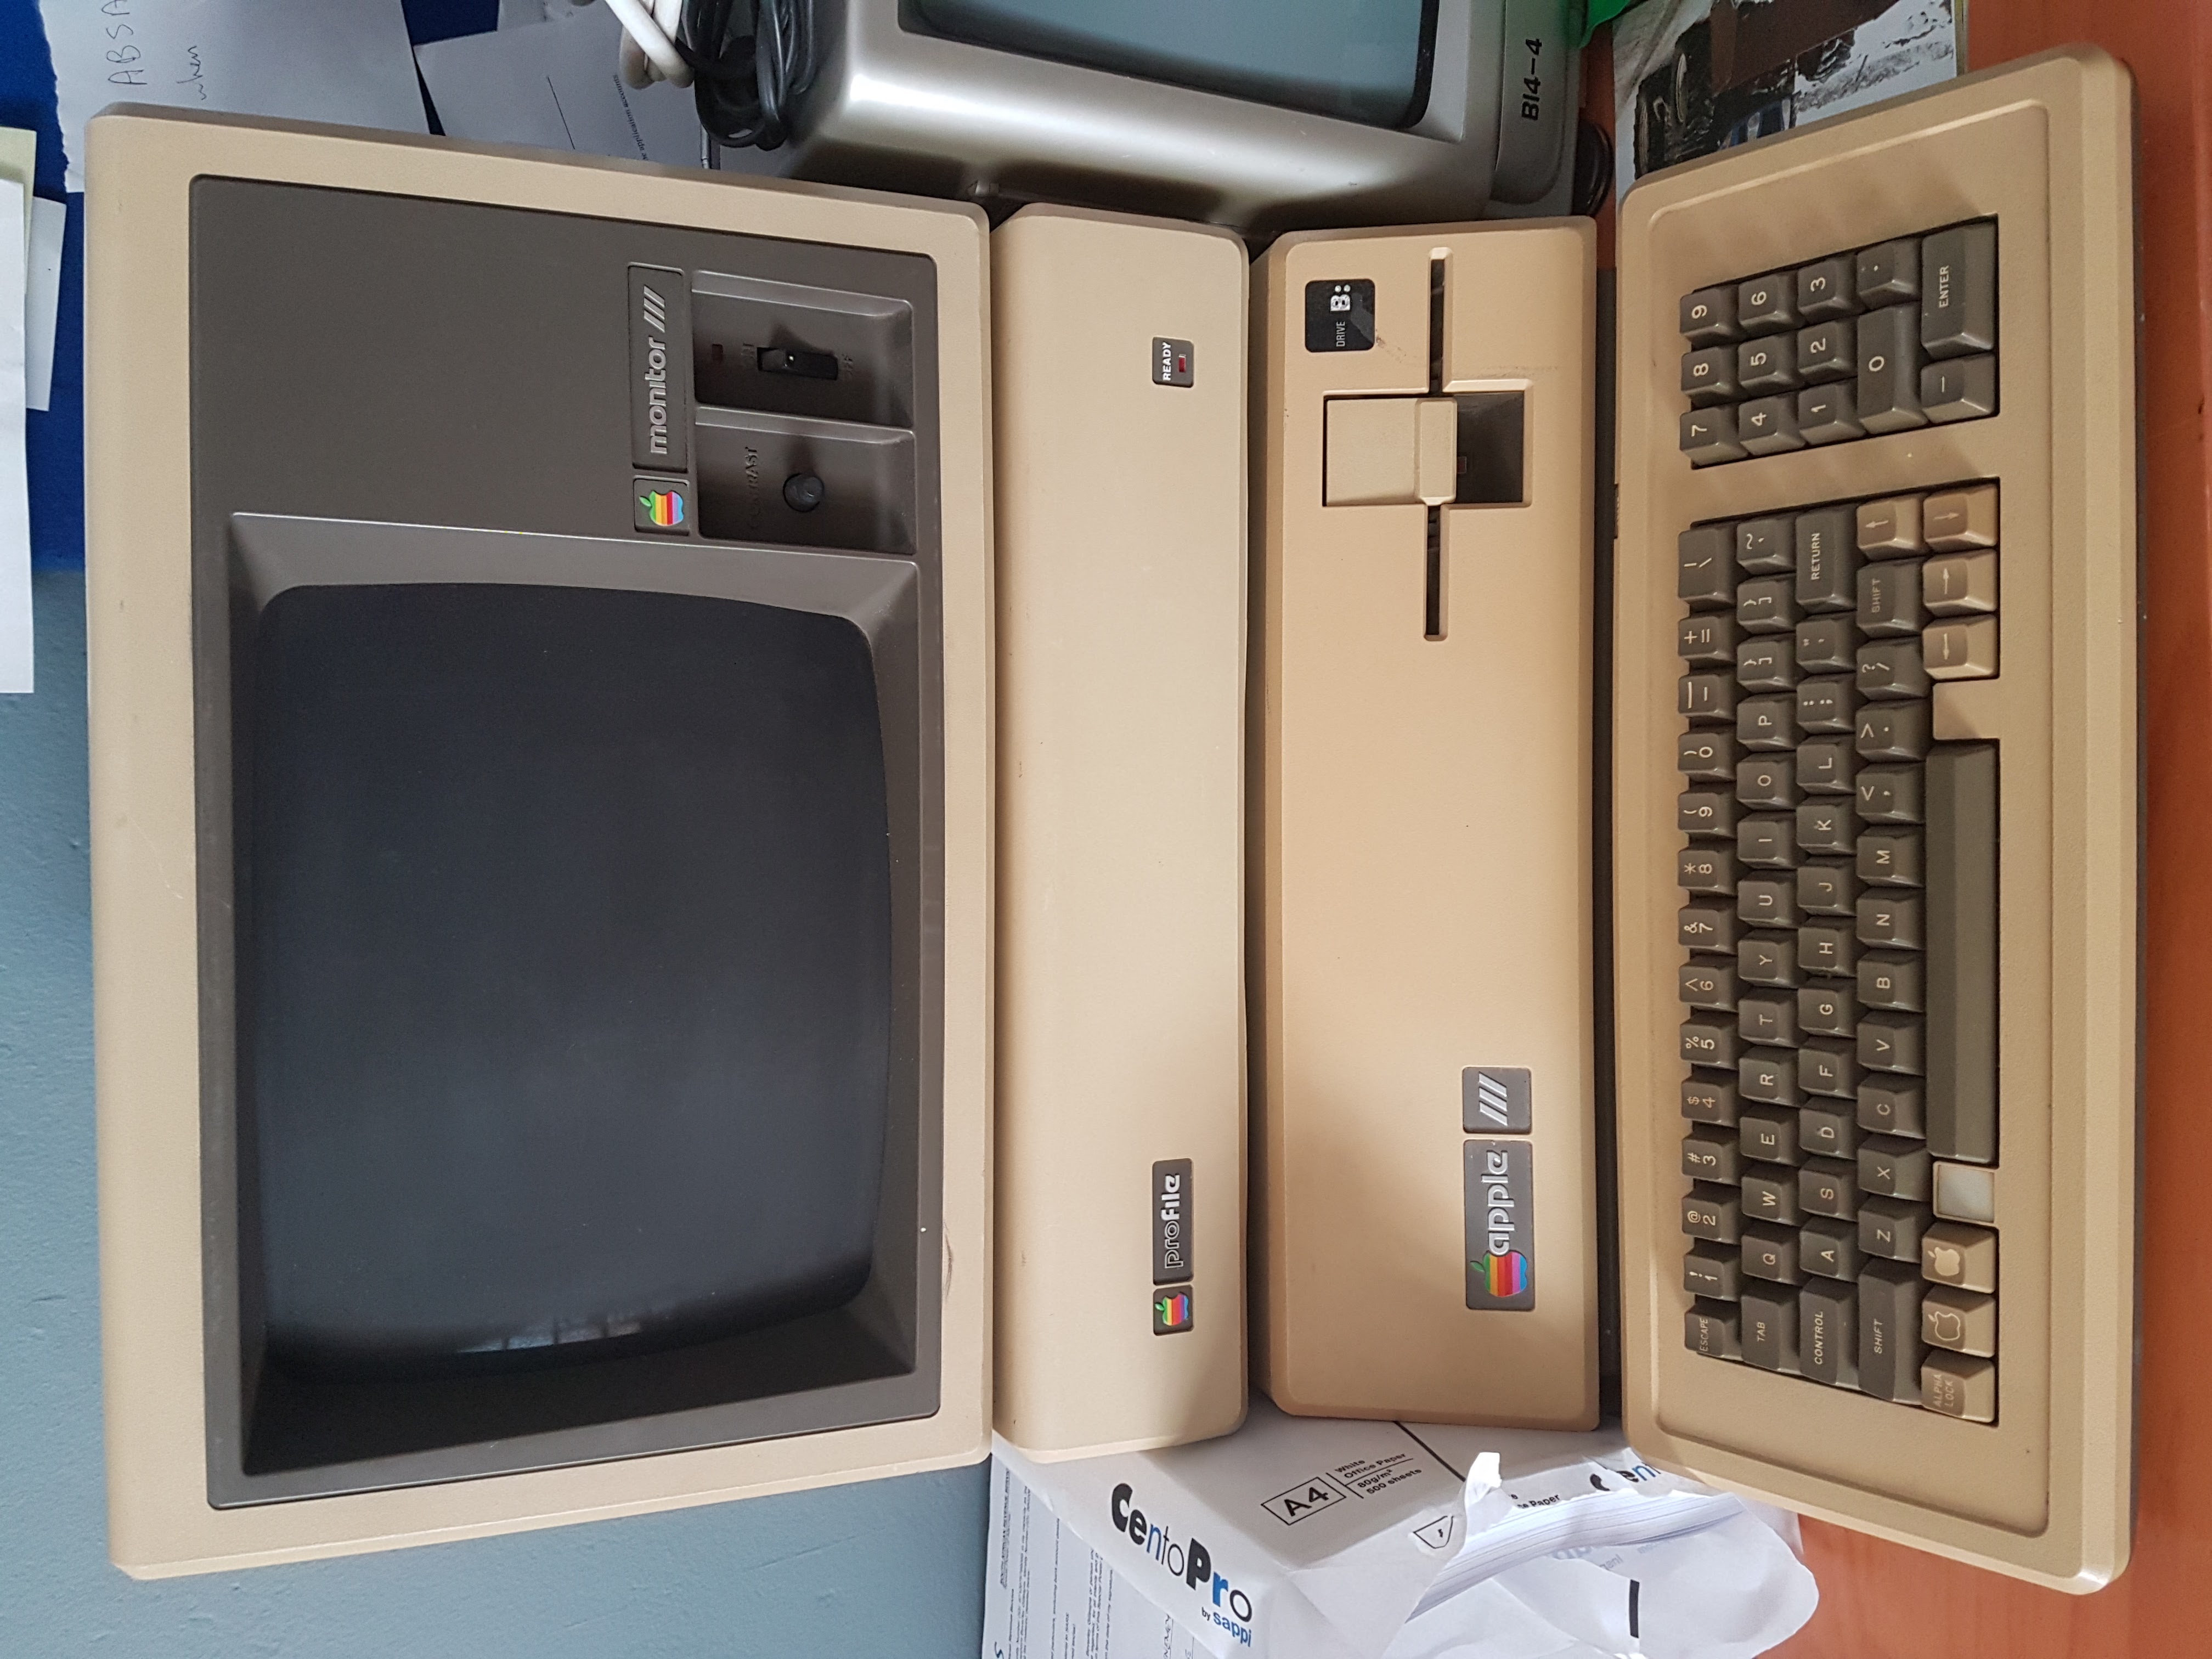
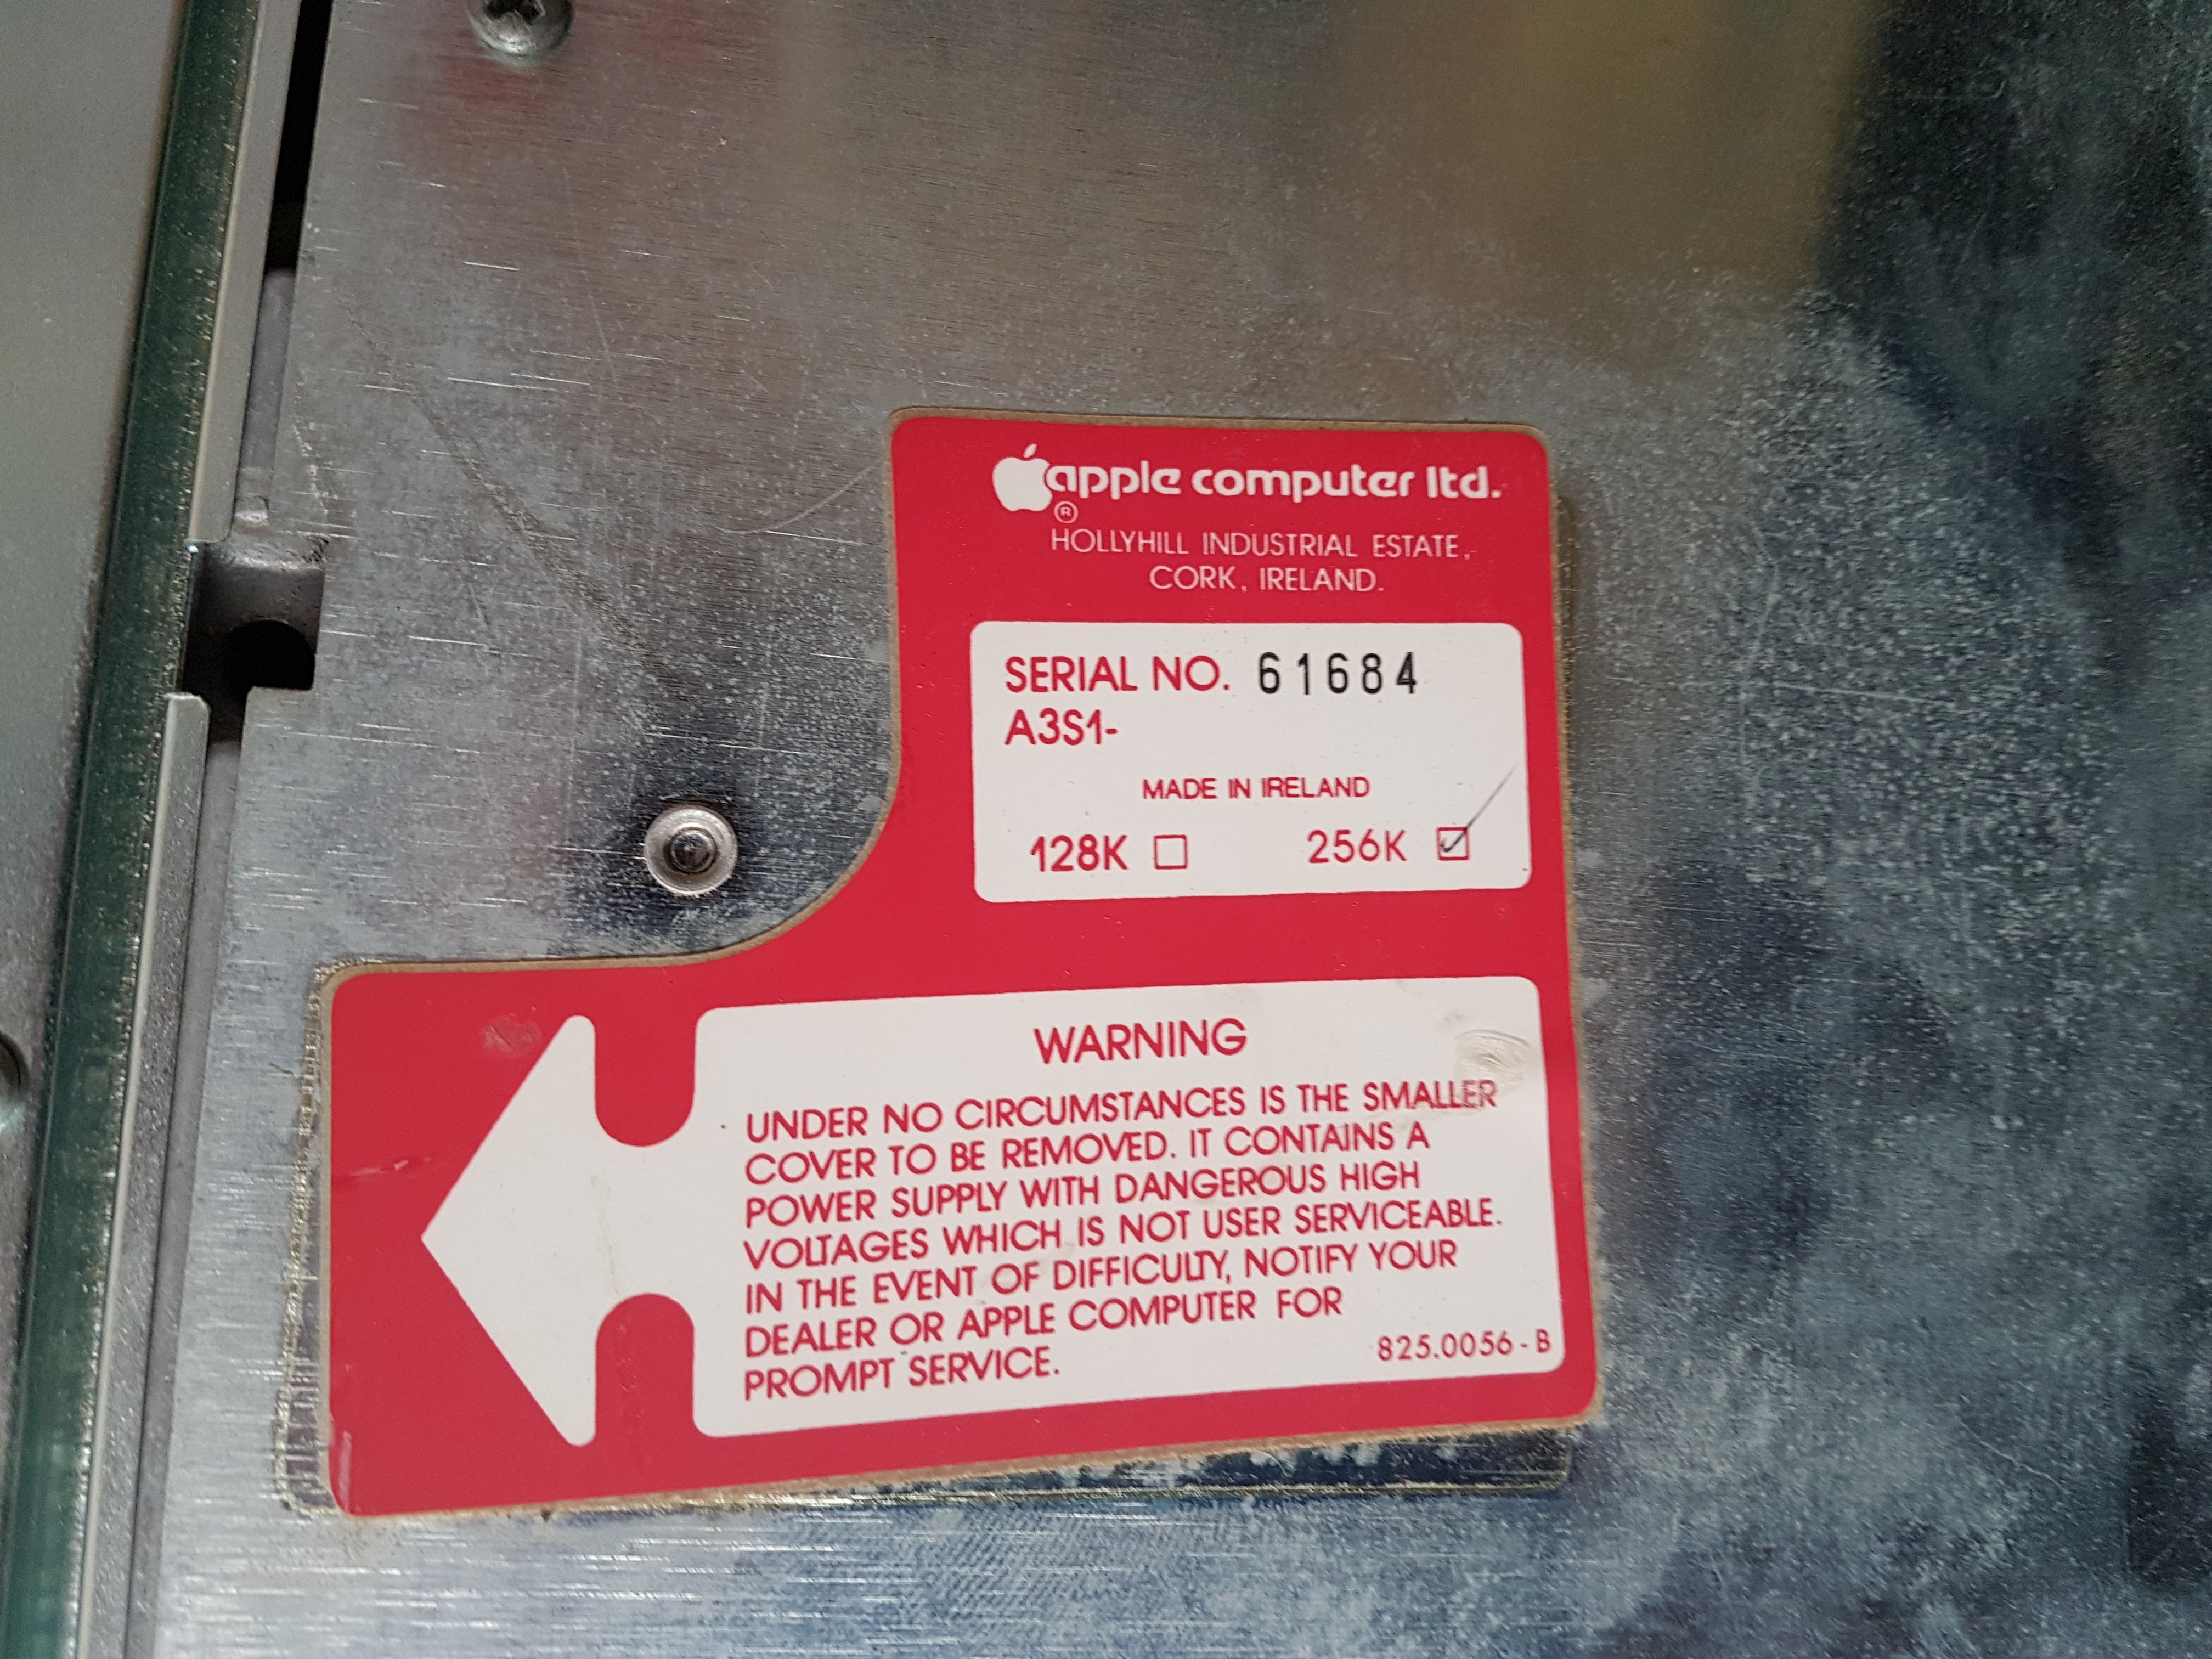
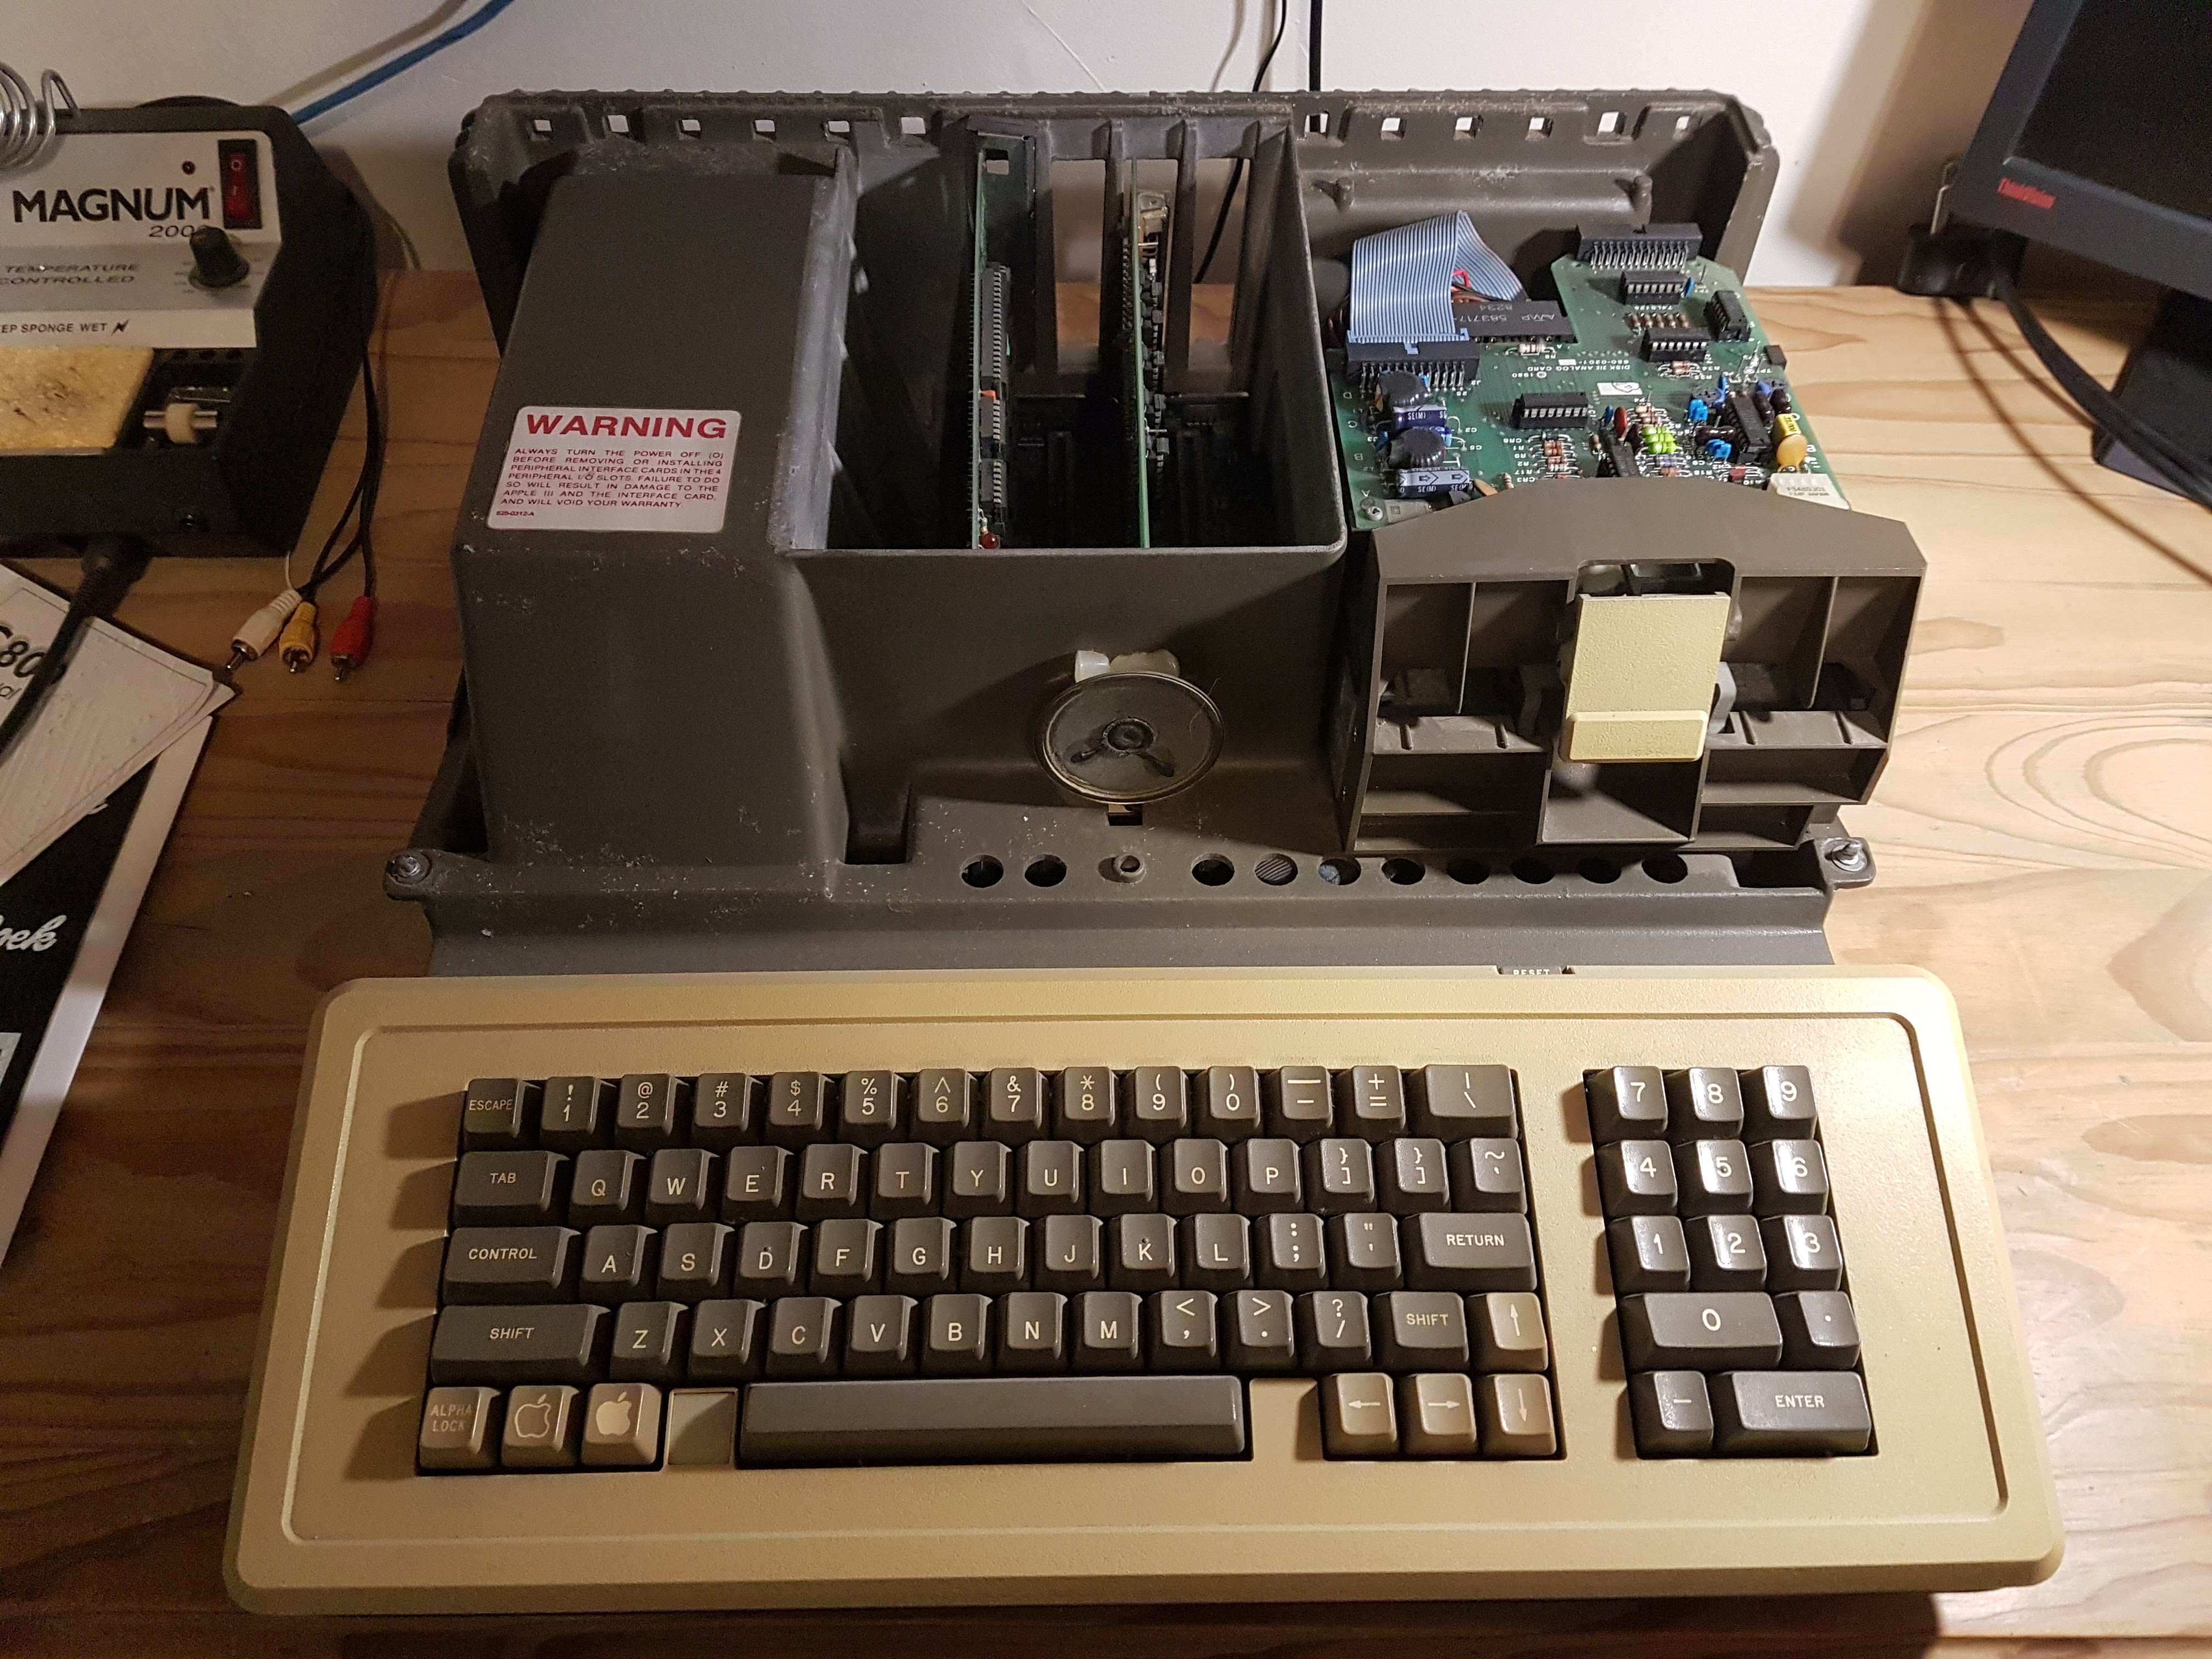
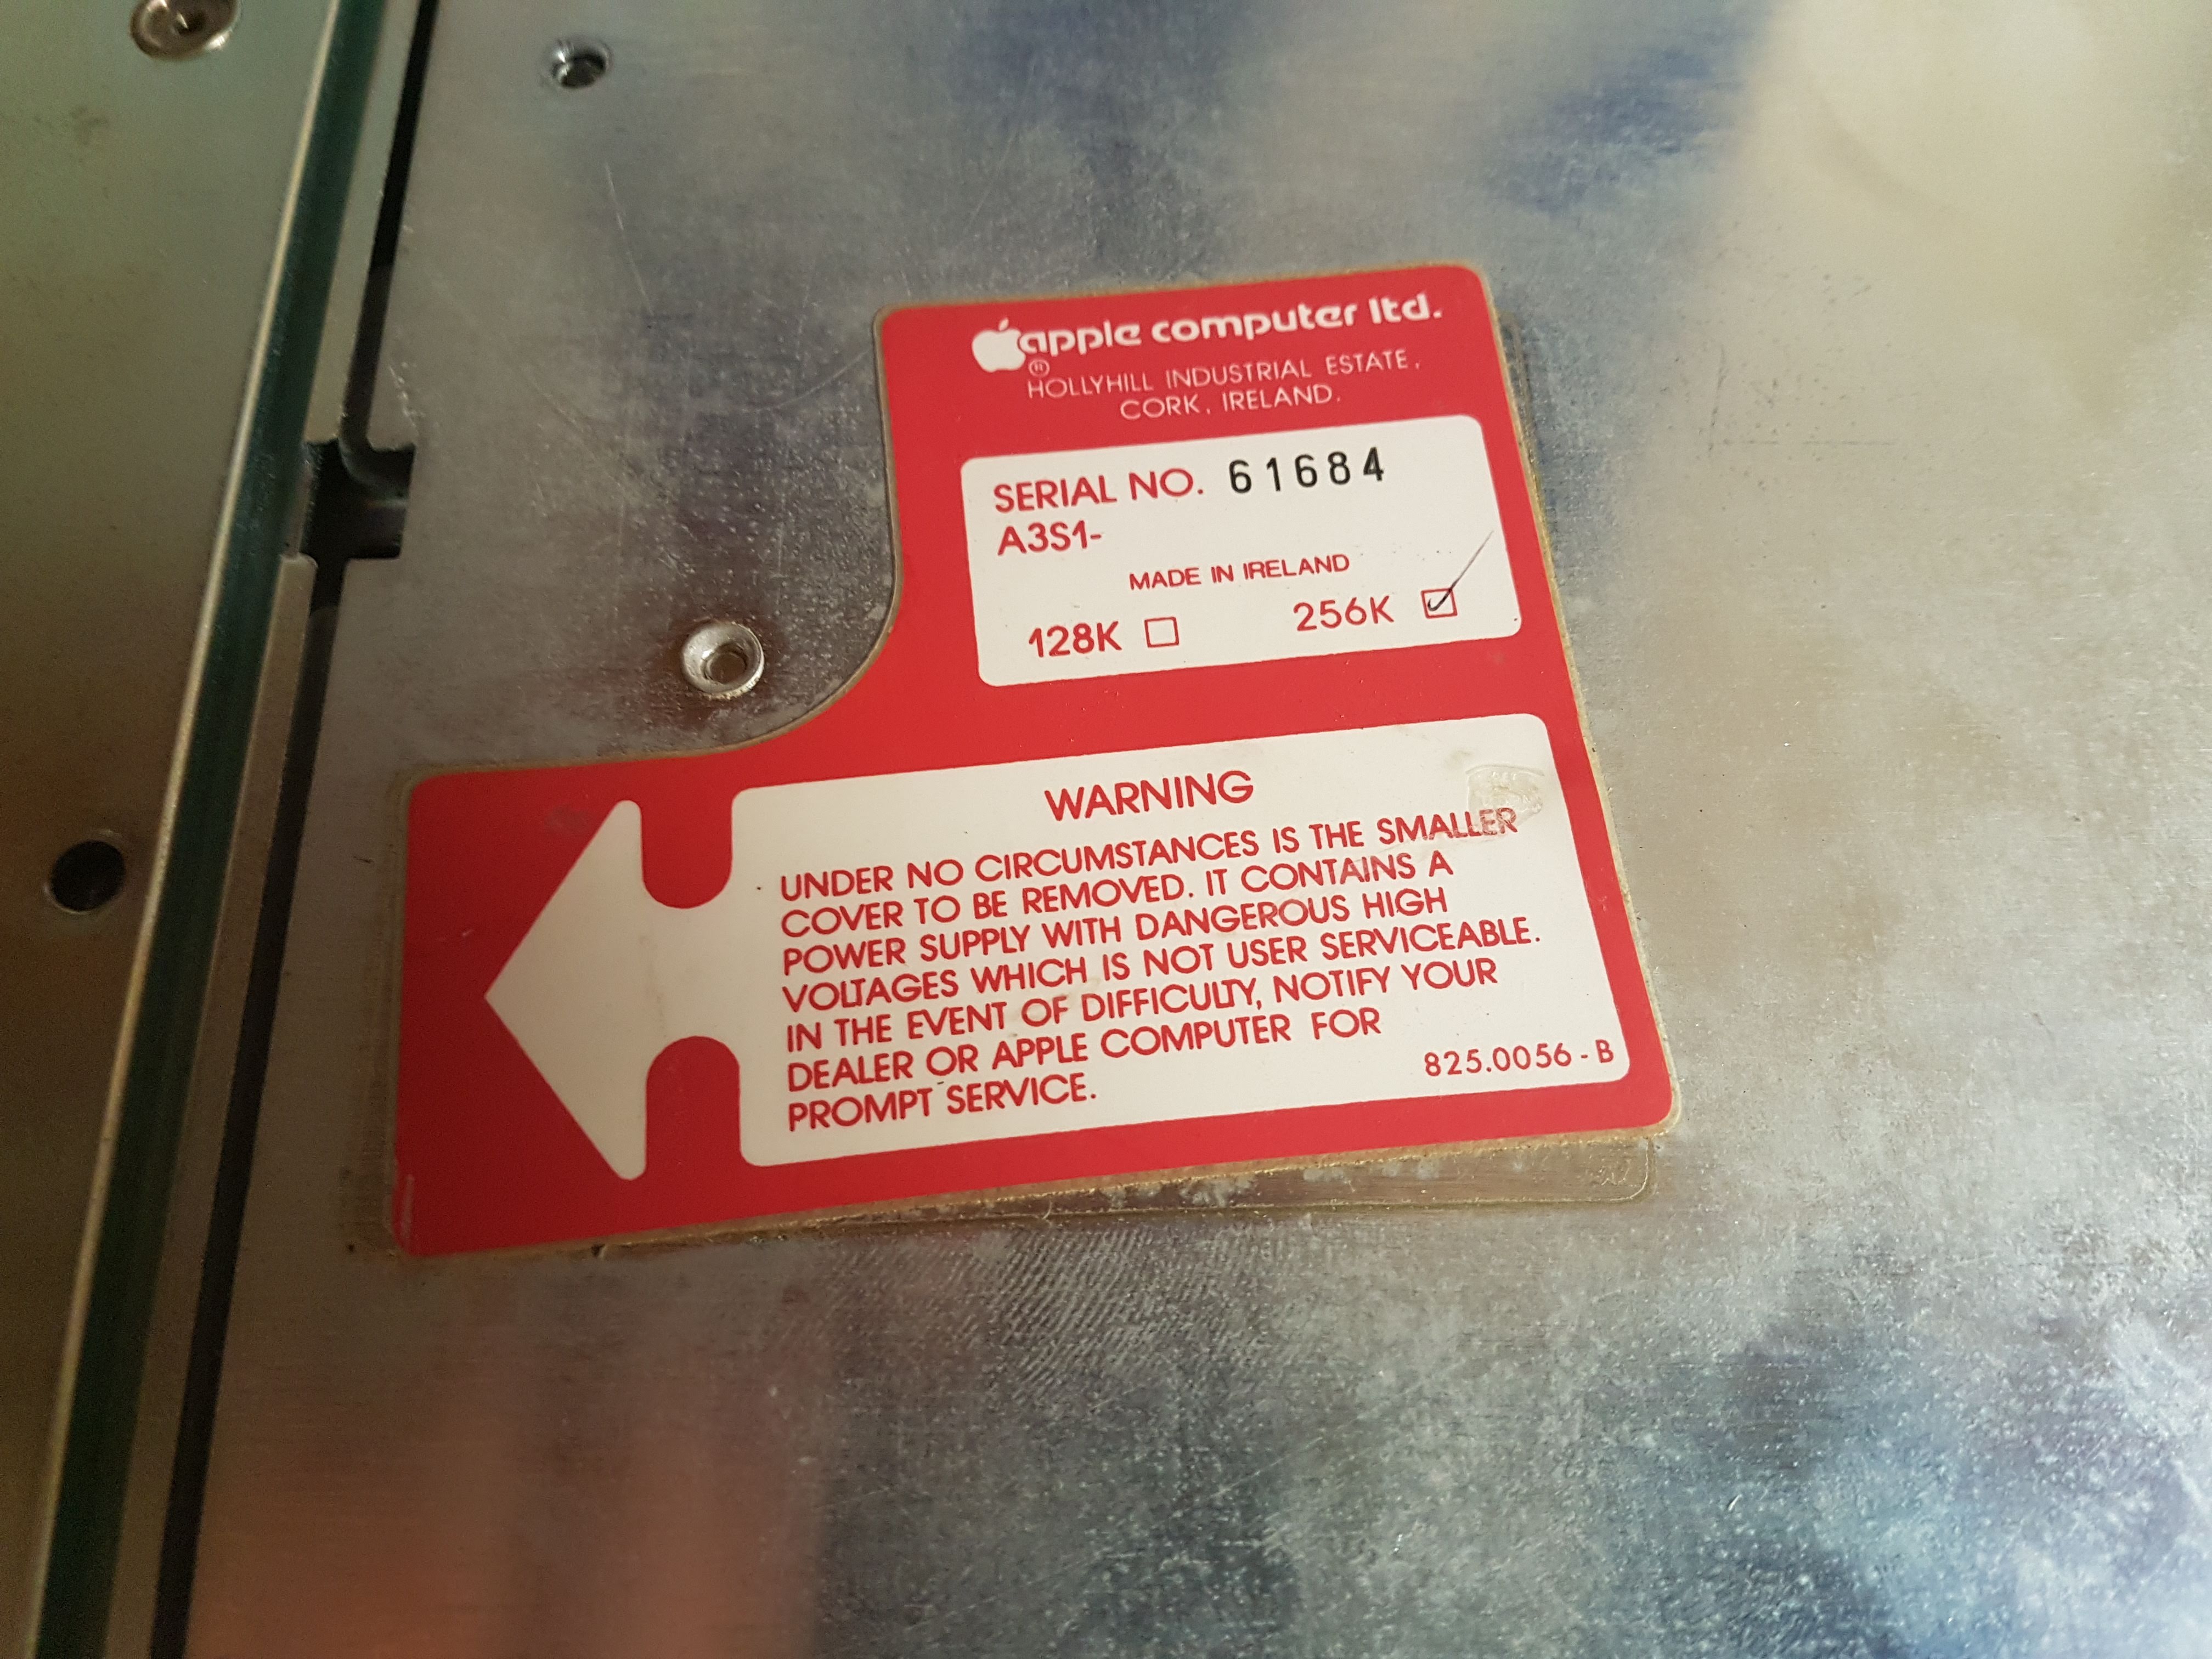
Apple /// multi-year restoration (256k - Serial No. 61684)
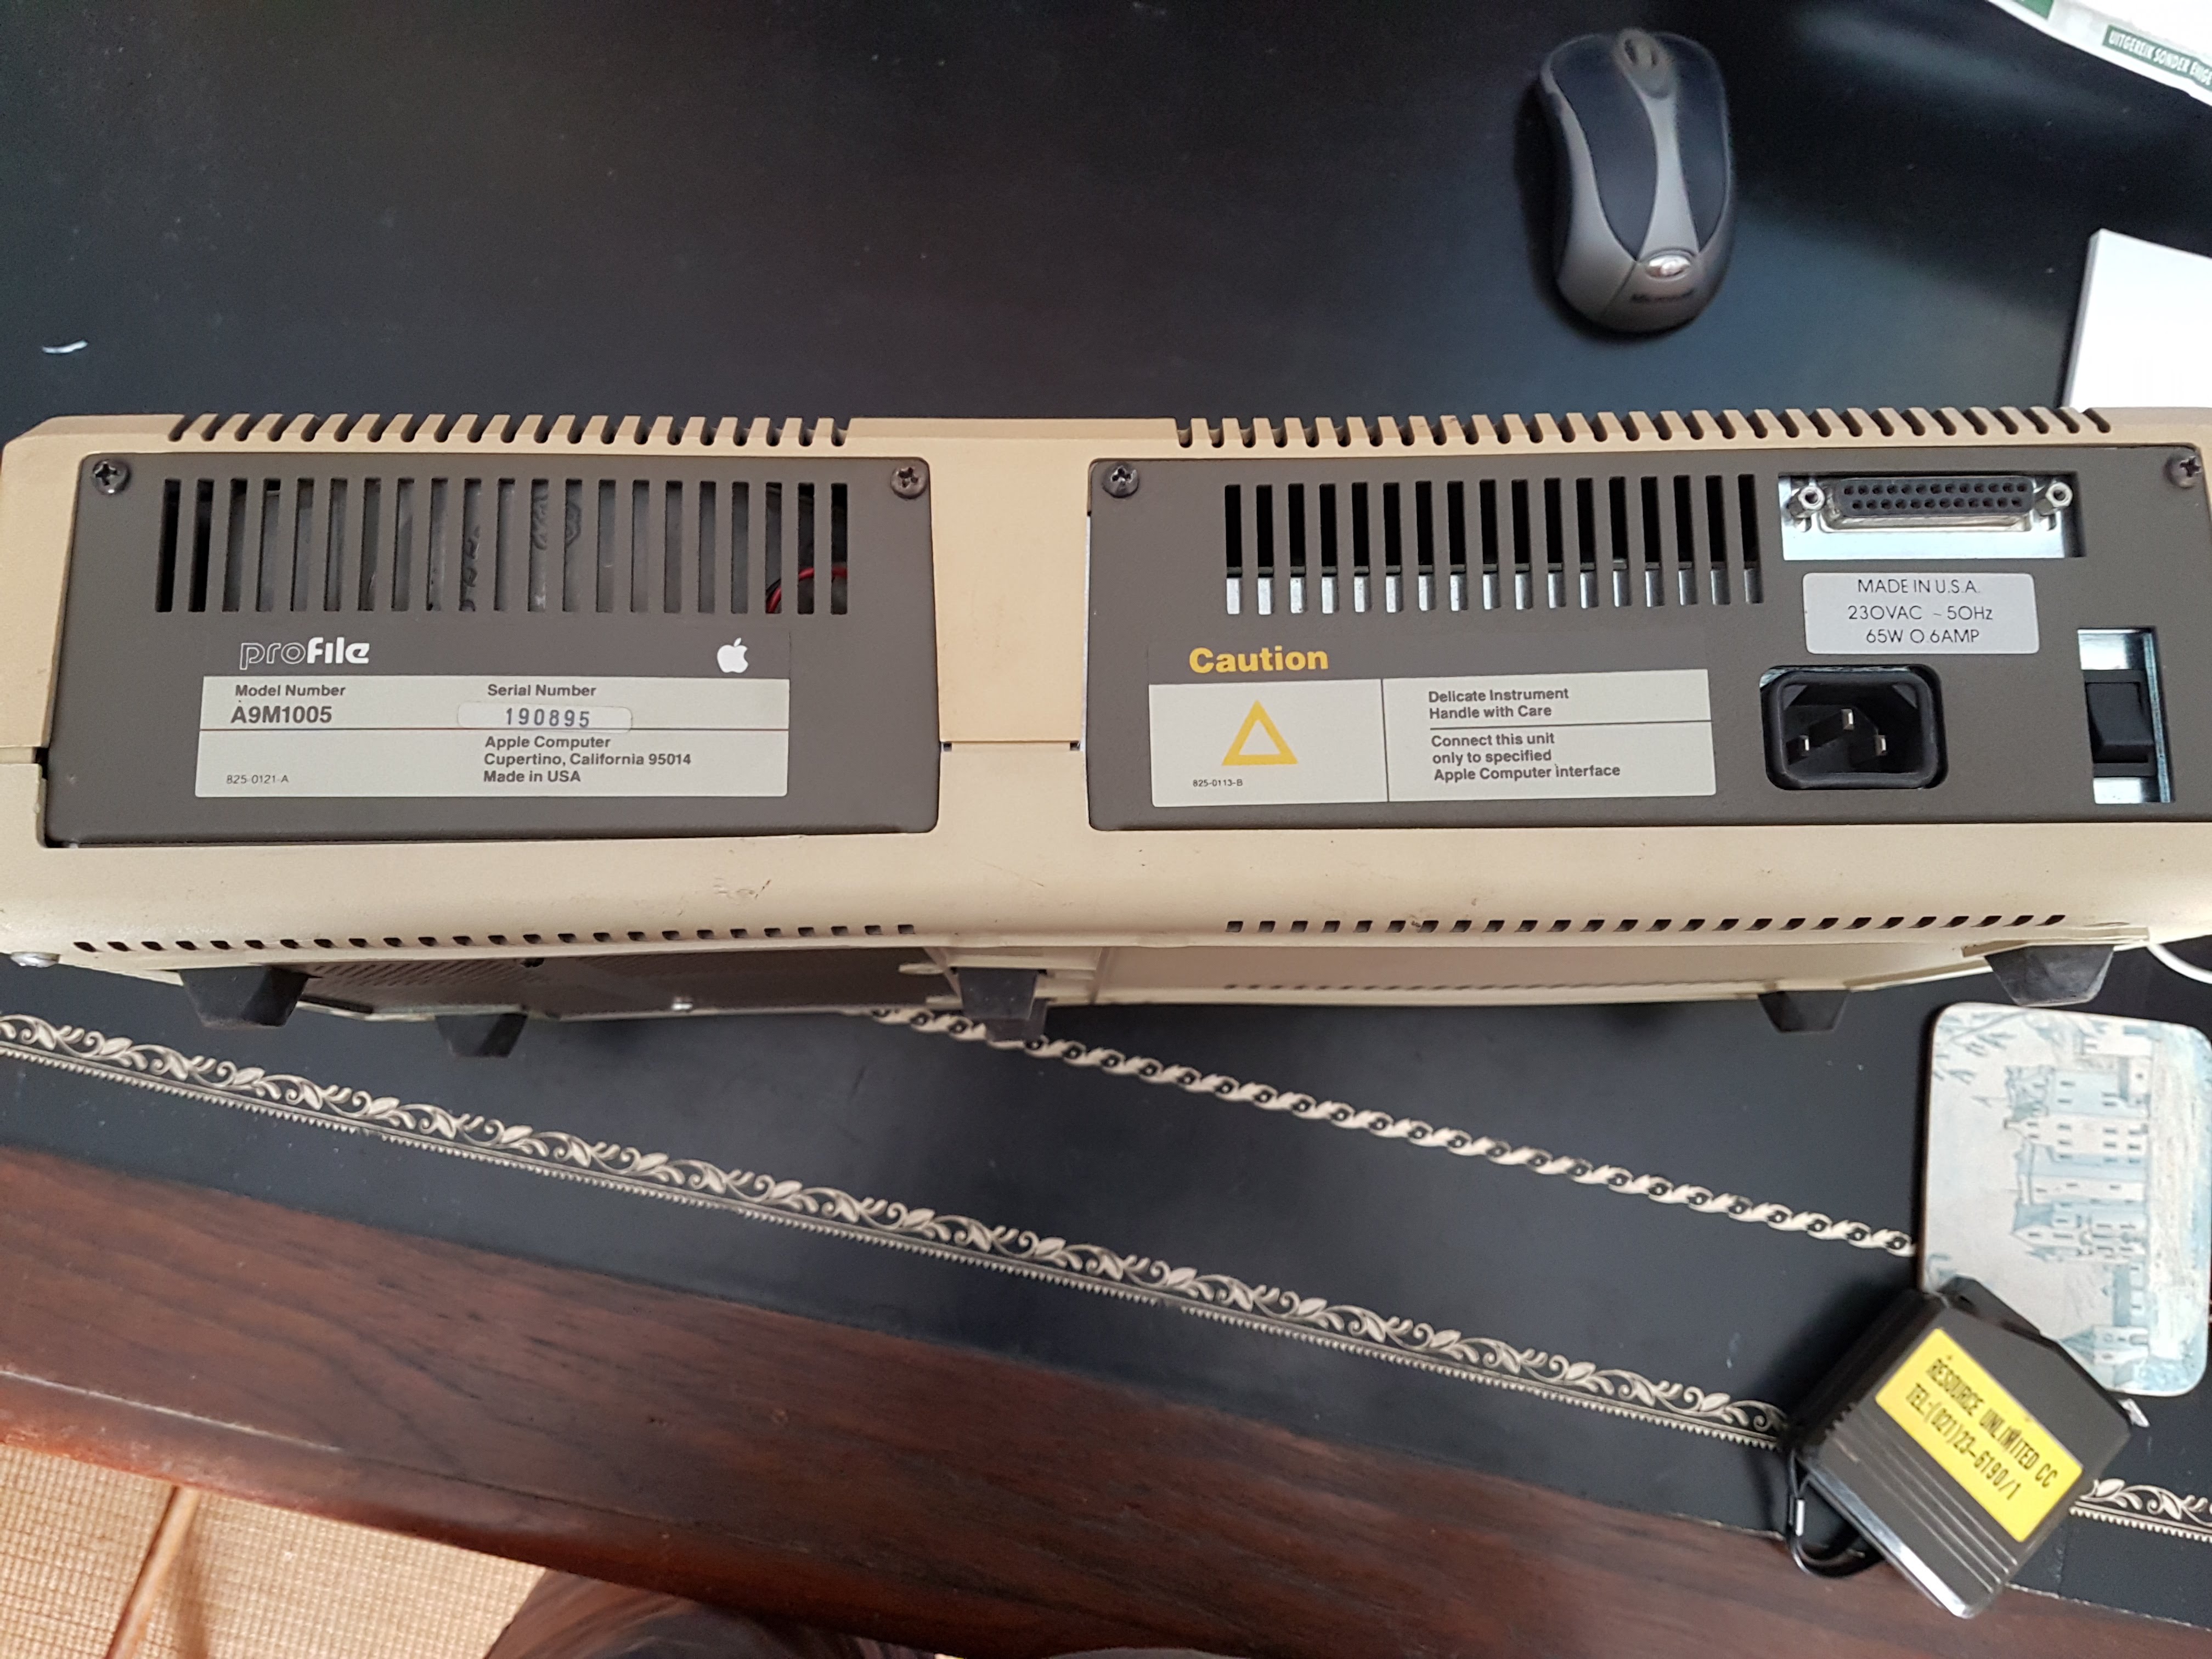
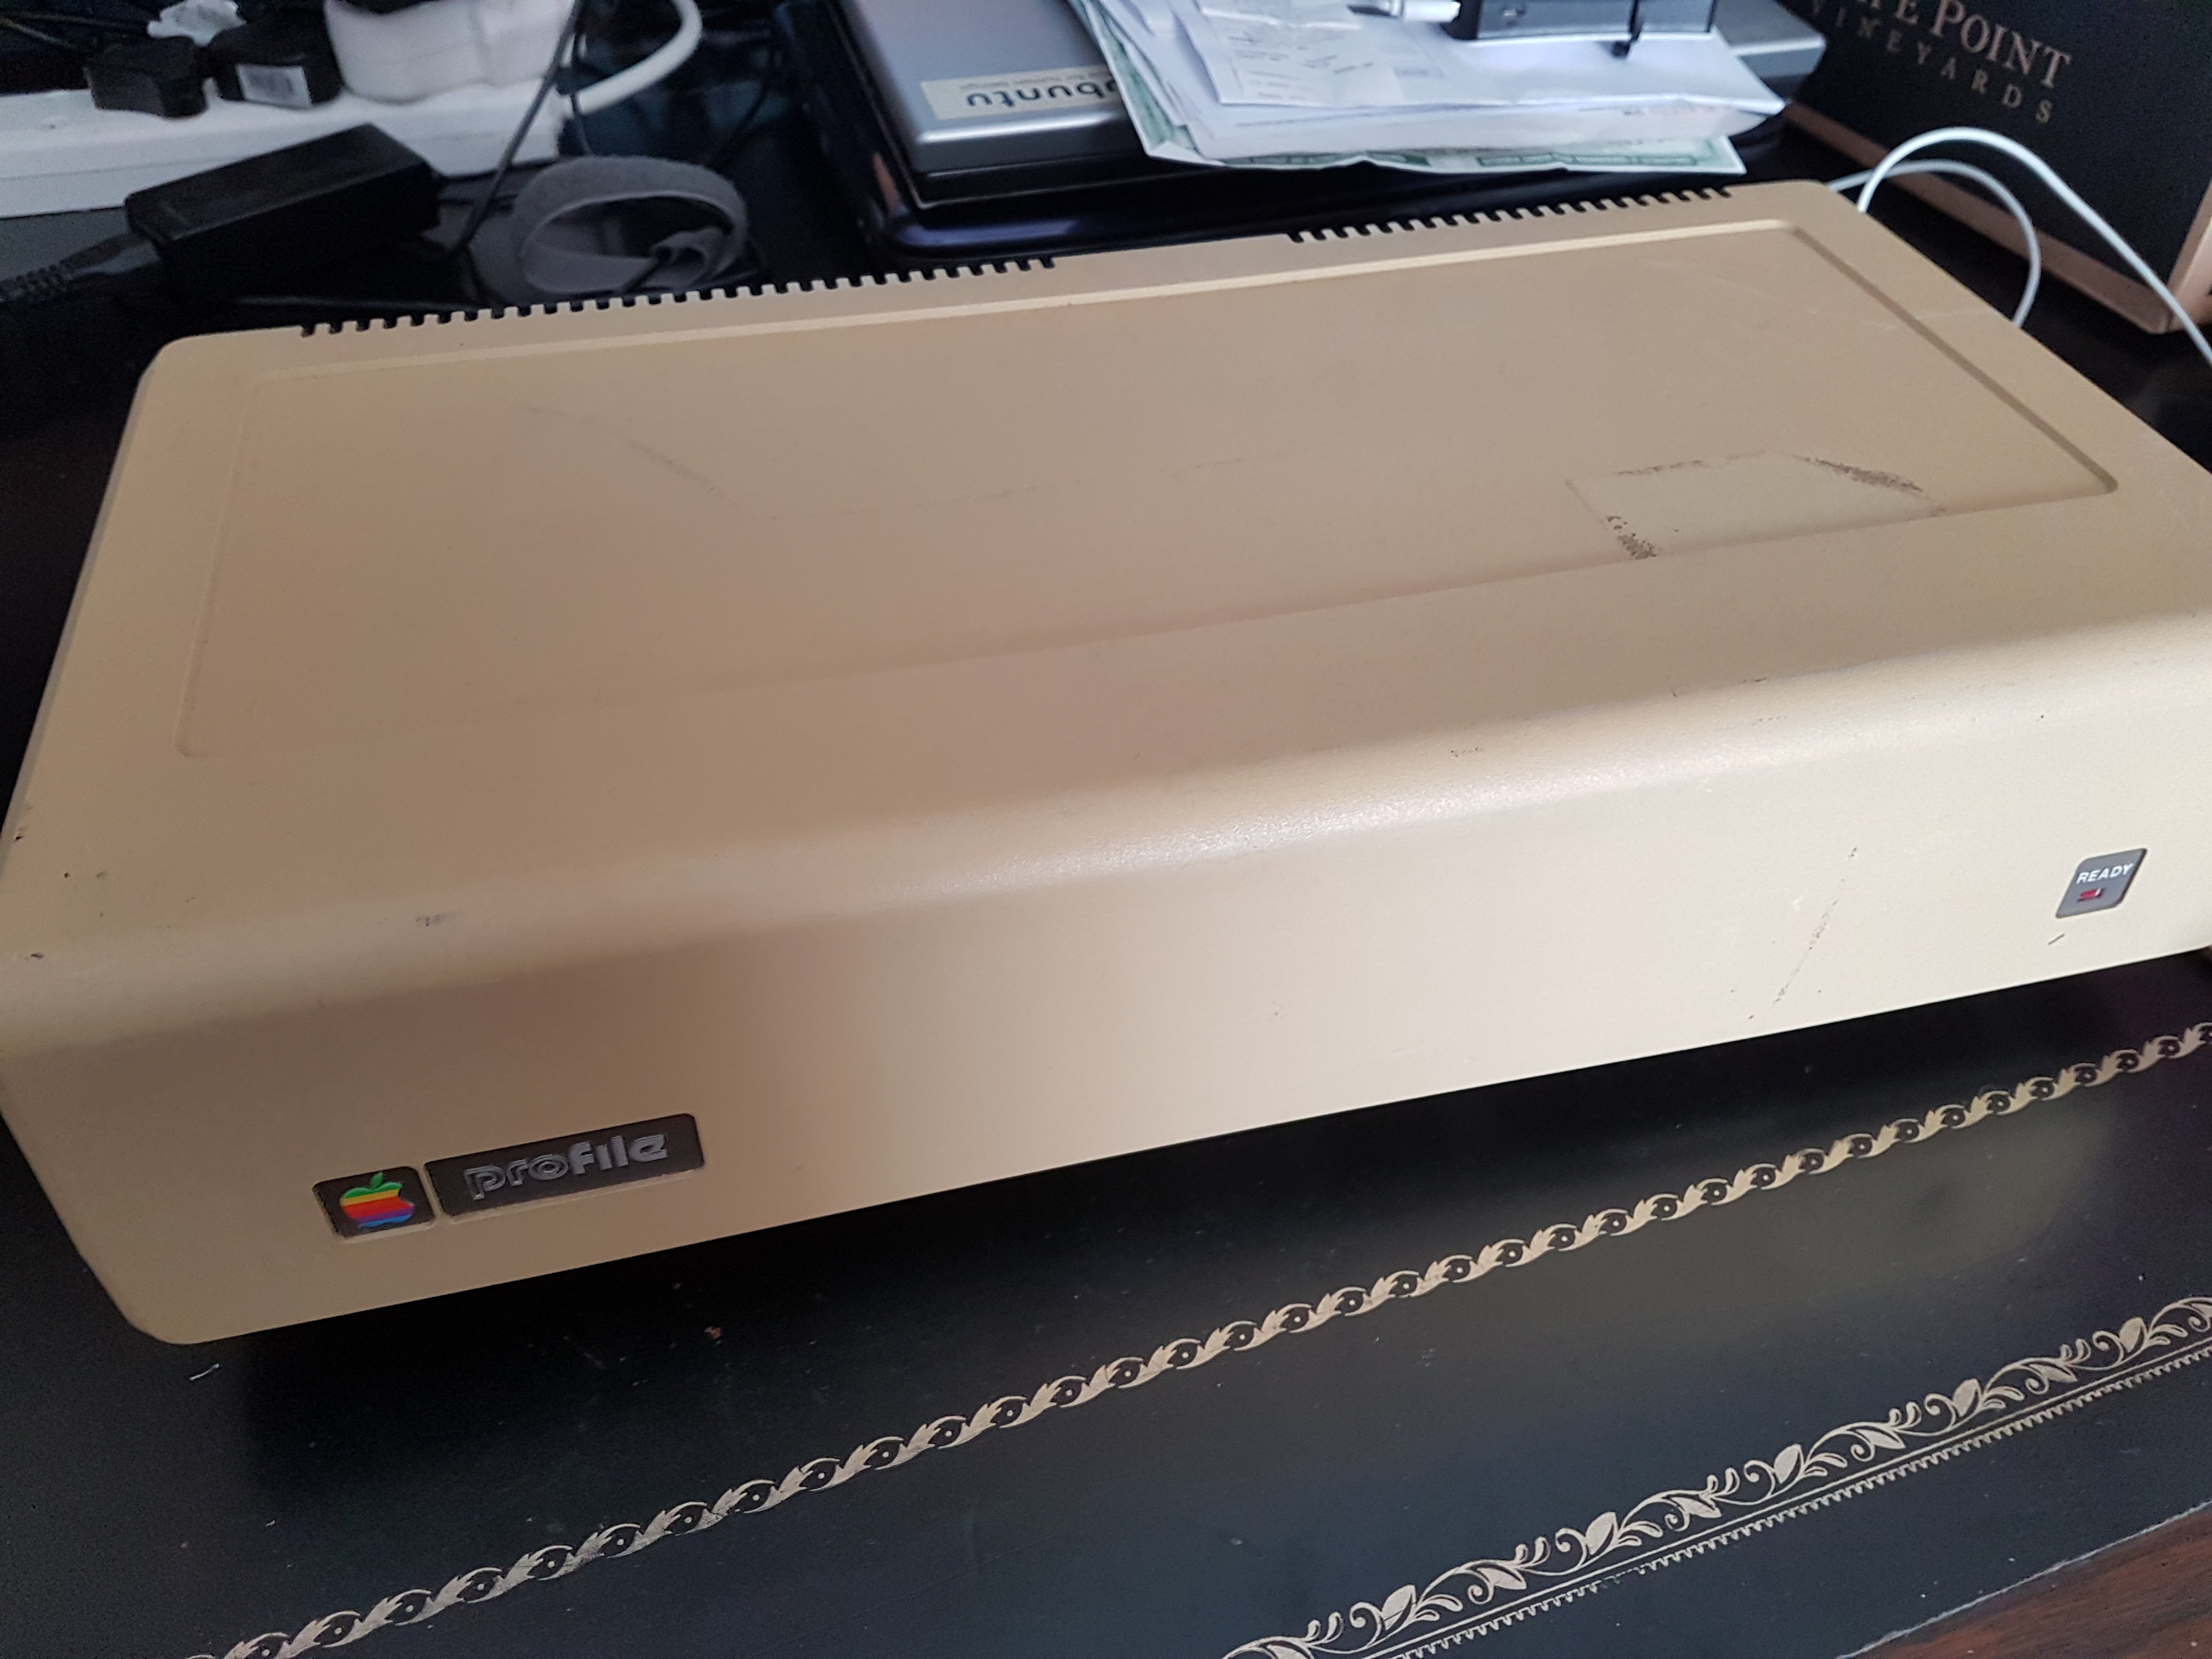
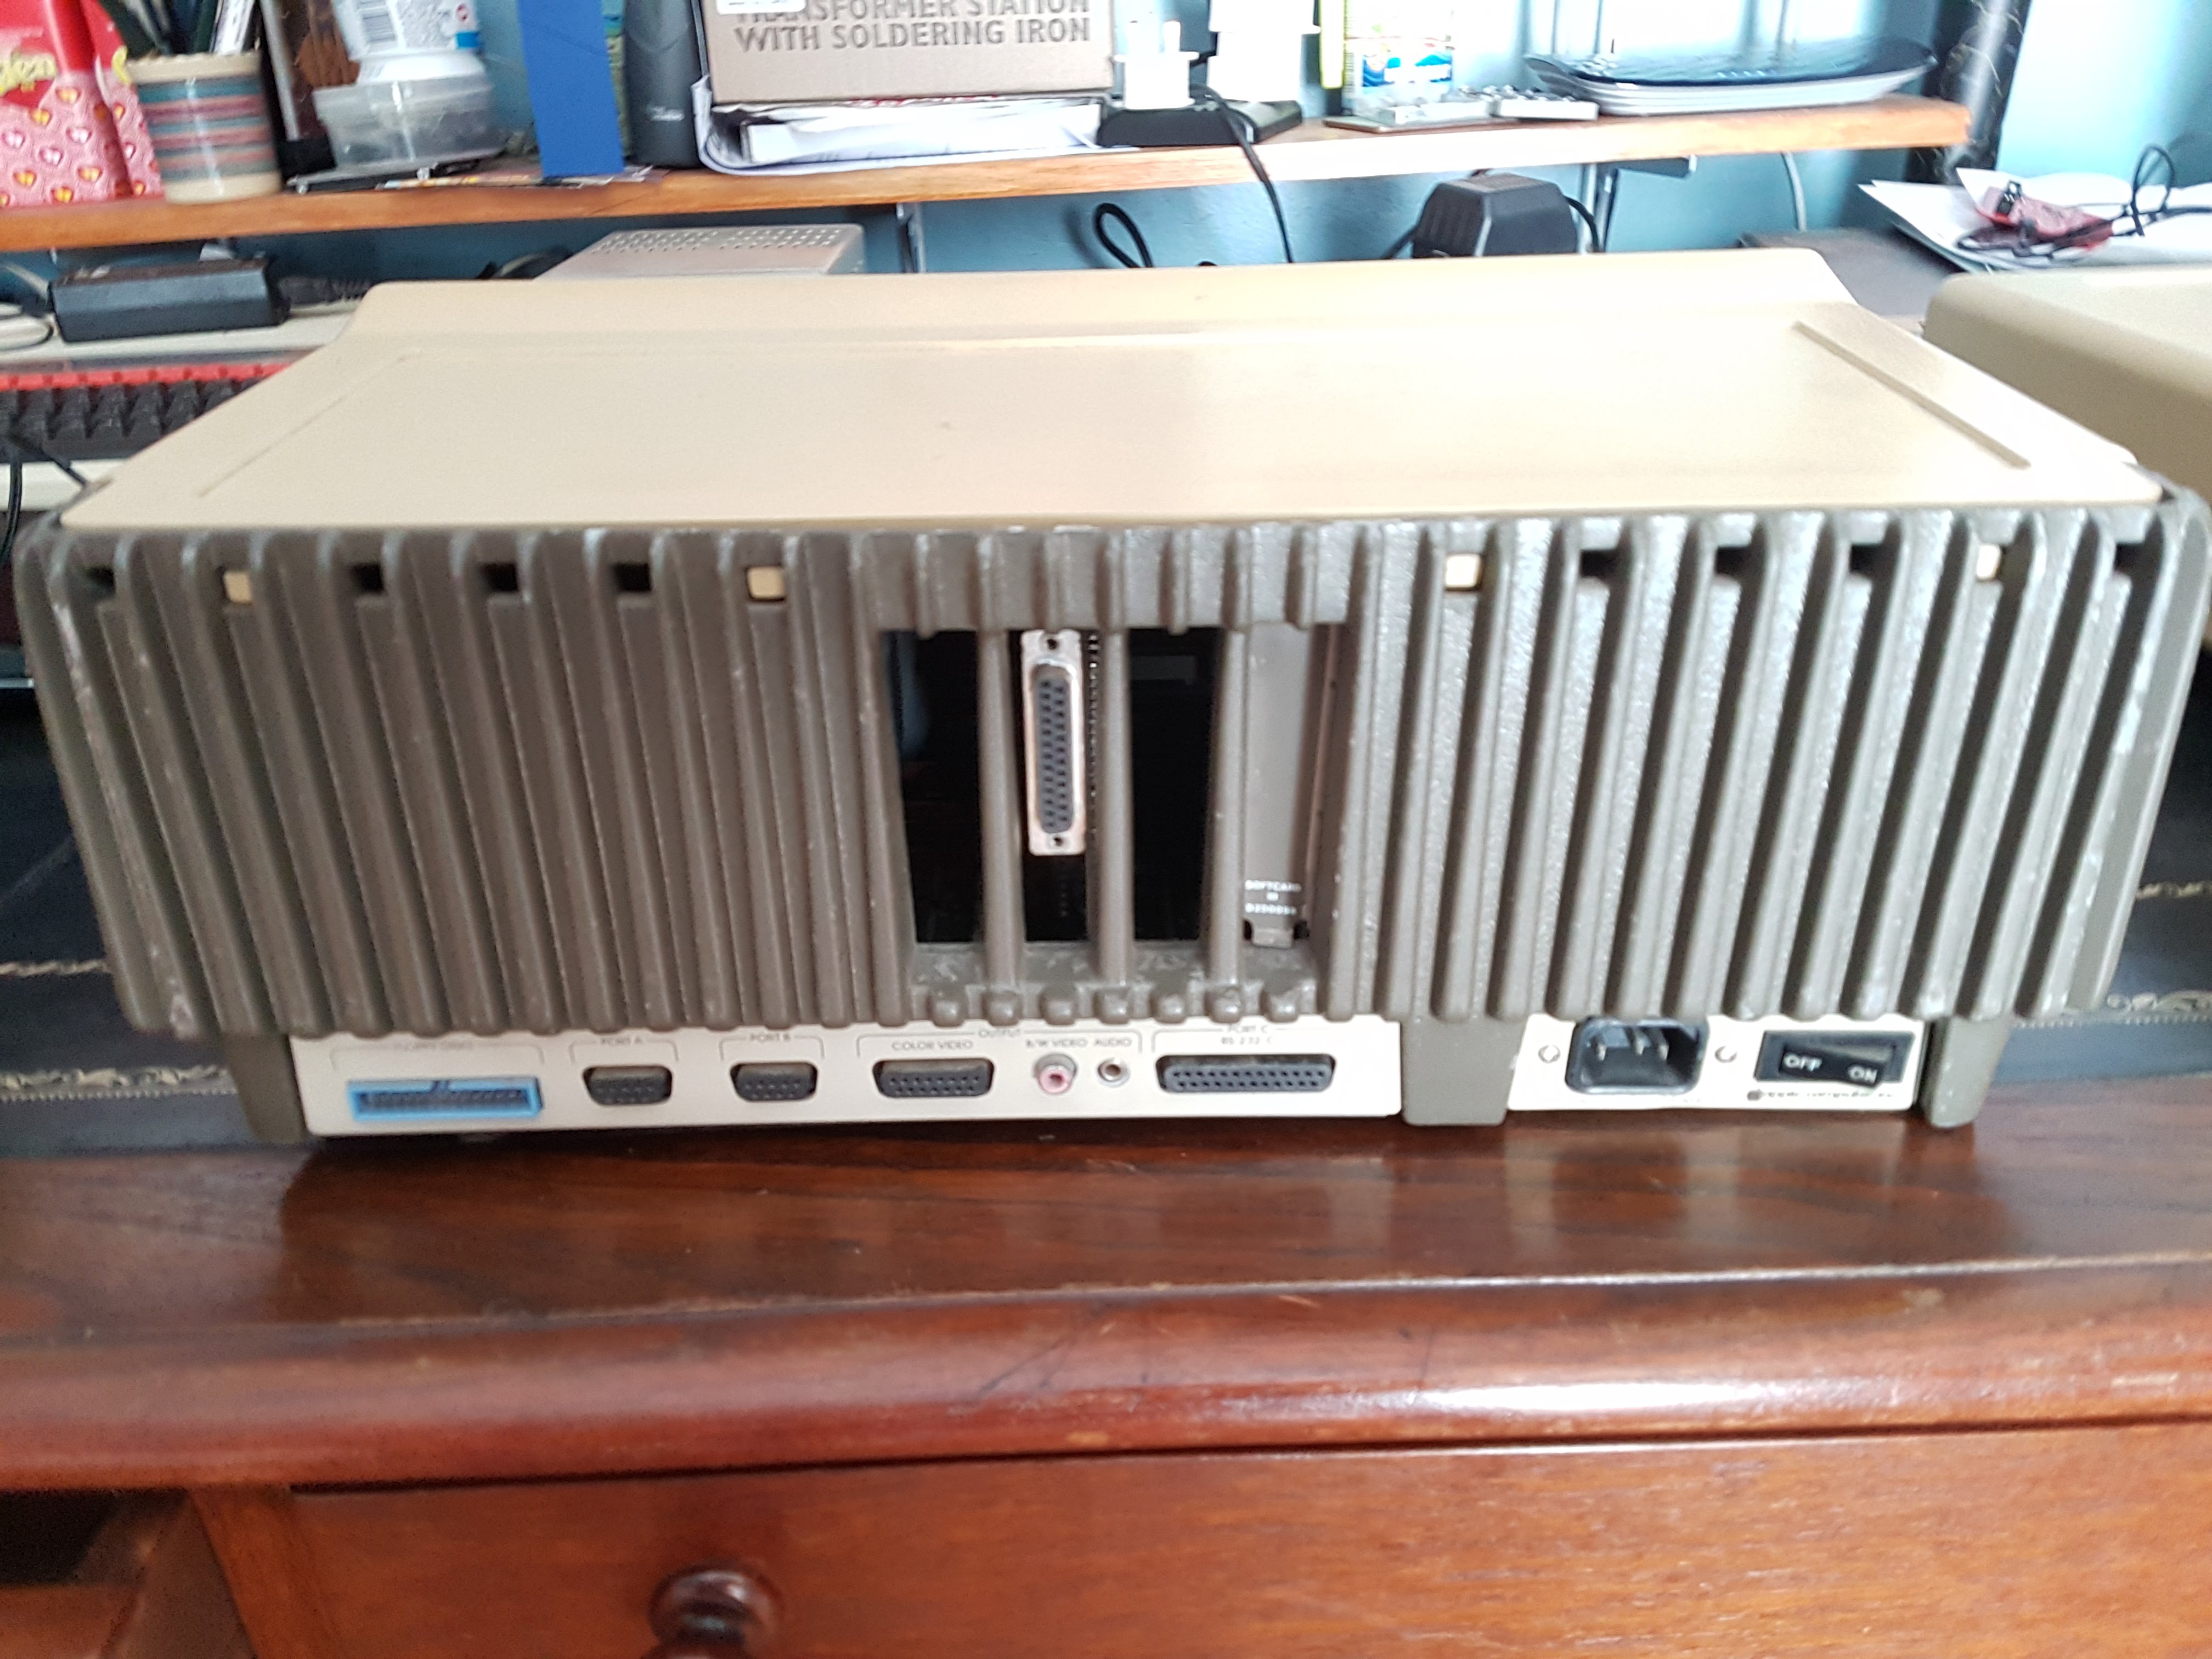
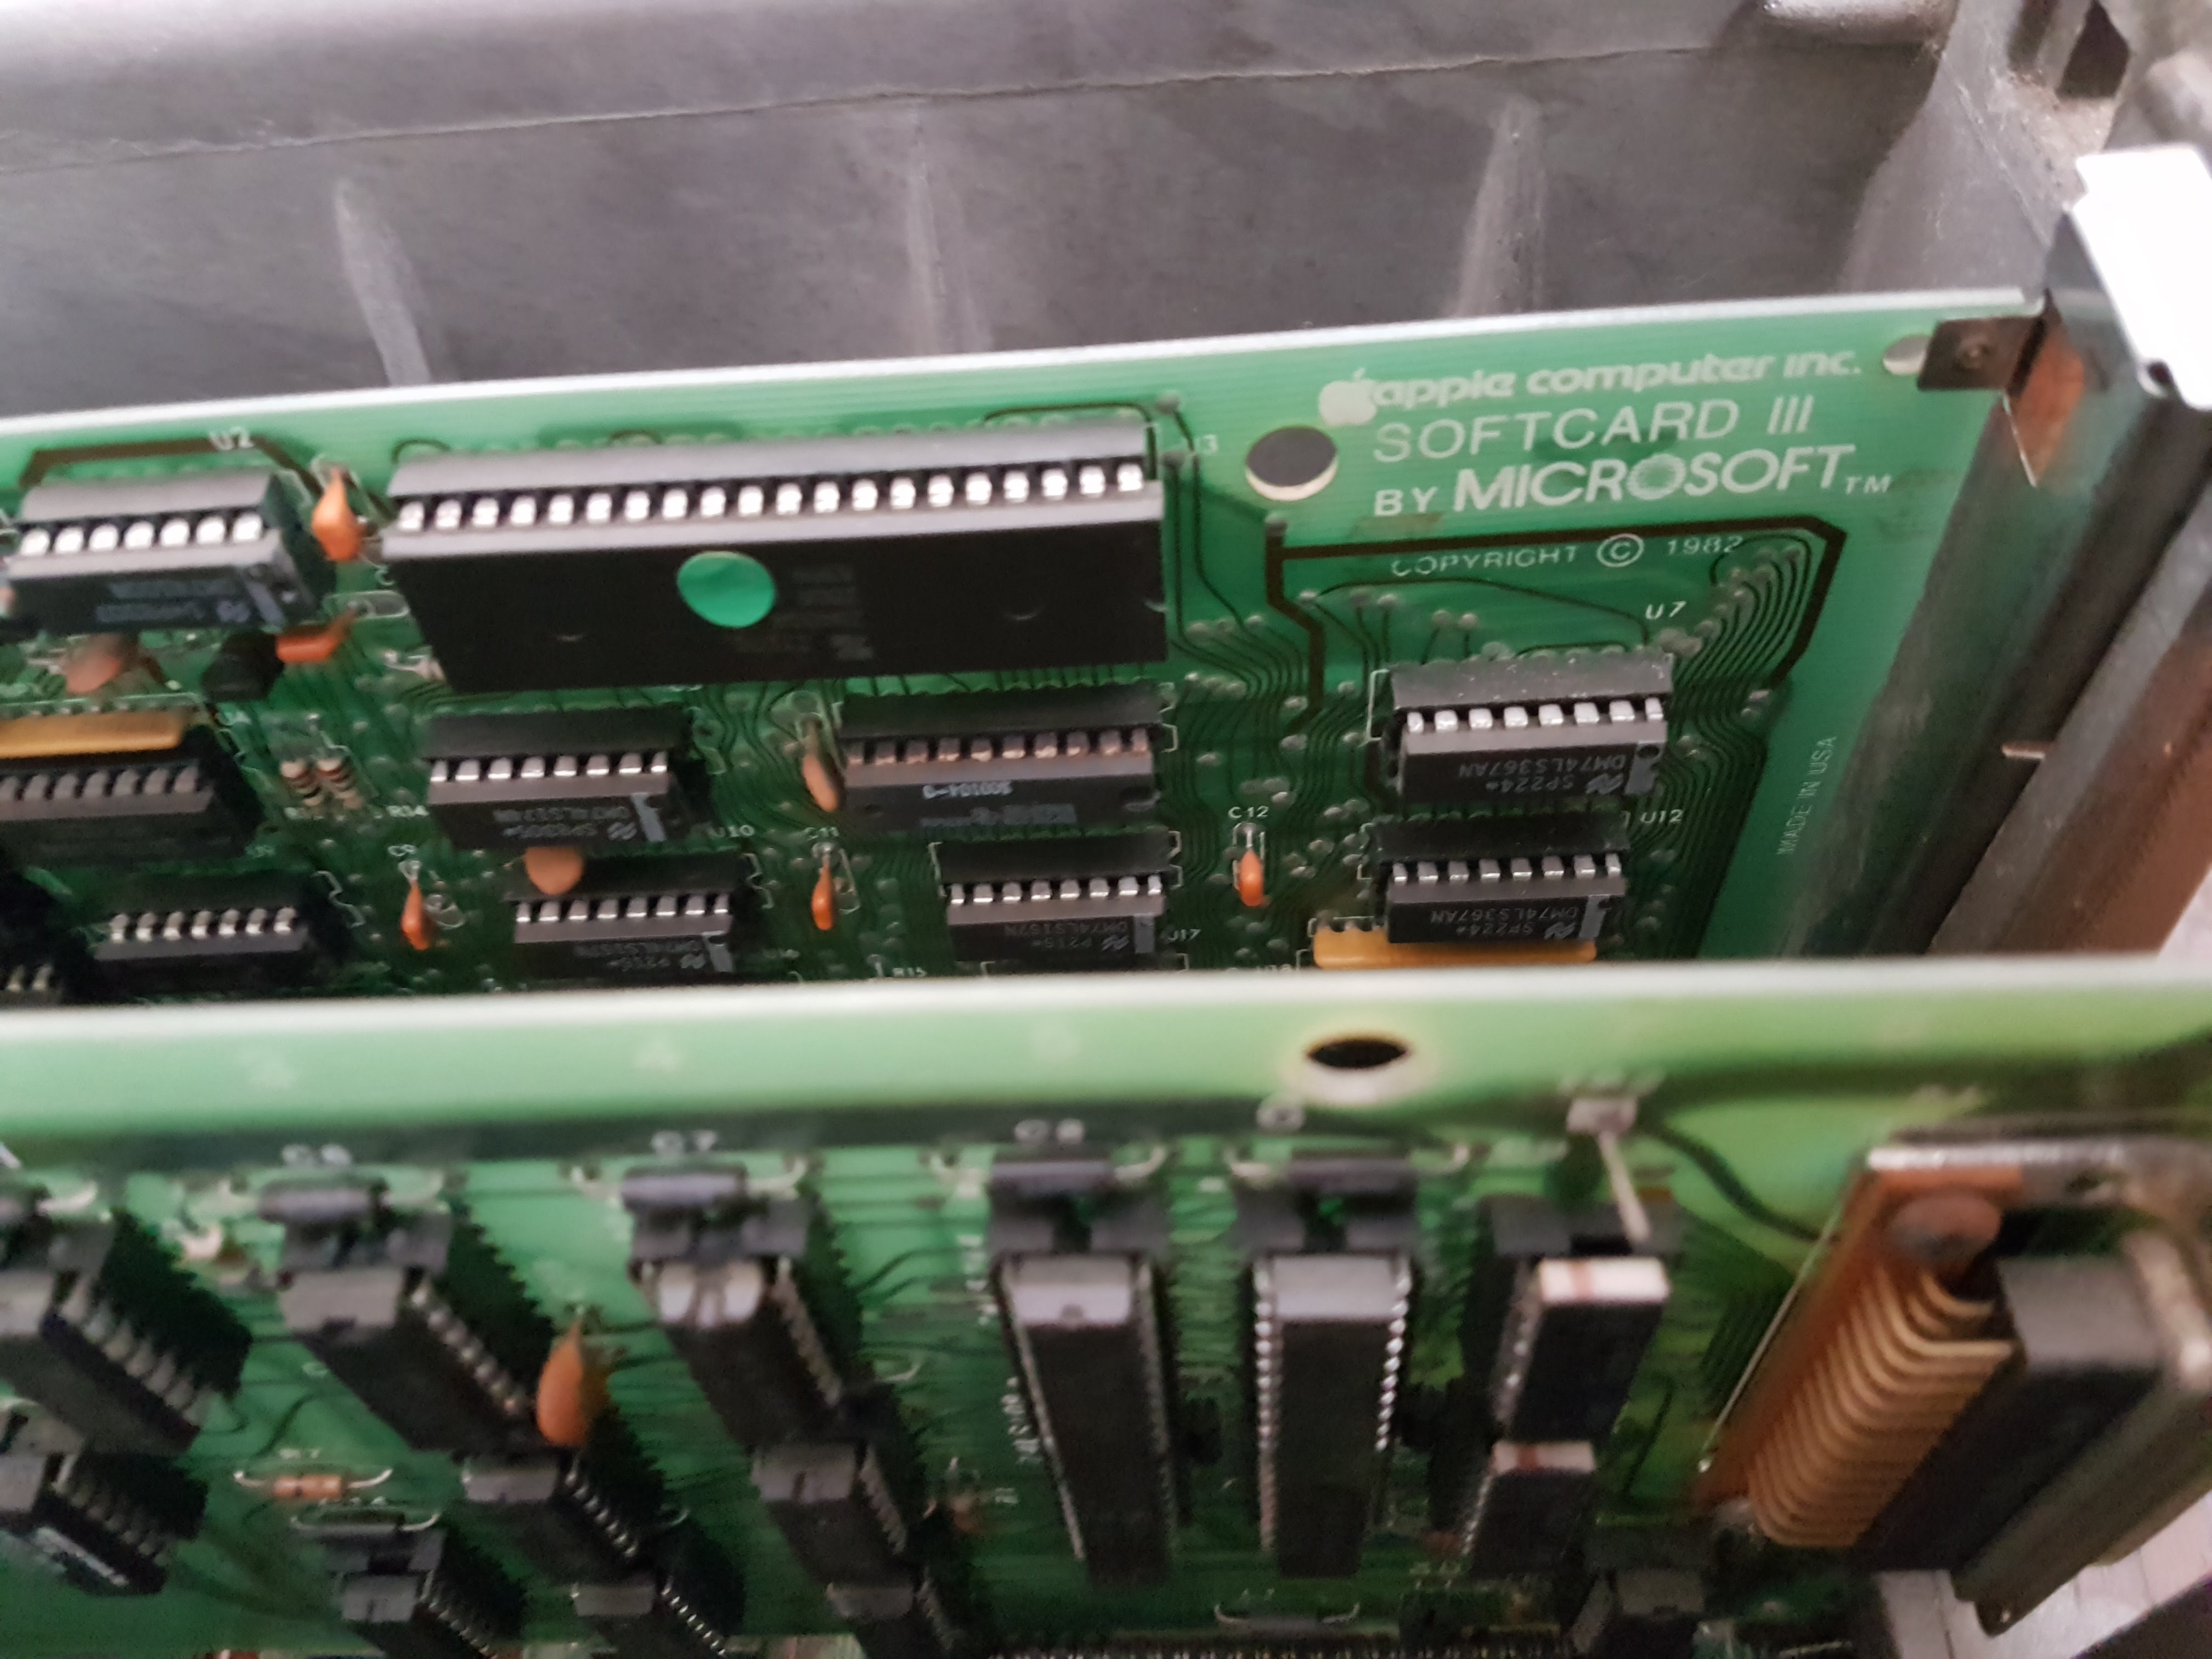
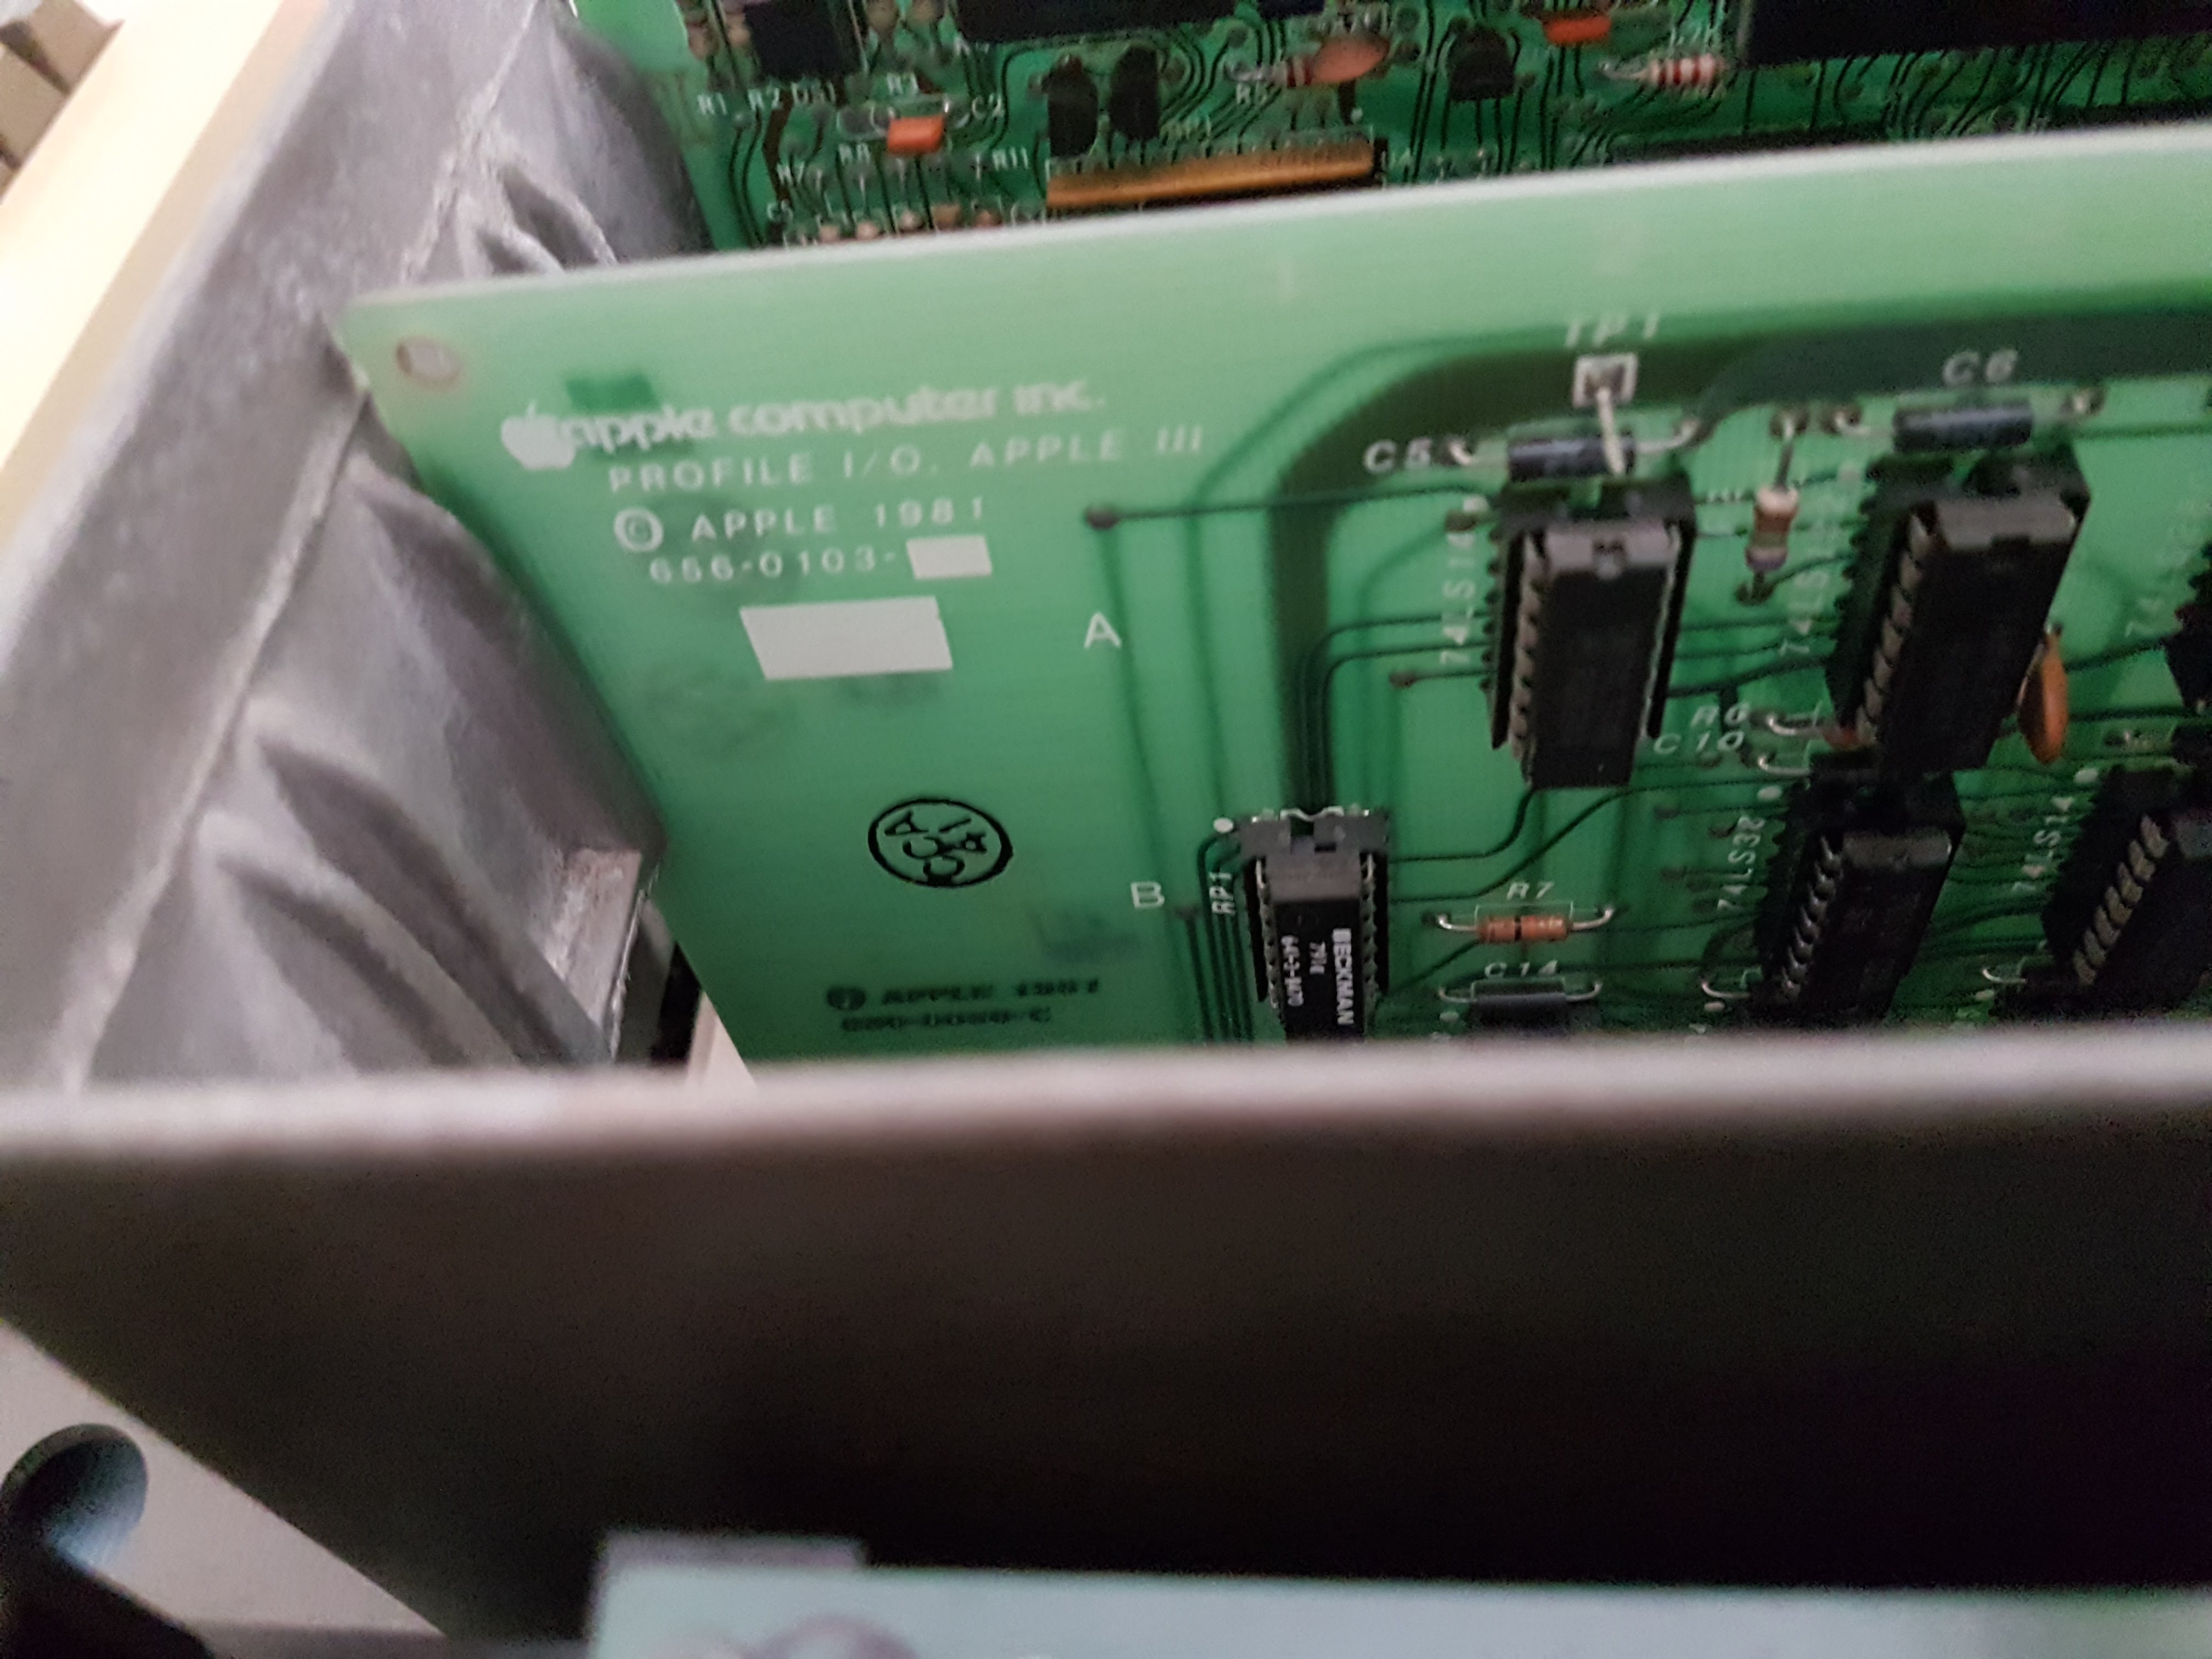
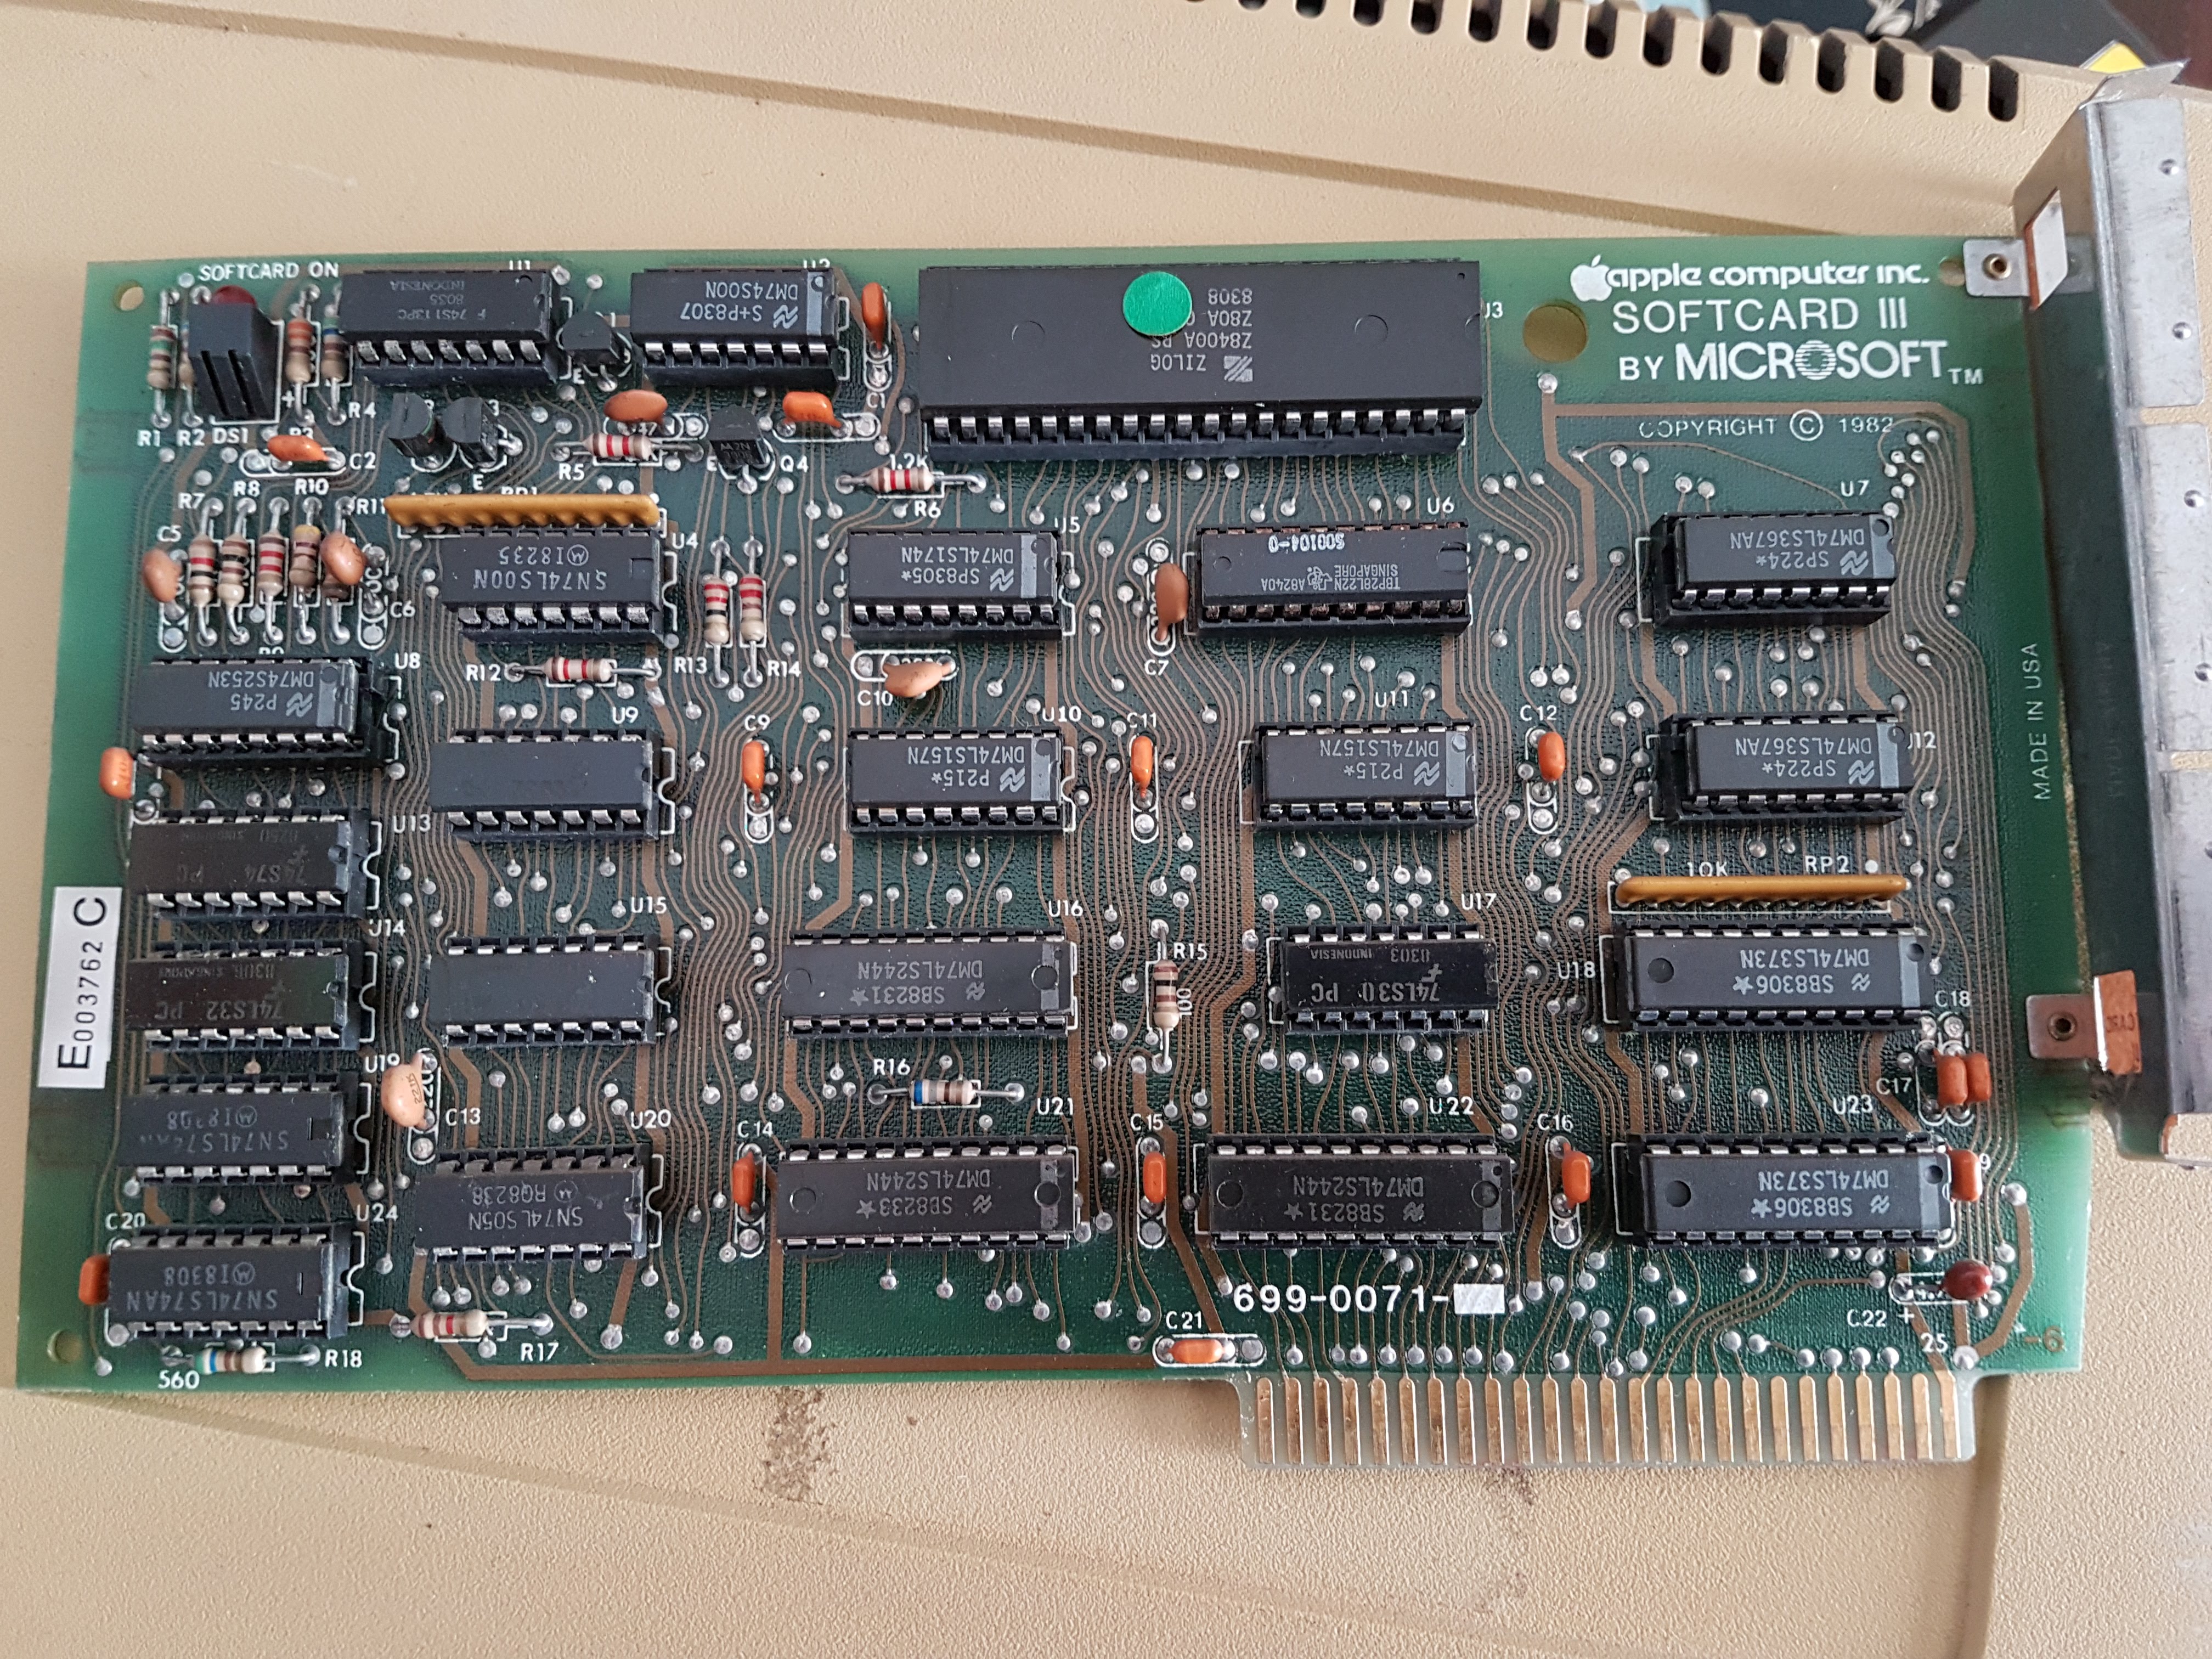
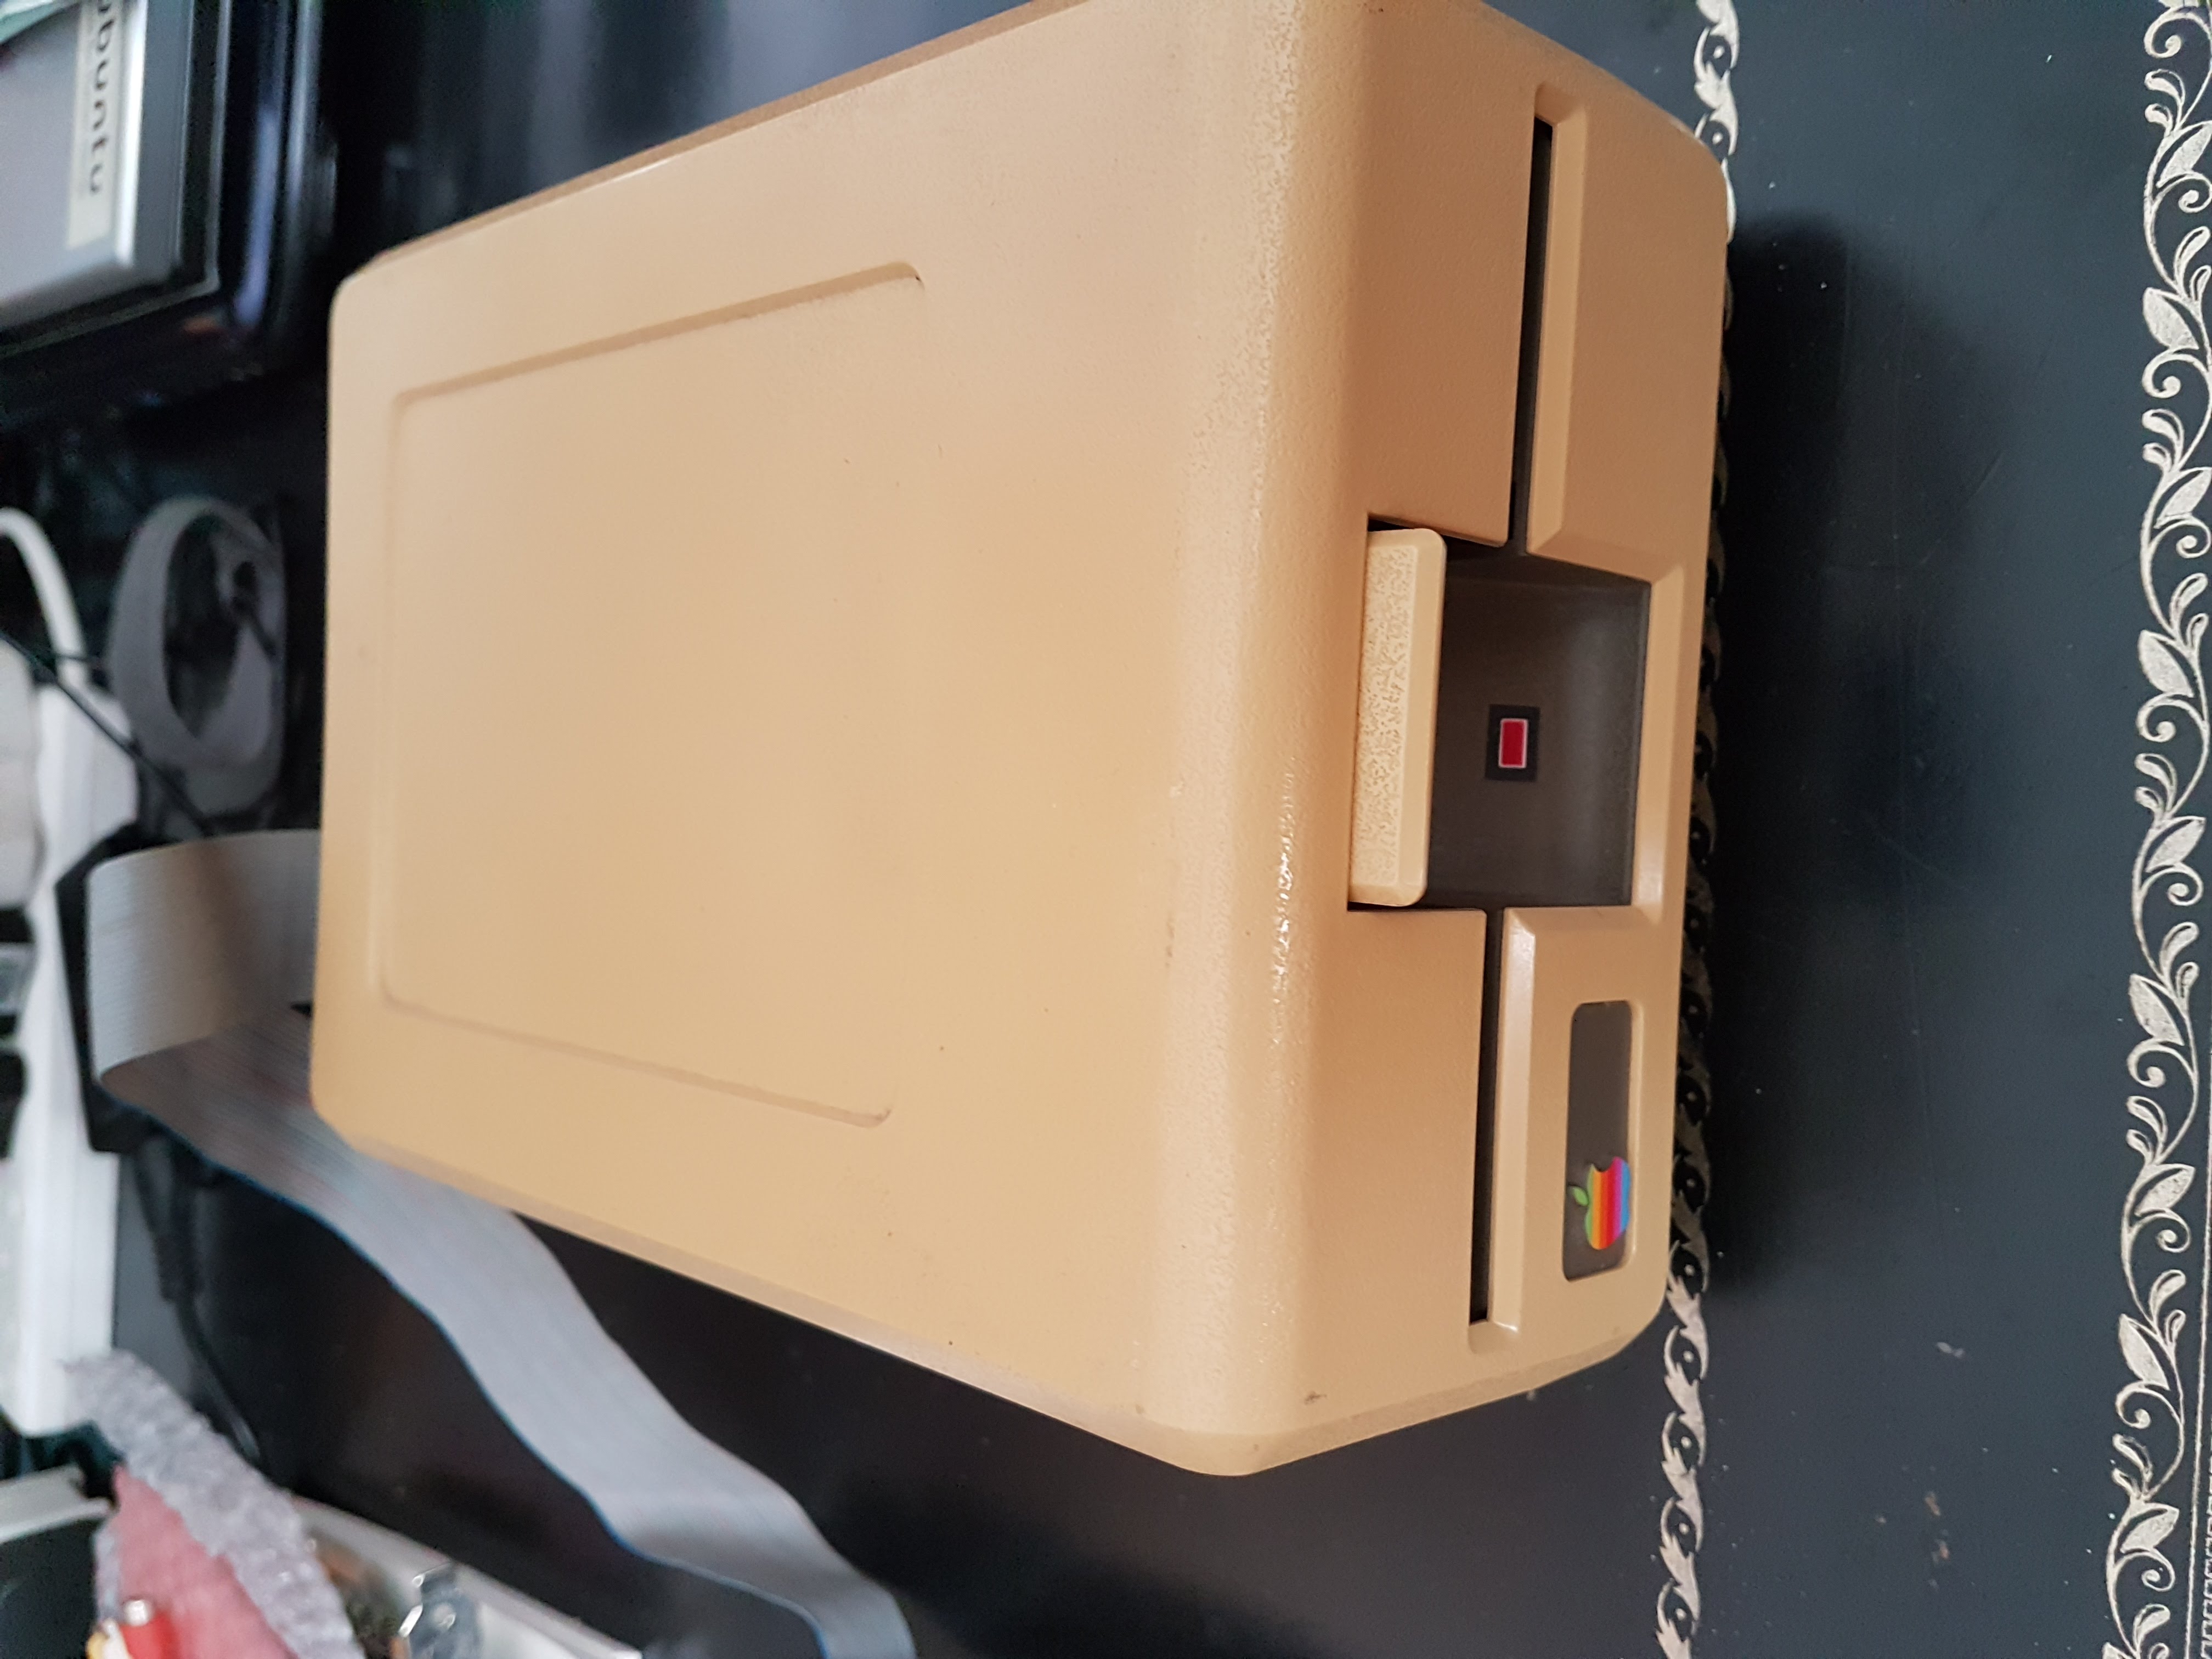
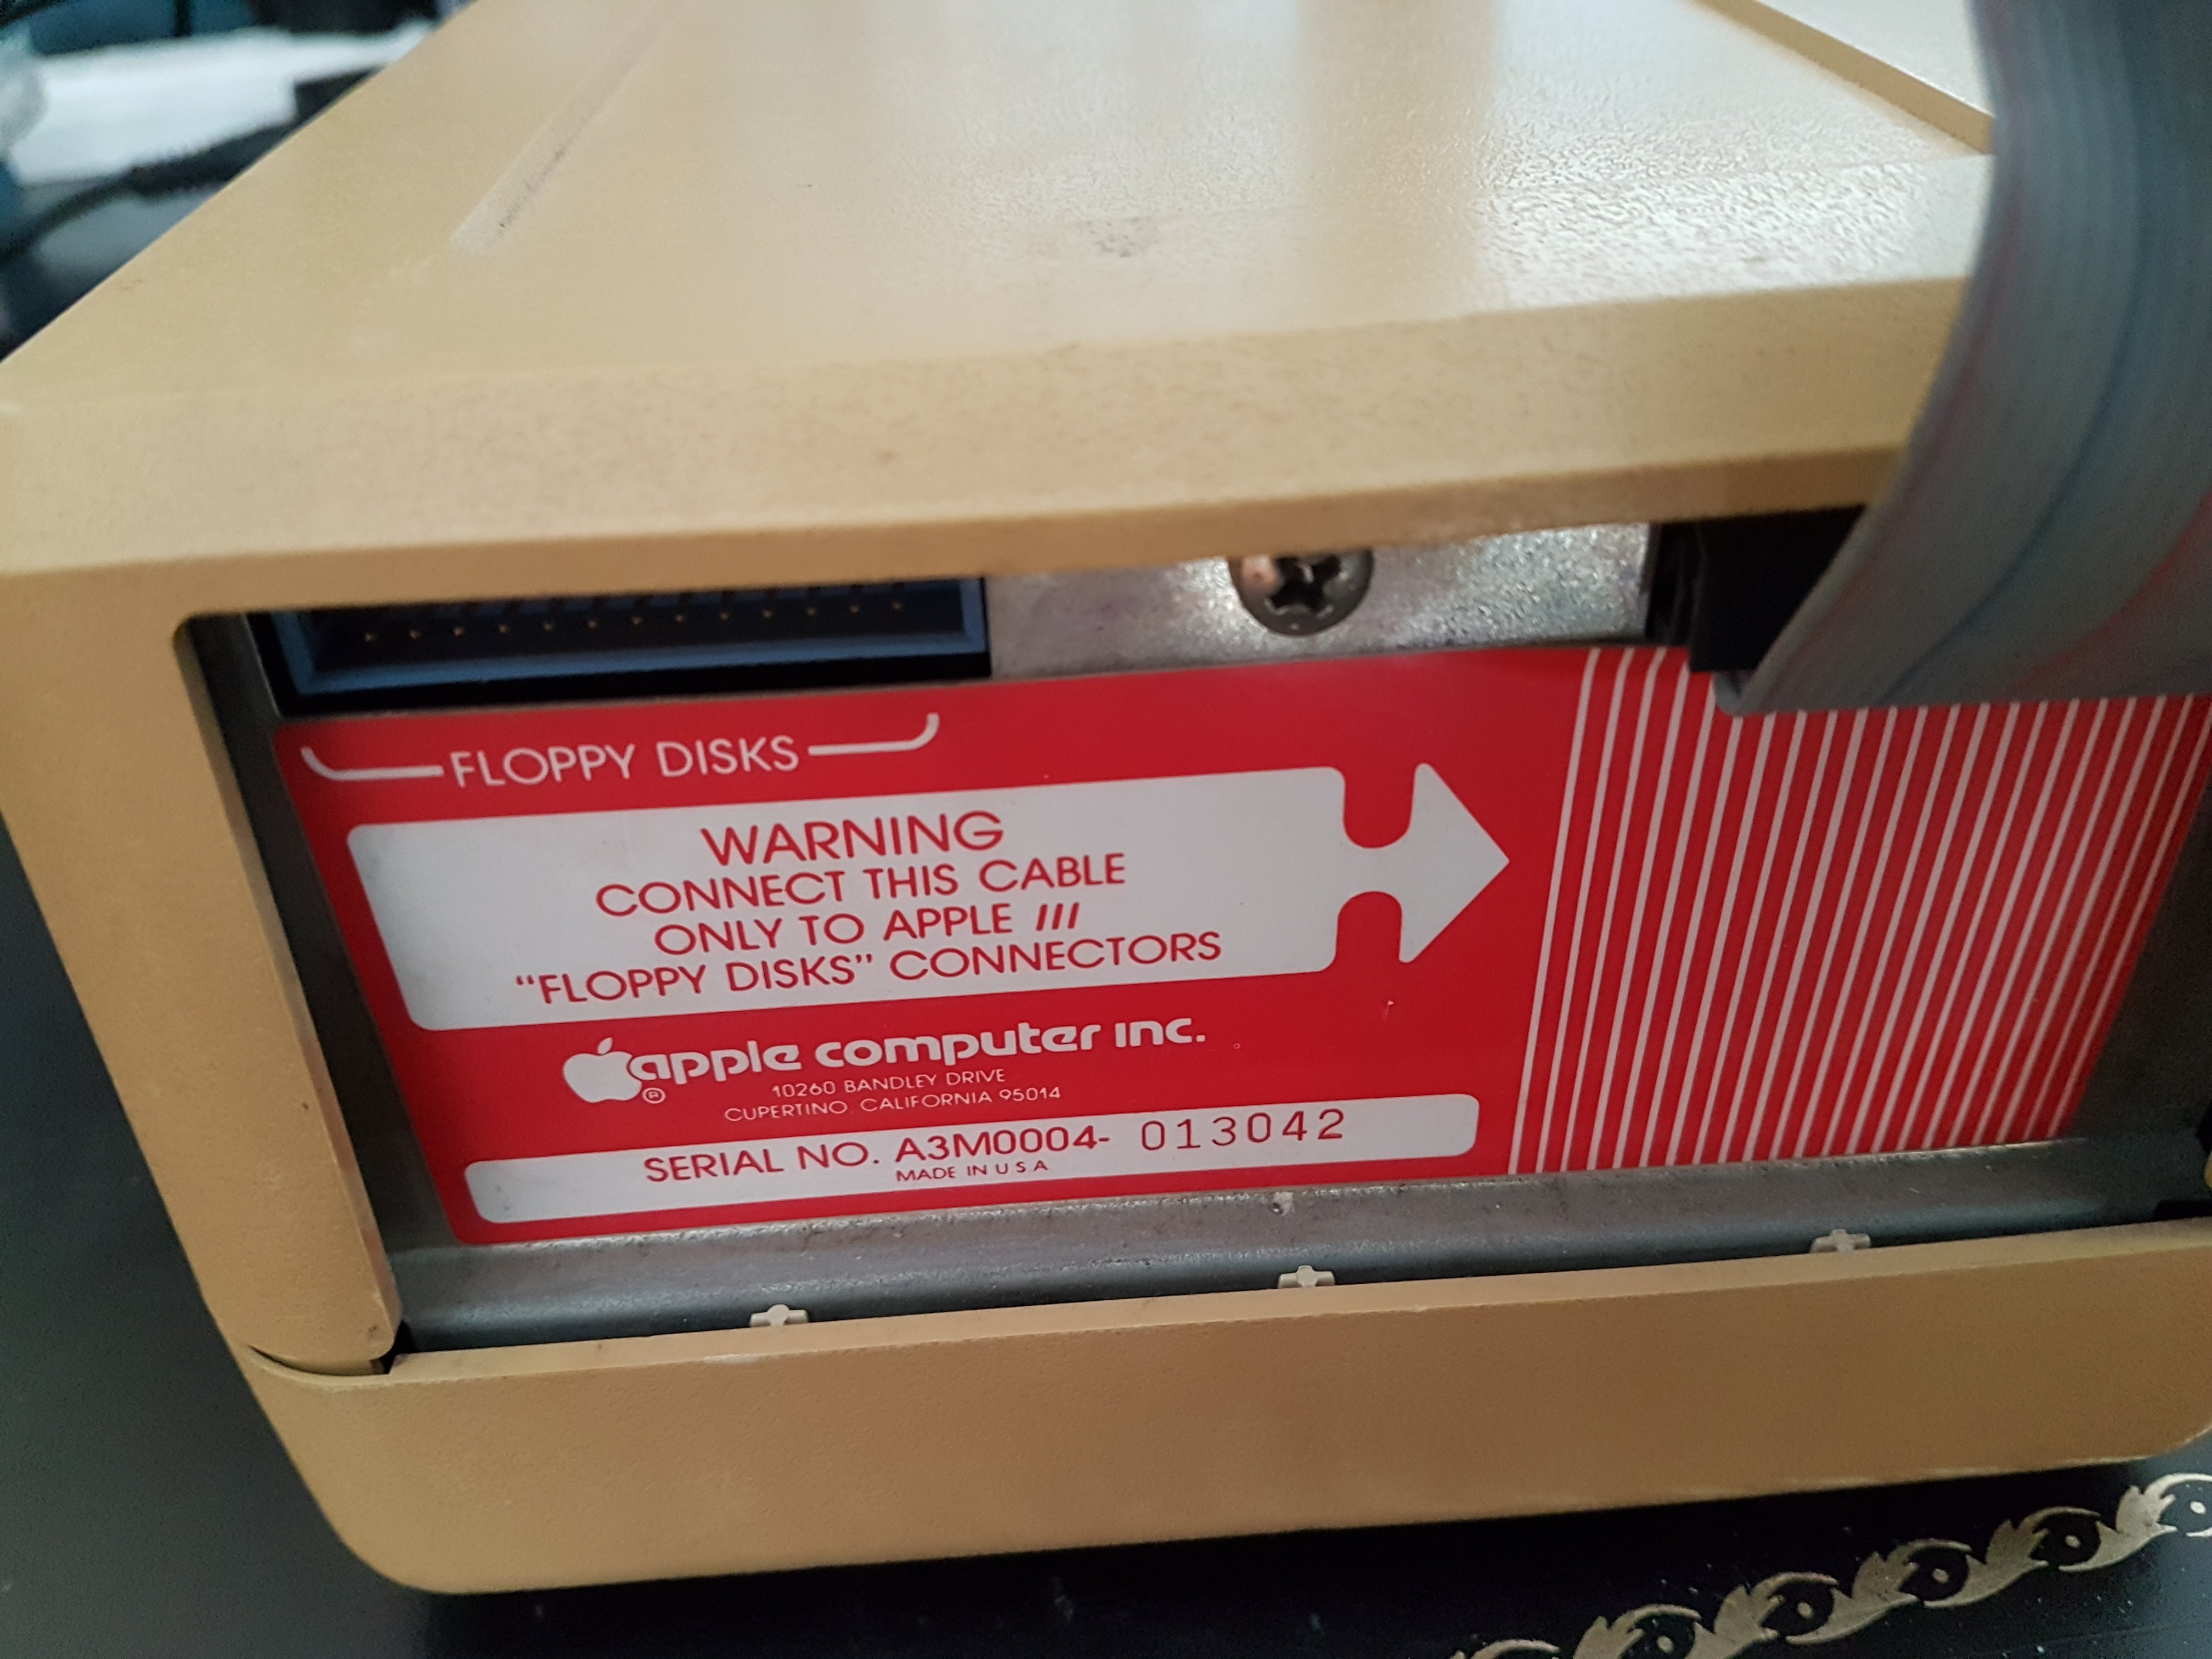
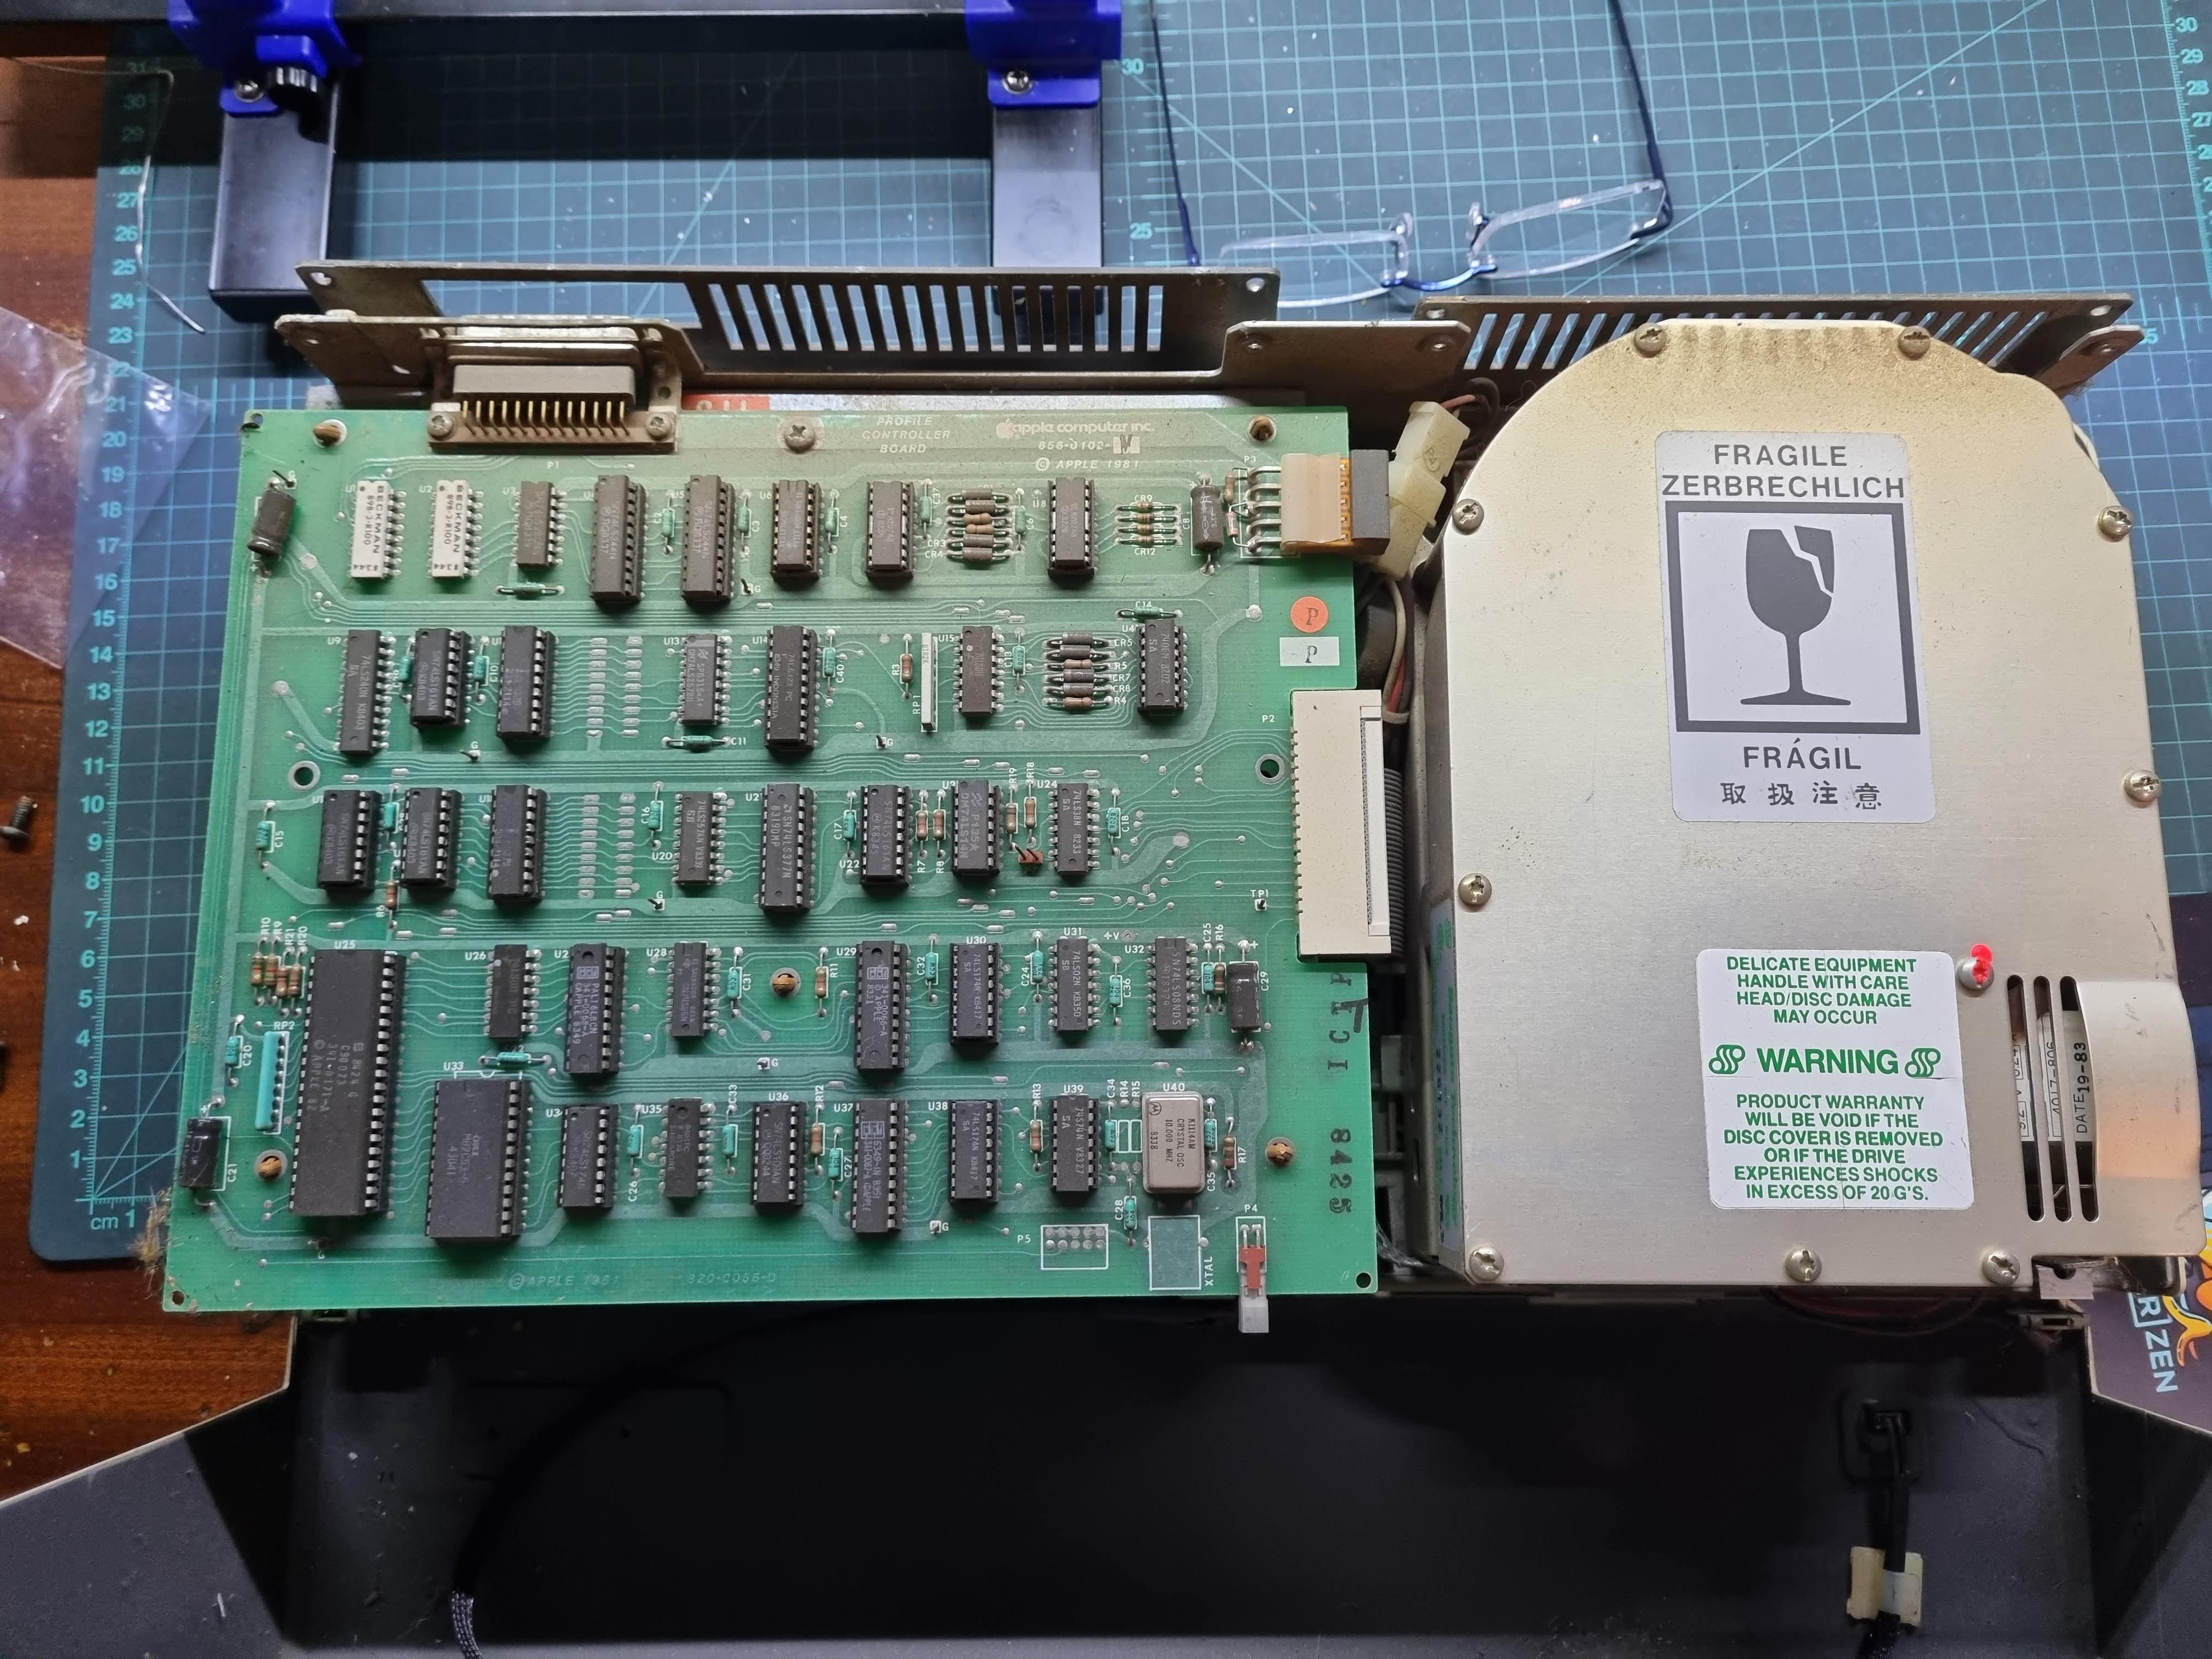
I have been a 80's (now called vintage) computer fan for a long time. (since my first ZX81) In 1994 managed to recue an Apple /// from an warehouse in Cape Town CBD as my neighbour knew I collected old computers and his dads company had this Apple /// sitting in a corner of the warehouse with various mannequins covering it. It came with the 5Mb ProFile and Microsoft Softcard plus external disk drive. (They made shop fitting etc. which explained the mannequins)
When I got it, it could just about boot but had a few faults. I had to store it for a while though as I moved around for work and only started in earnest 2 years ago to restore it.
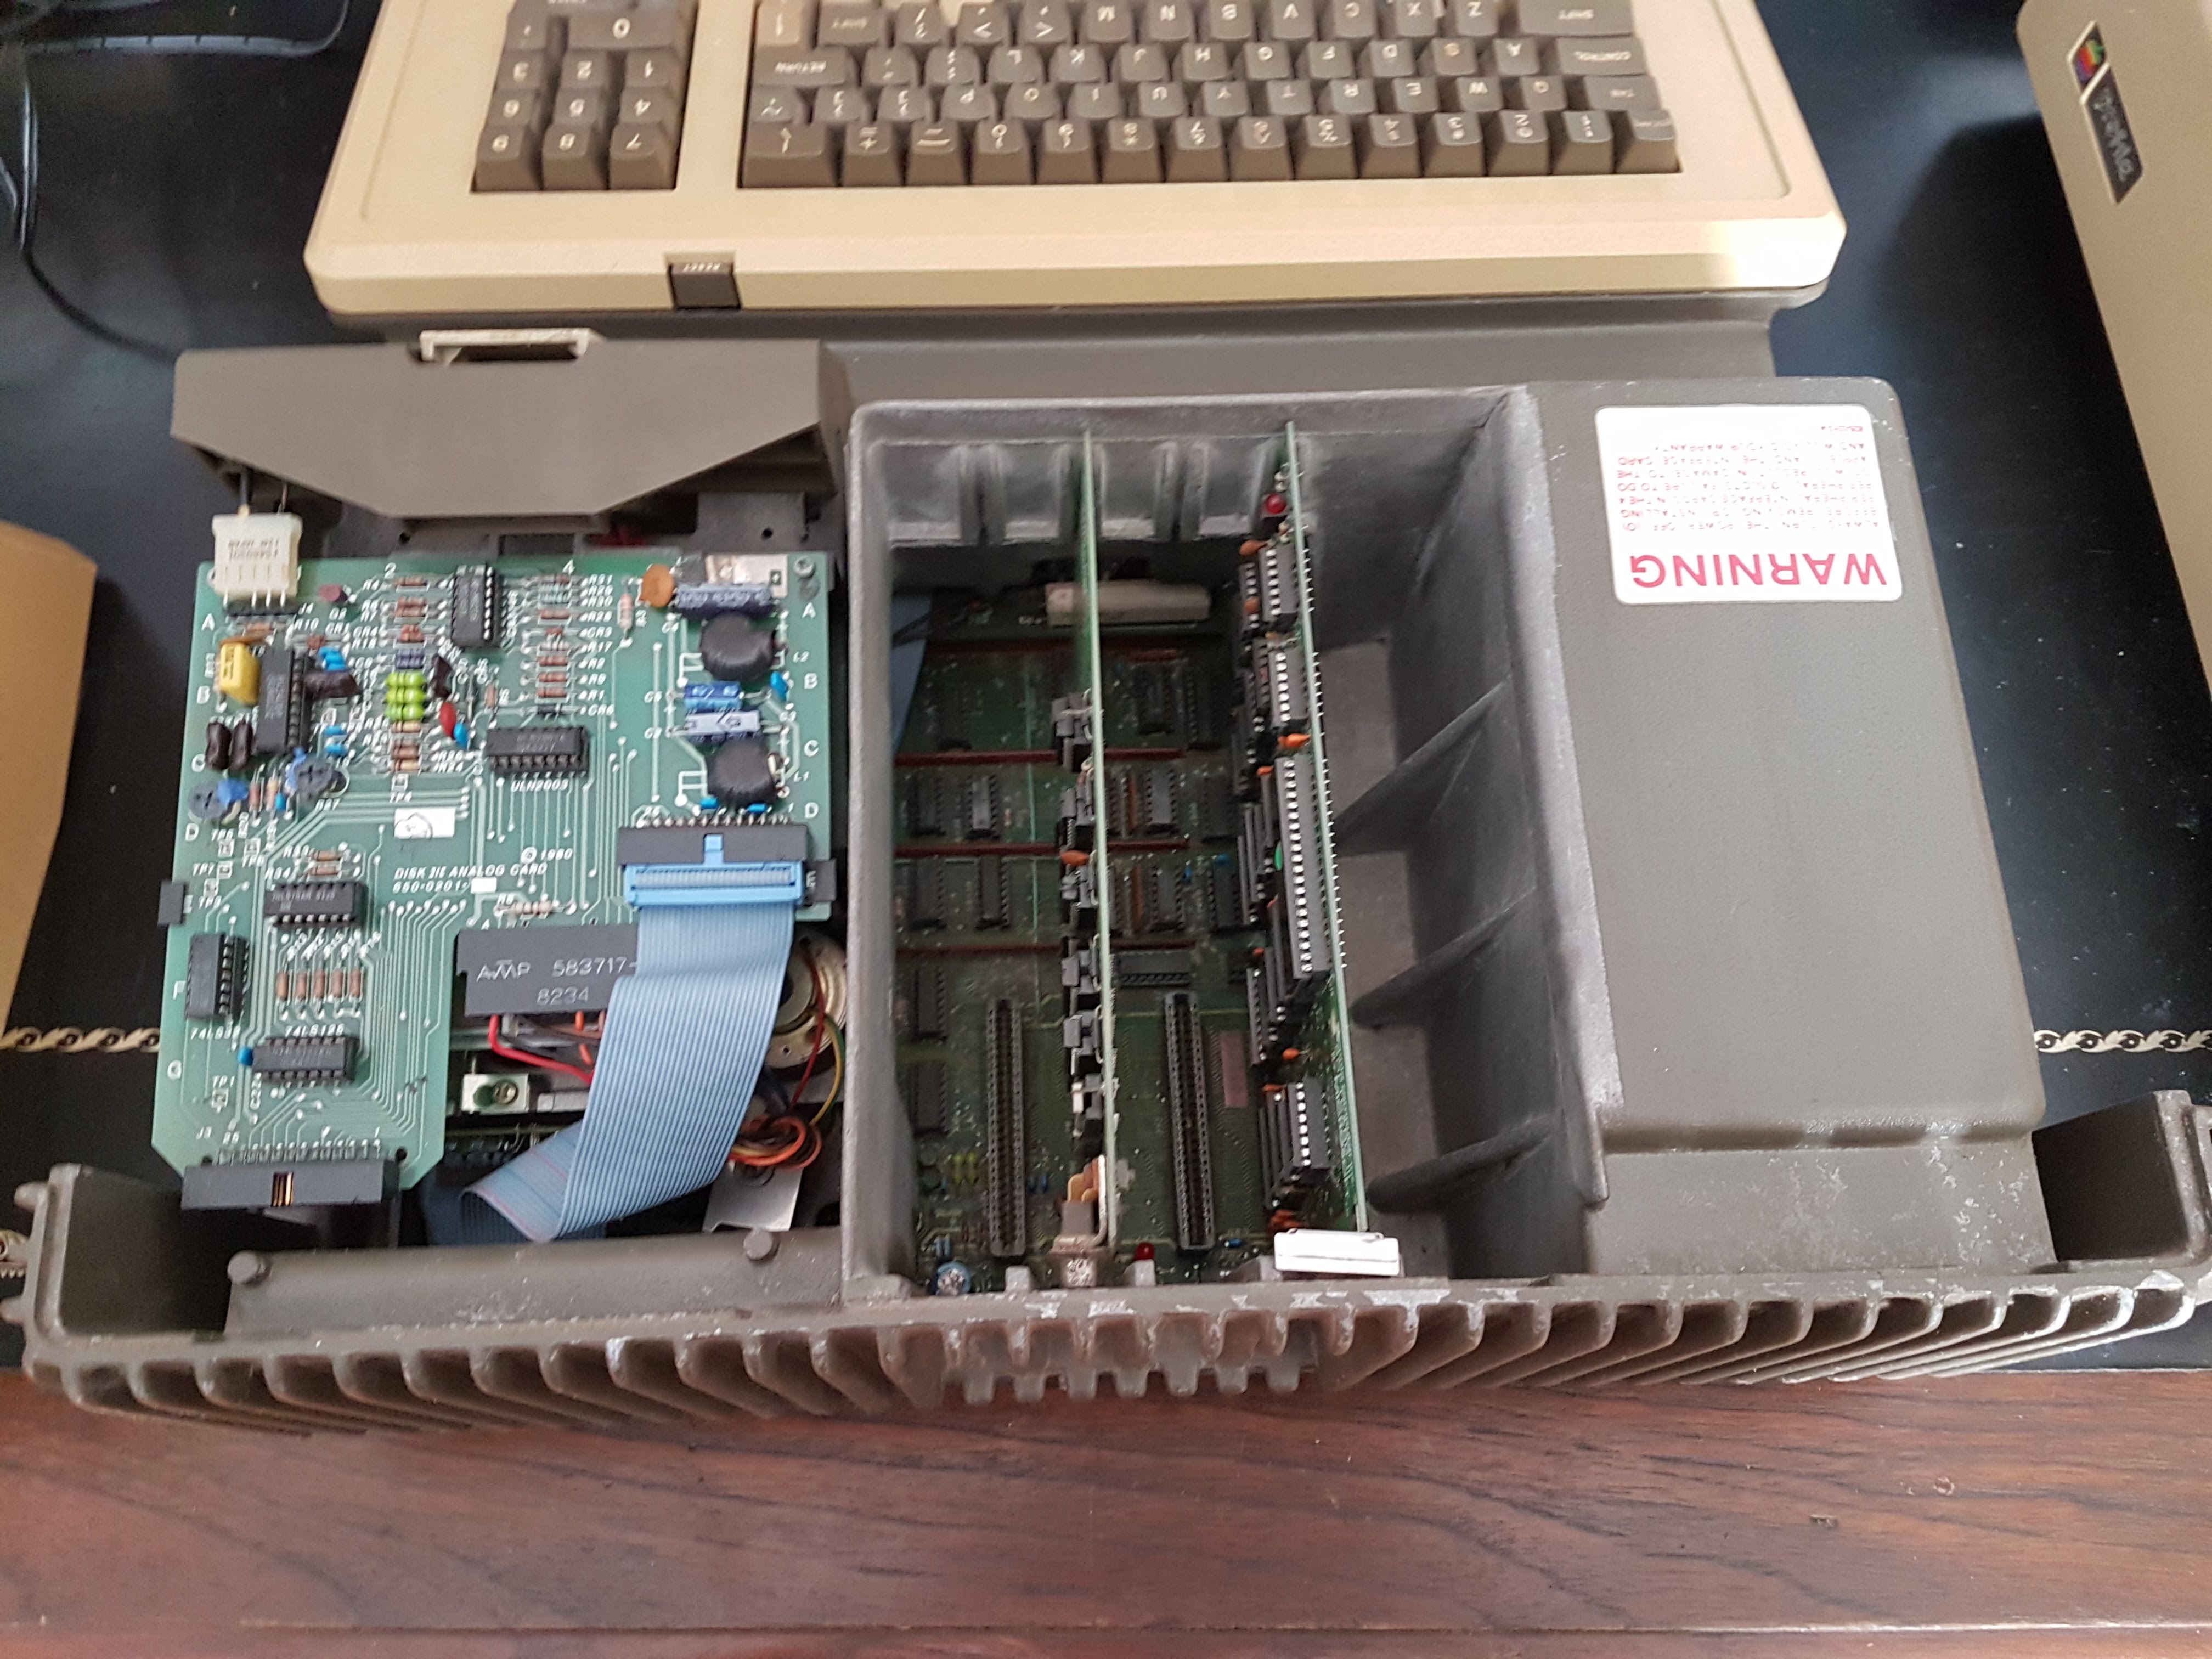
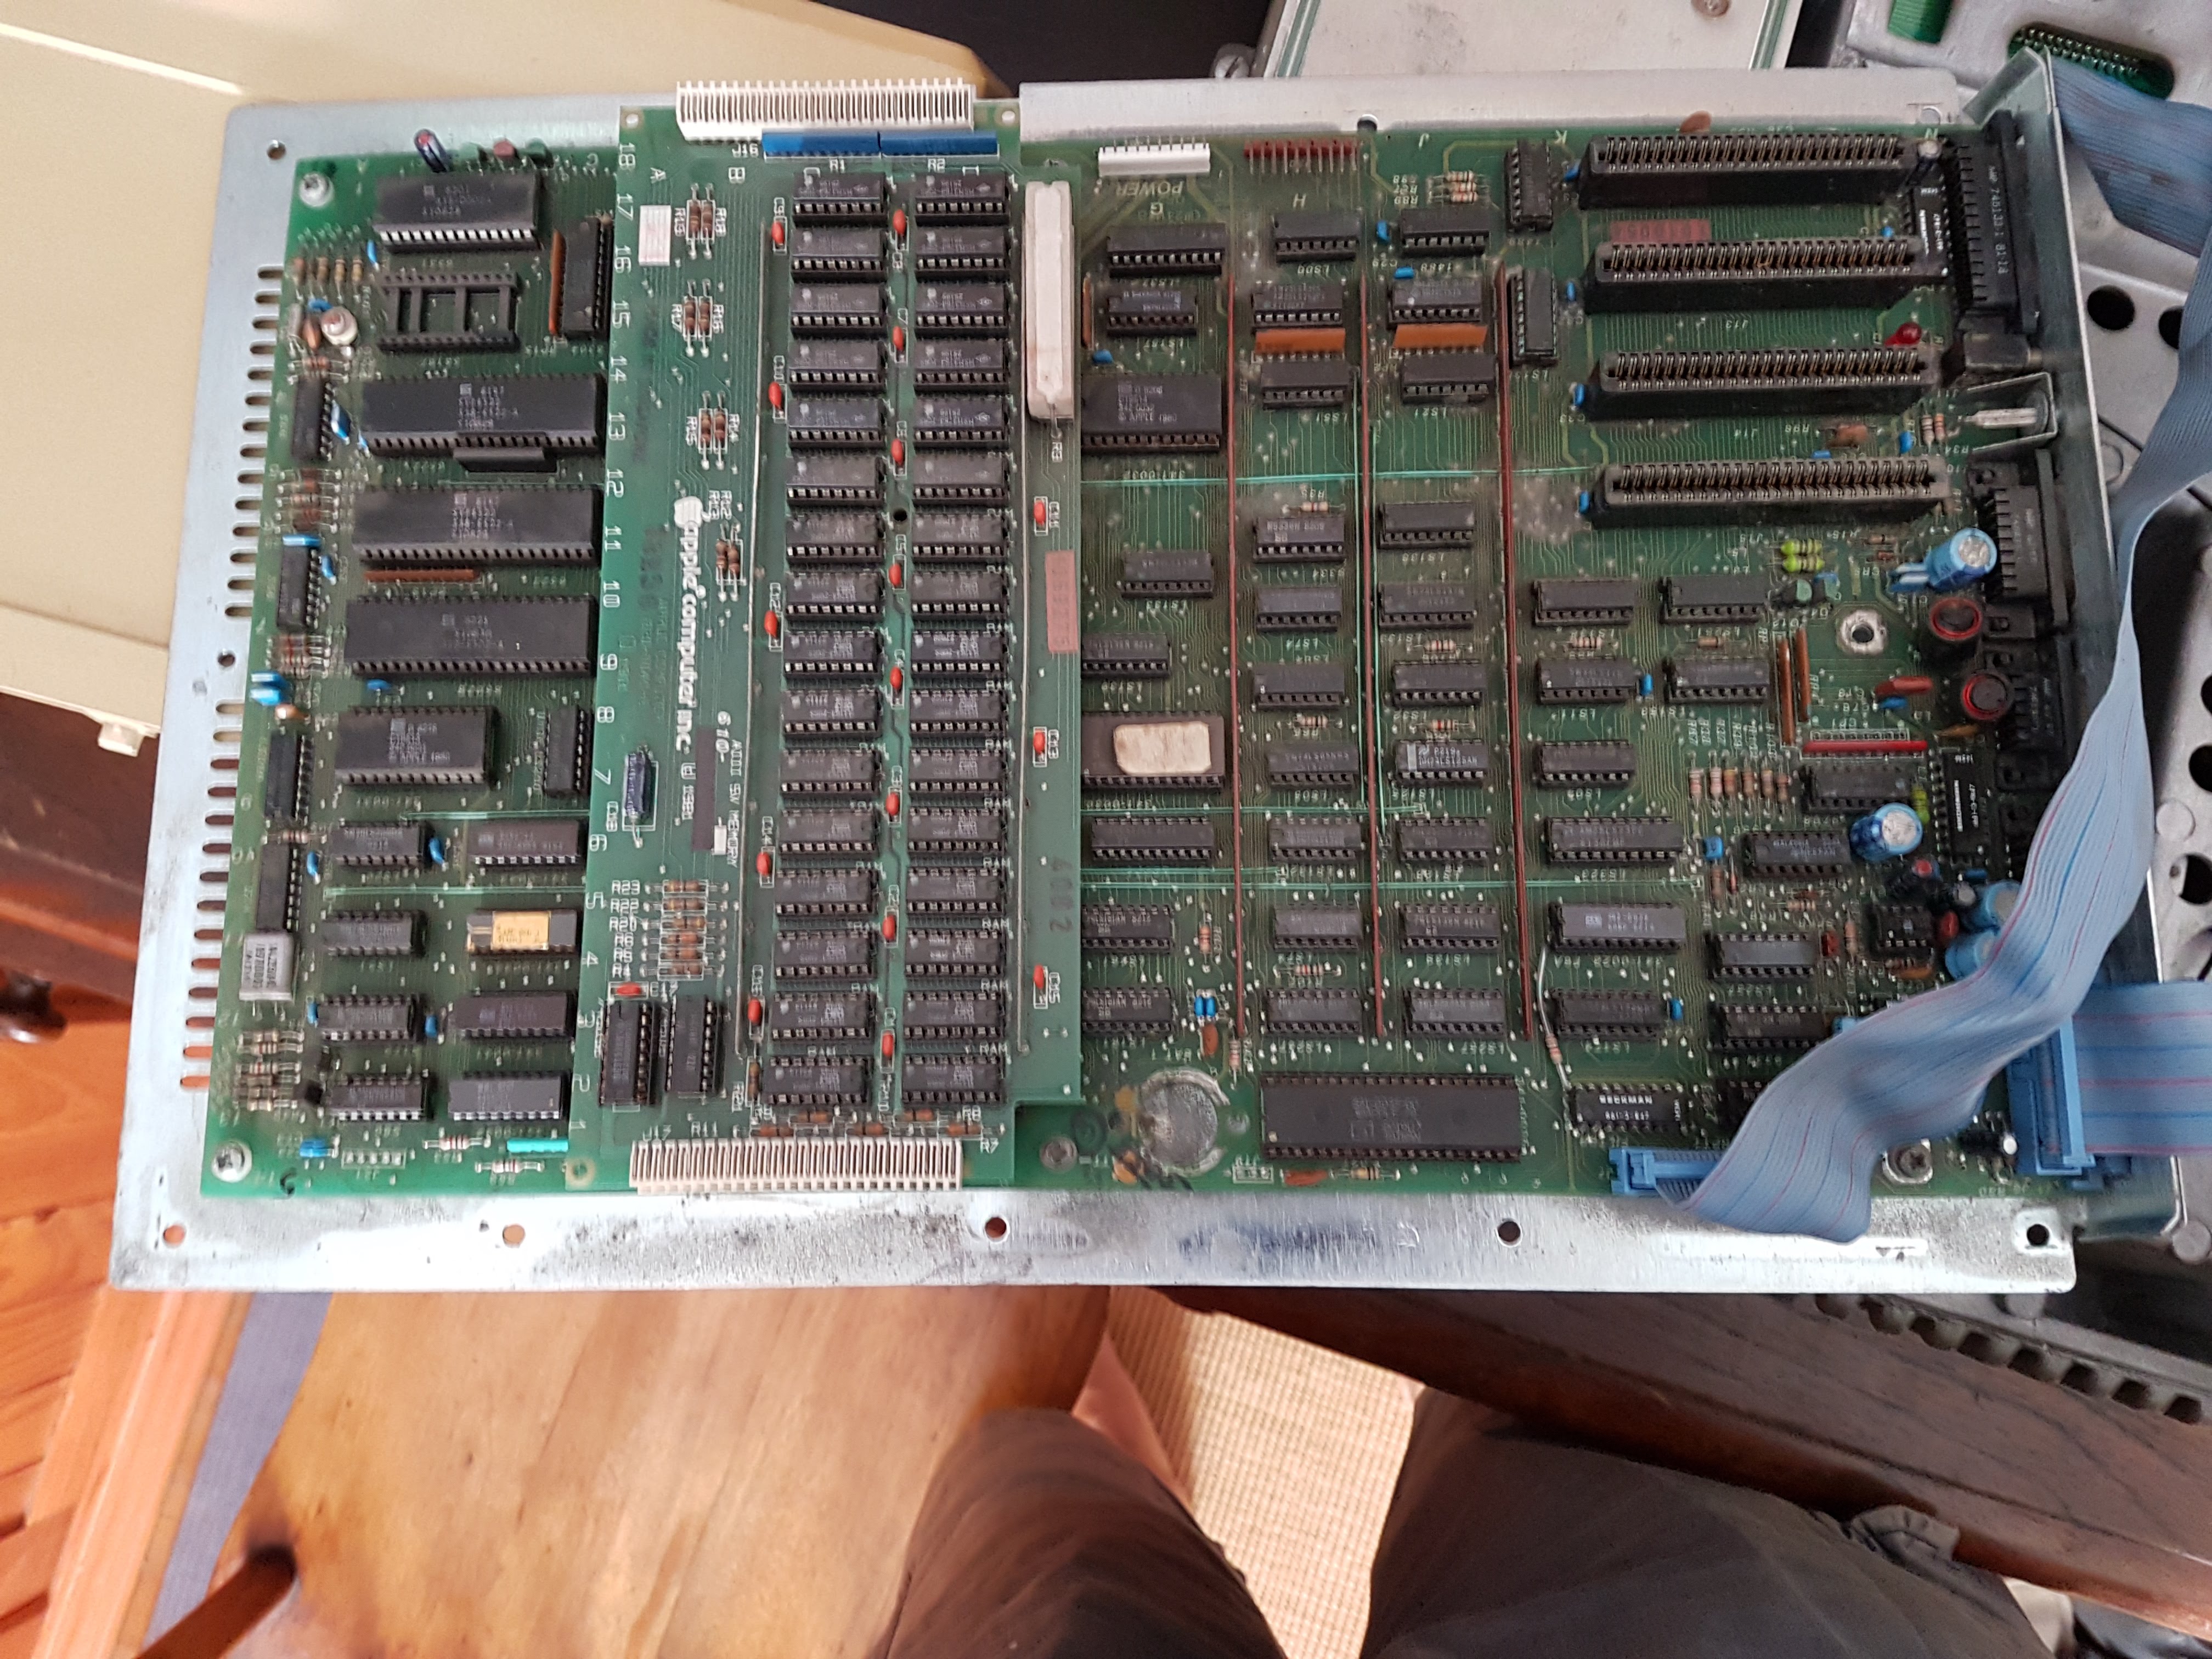
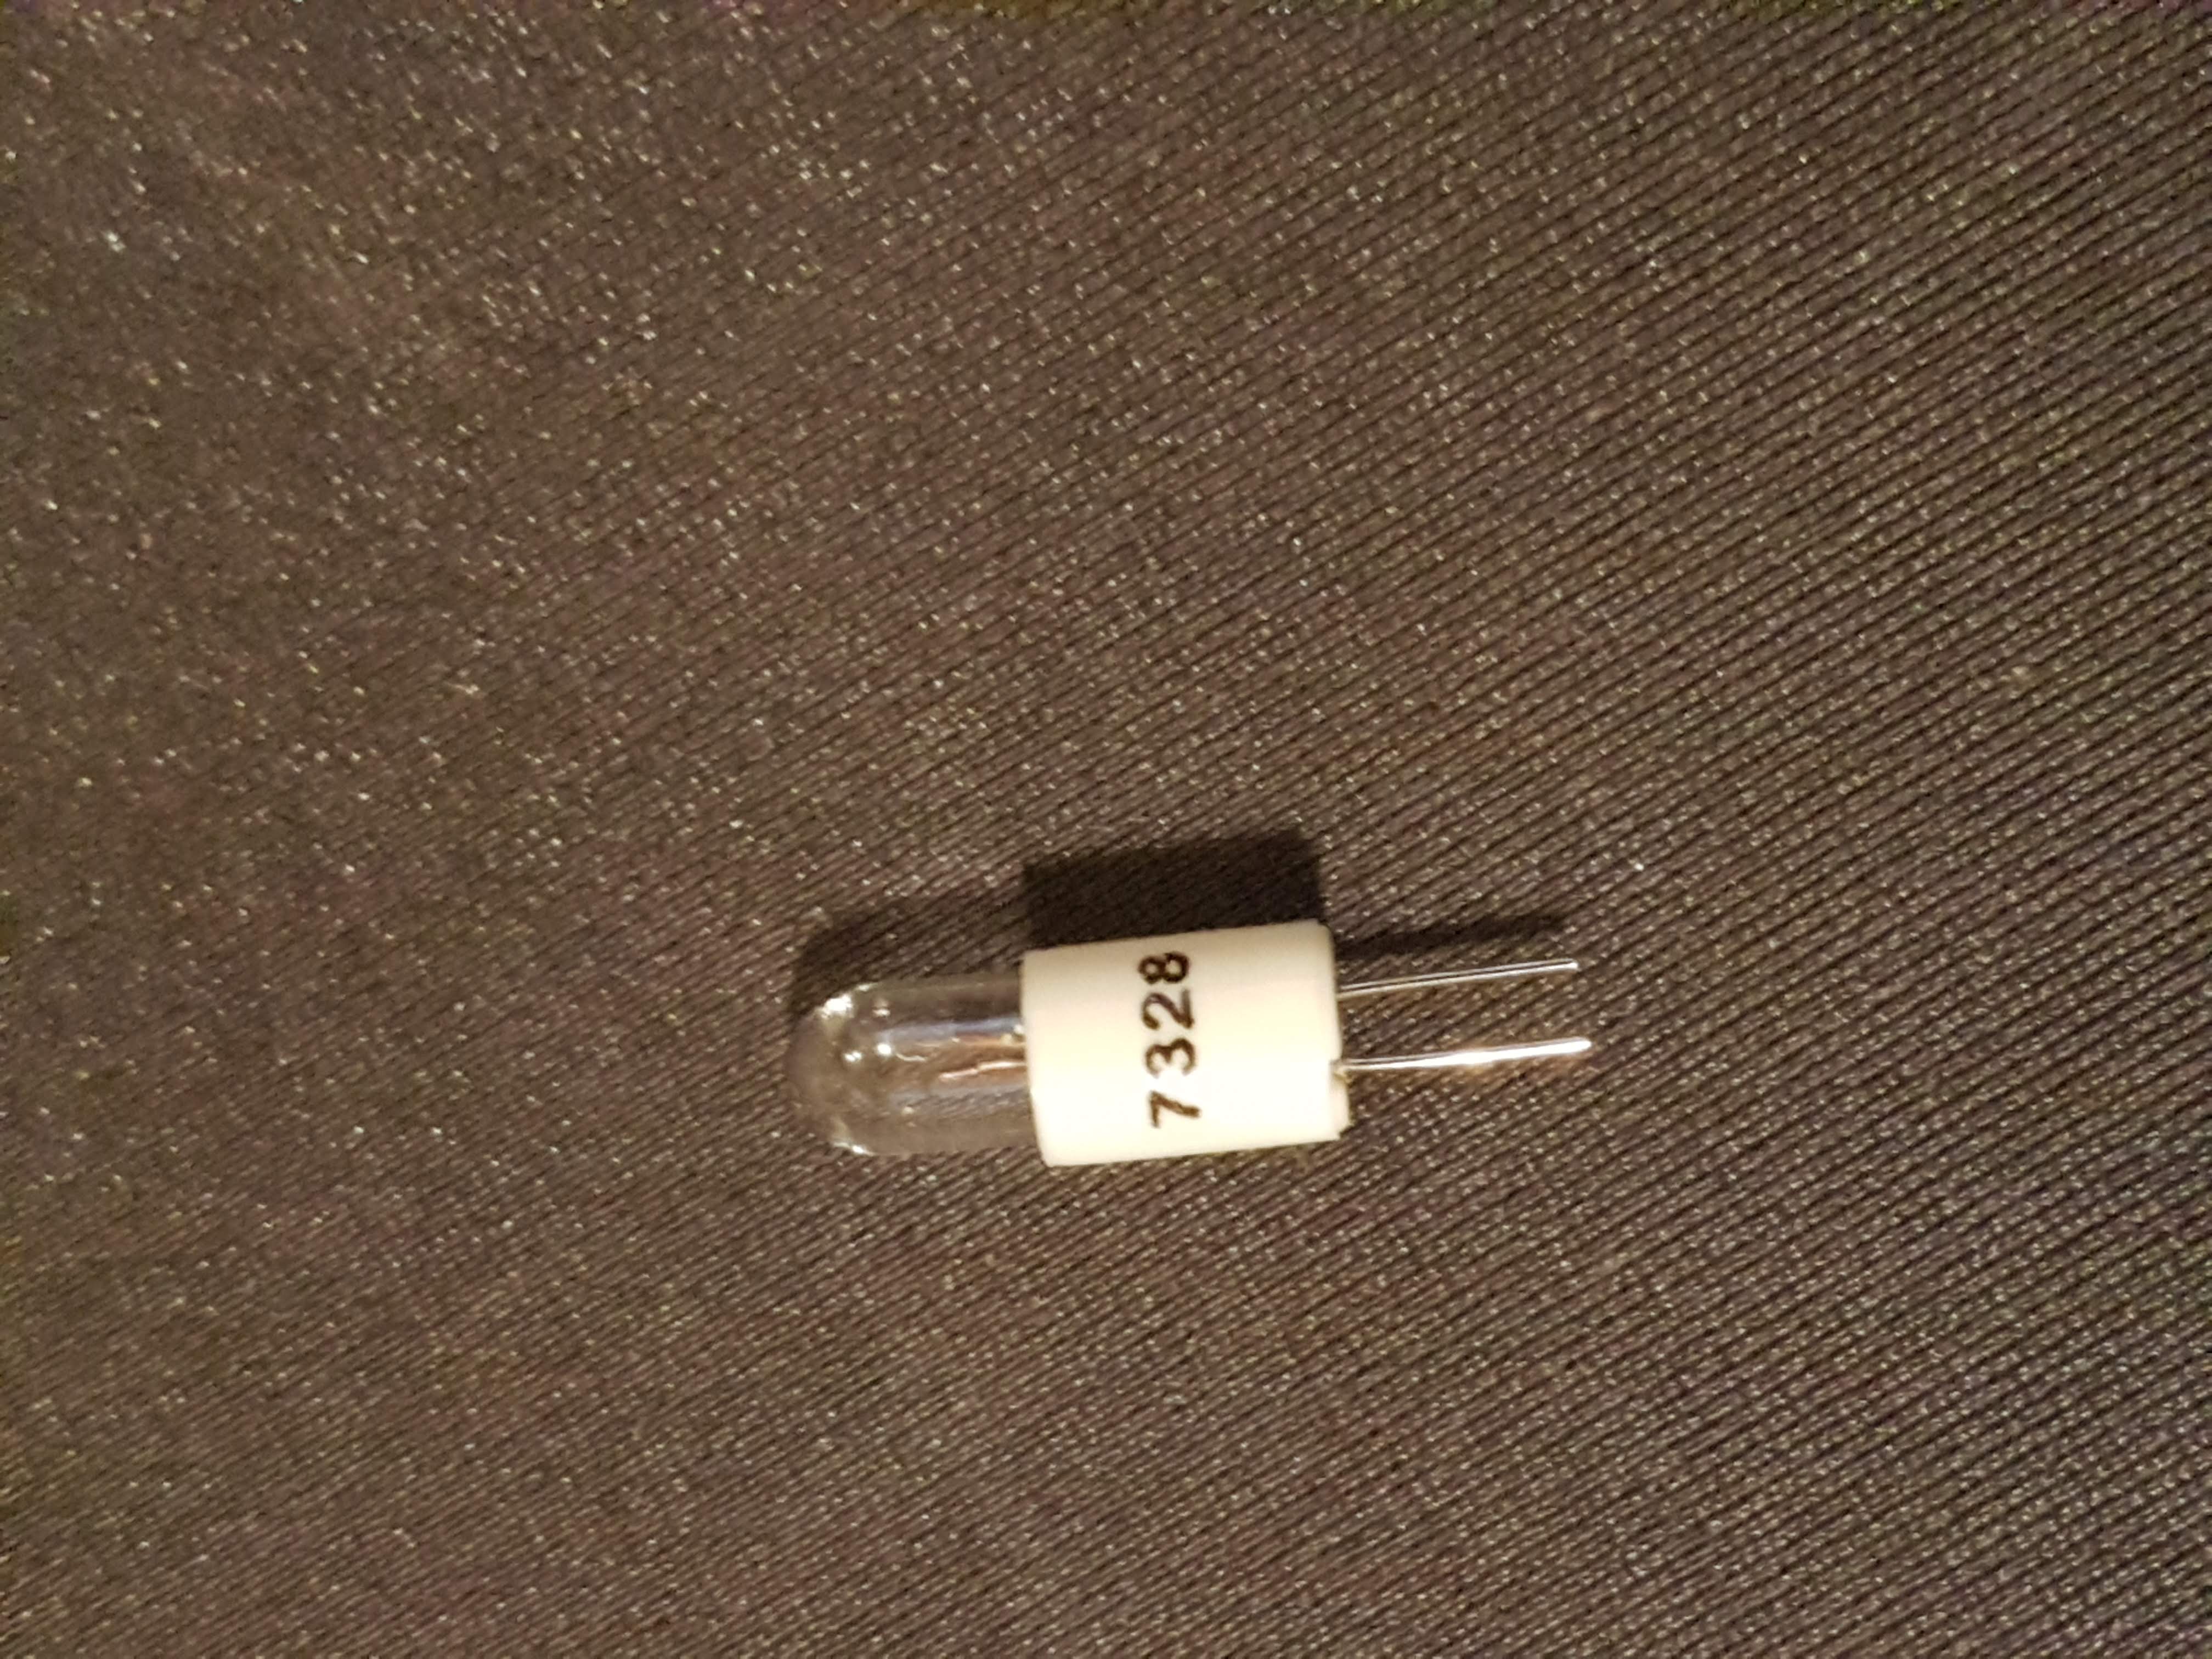
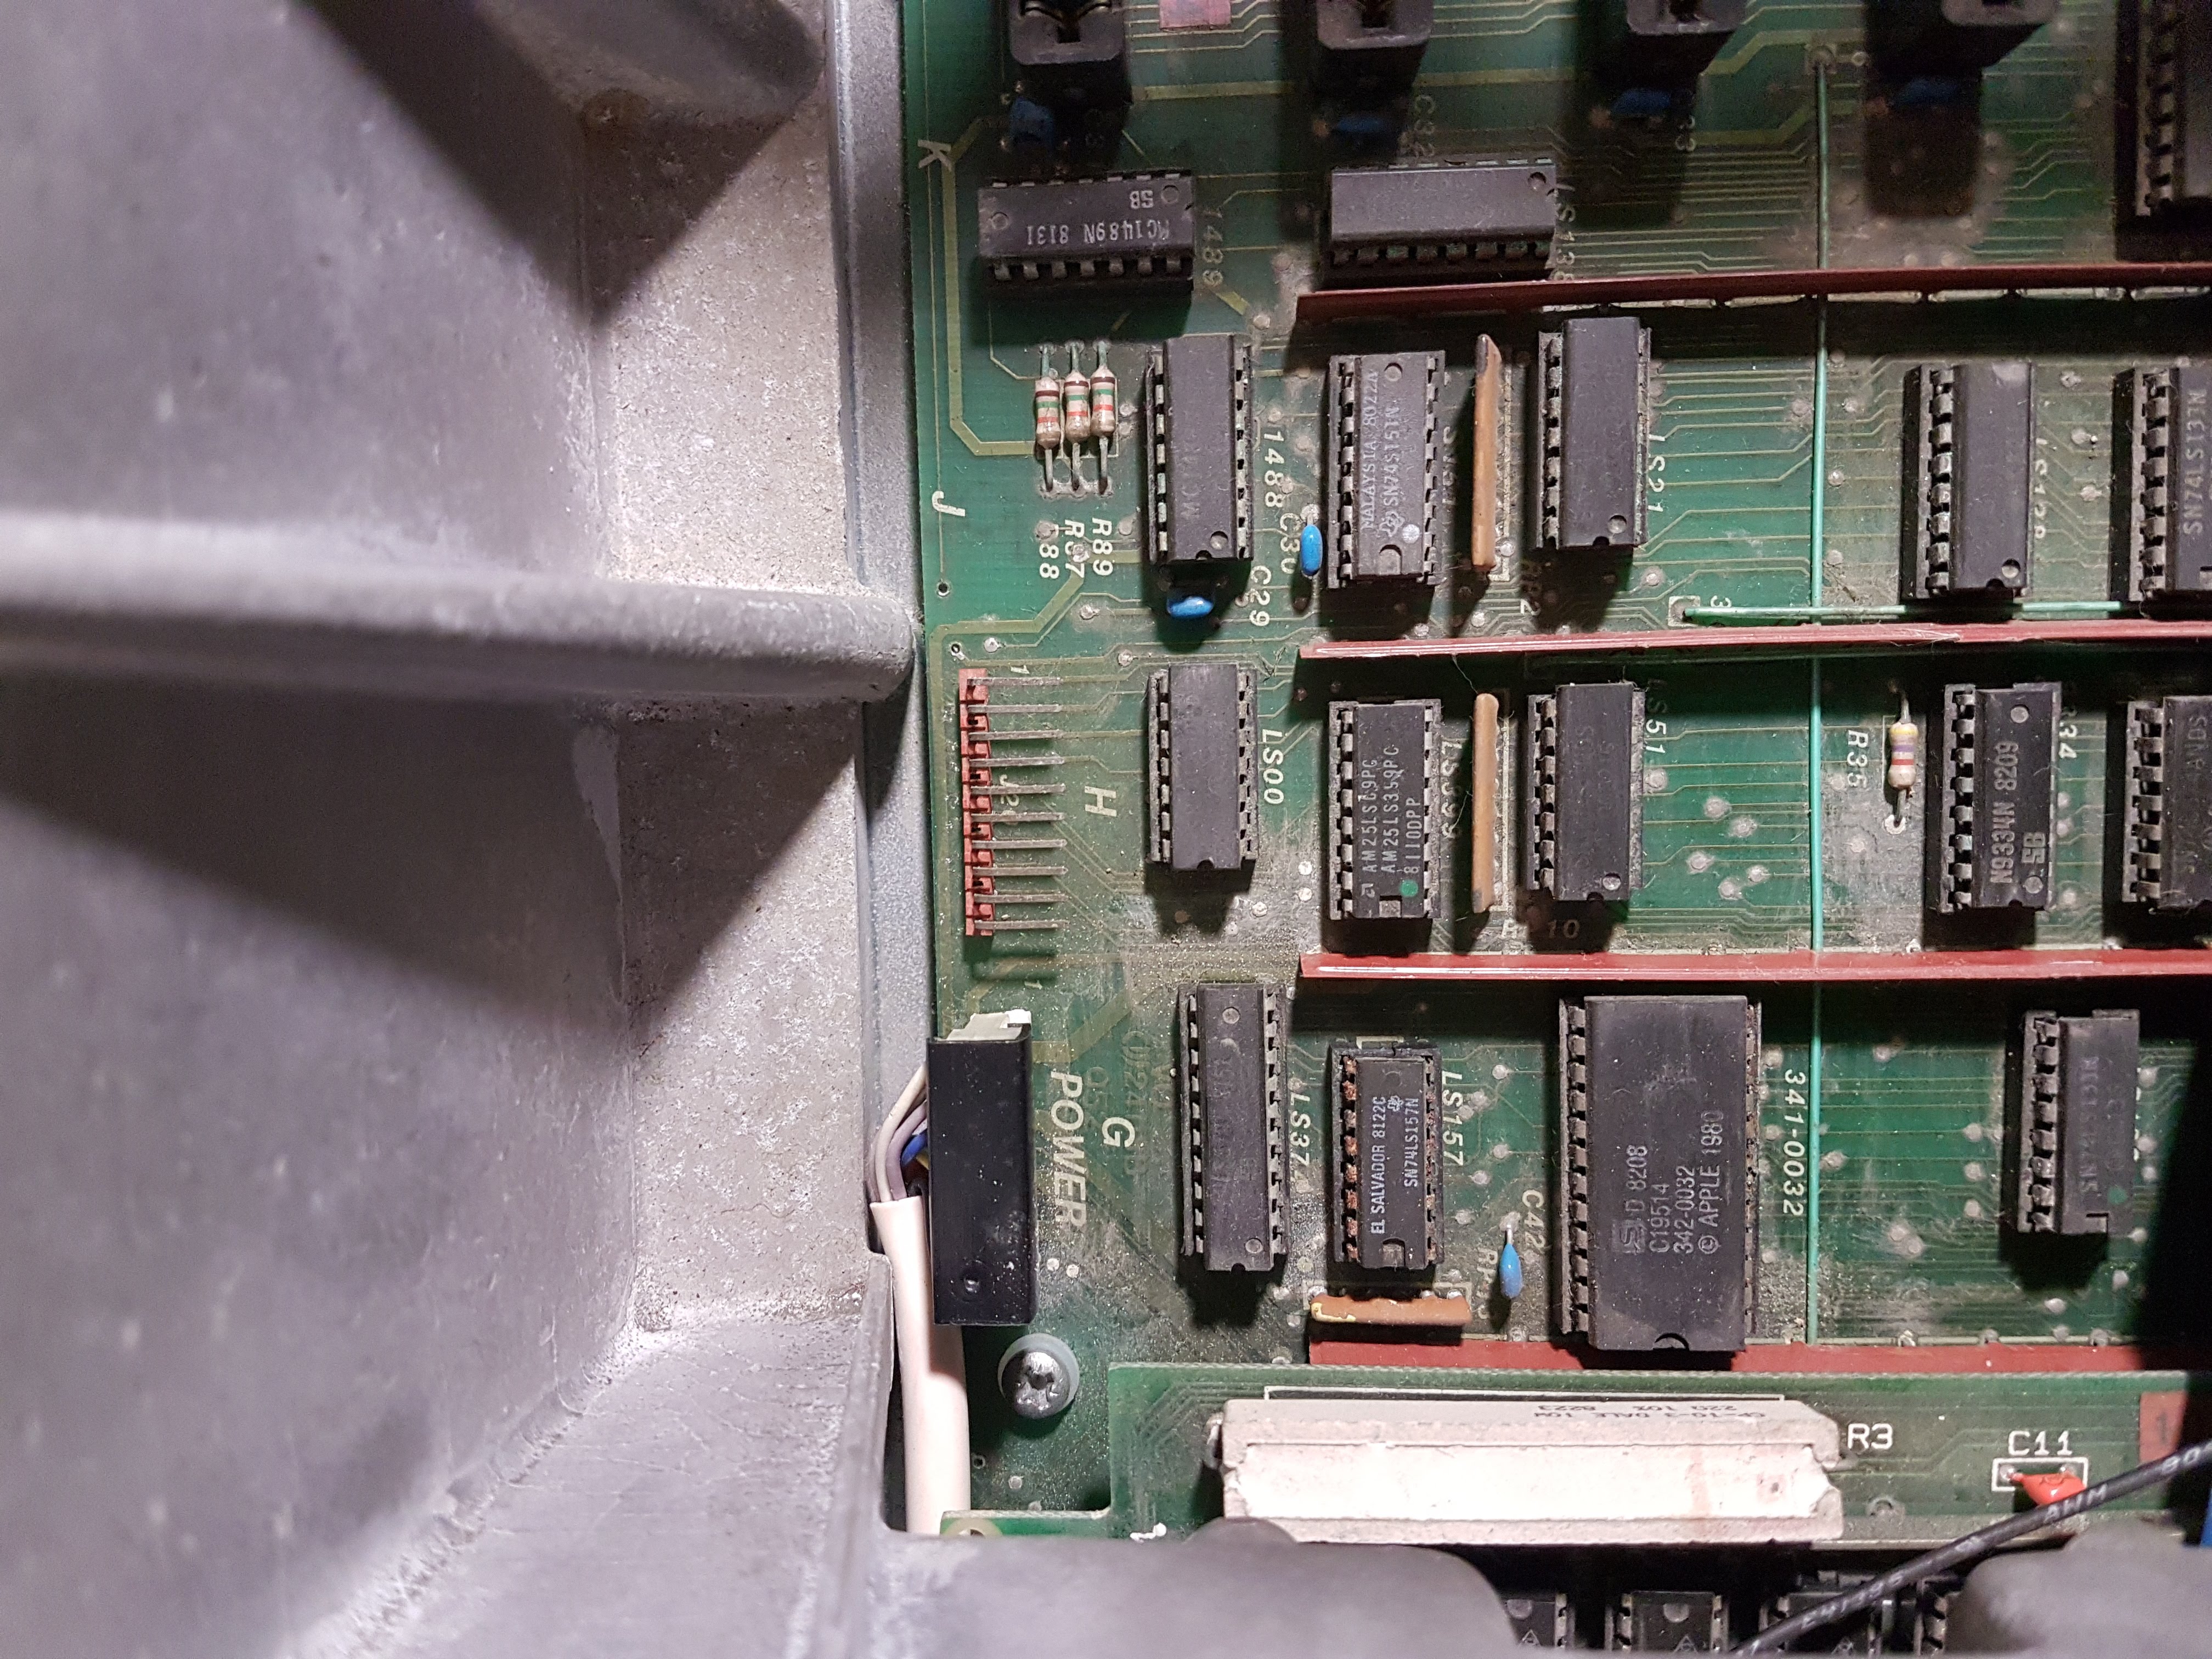
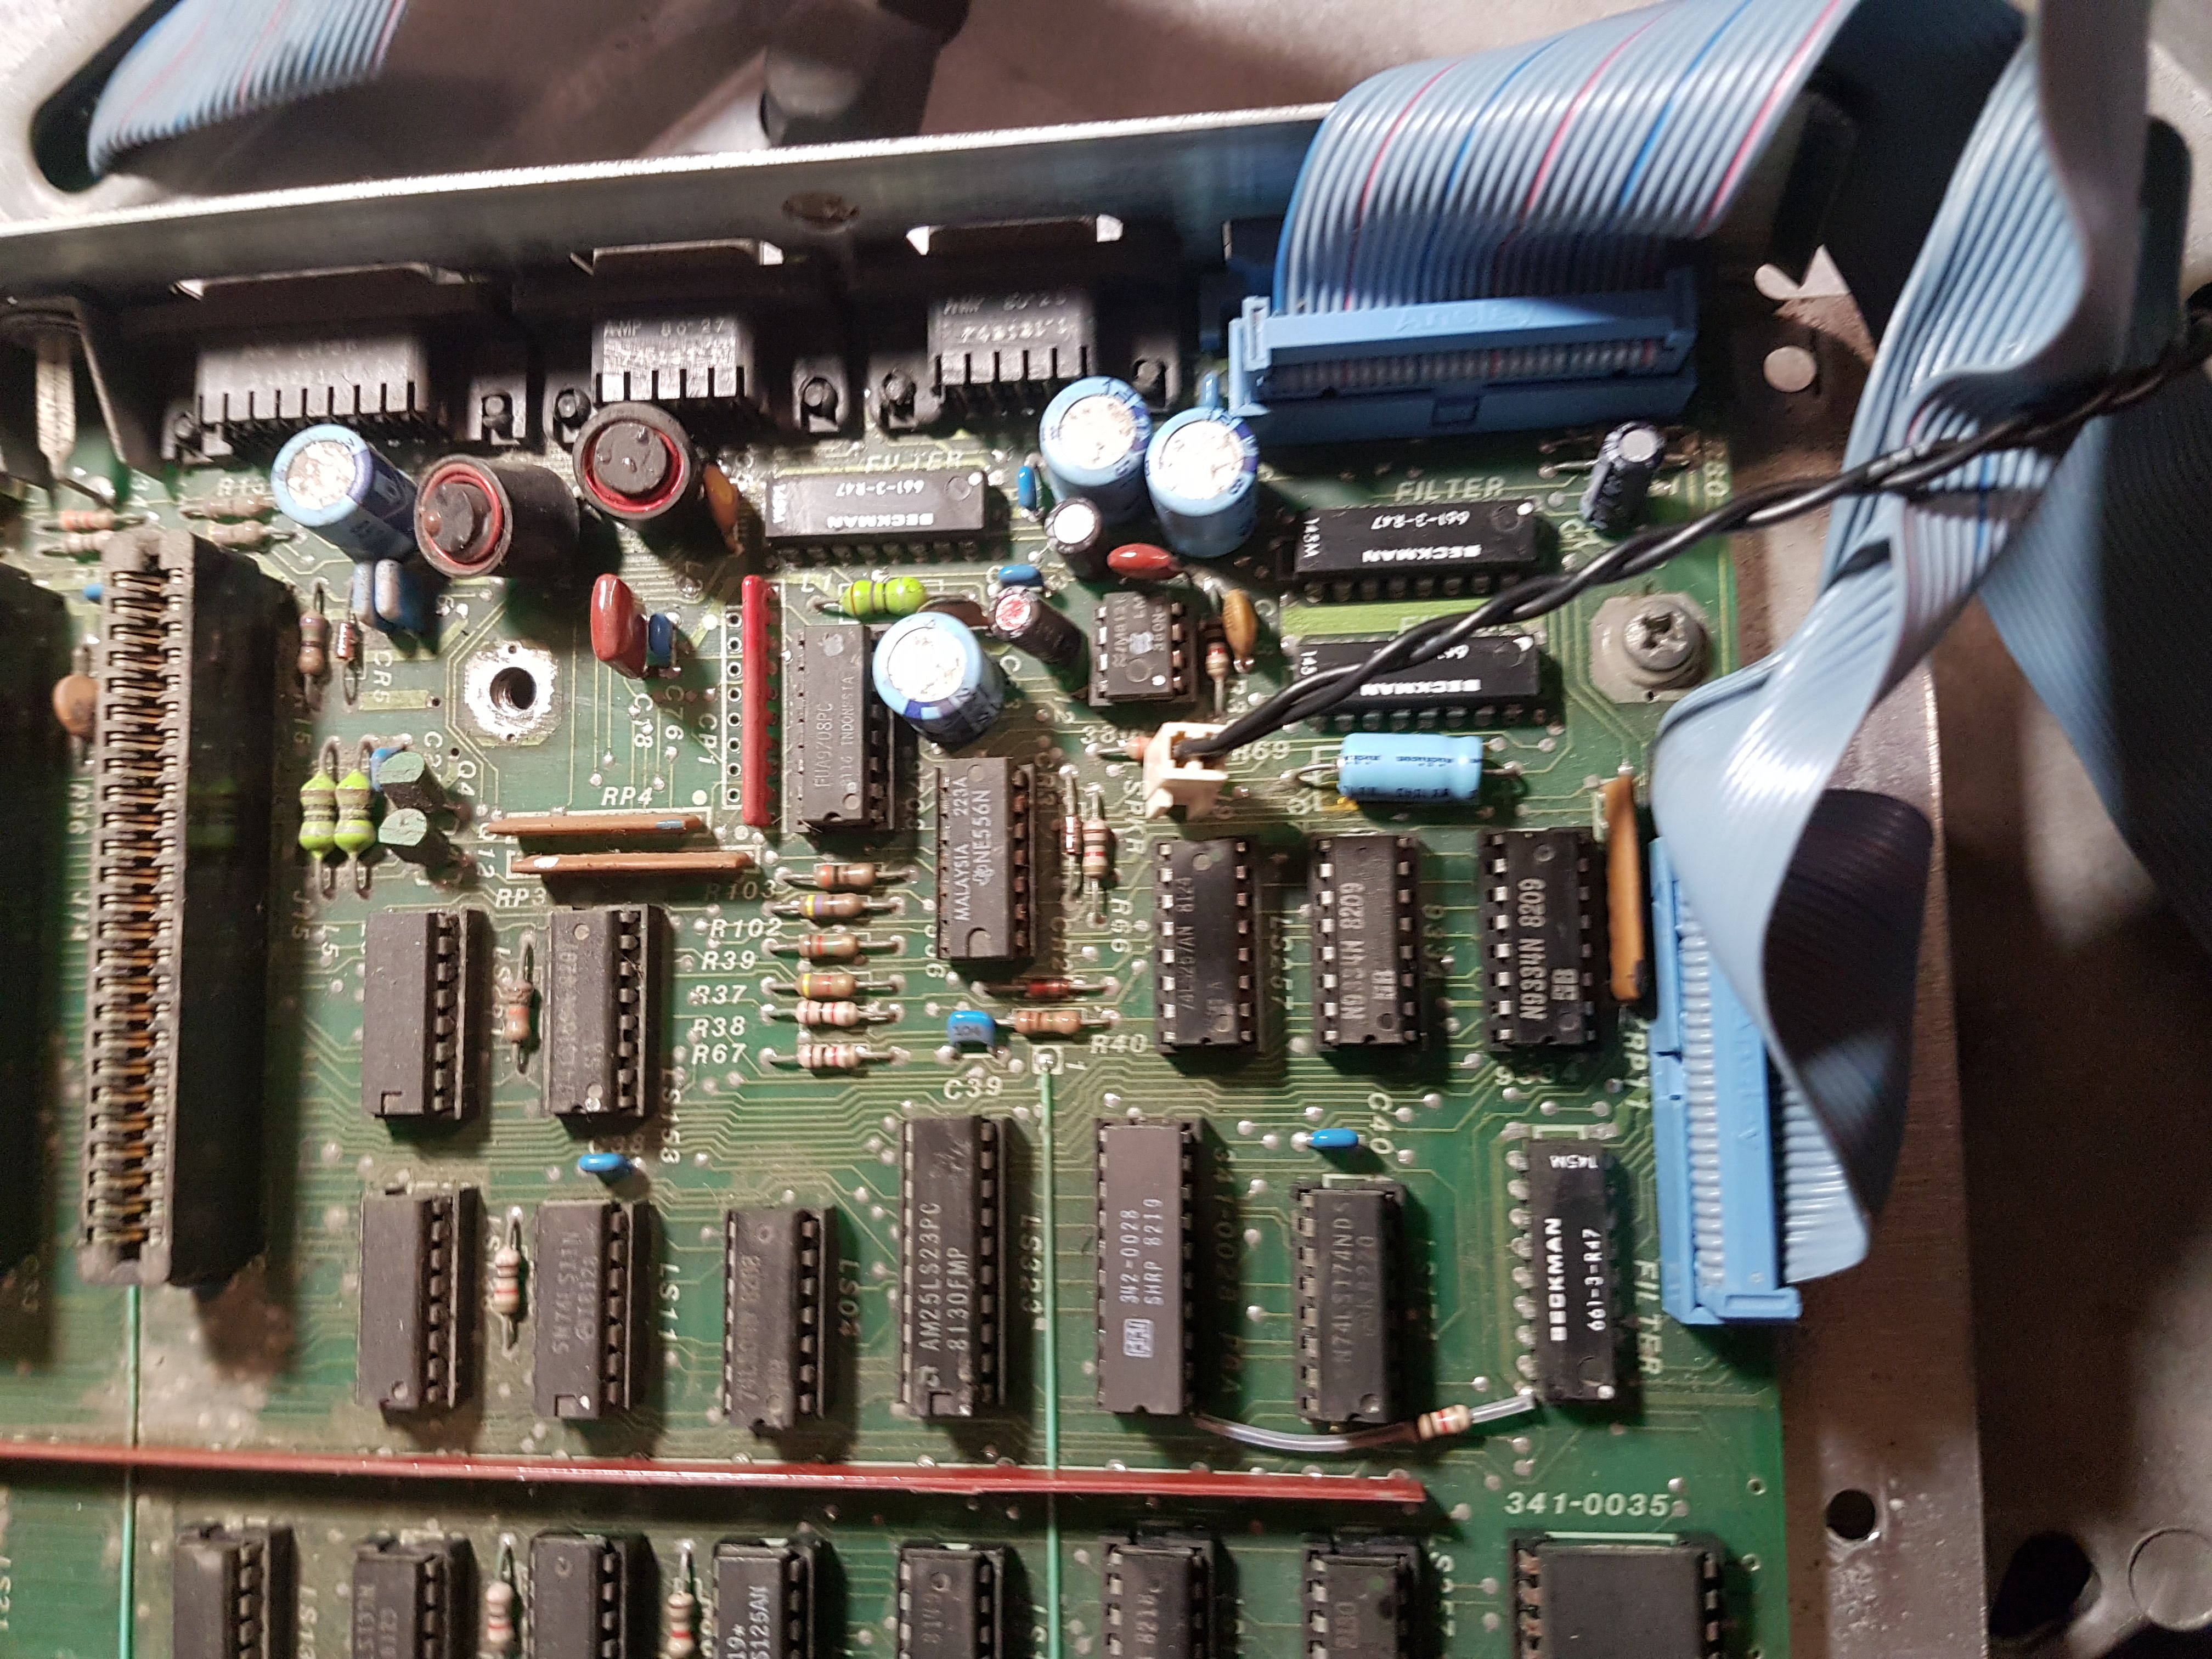
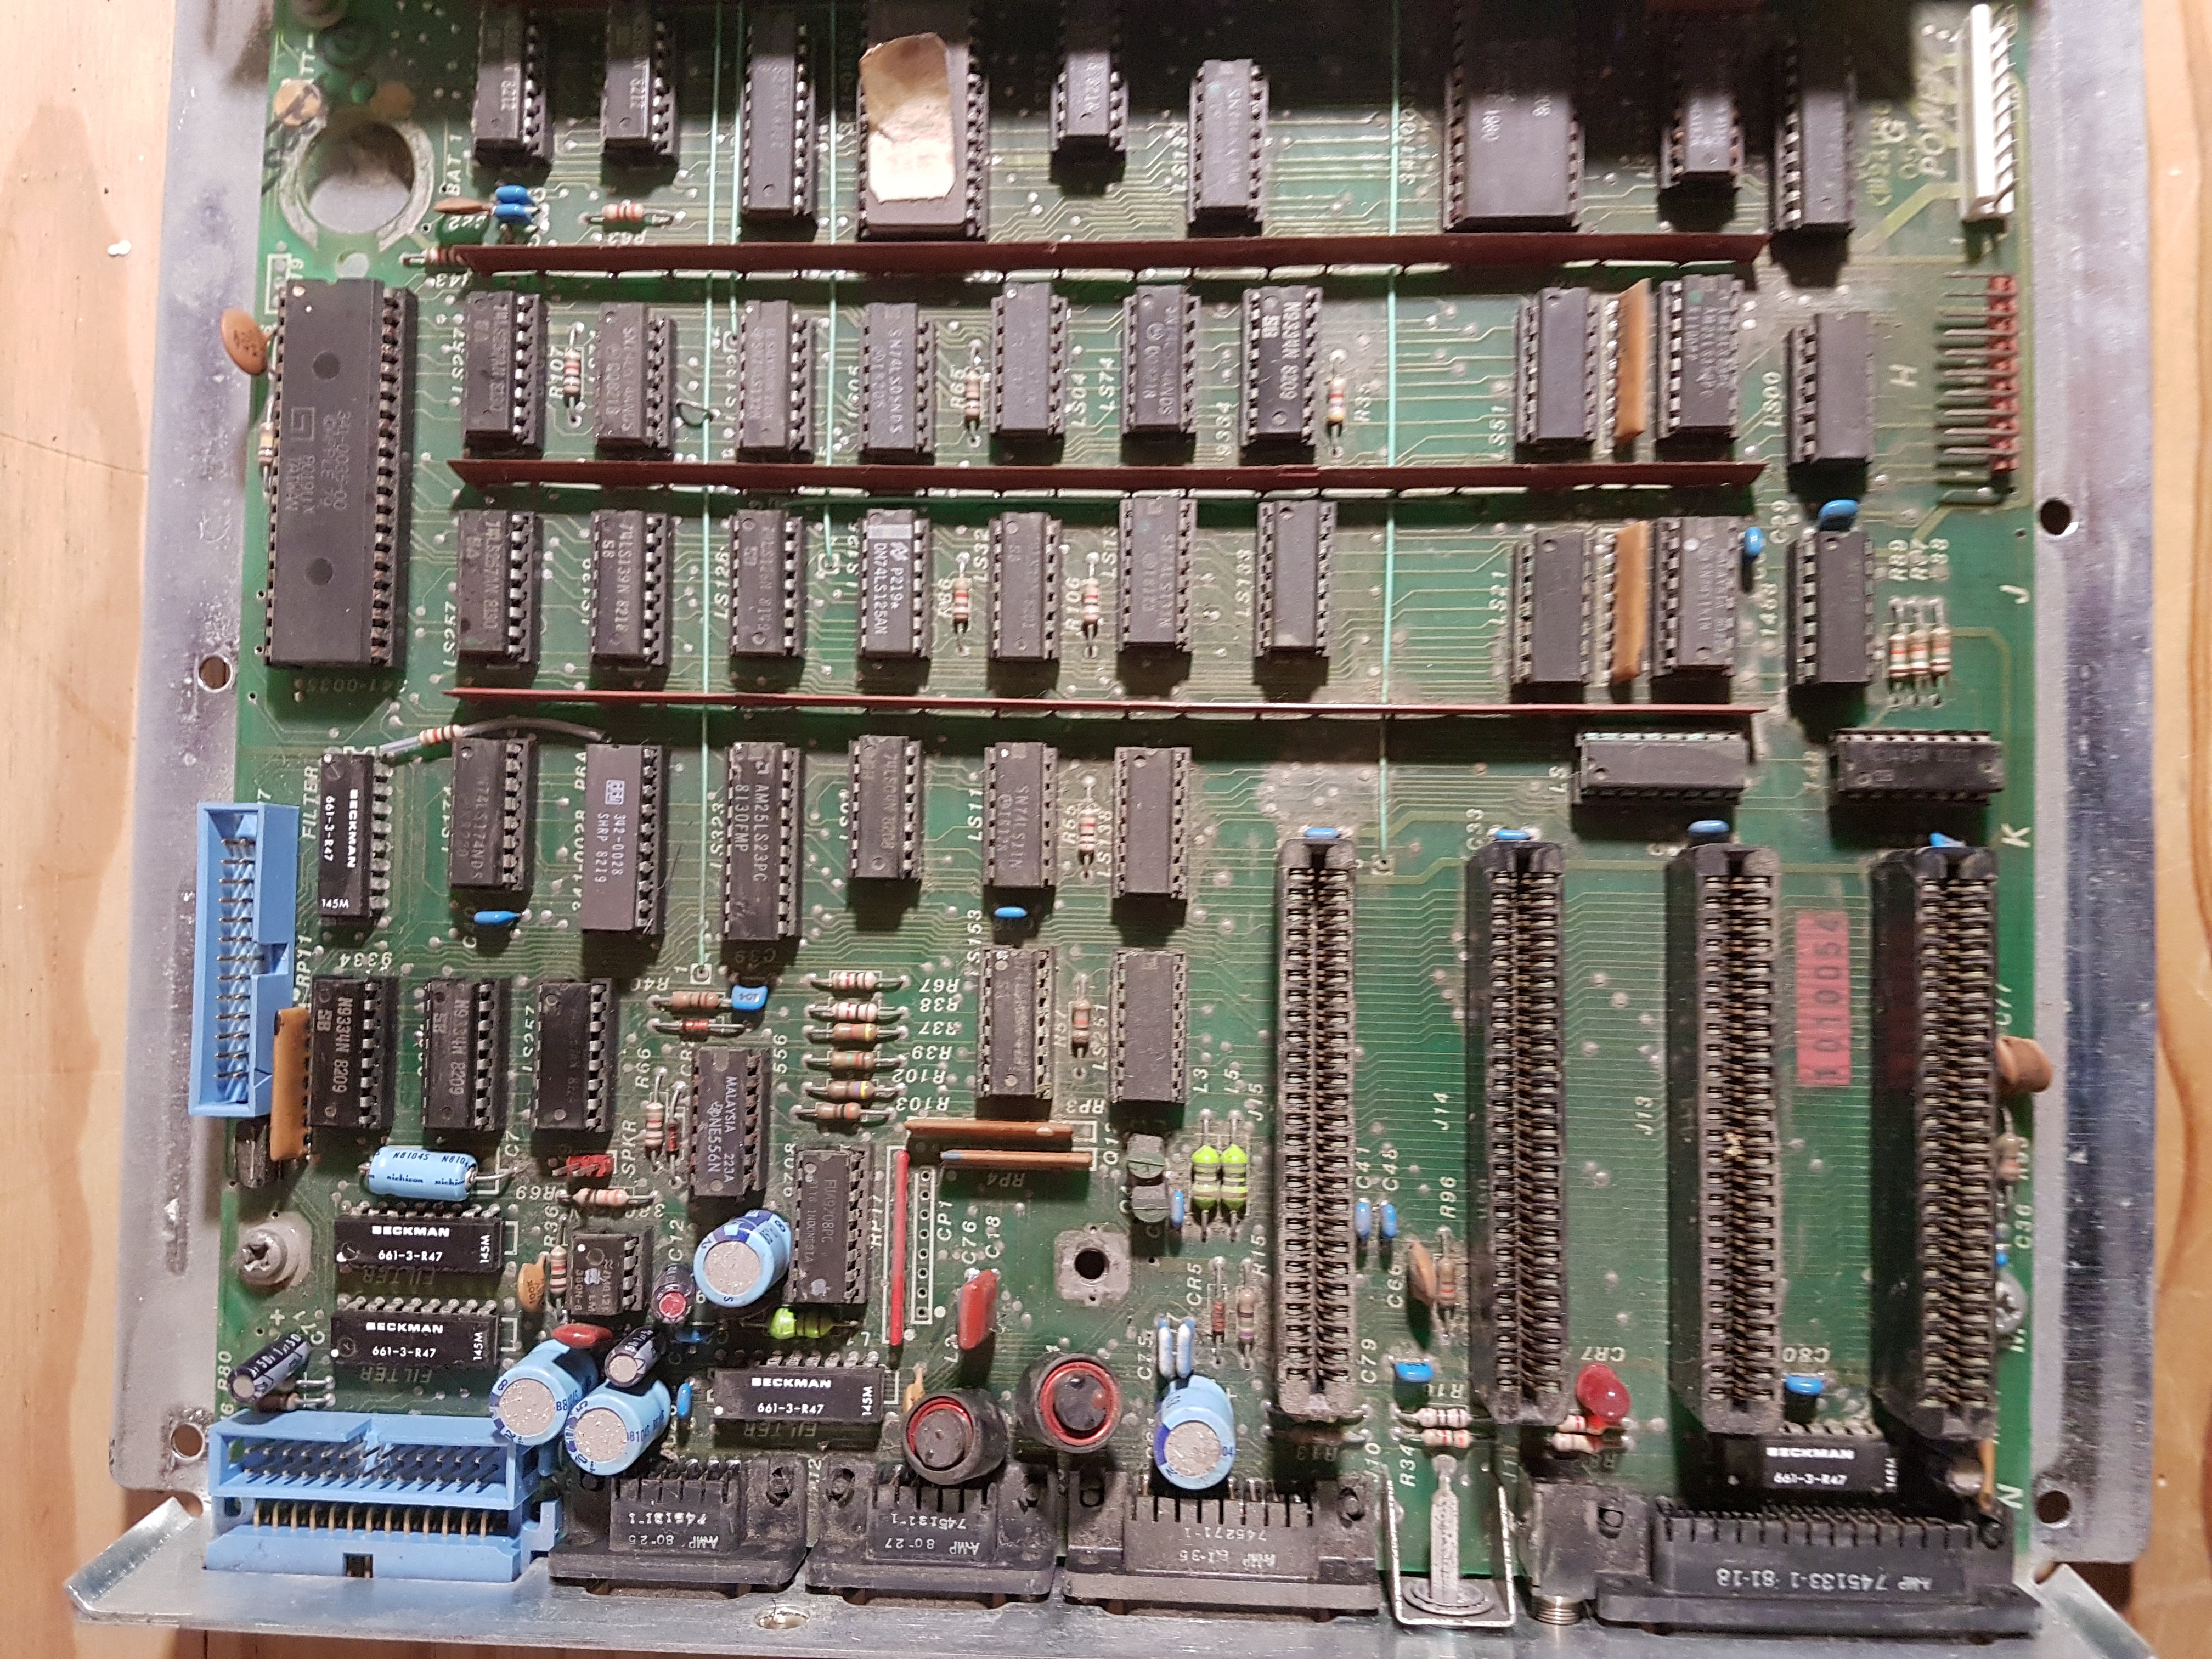
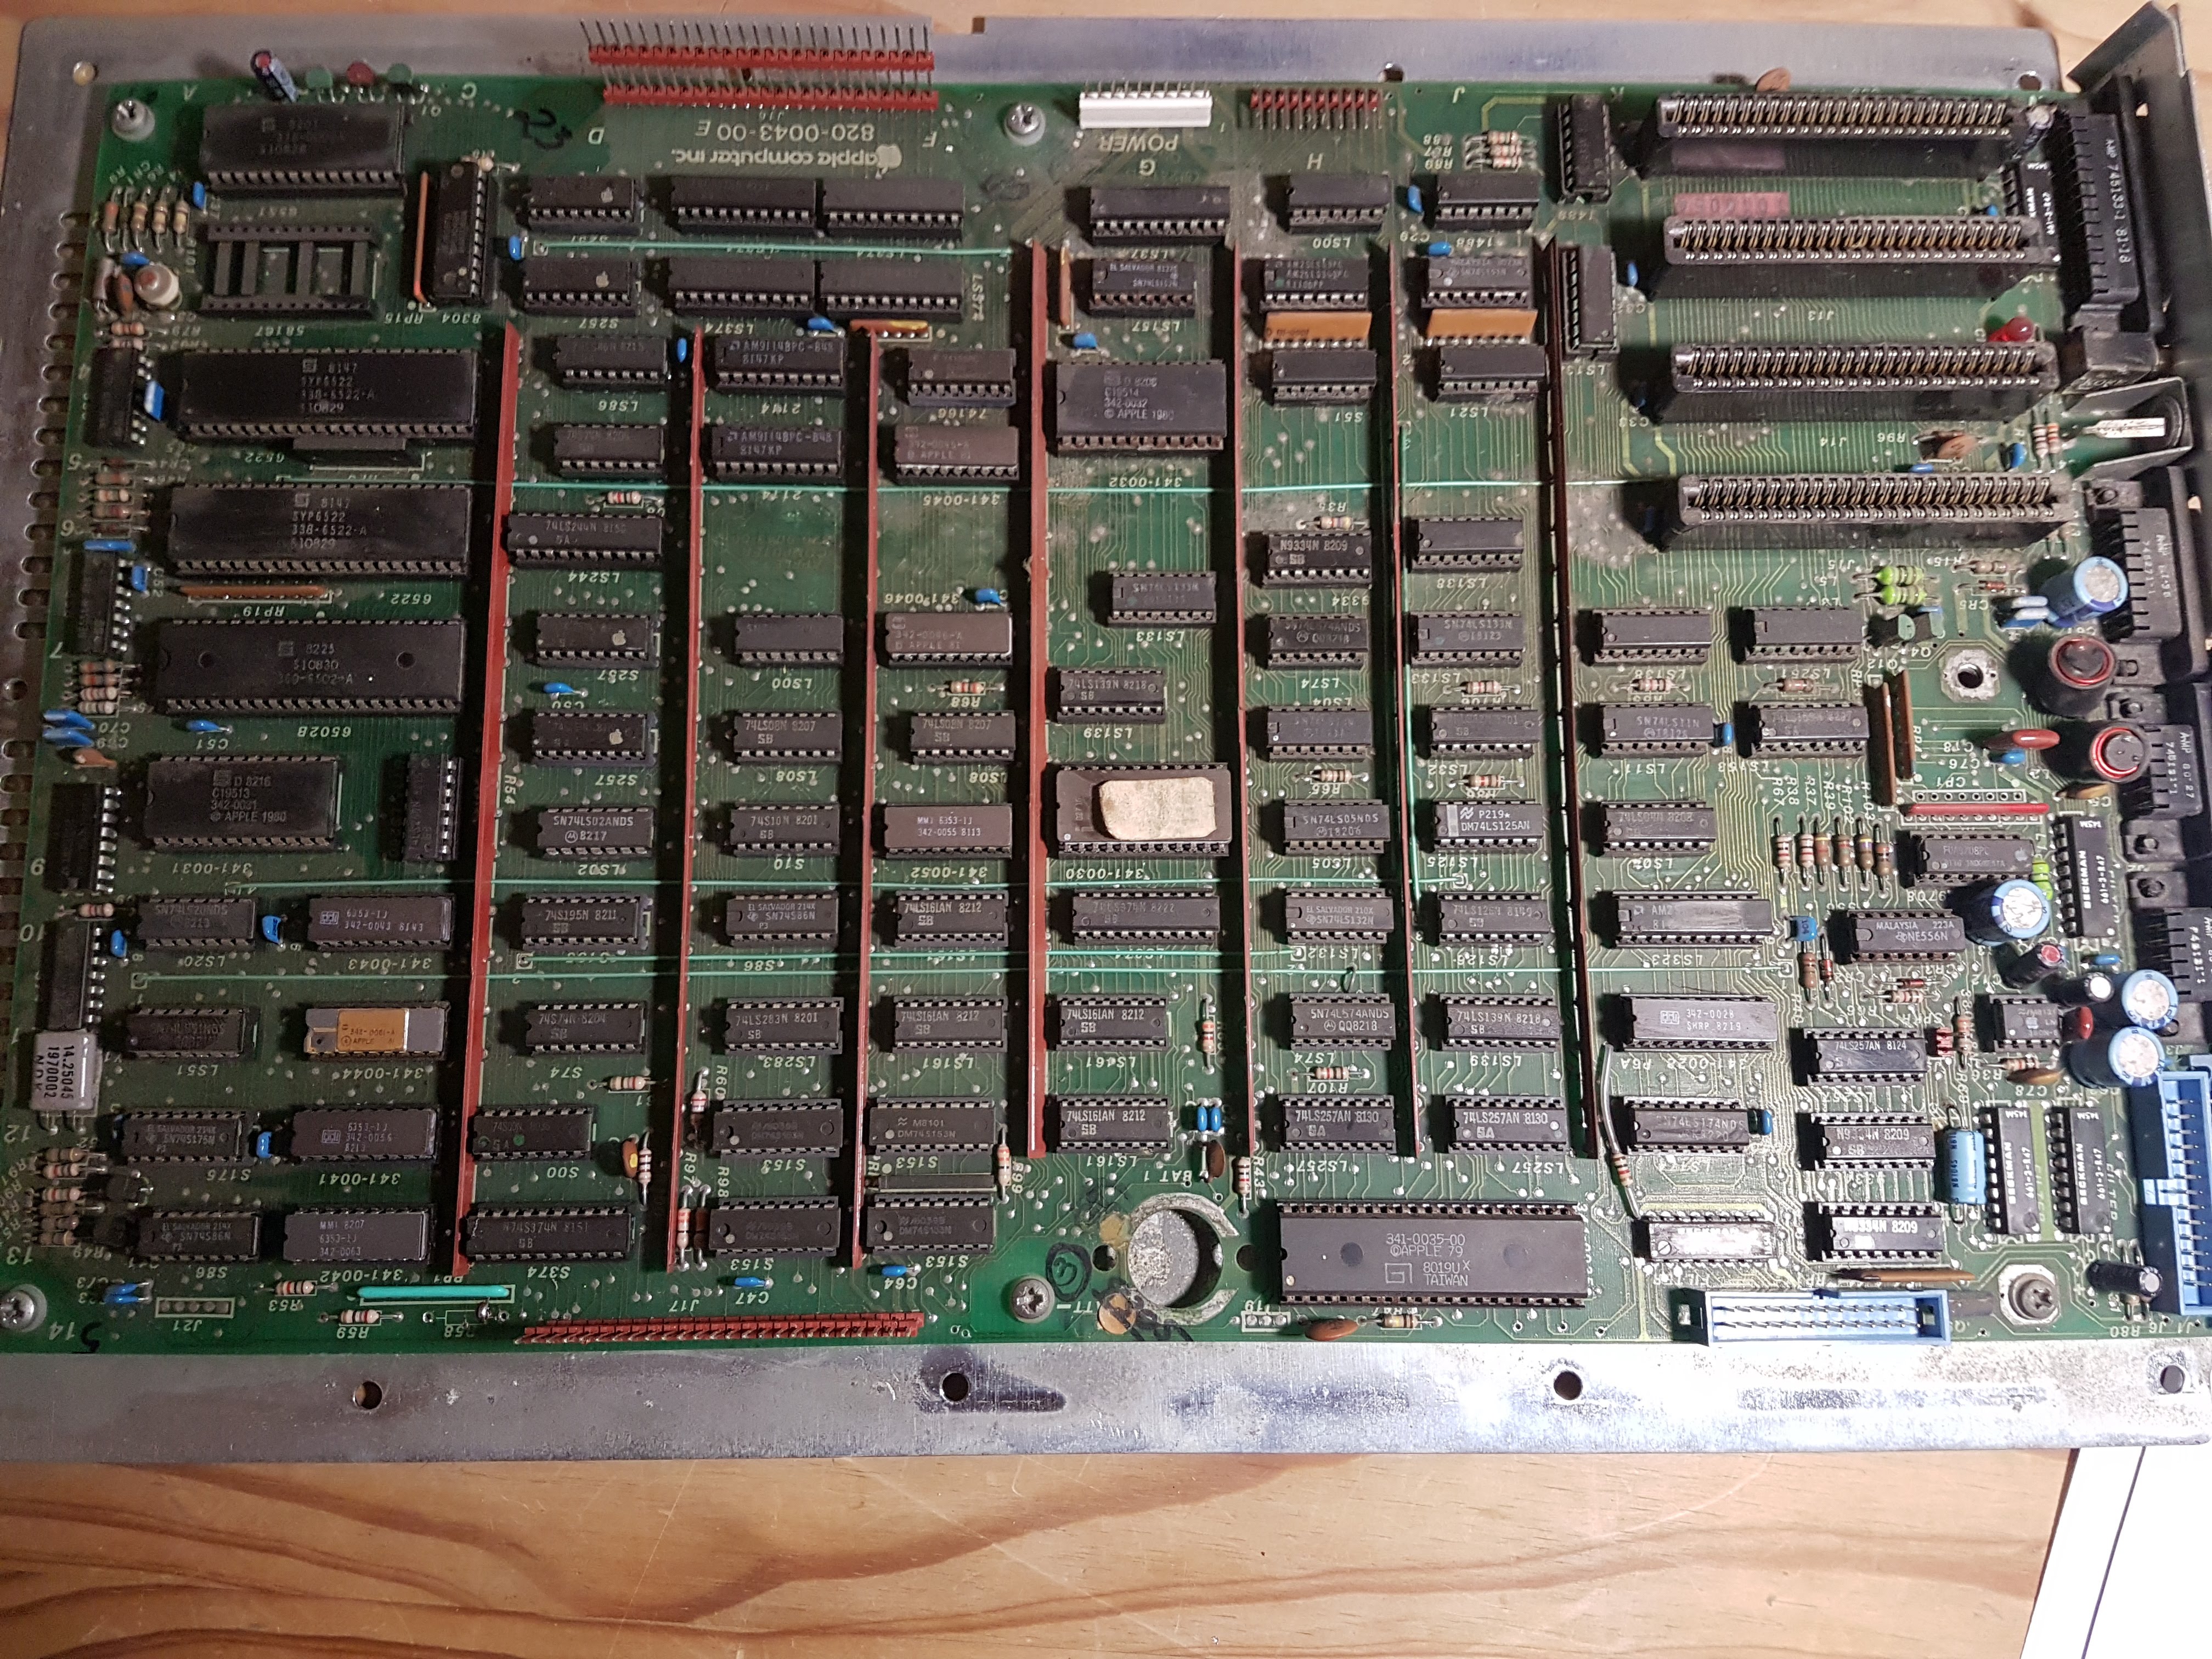
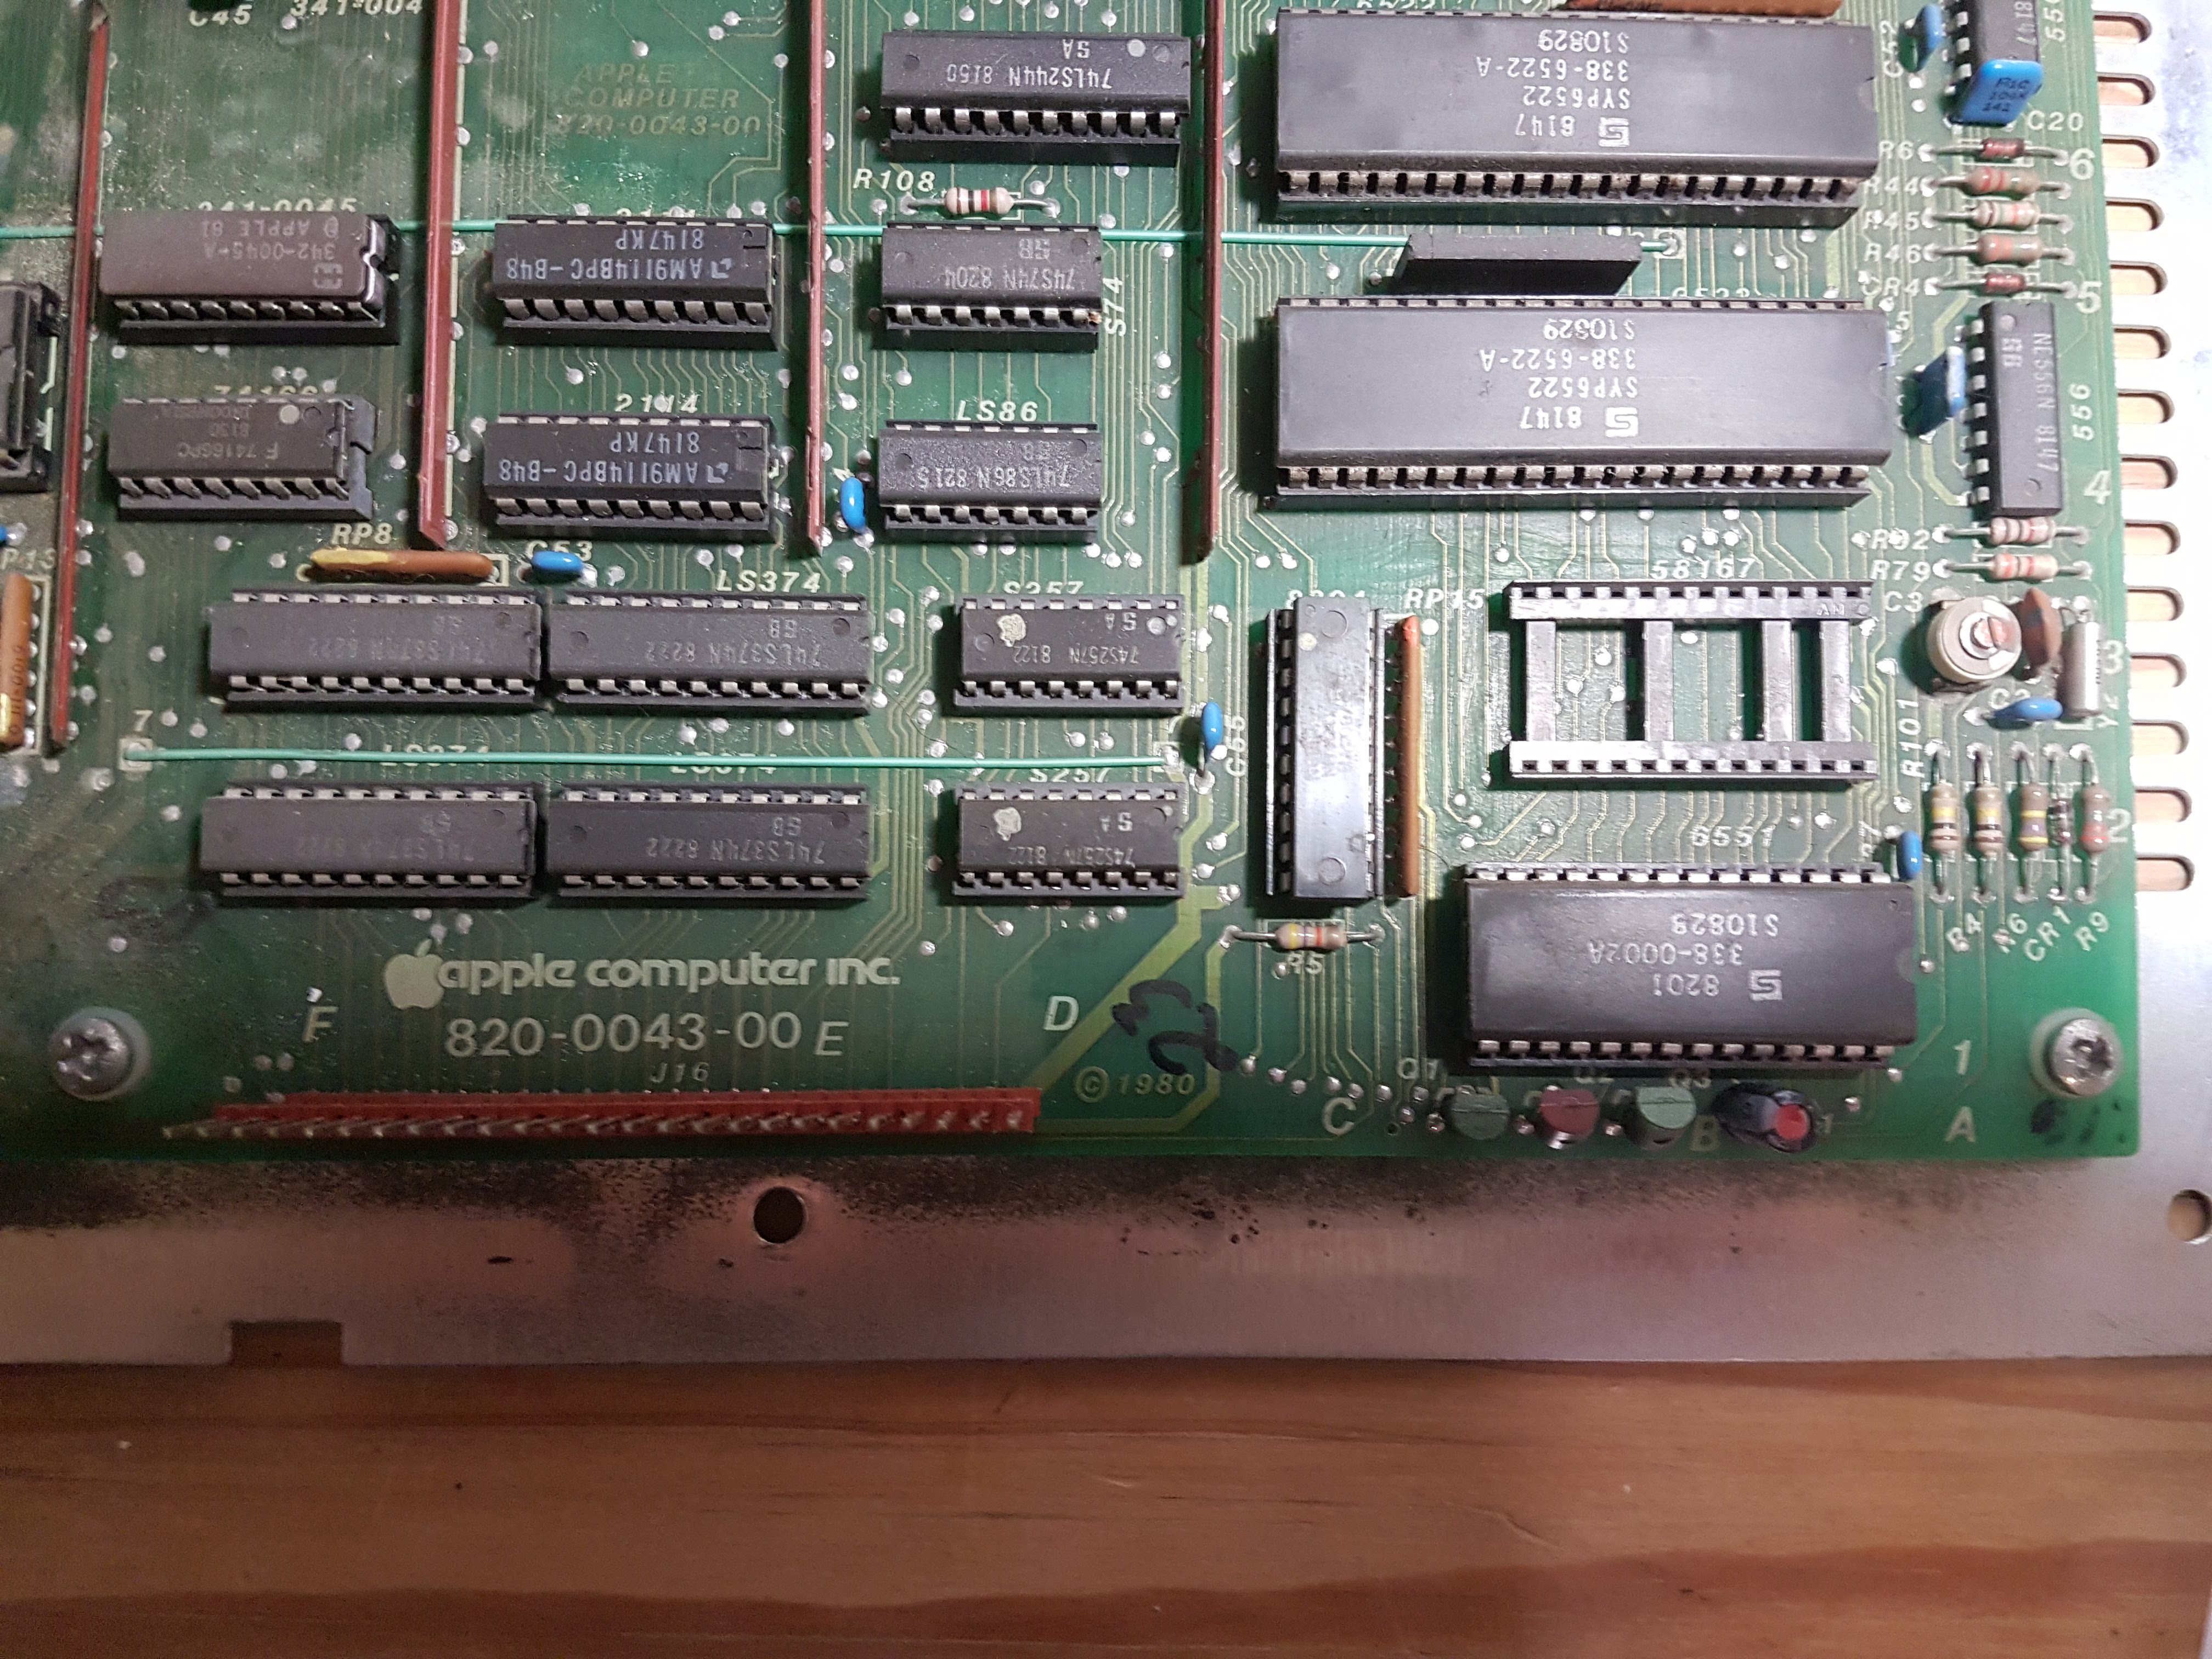
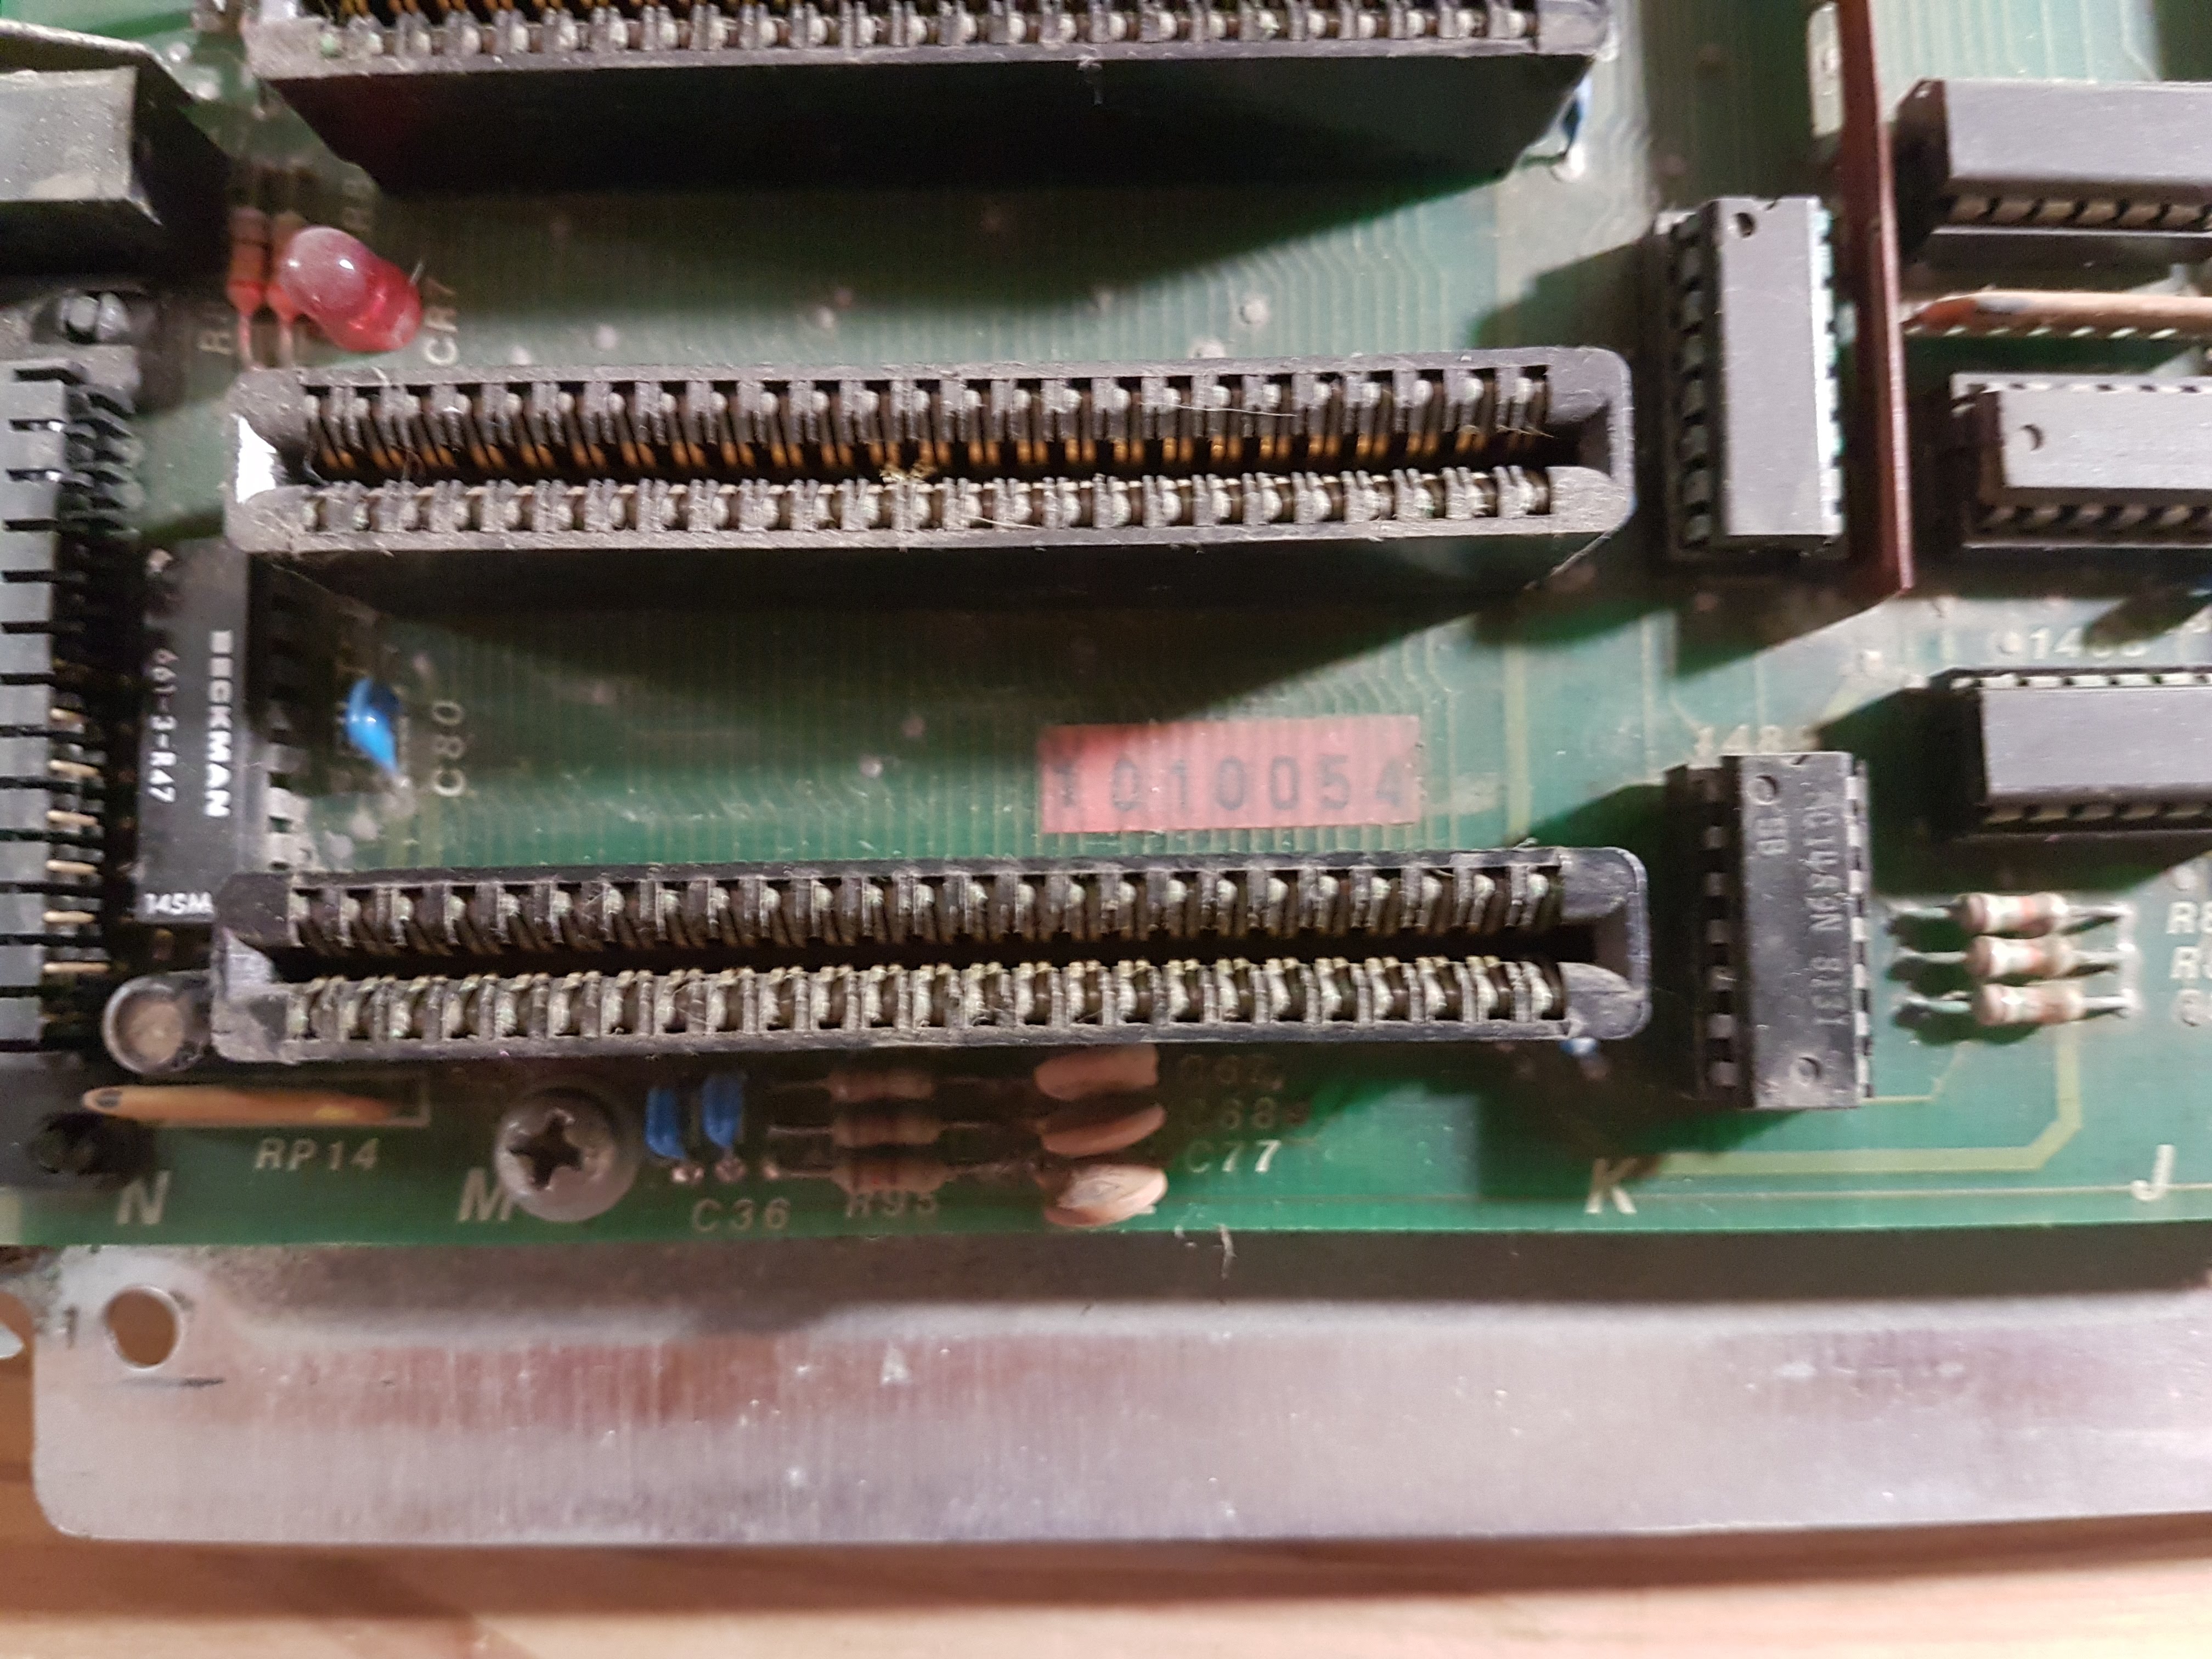
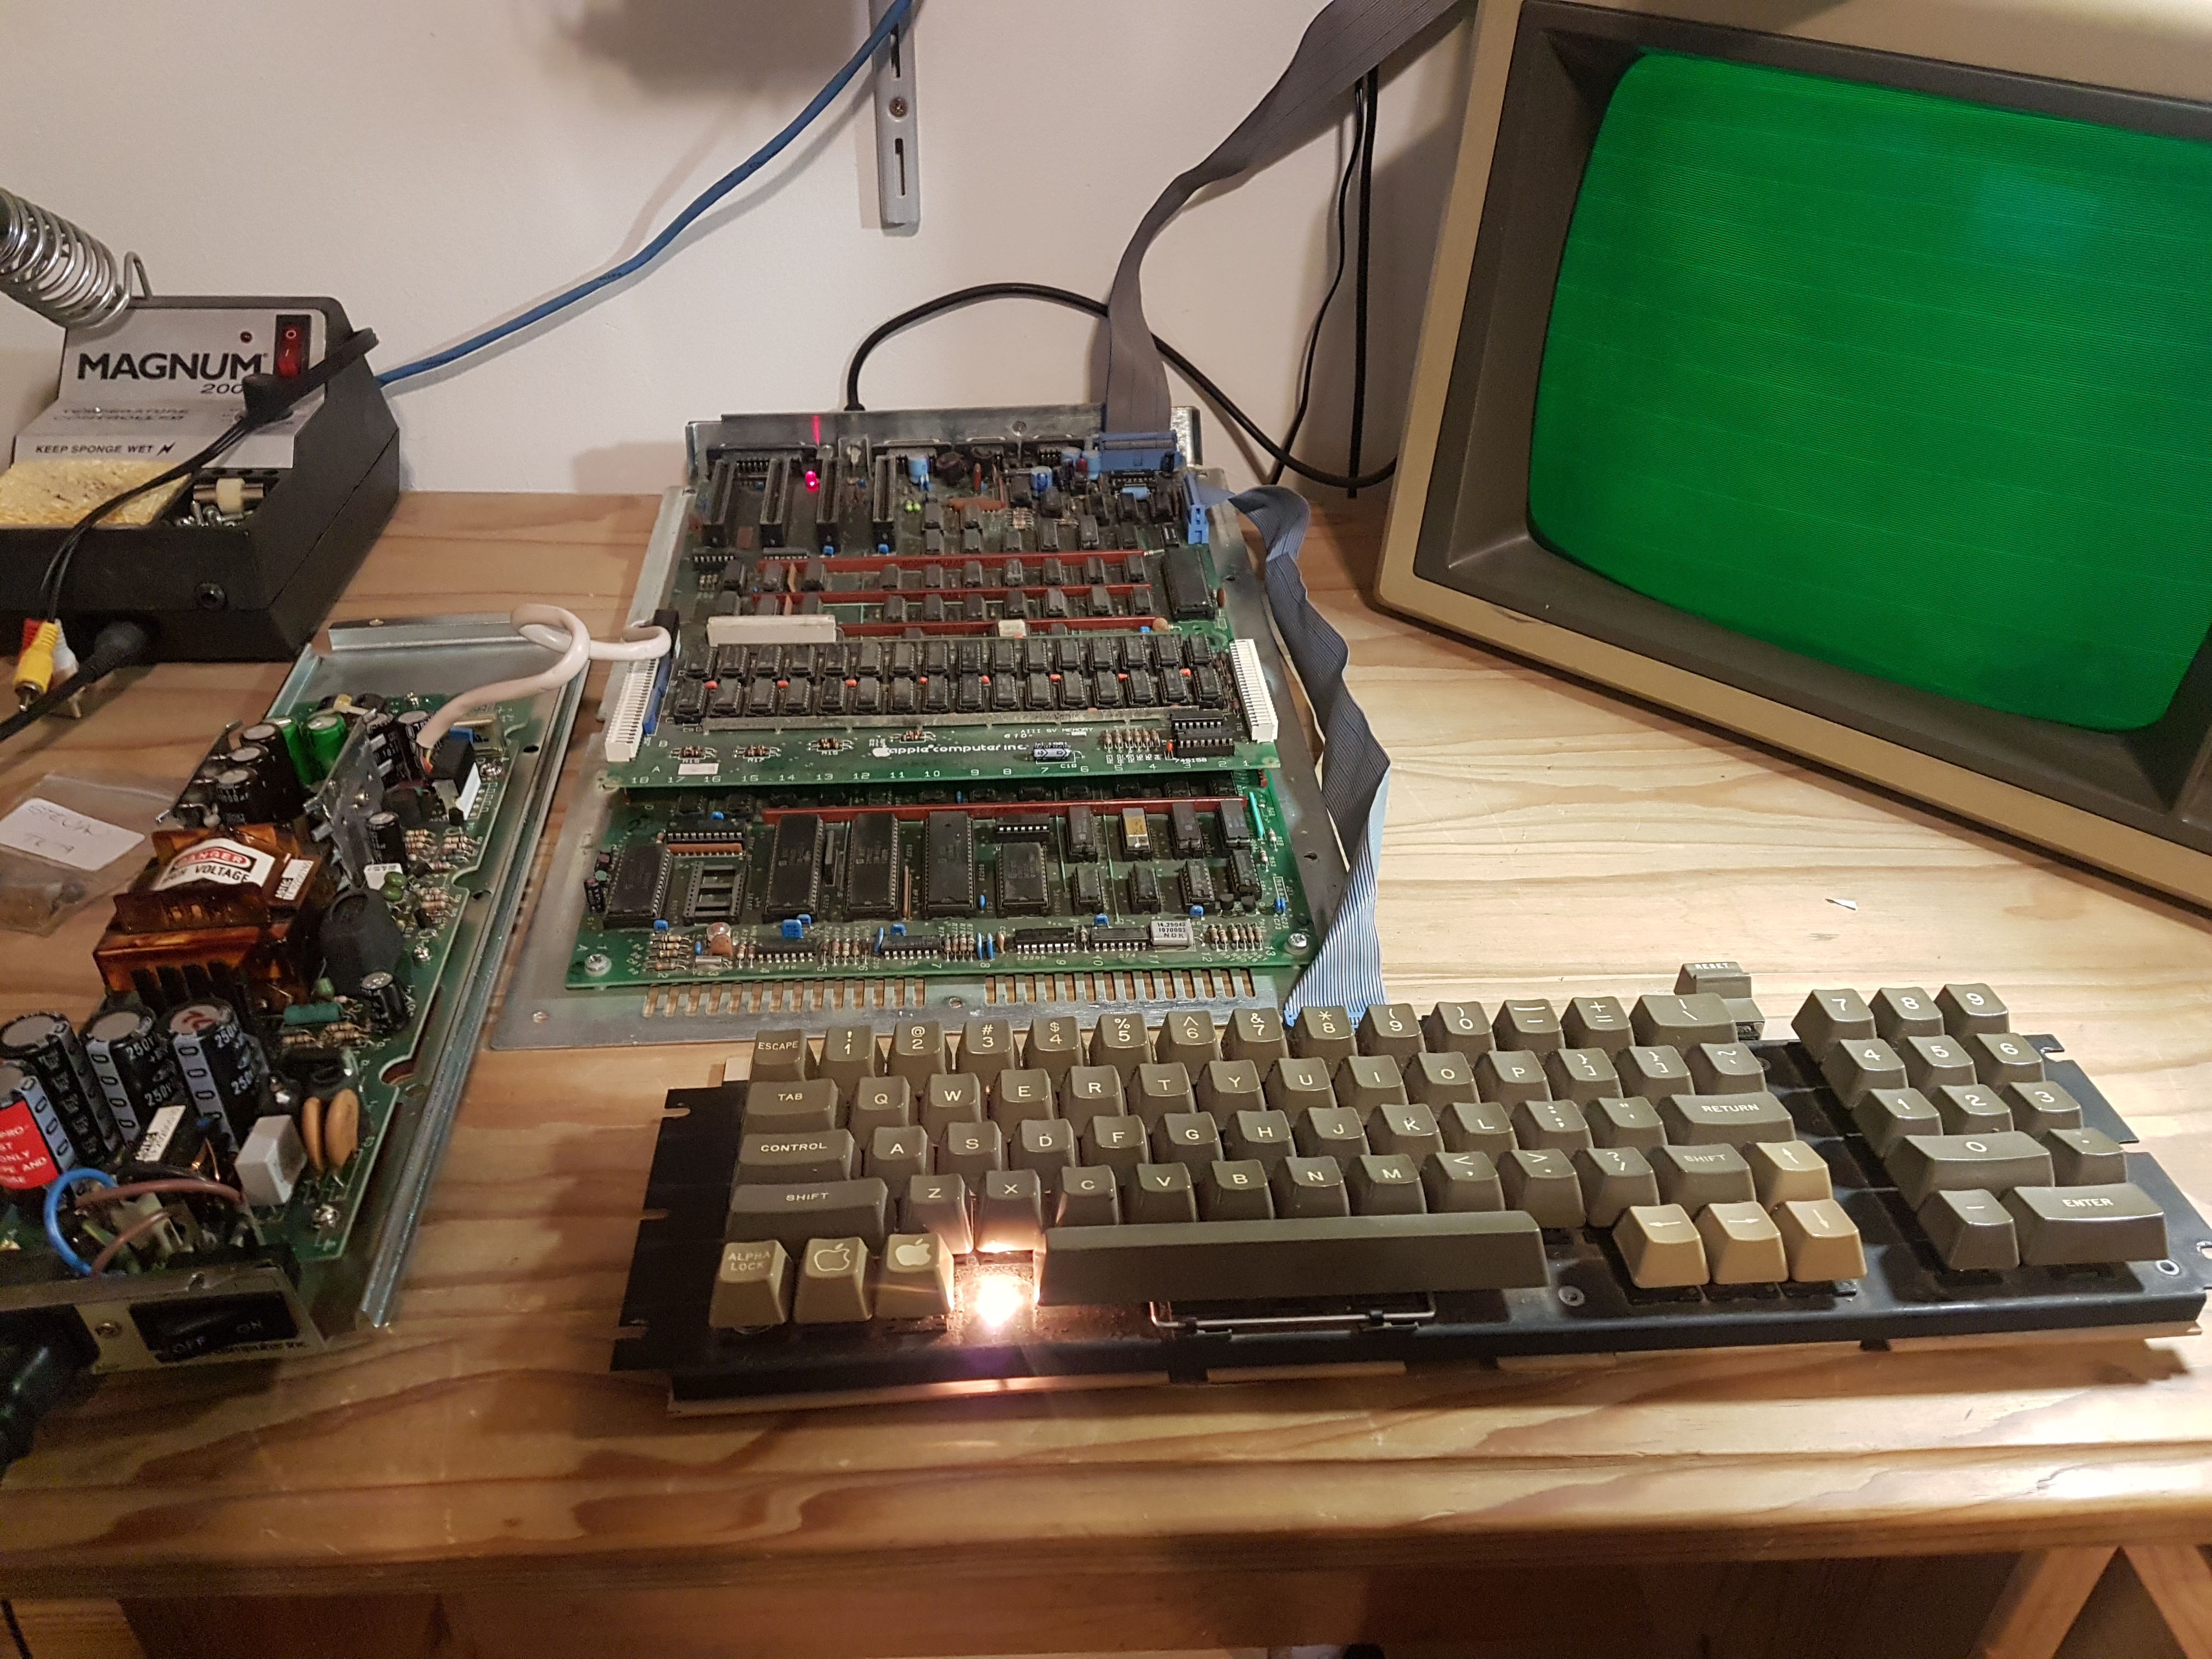
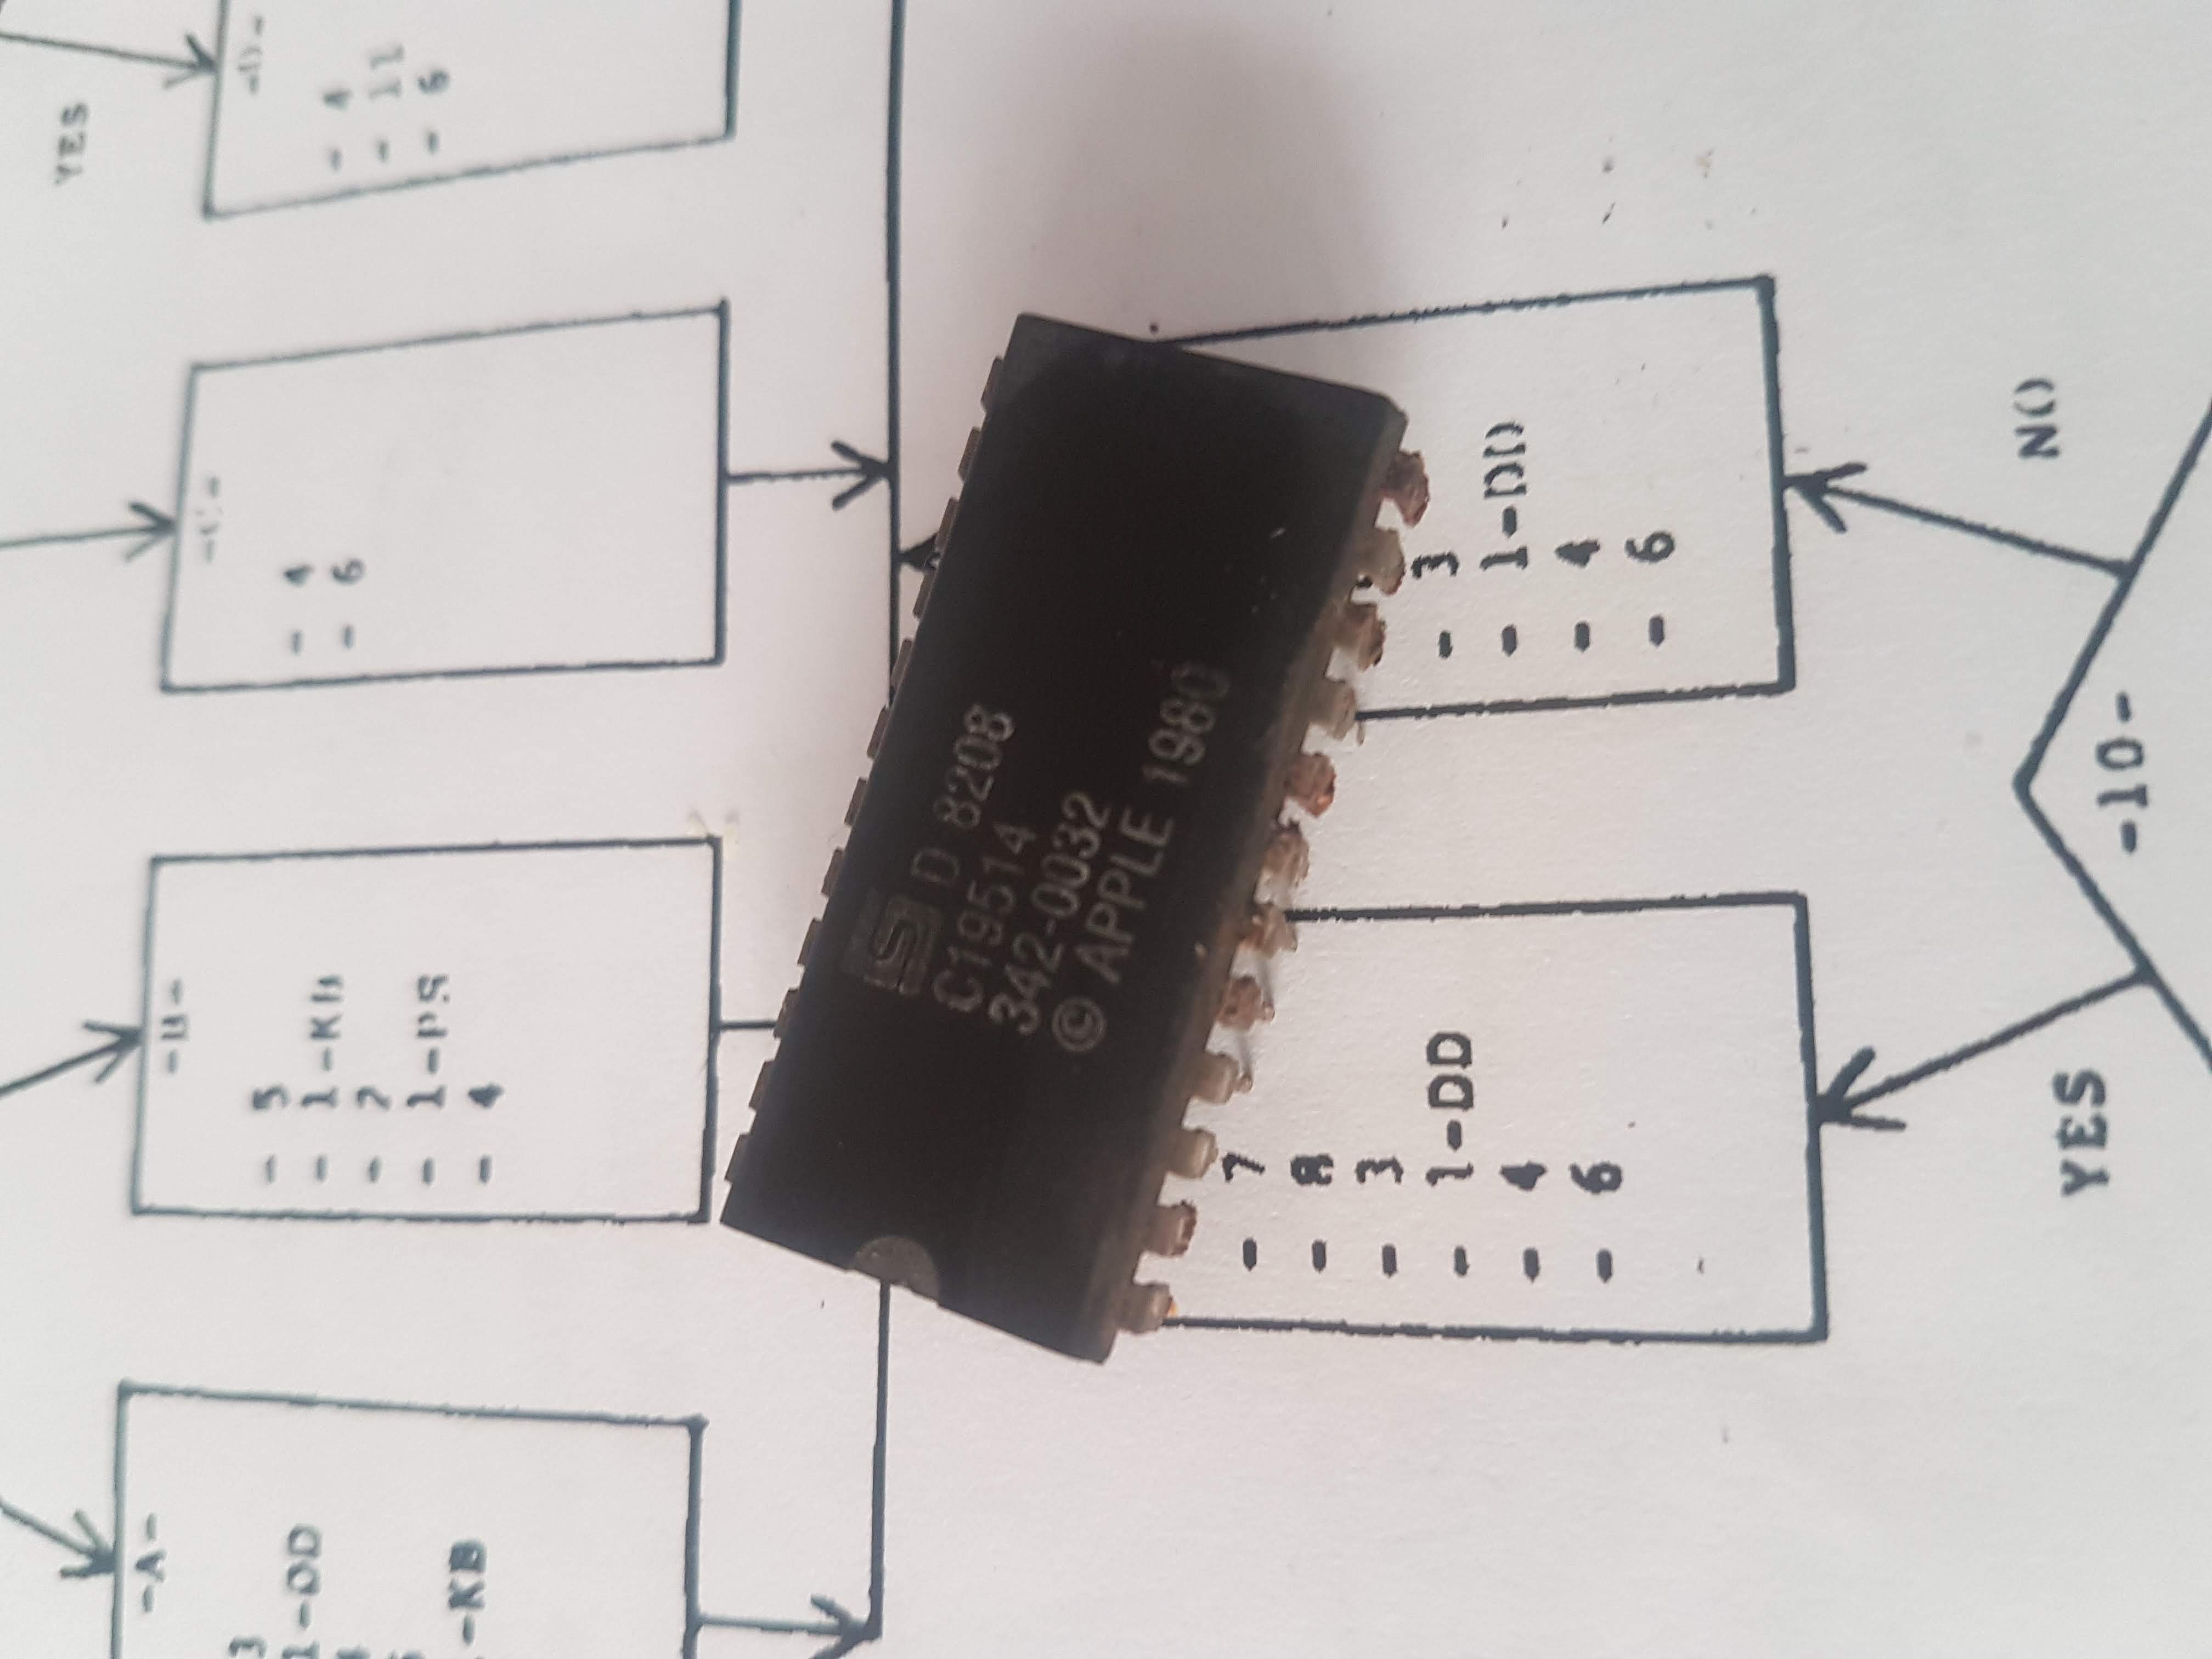
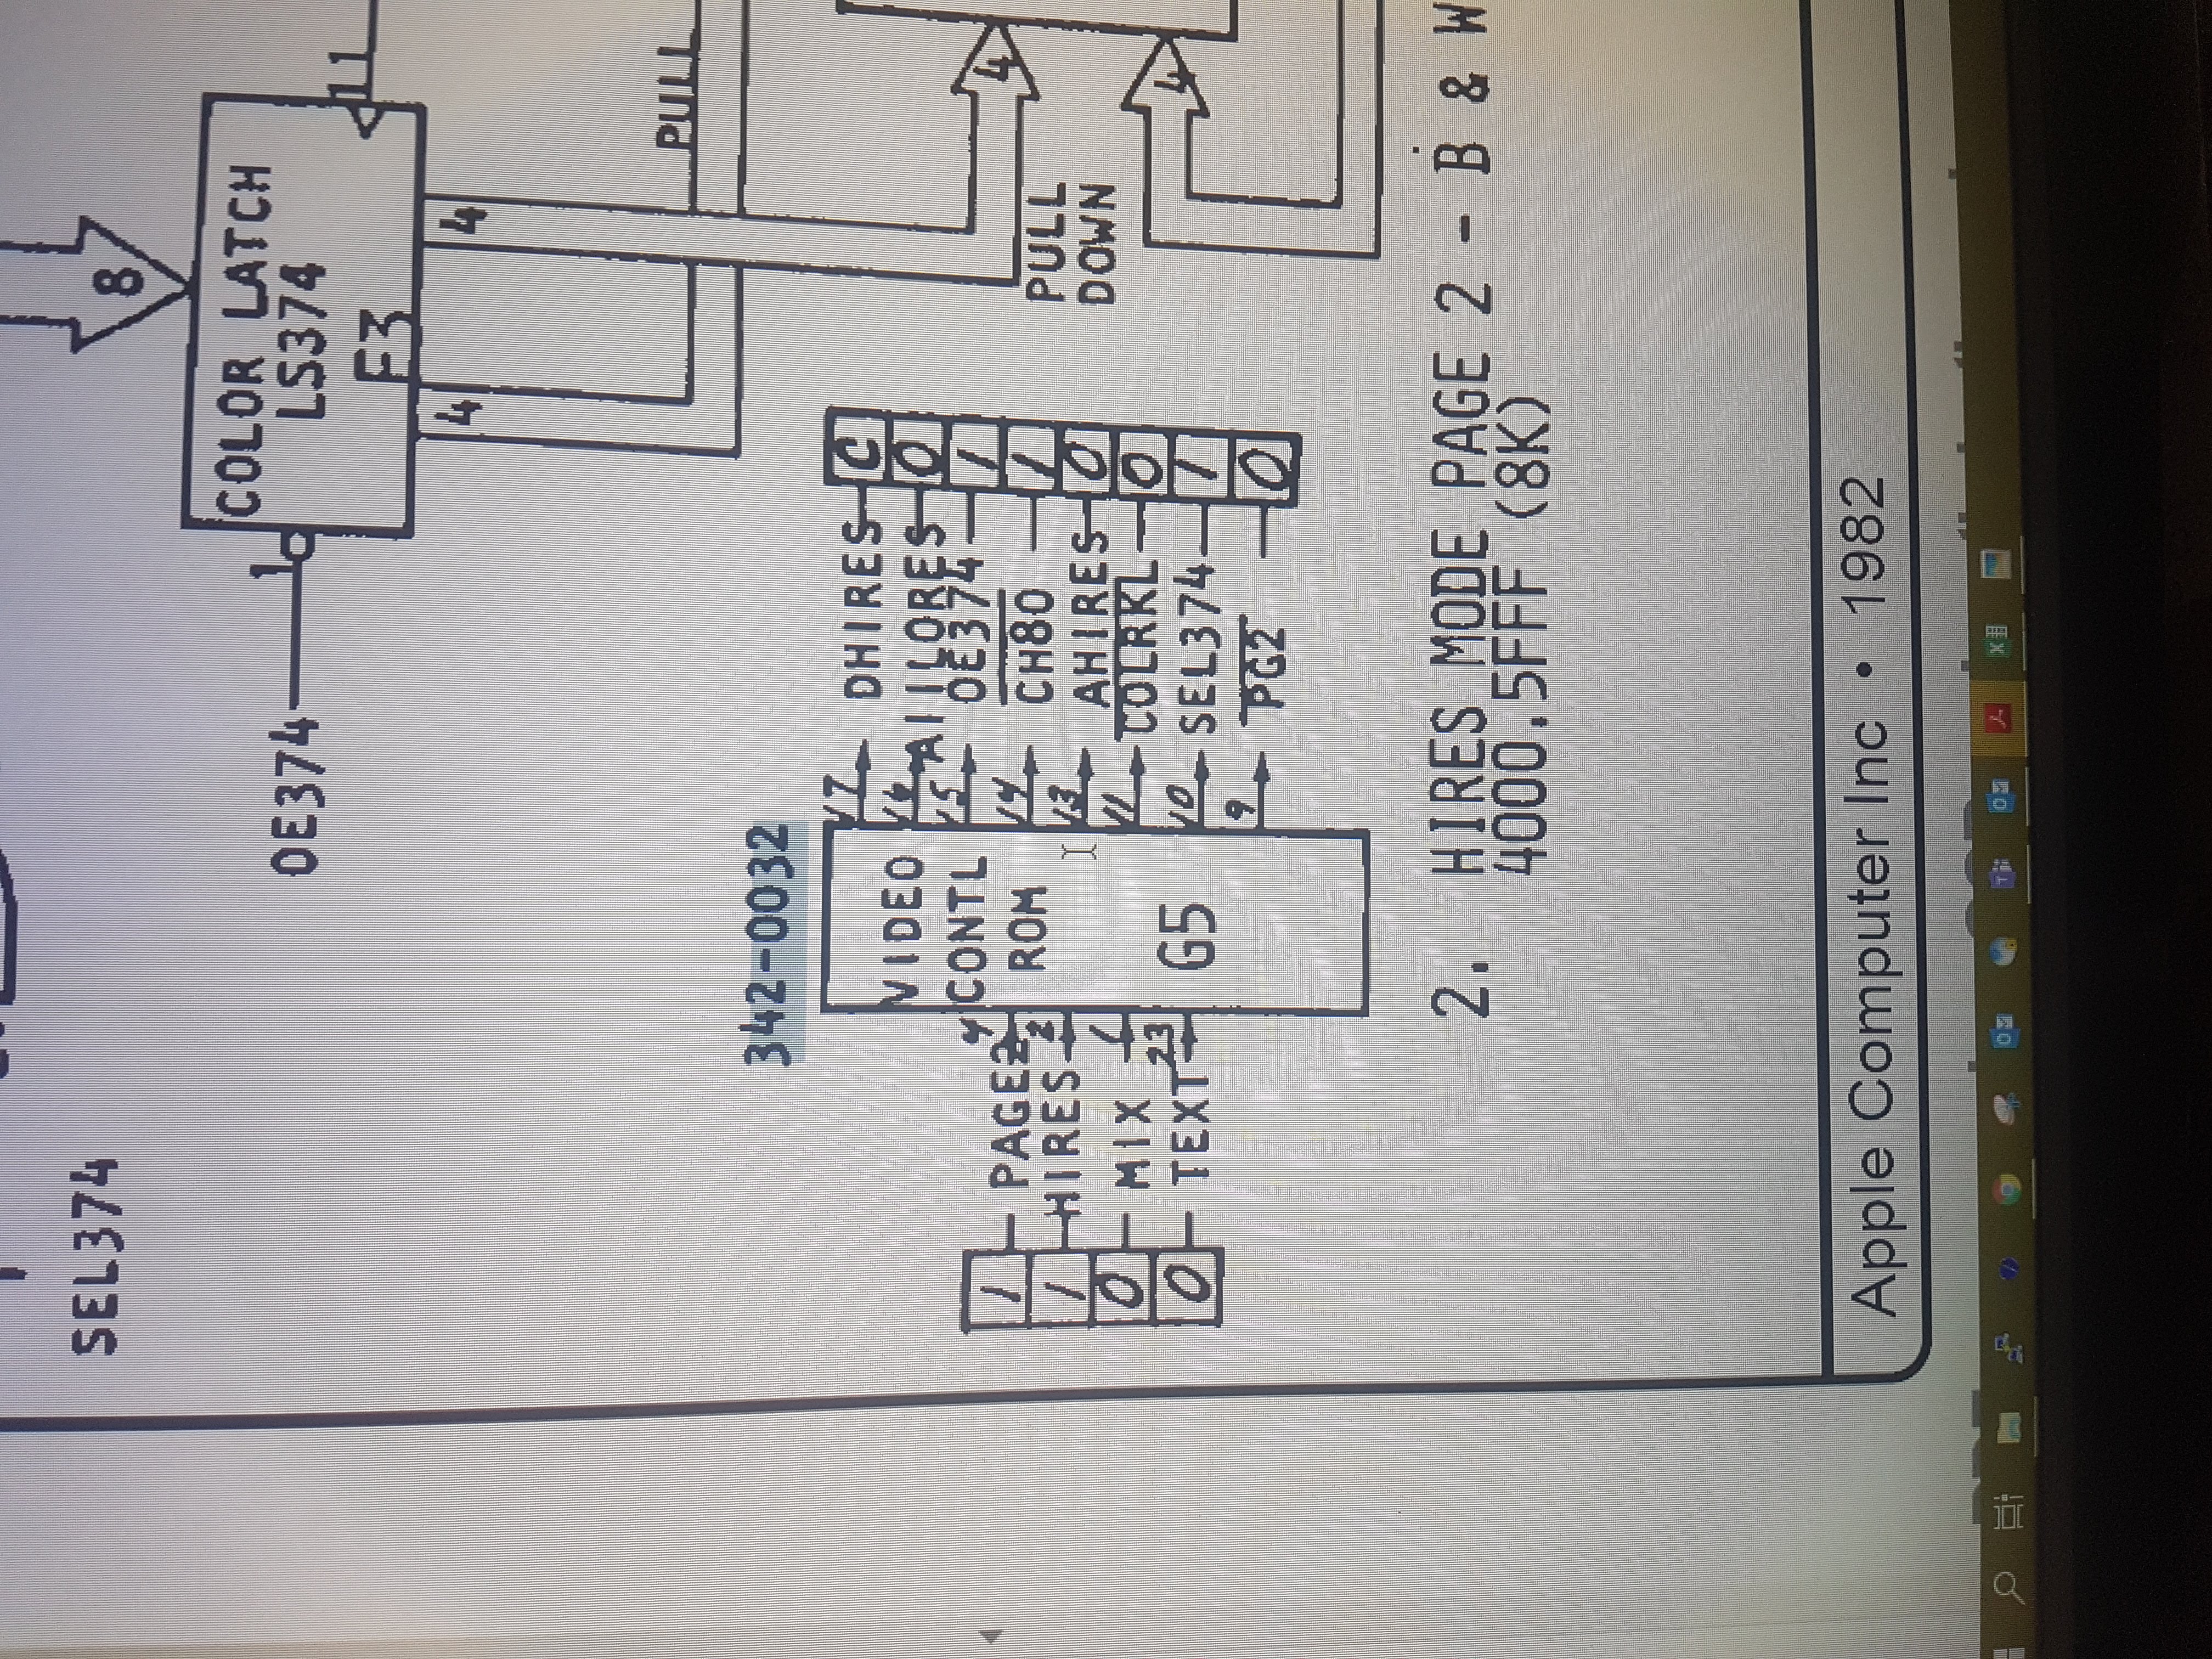
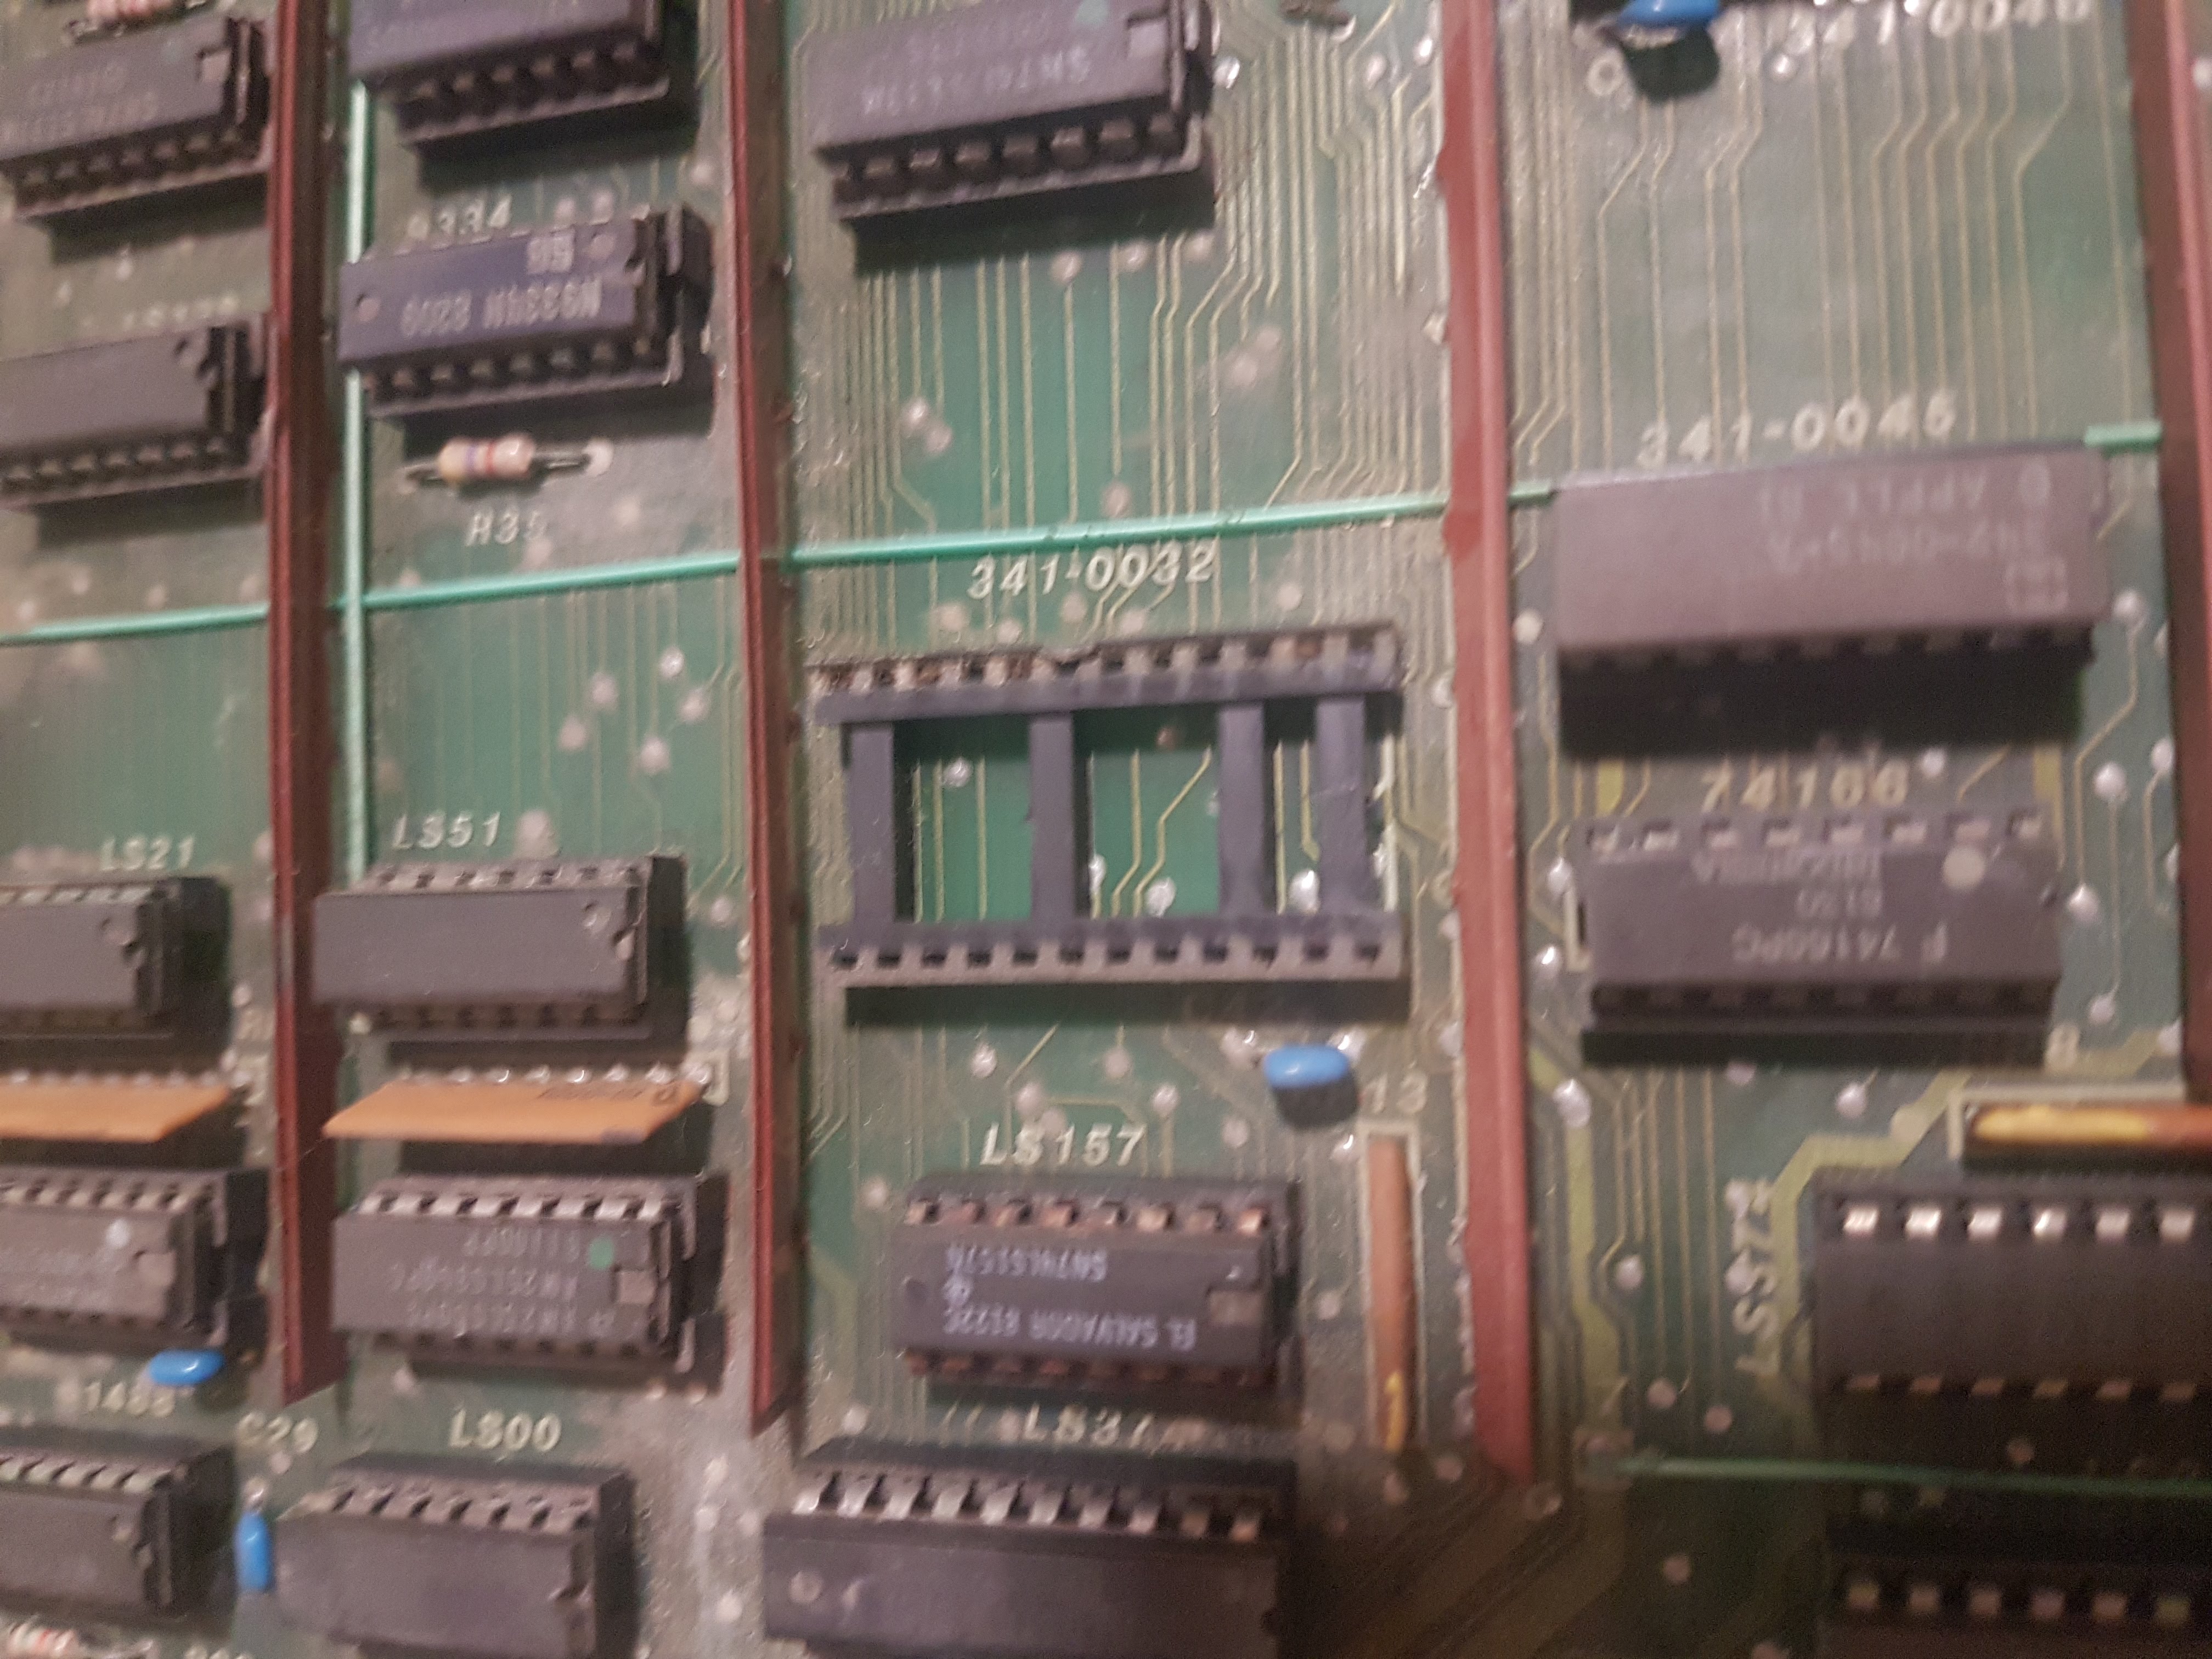
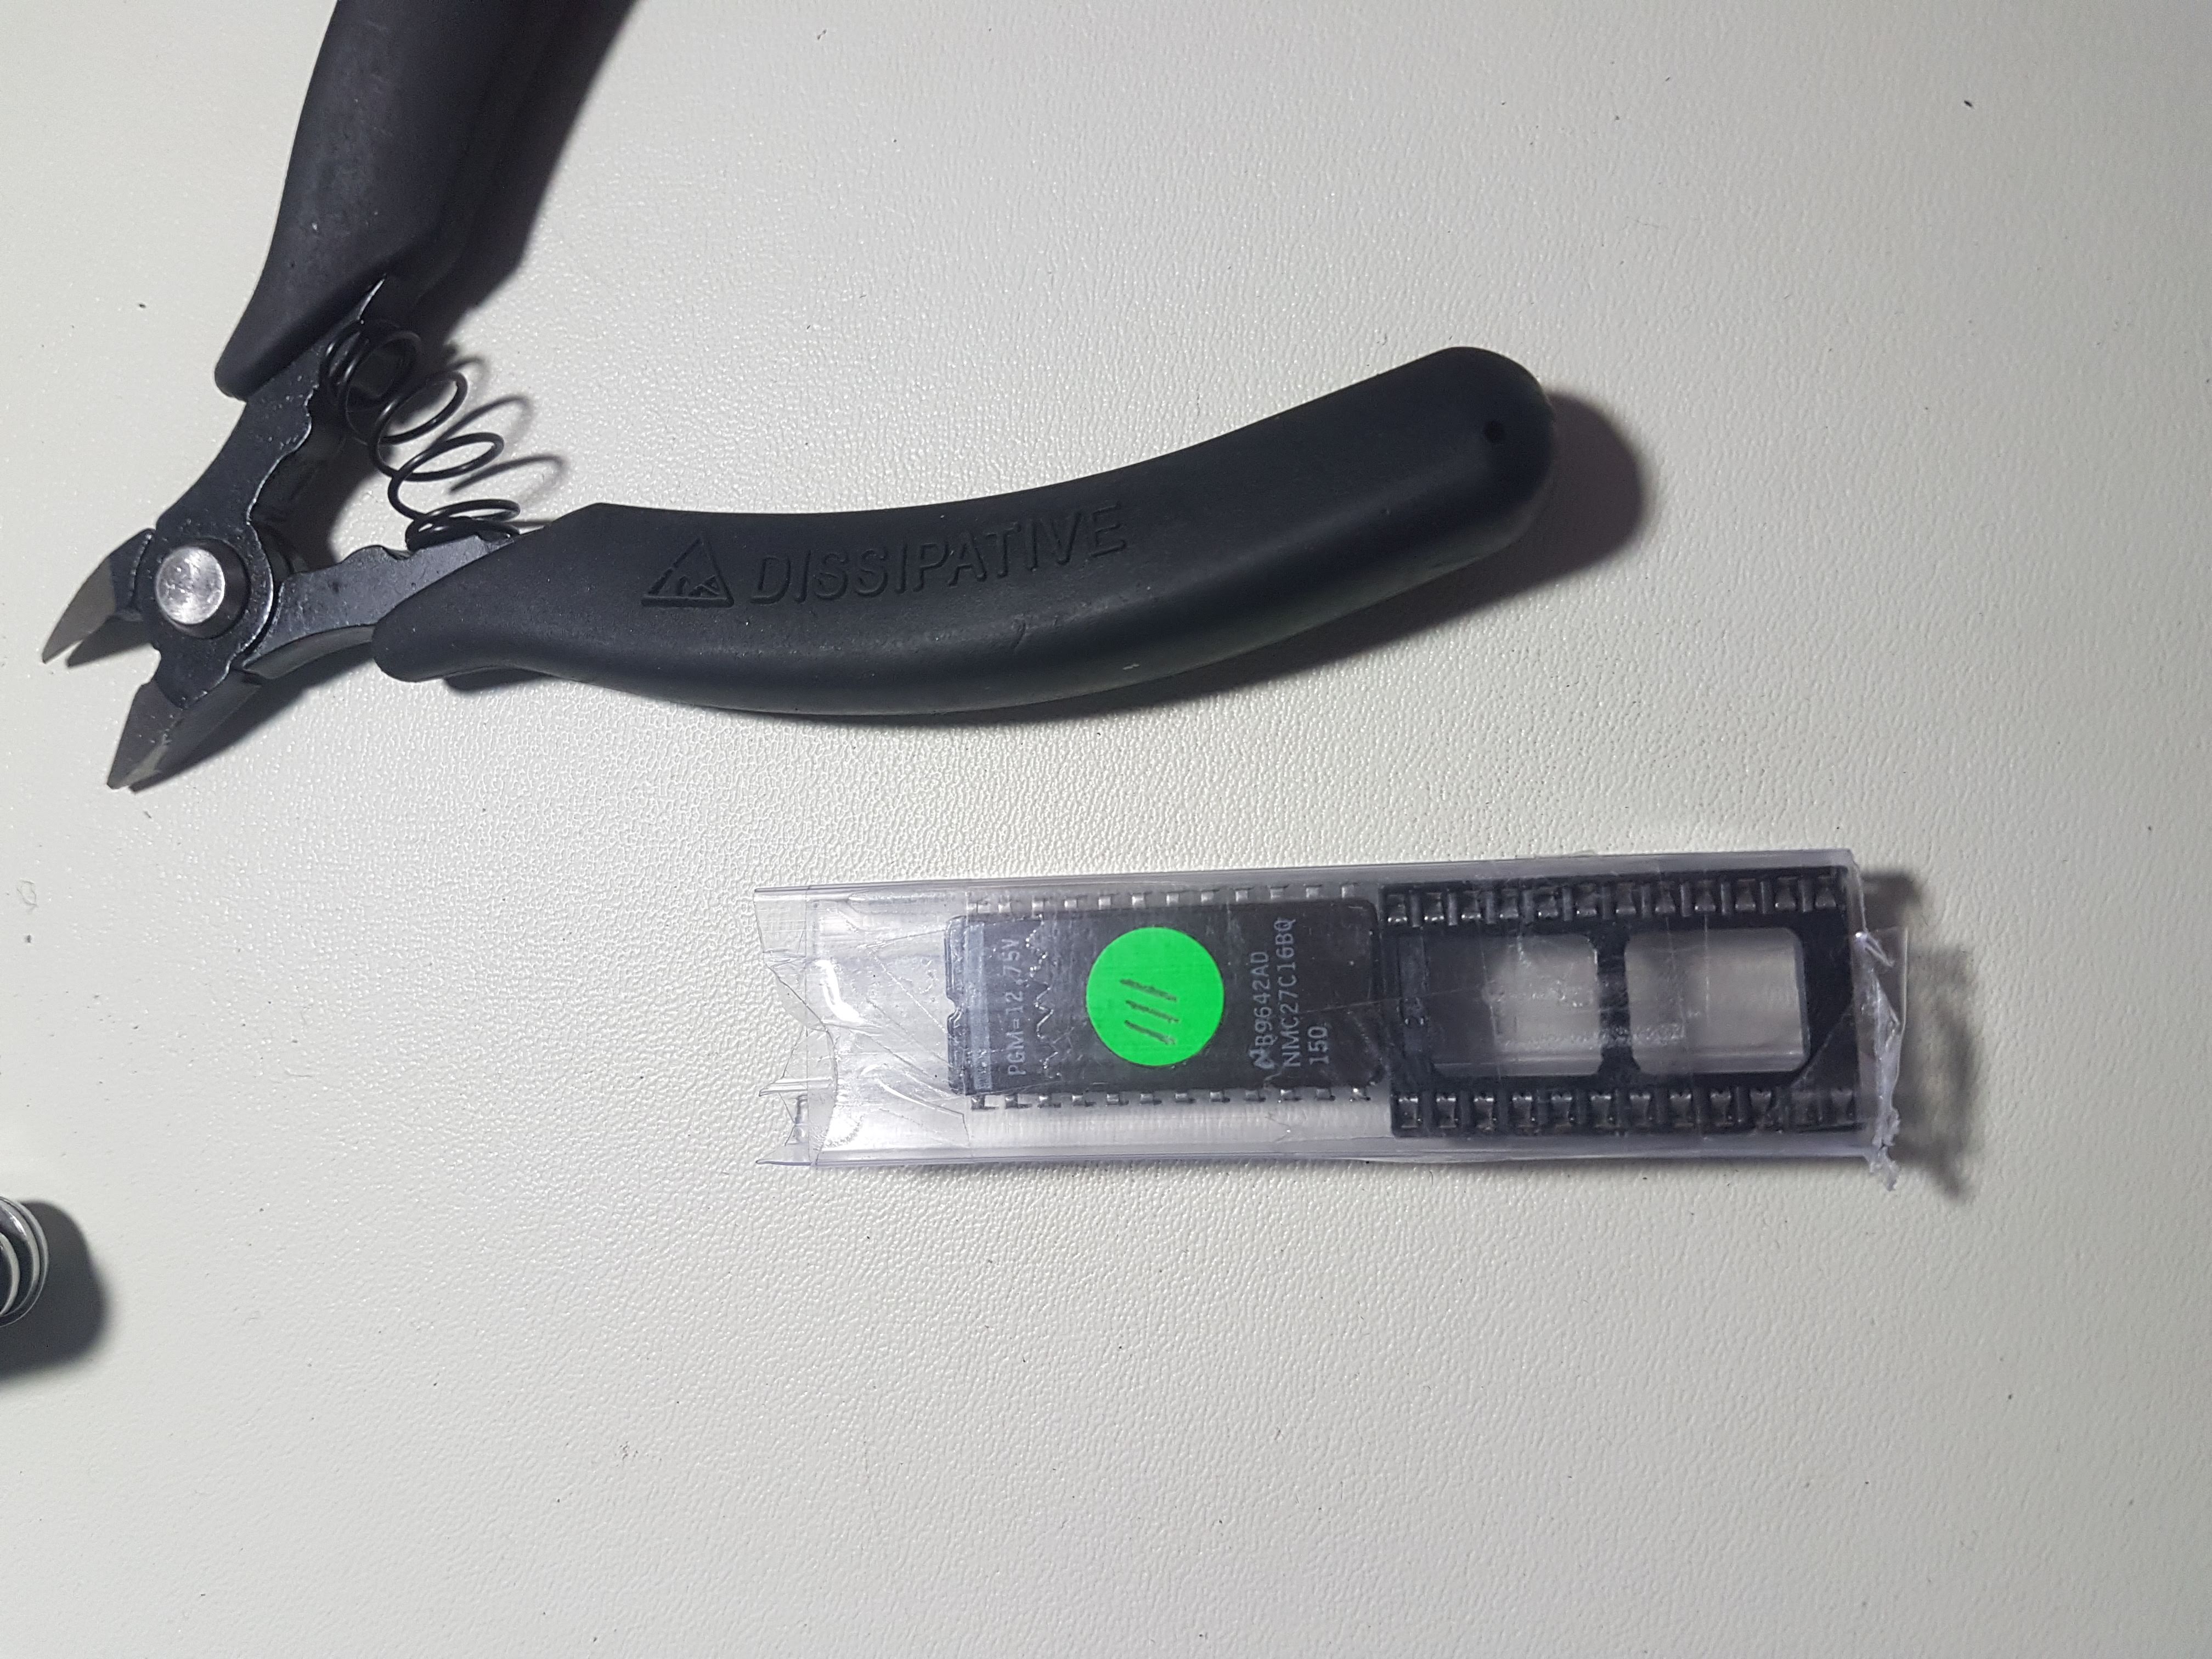
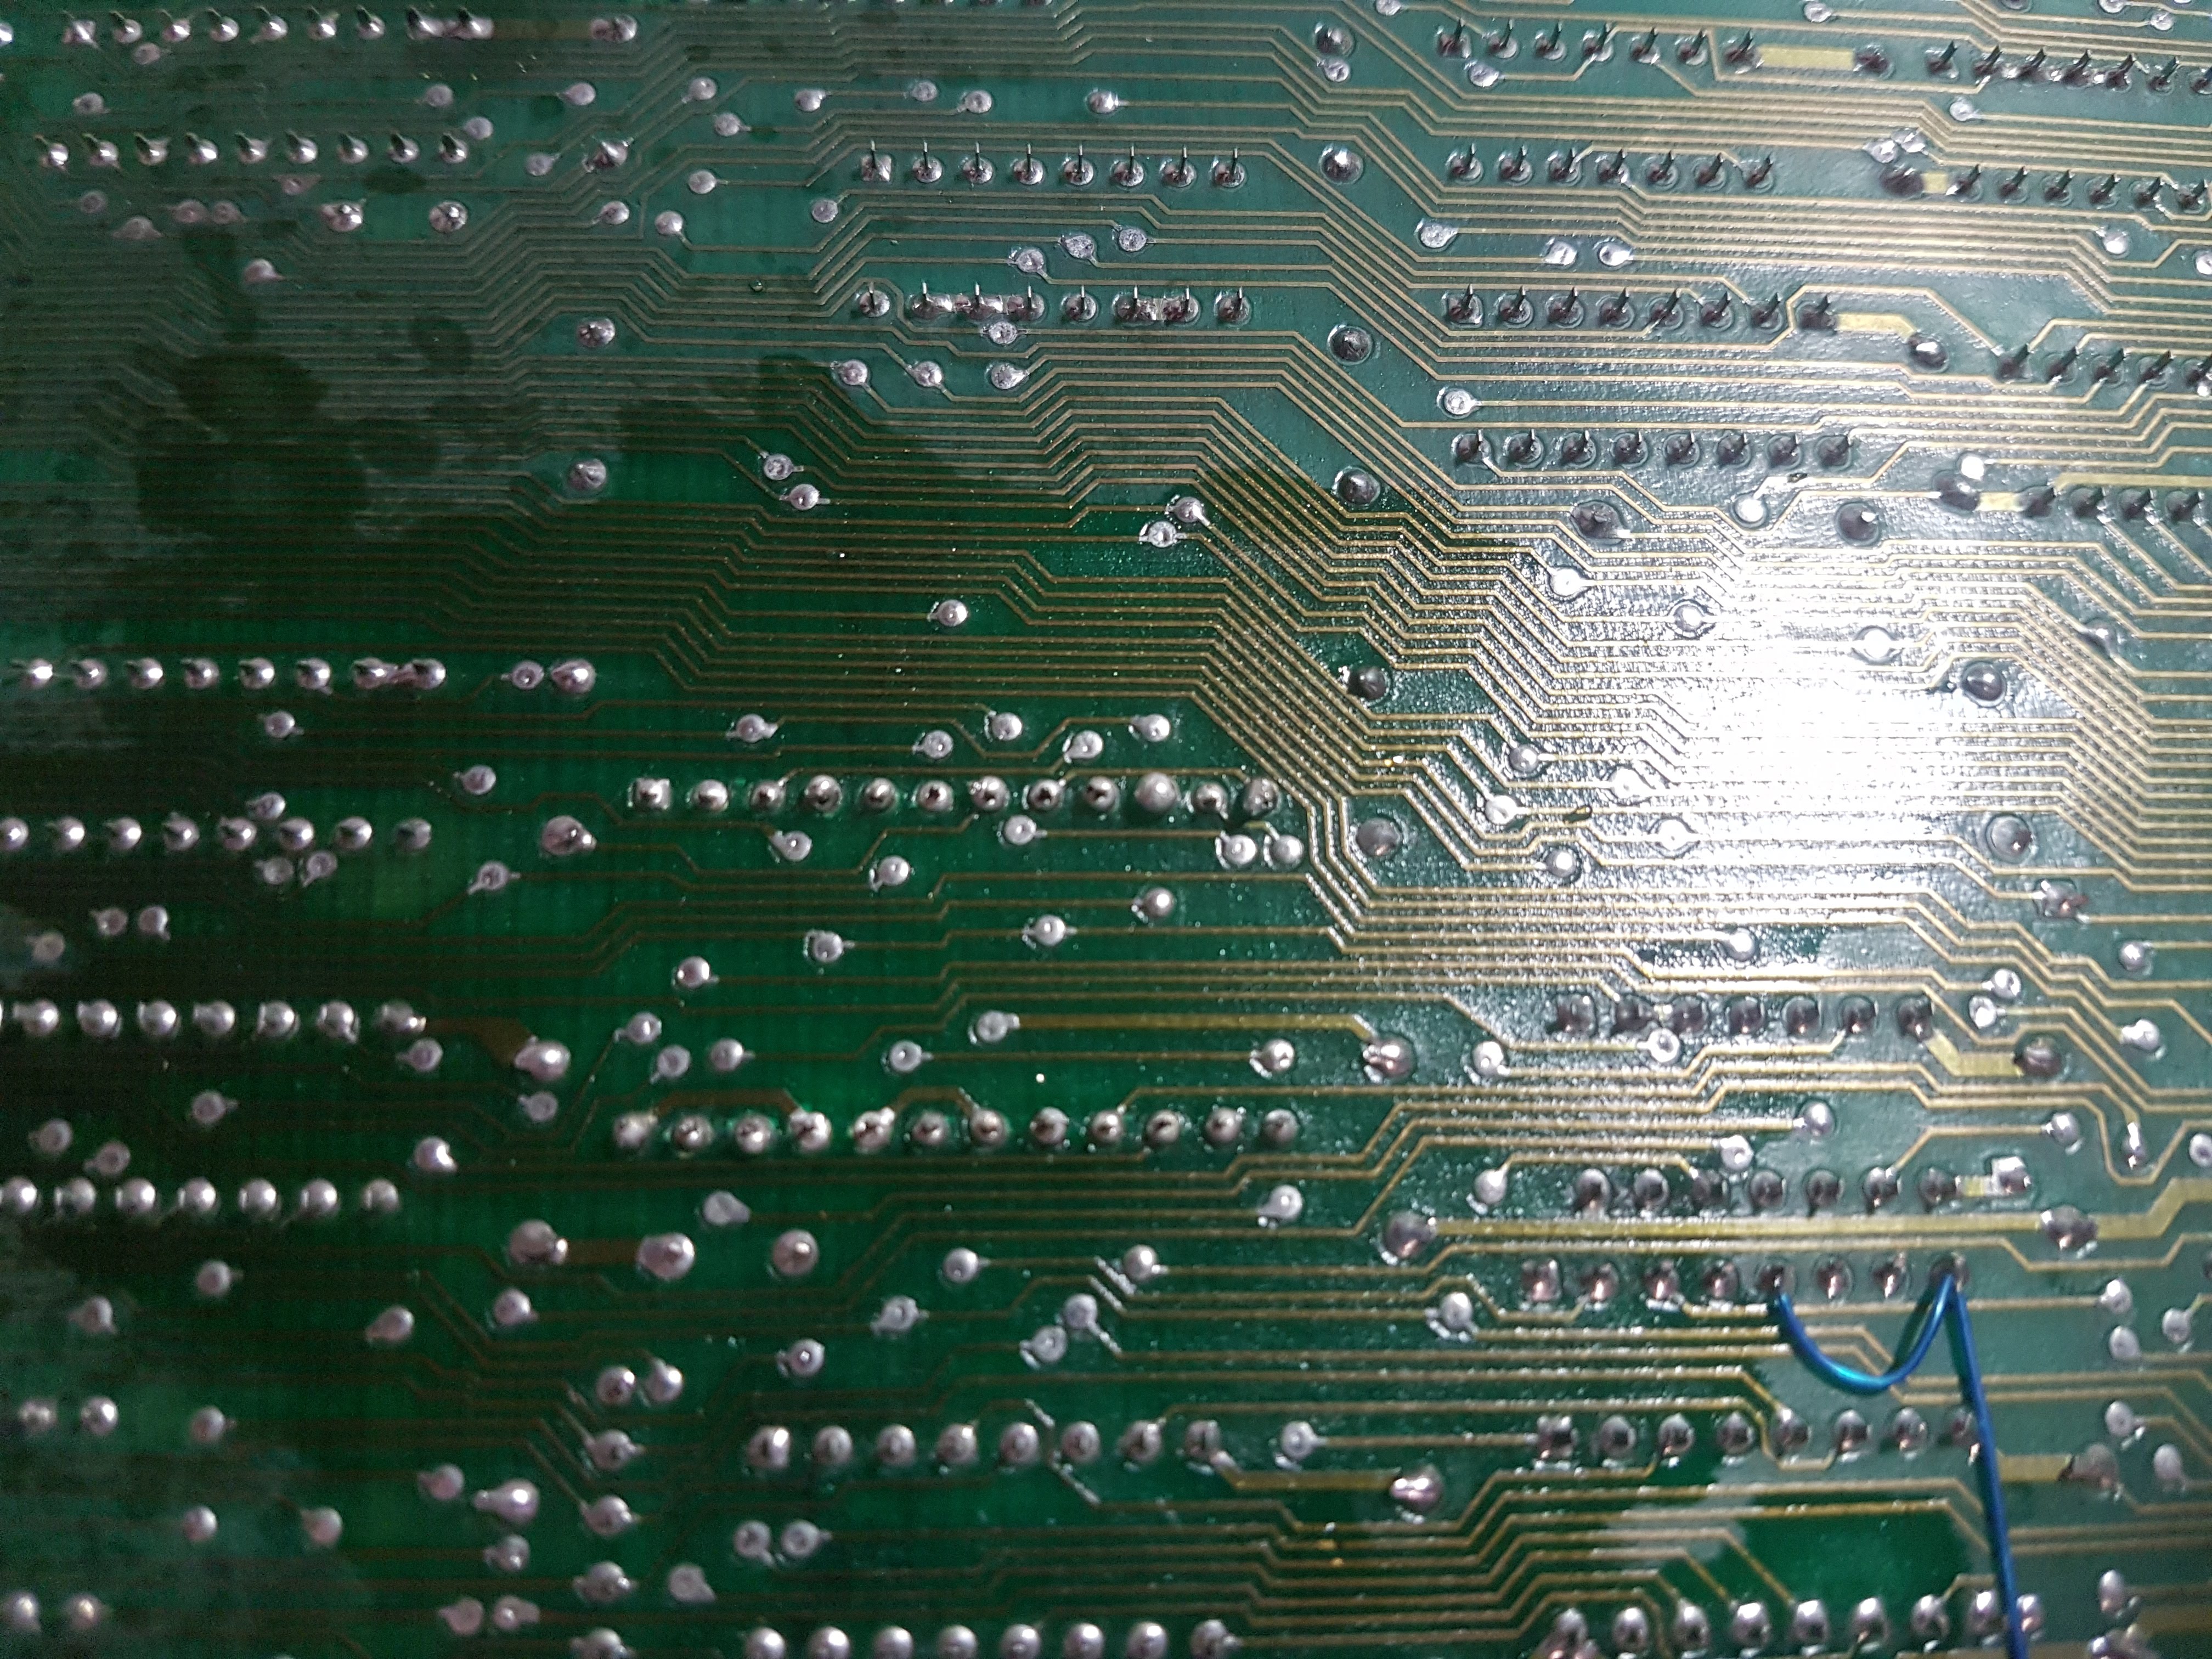
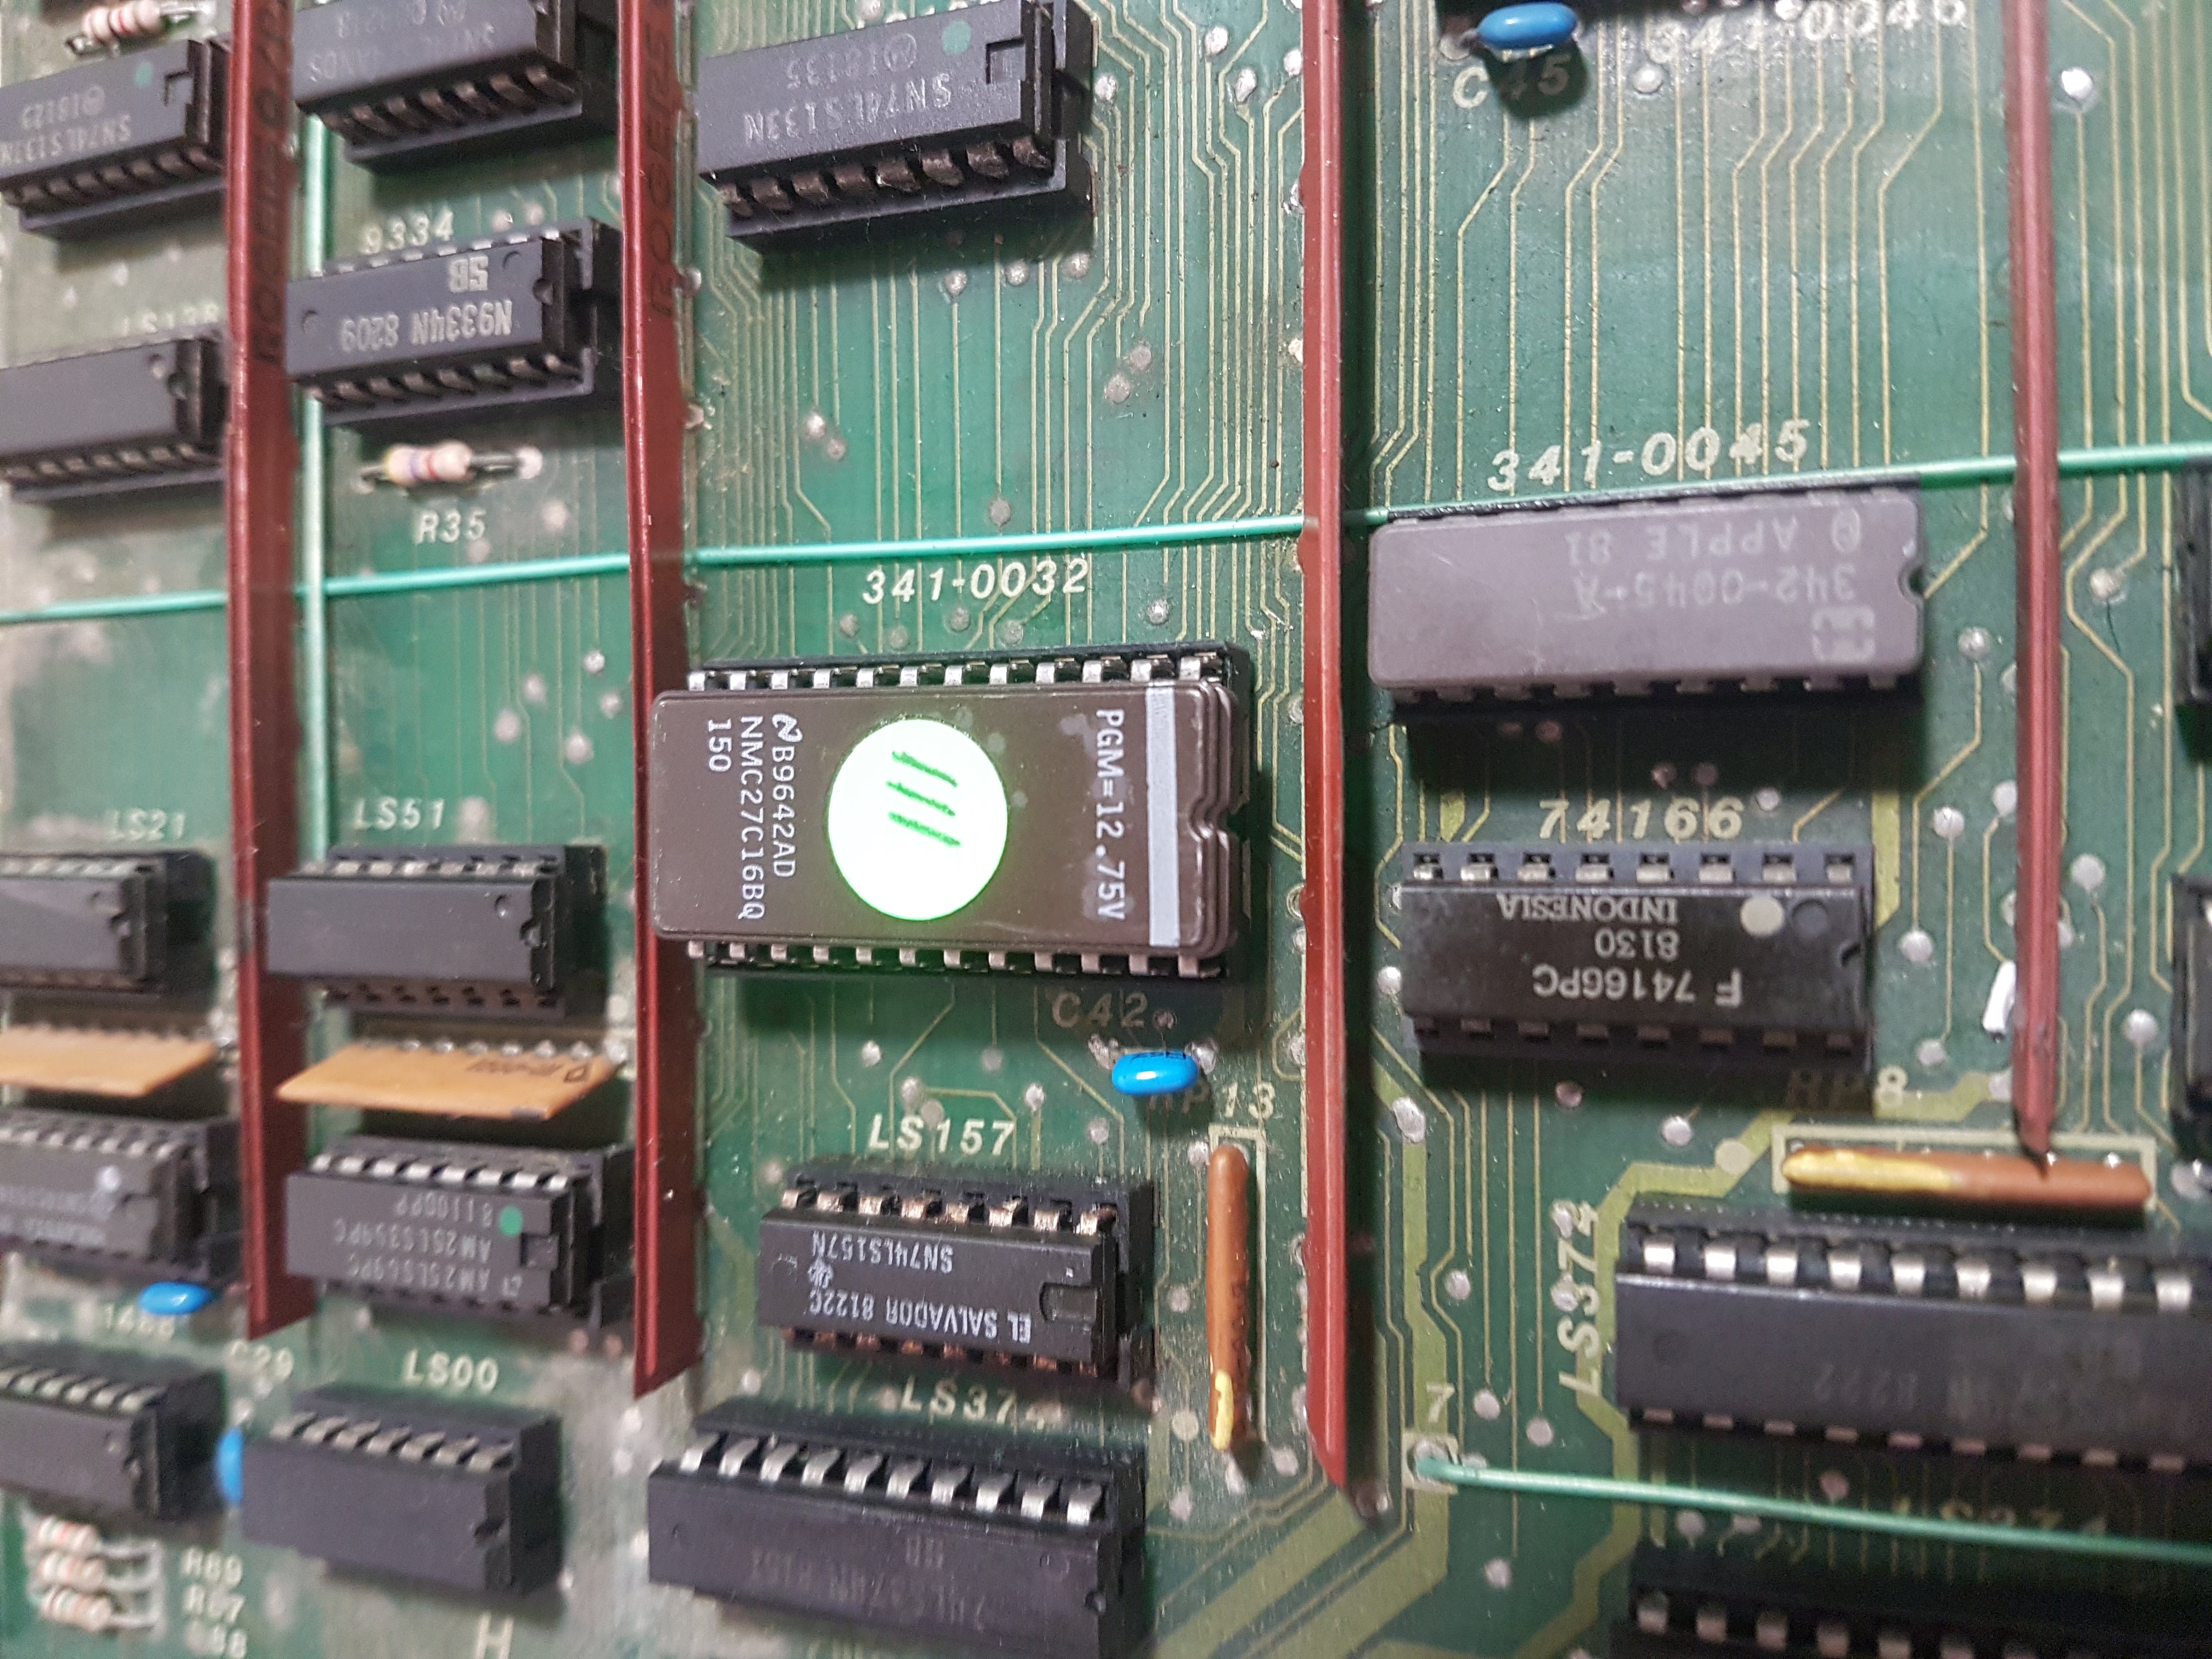
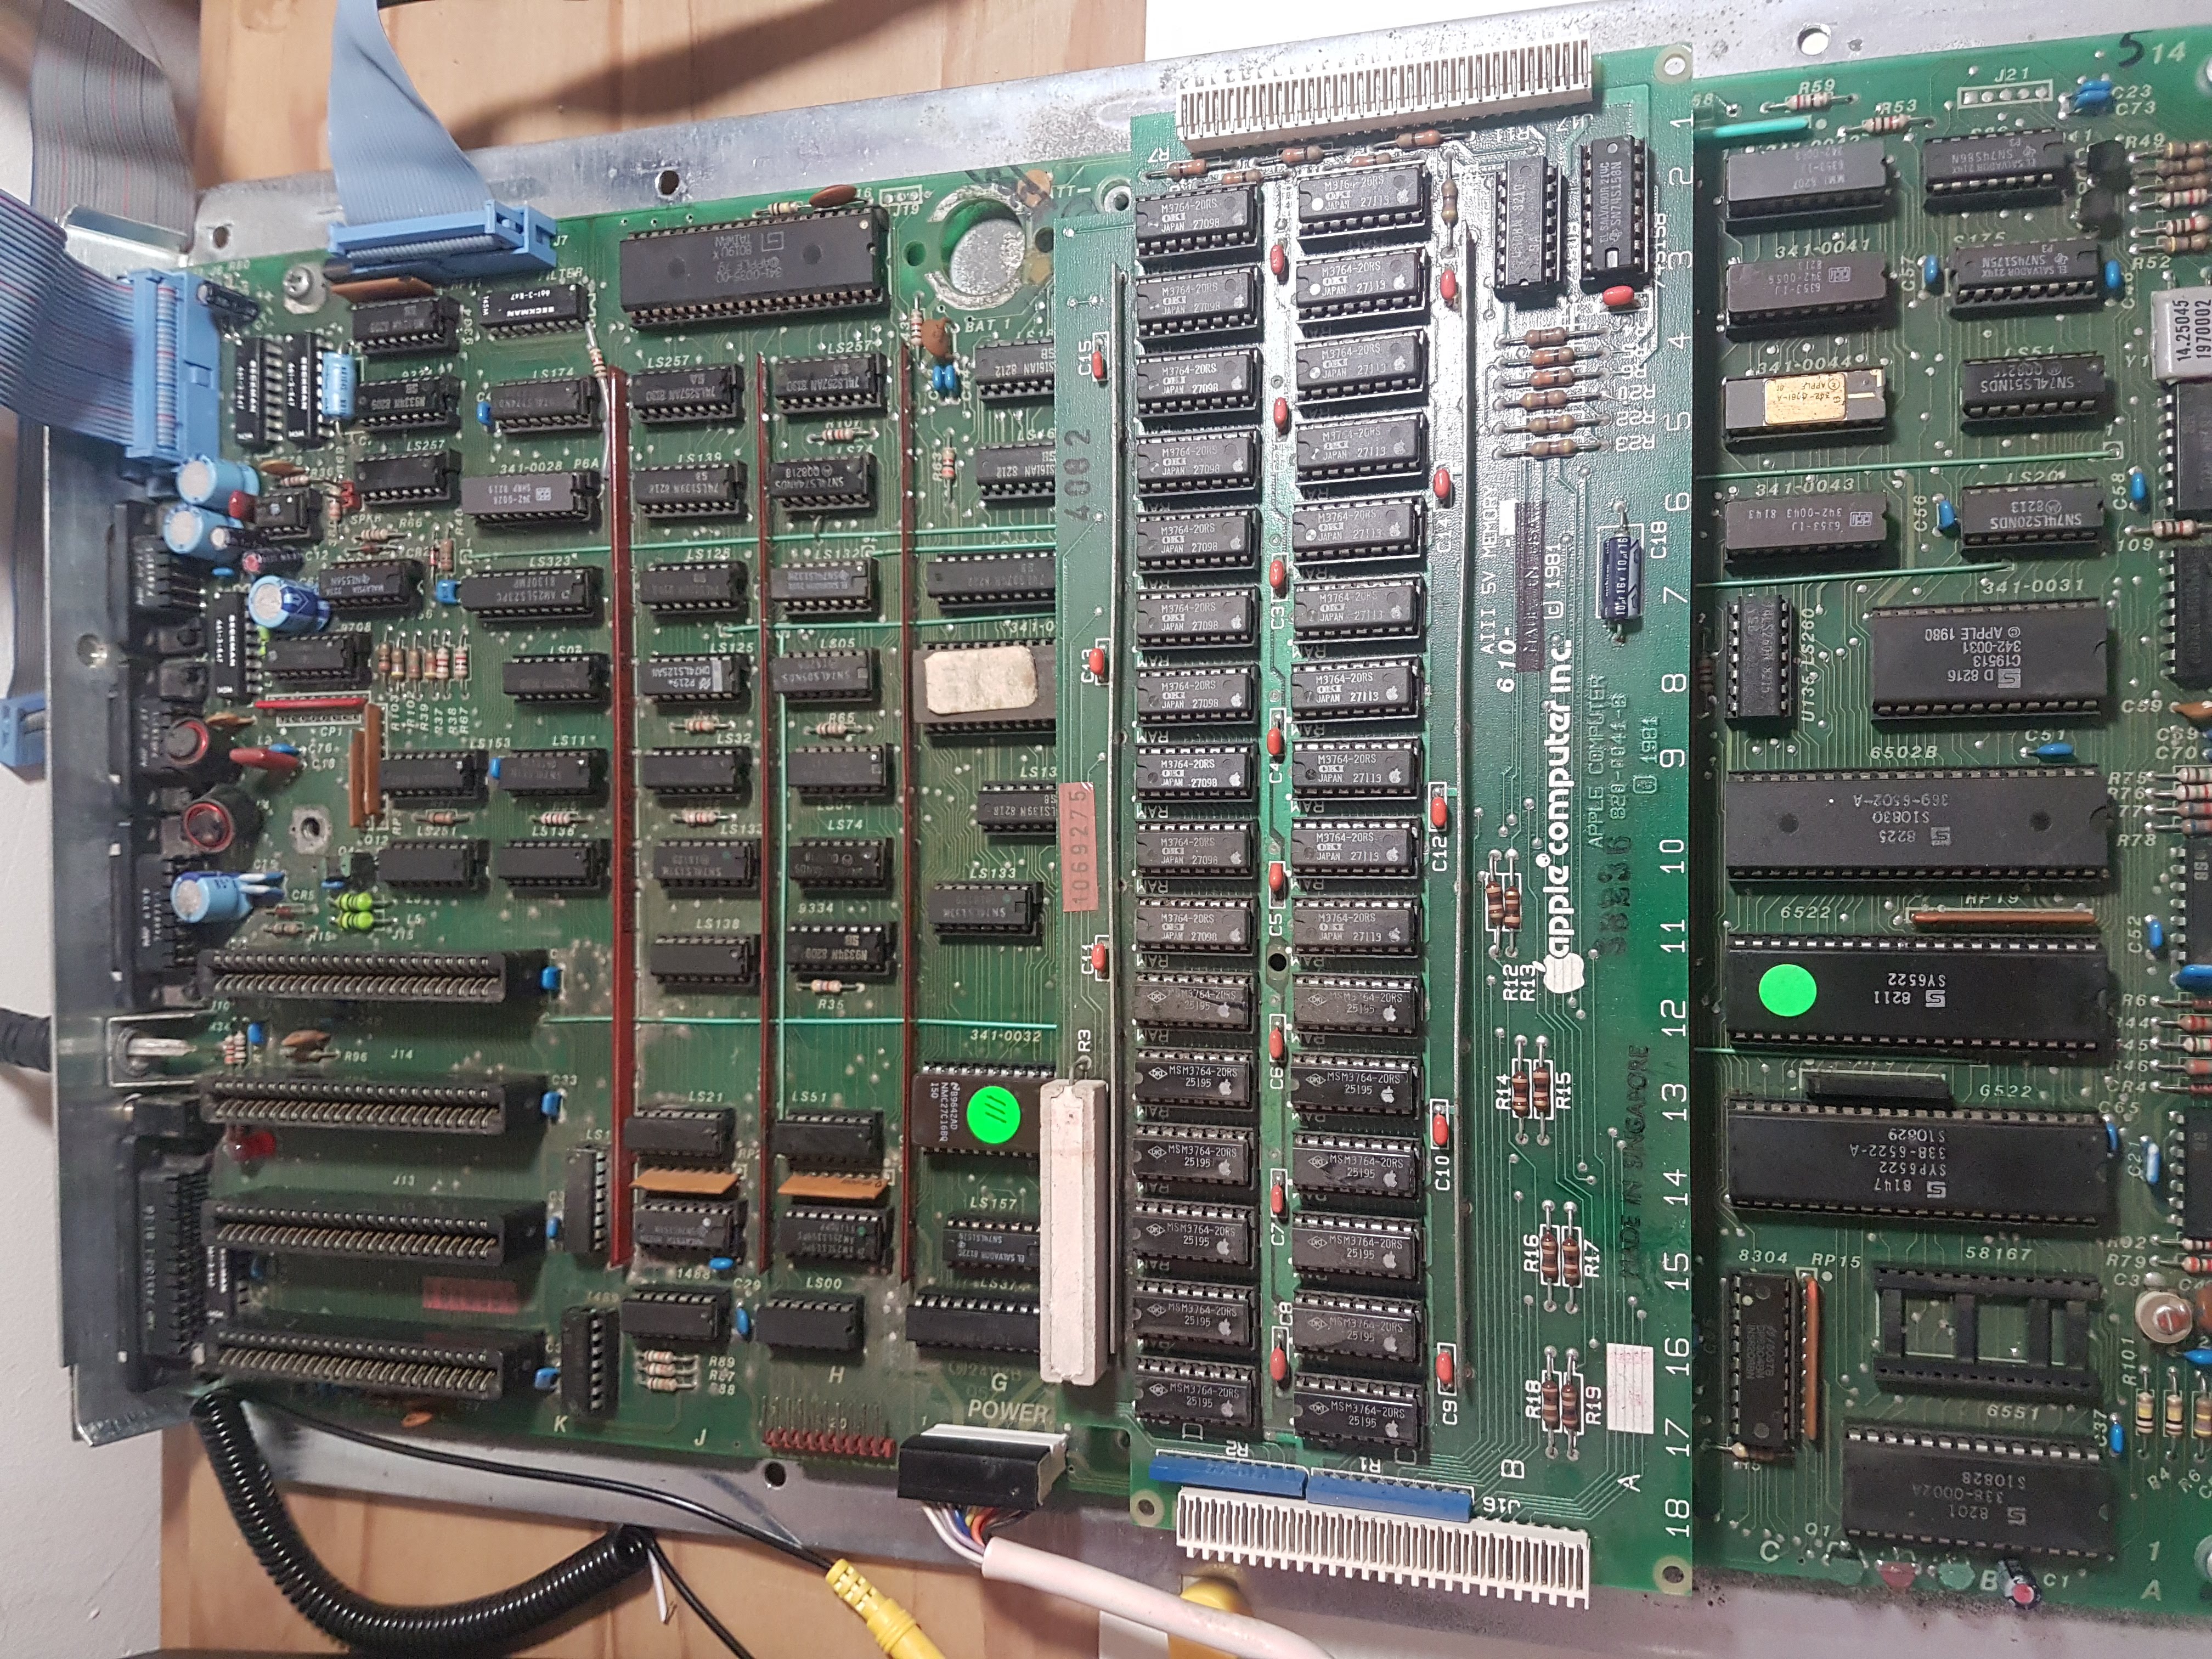
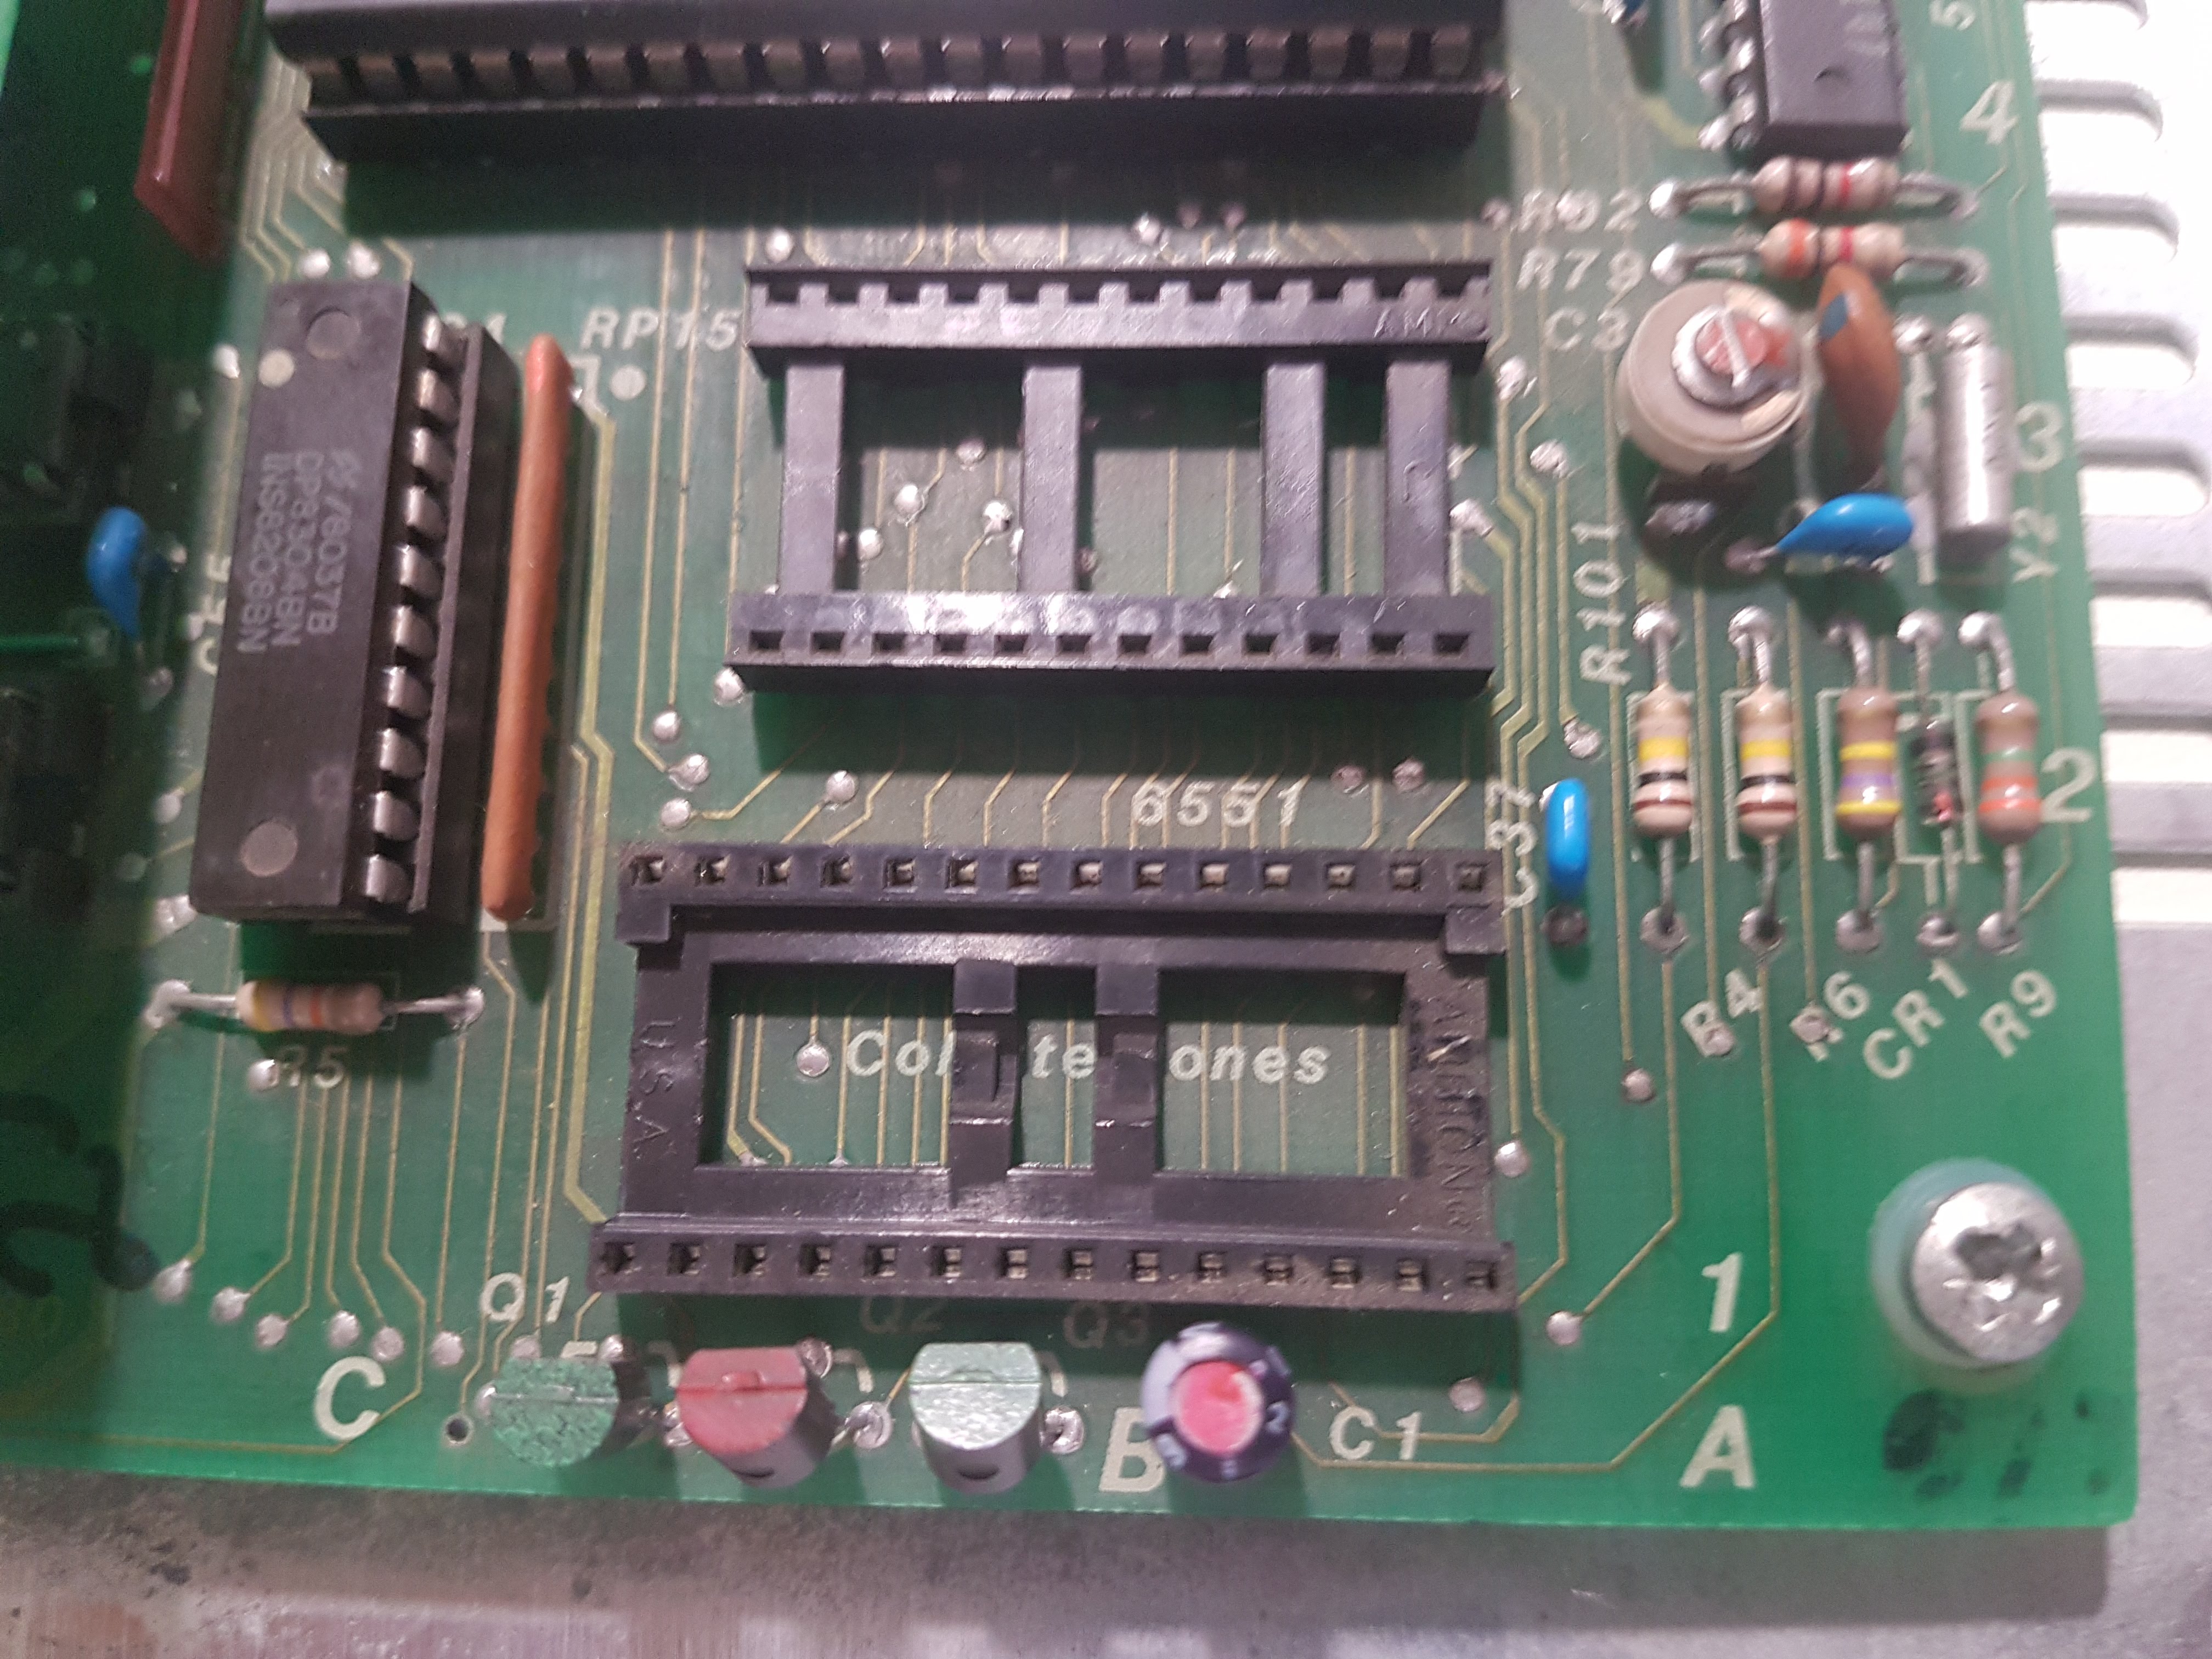
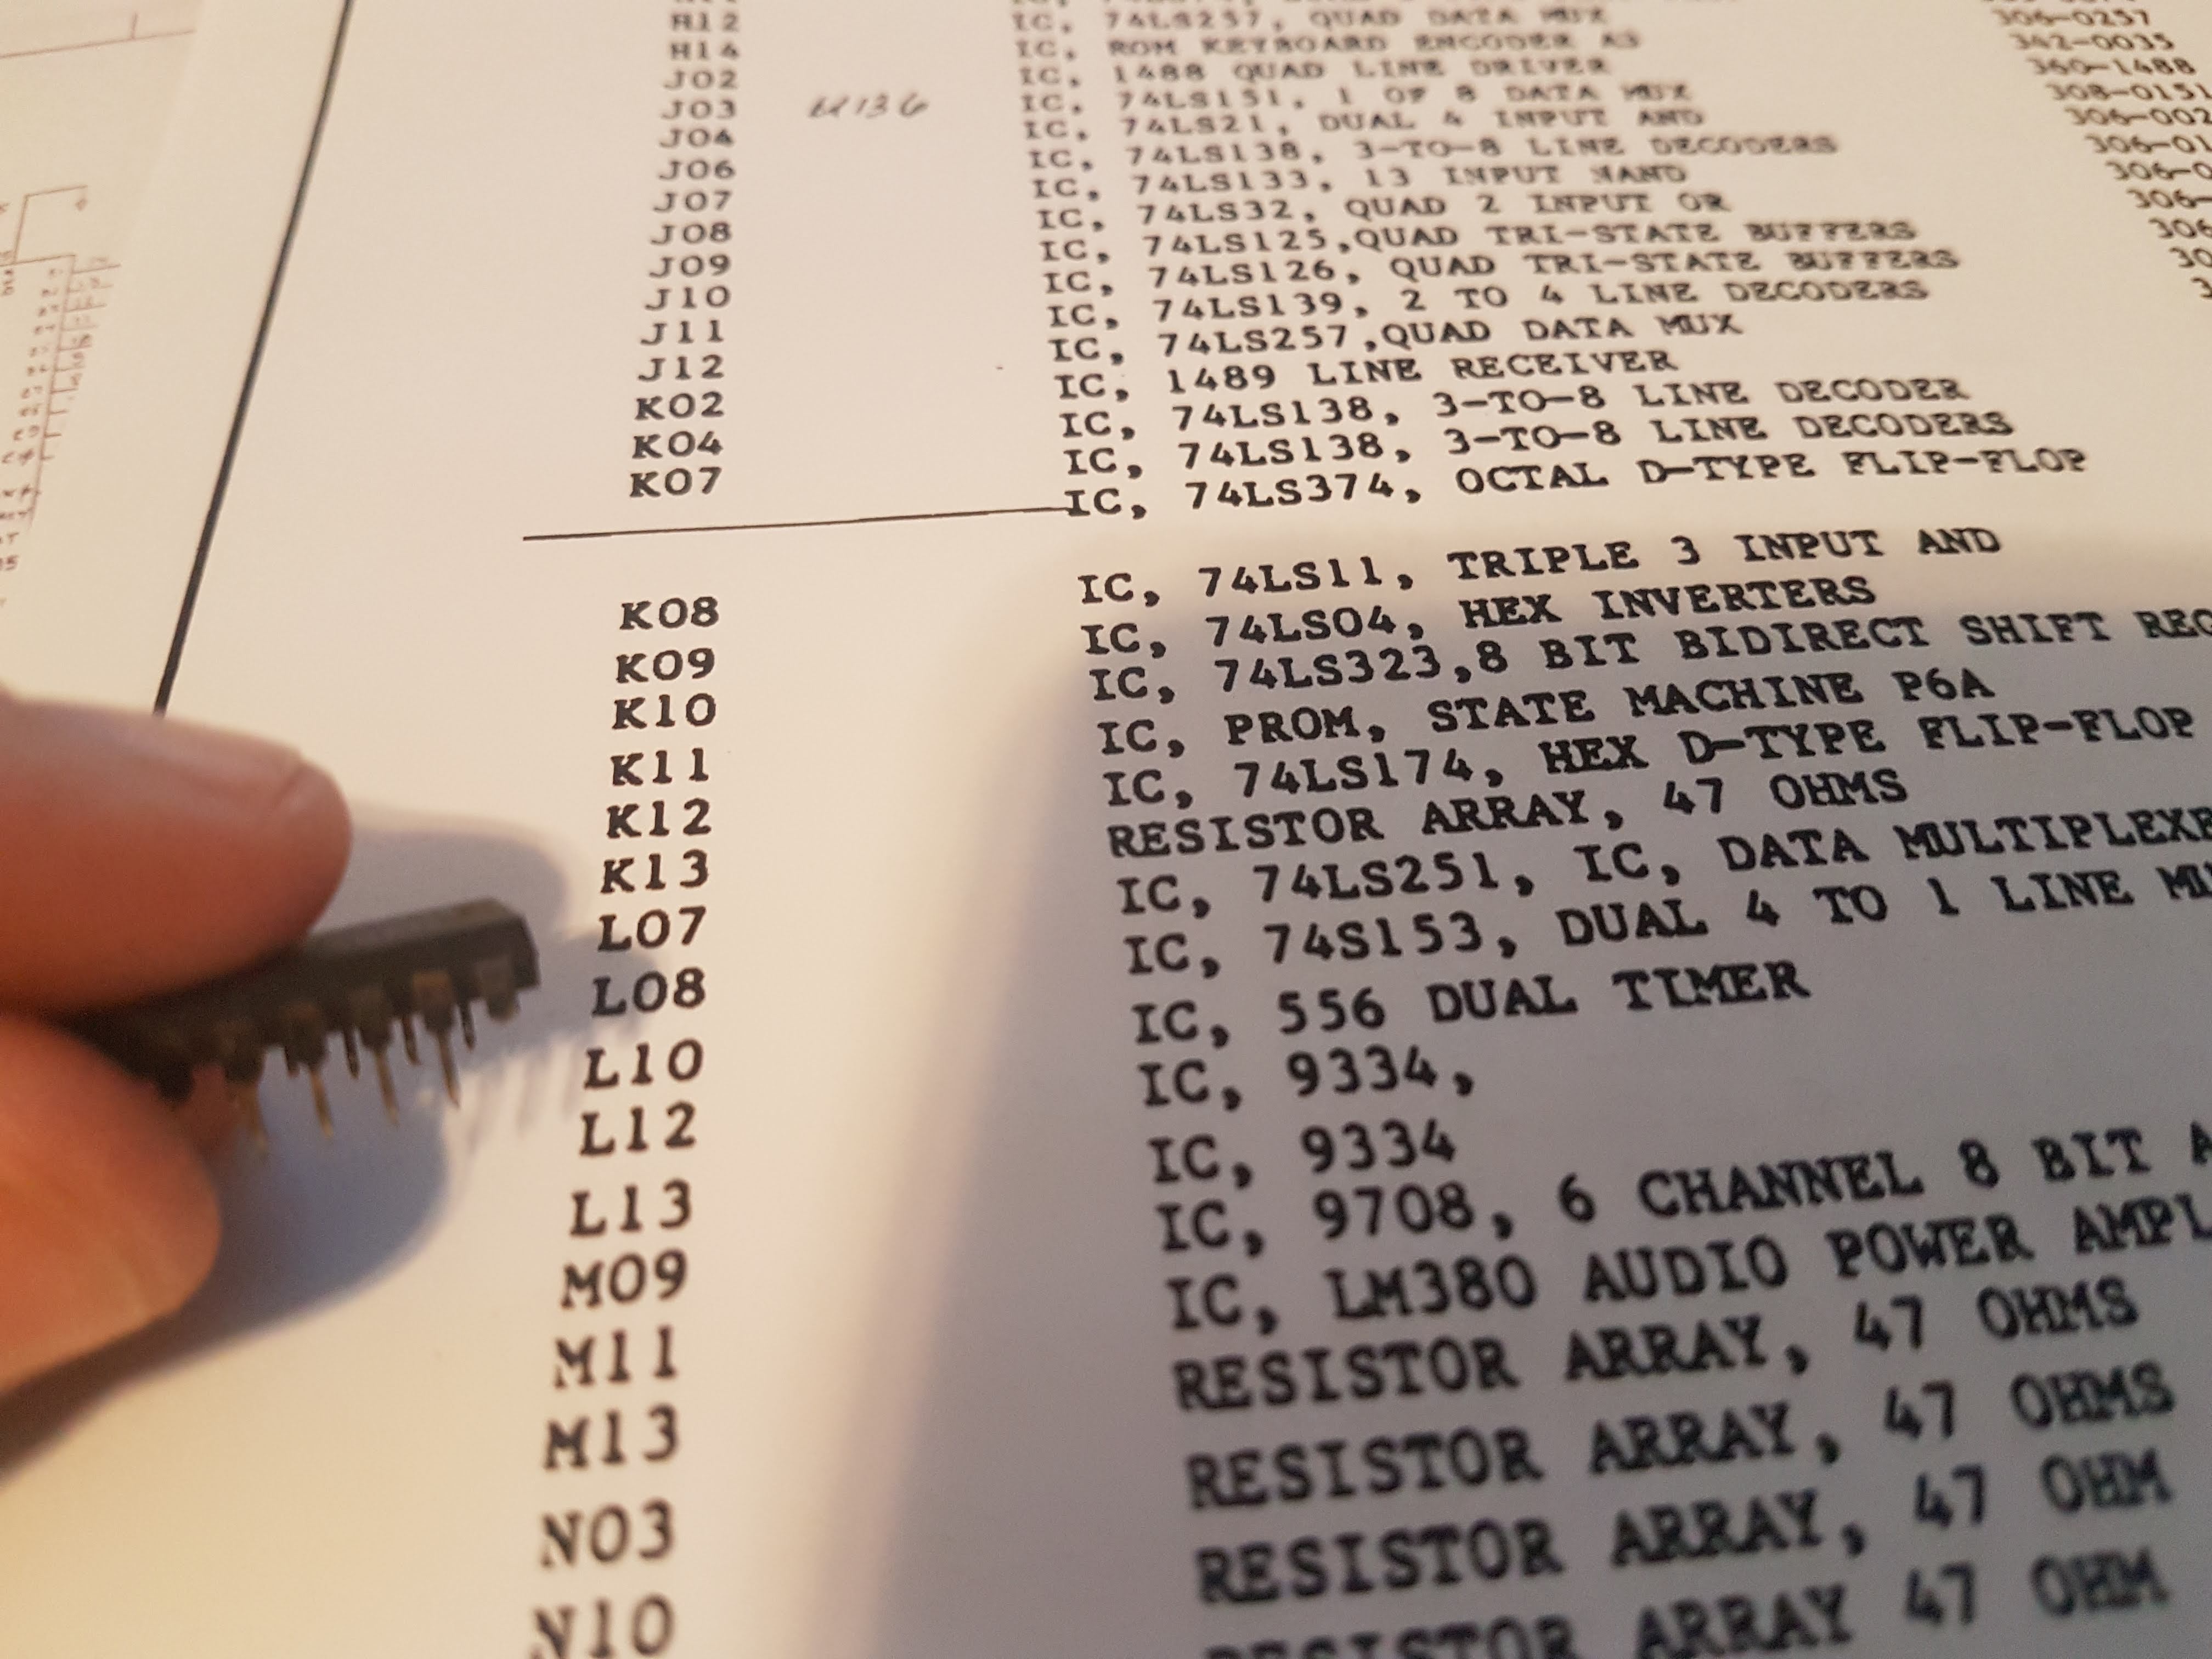
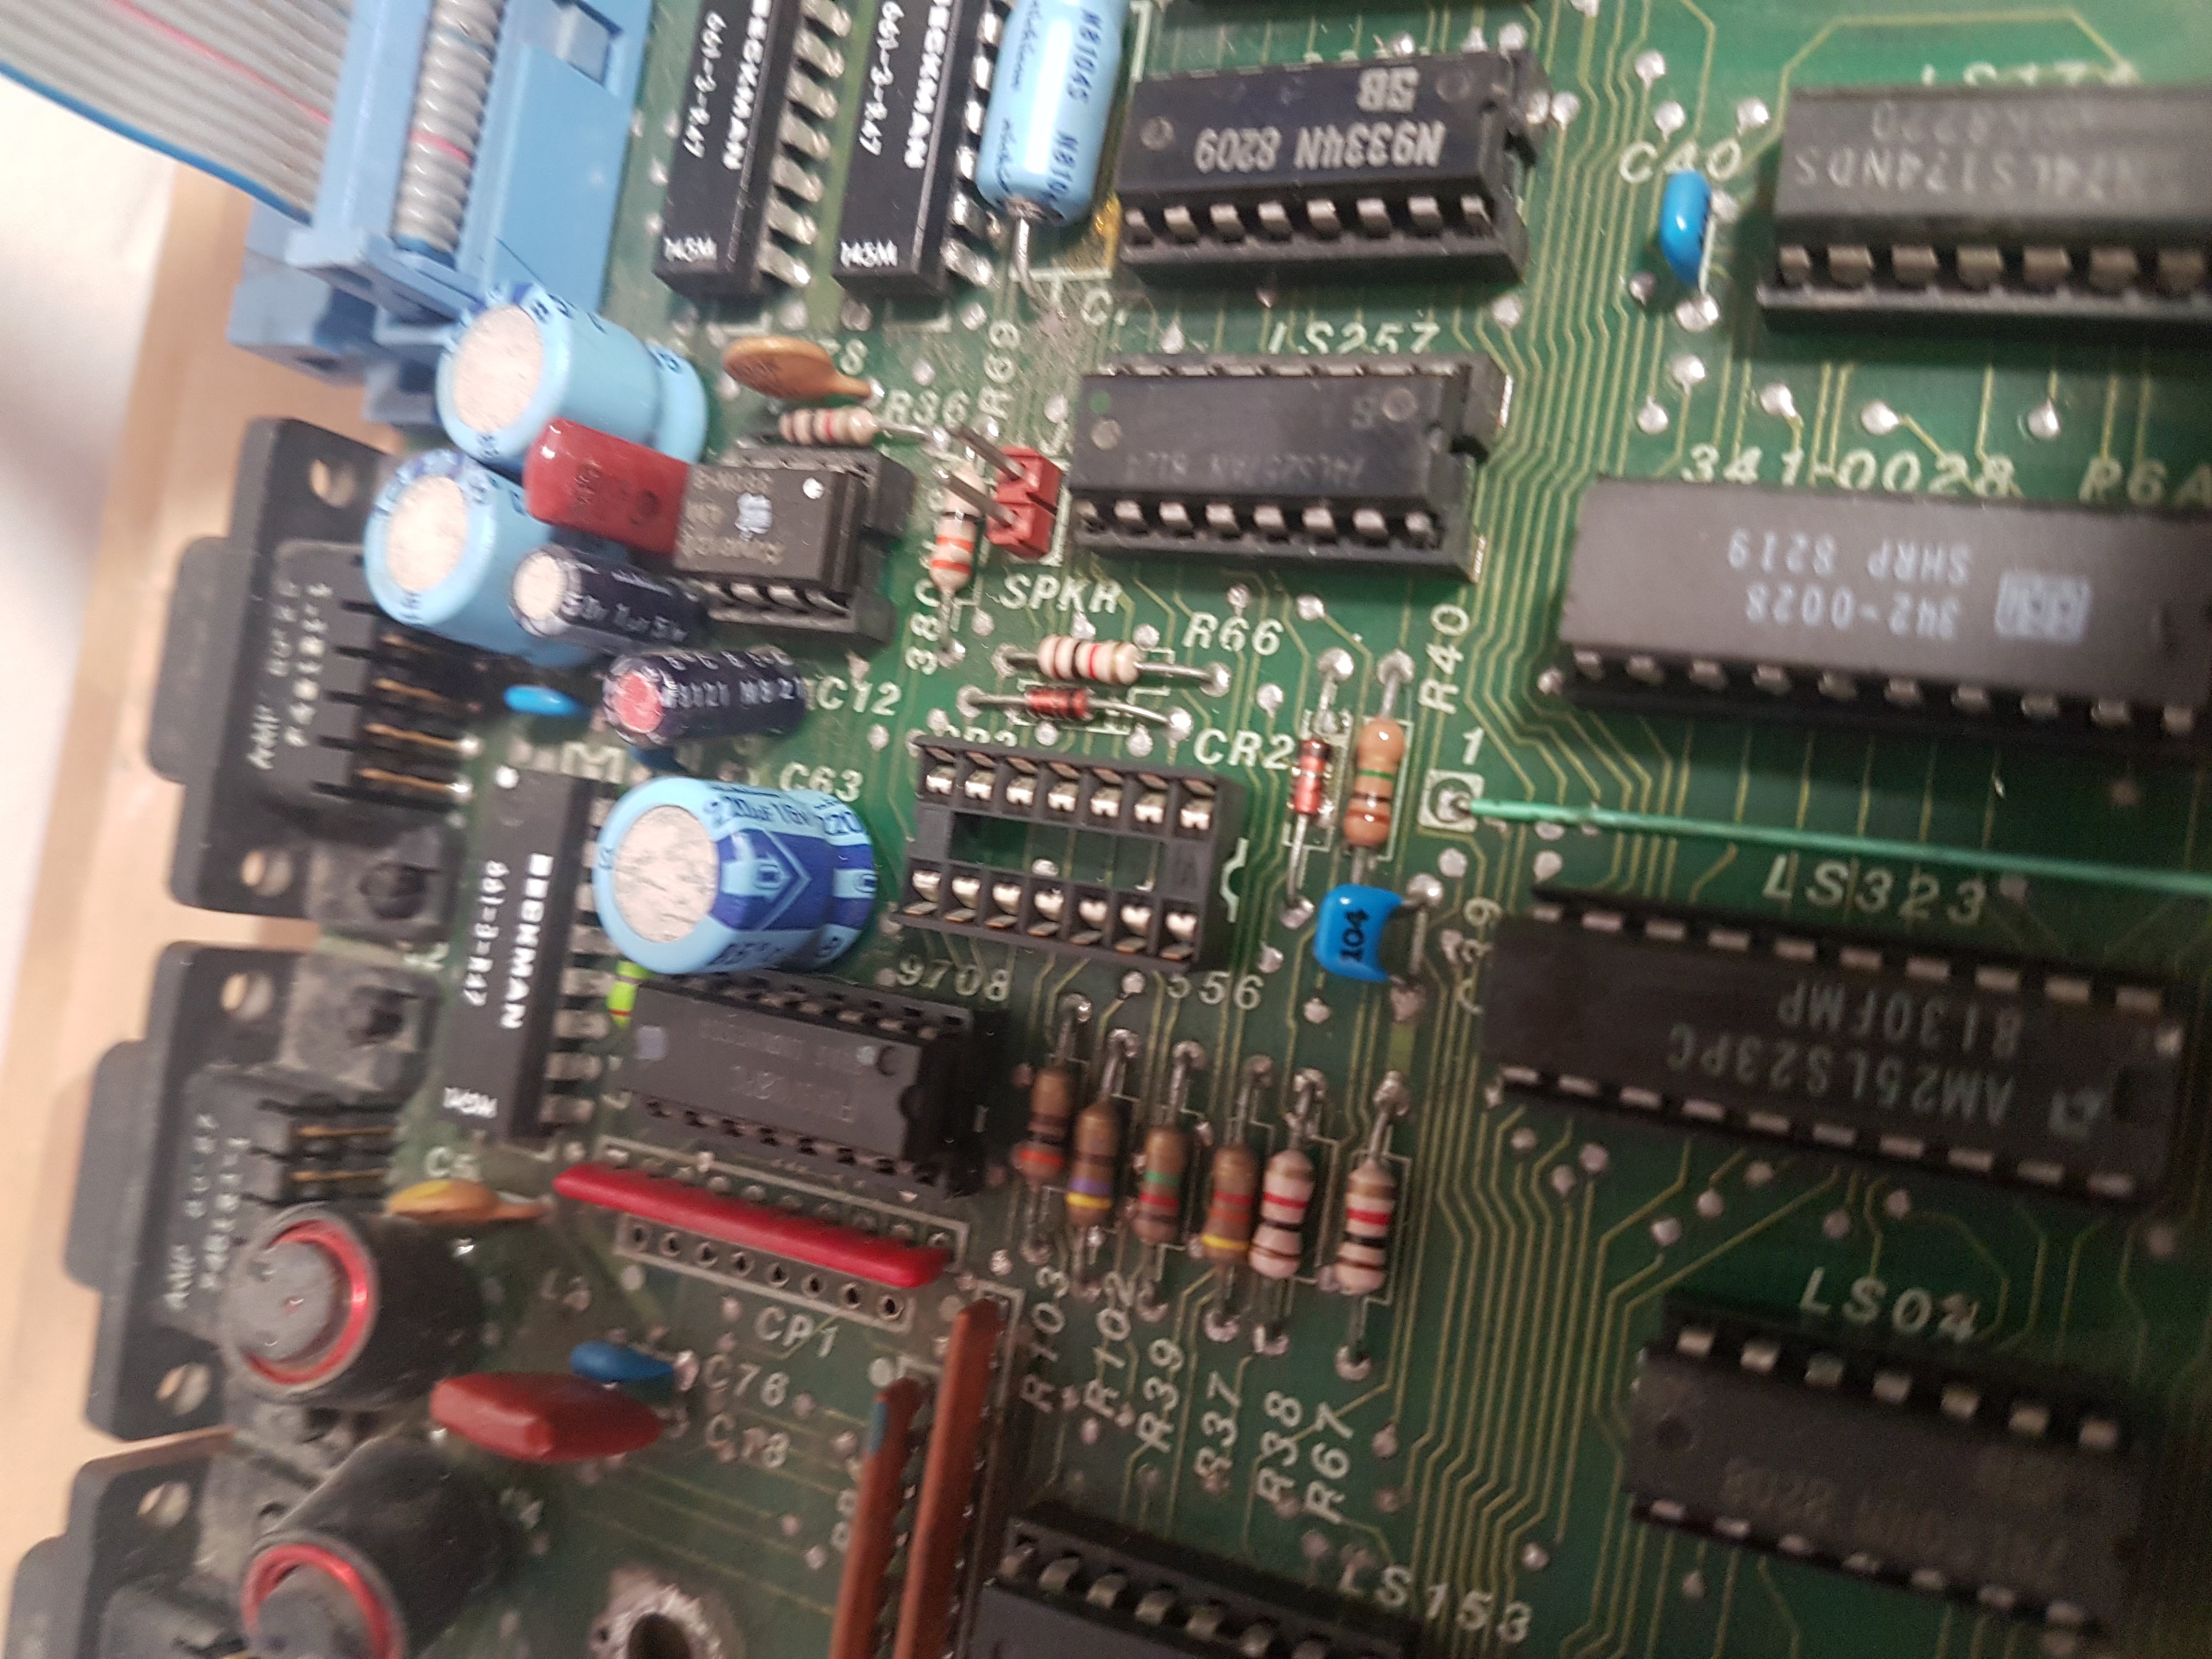
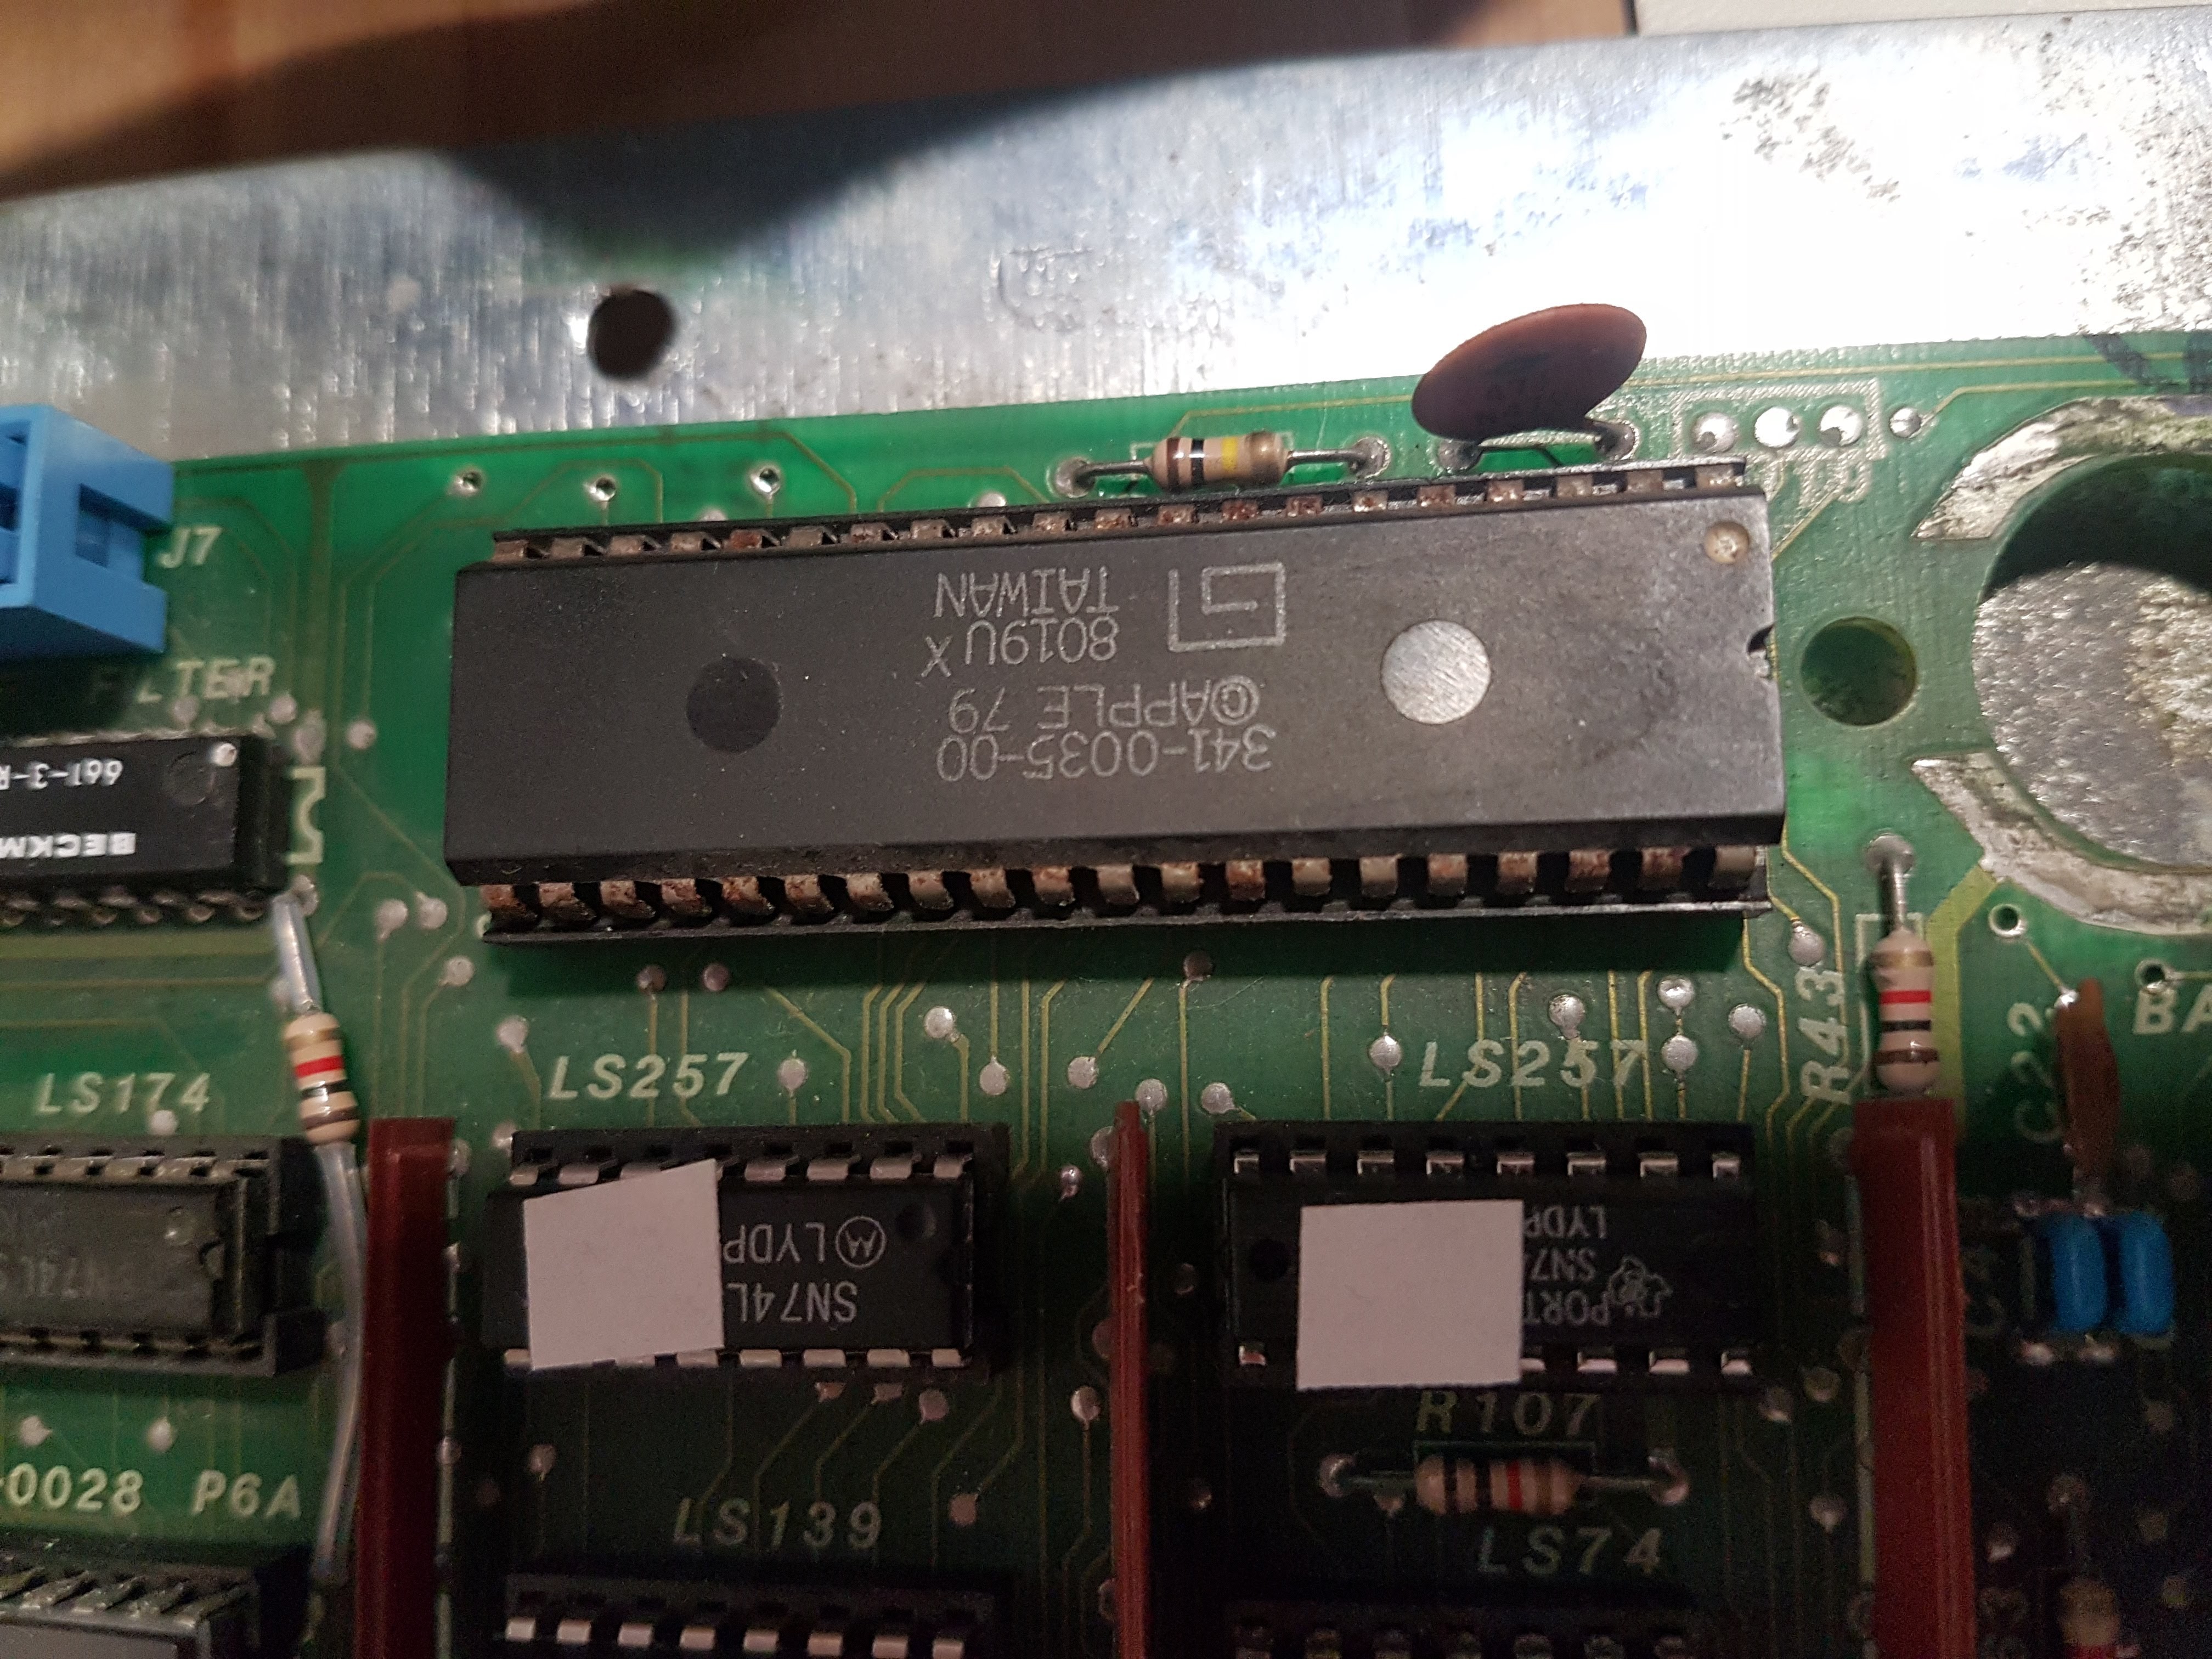
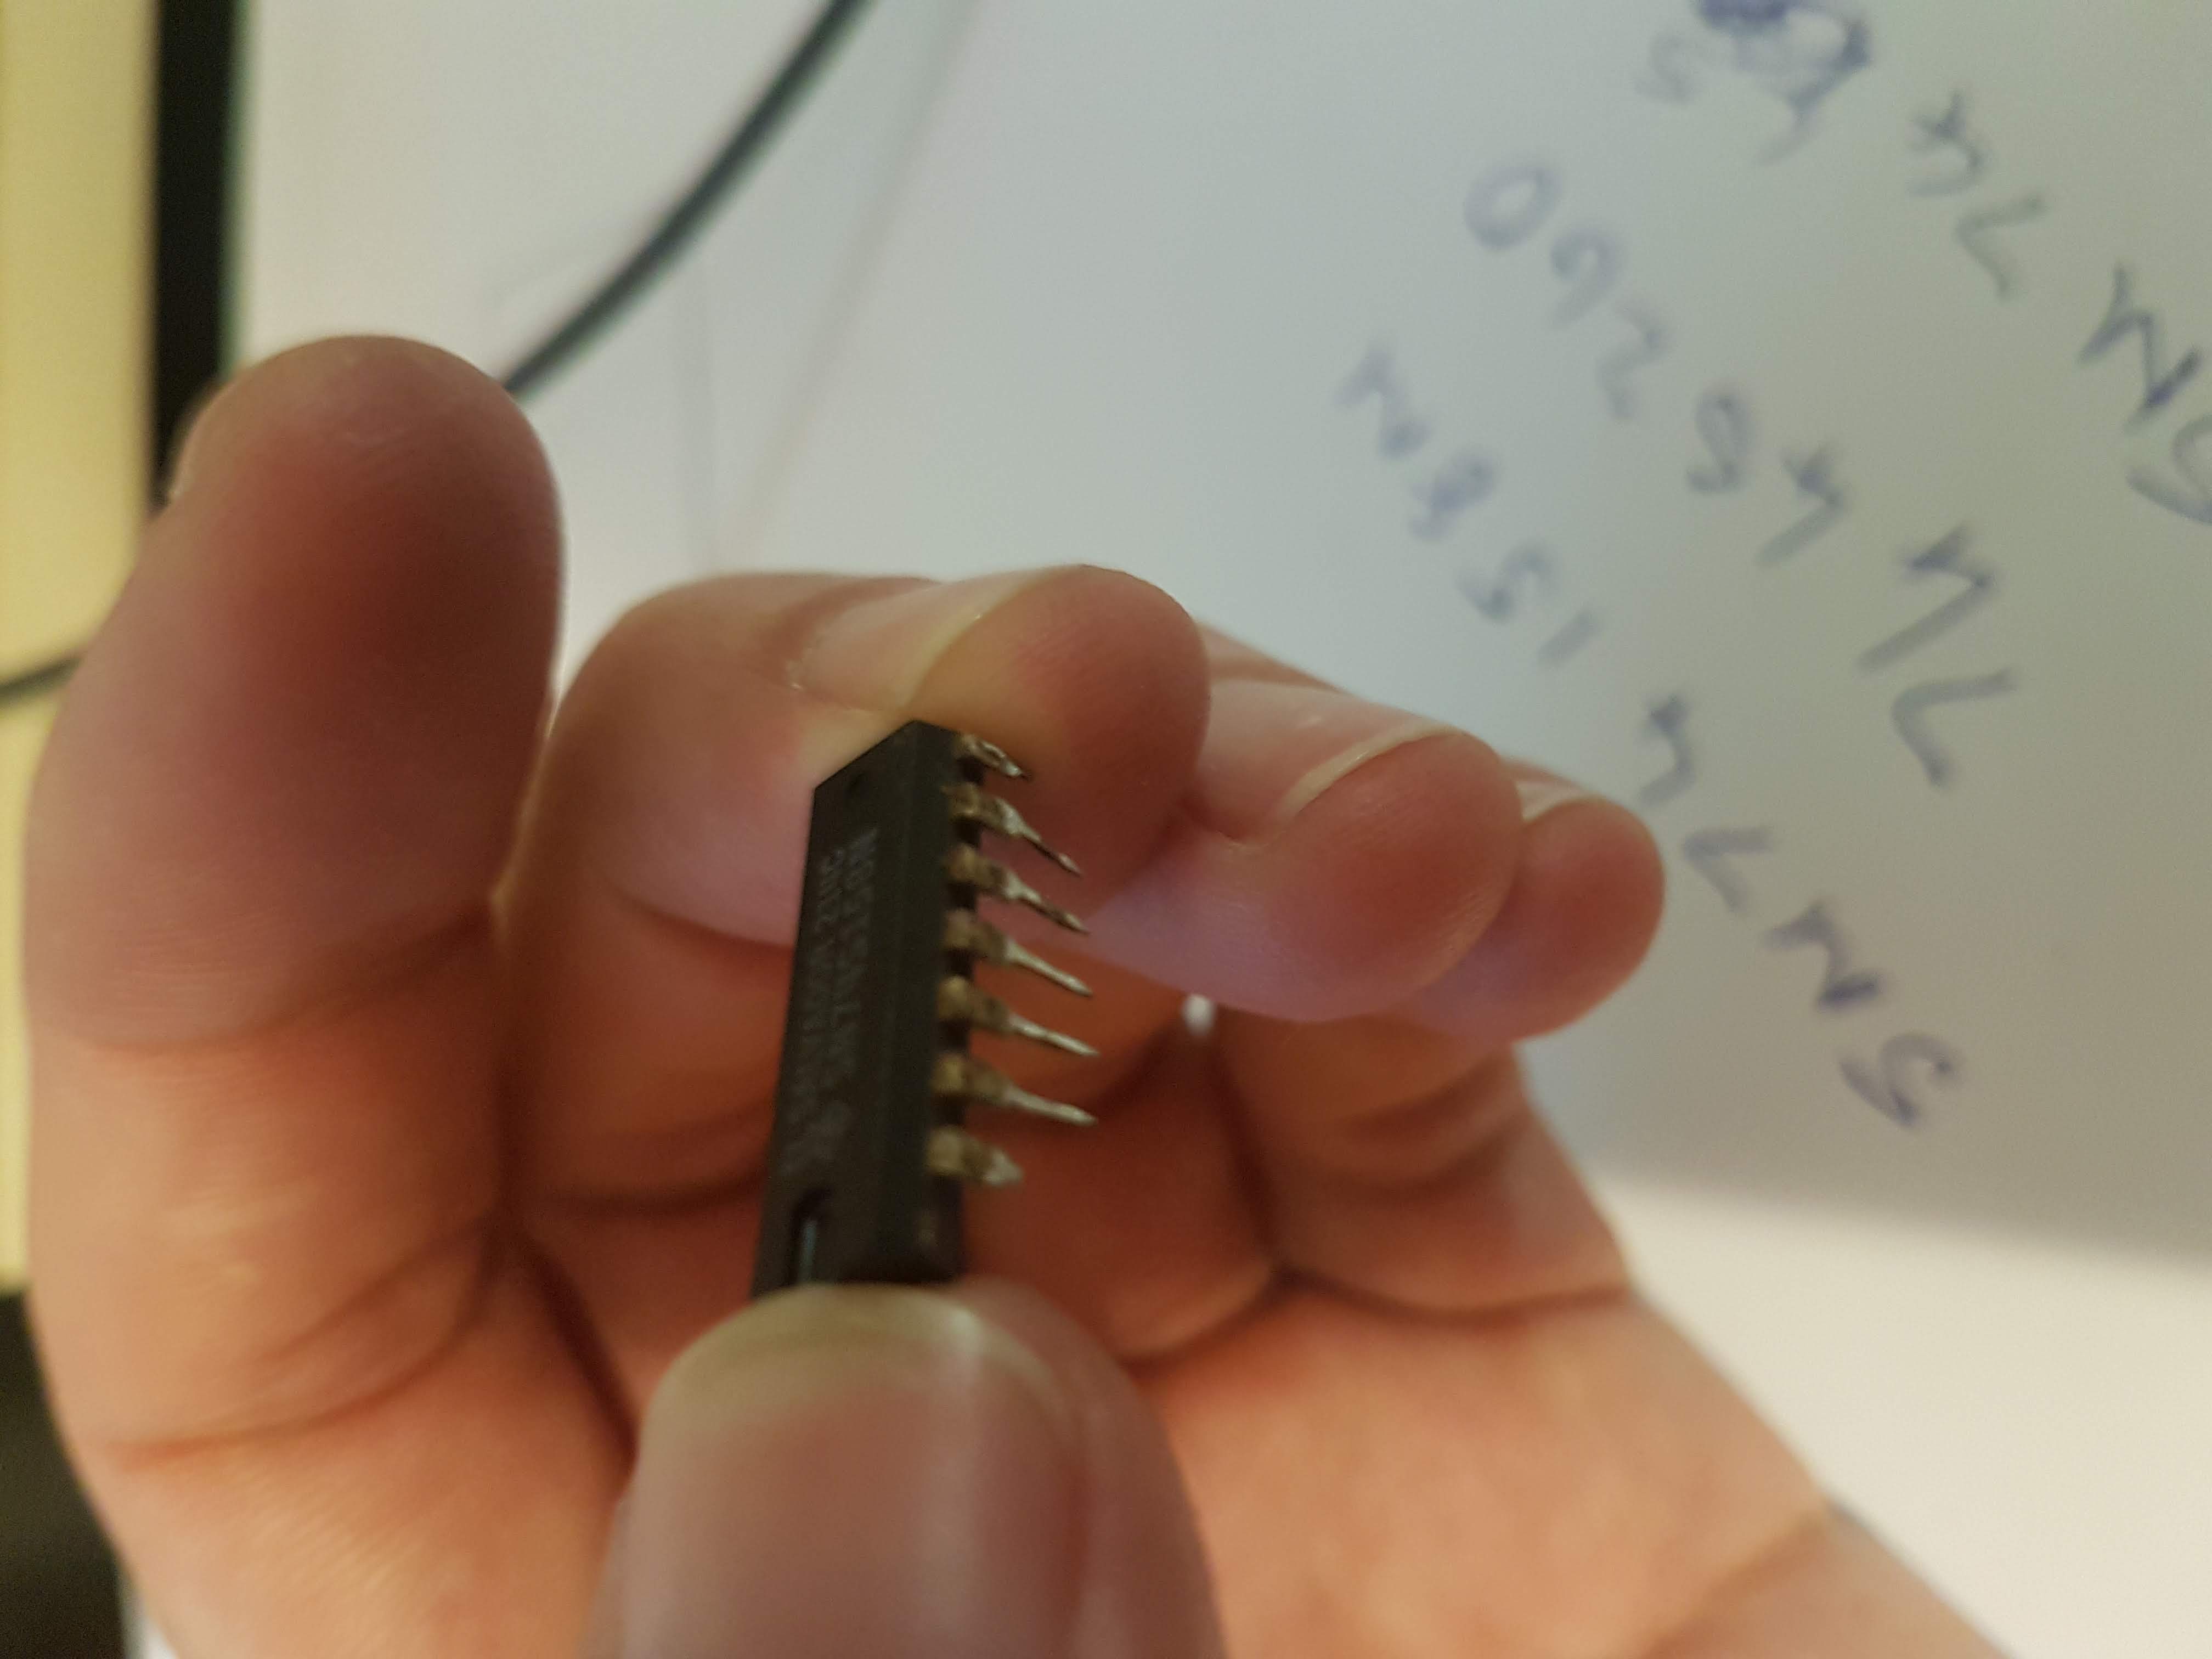
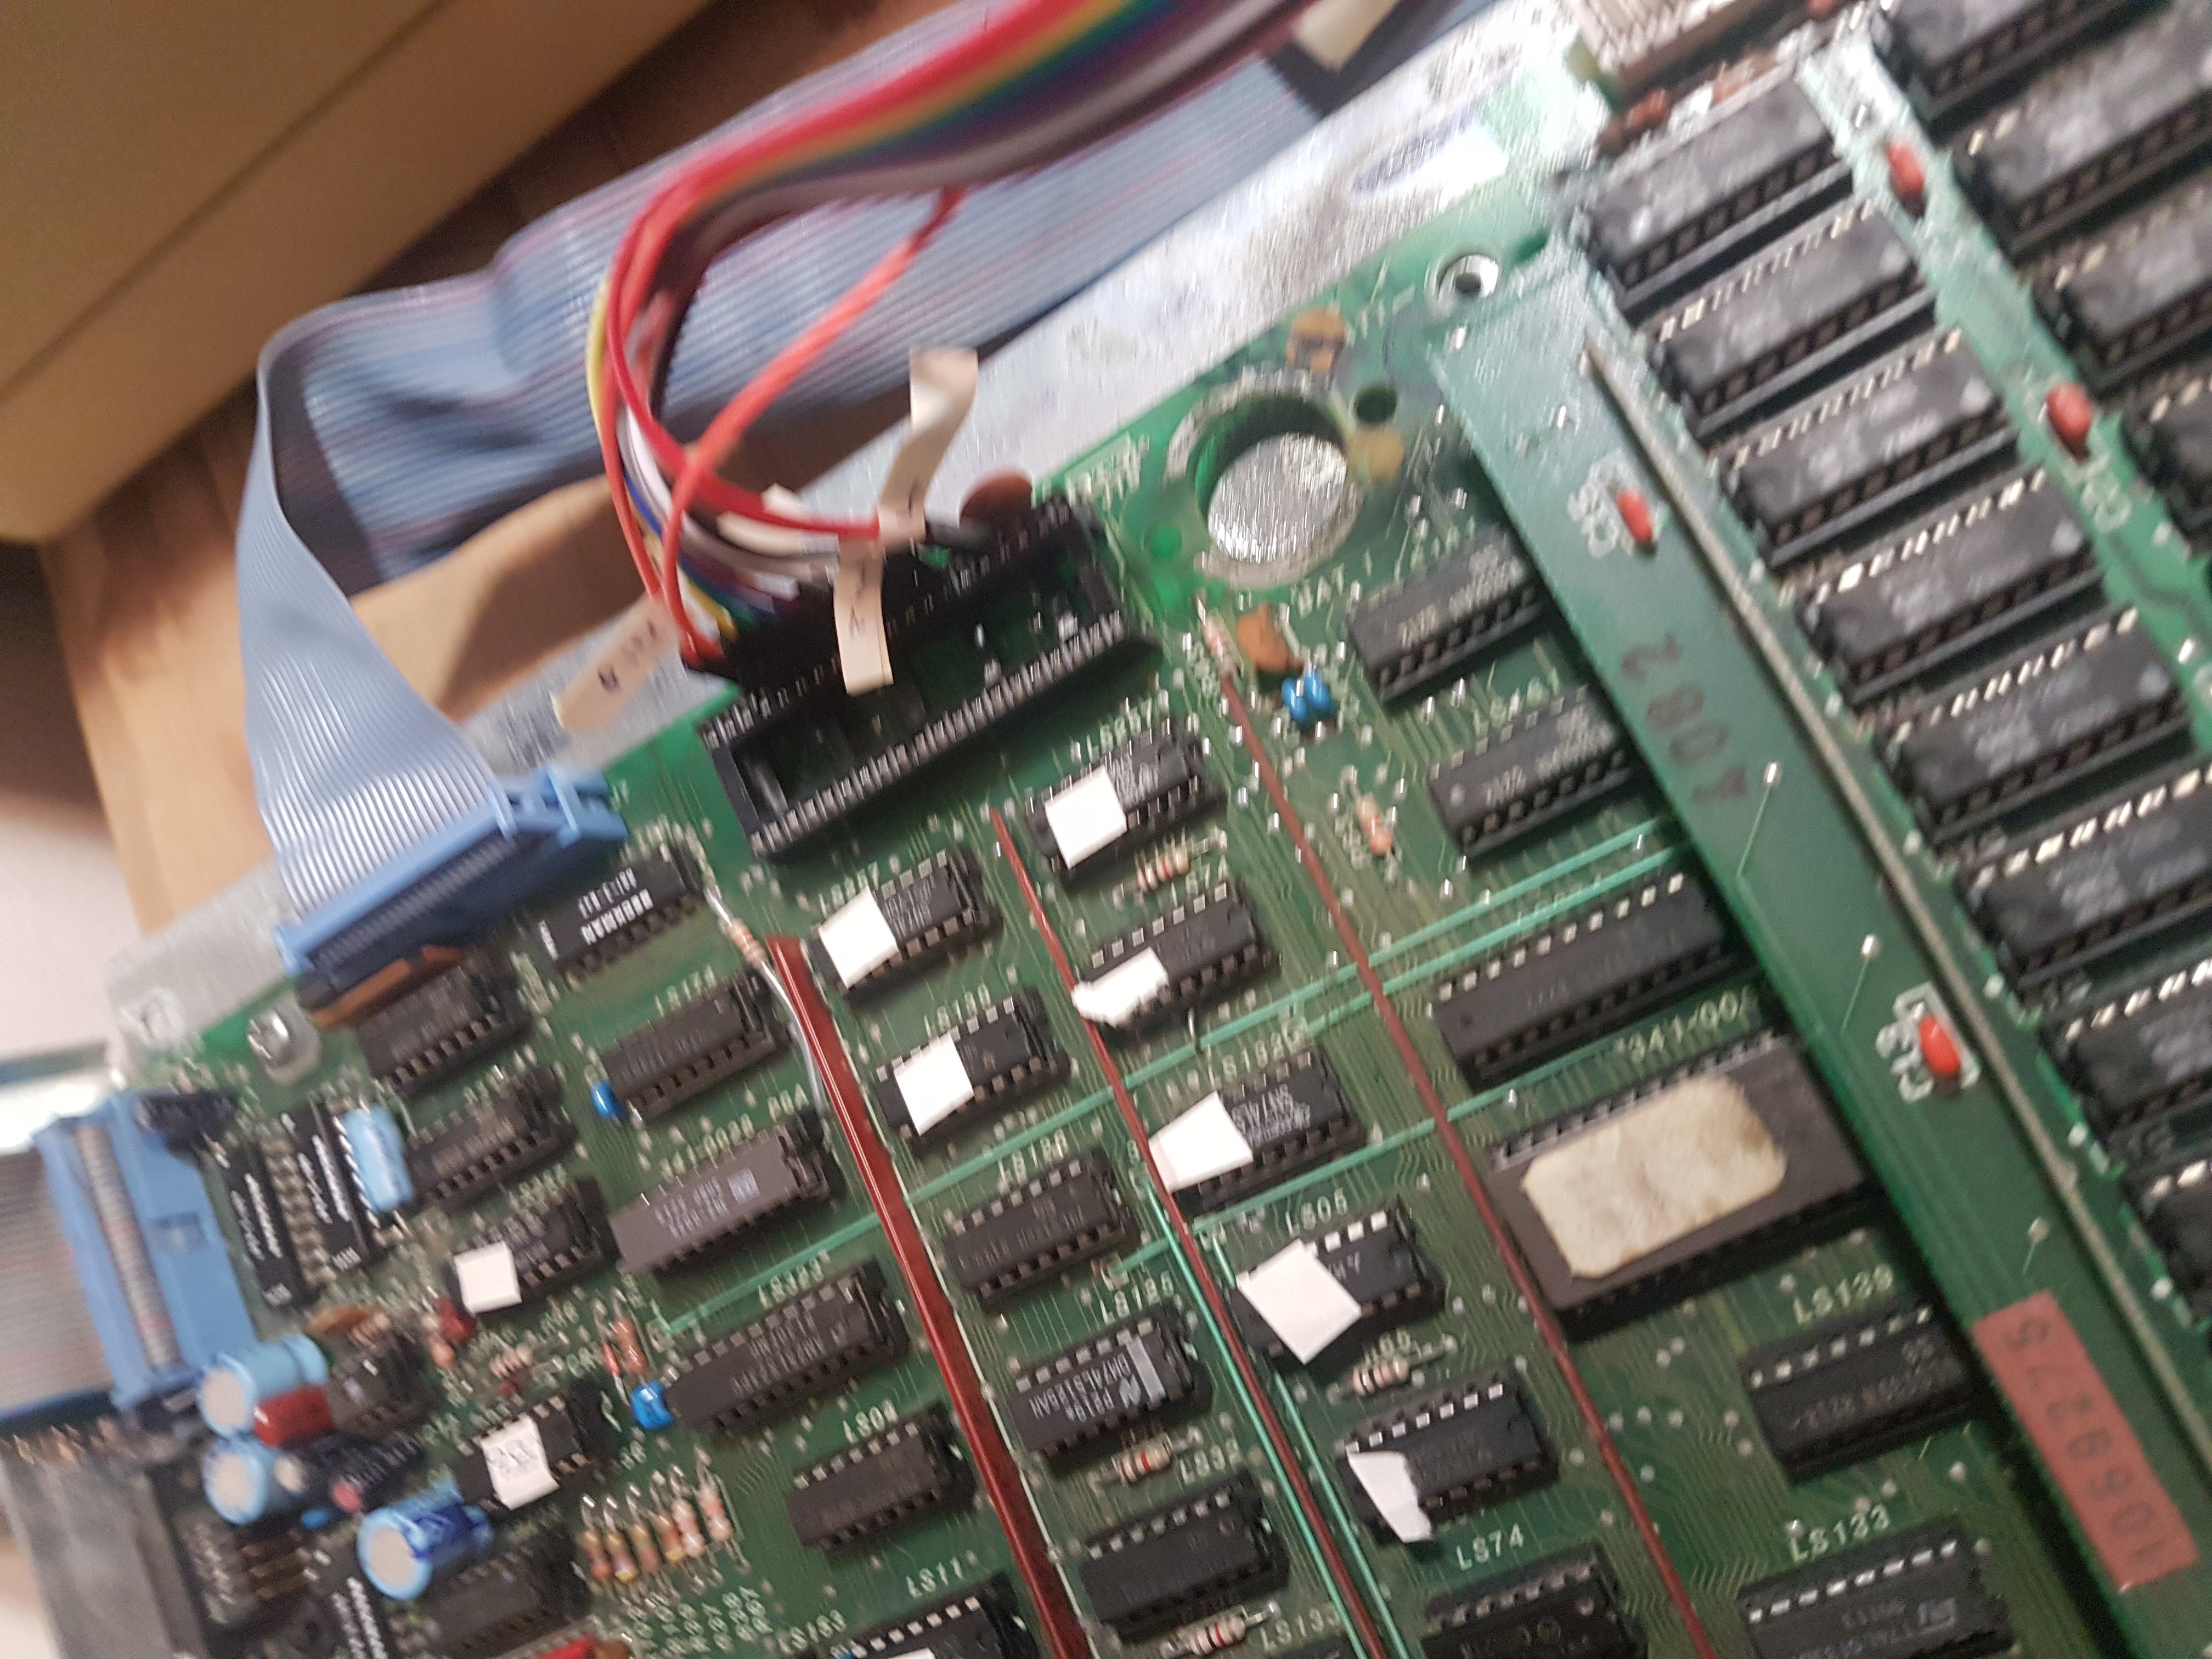
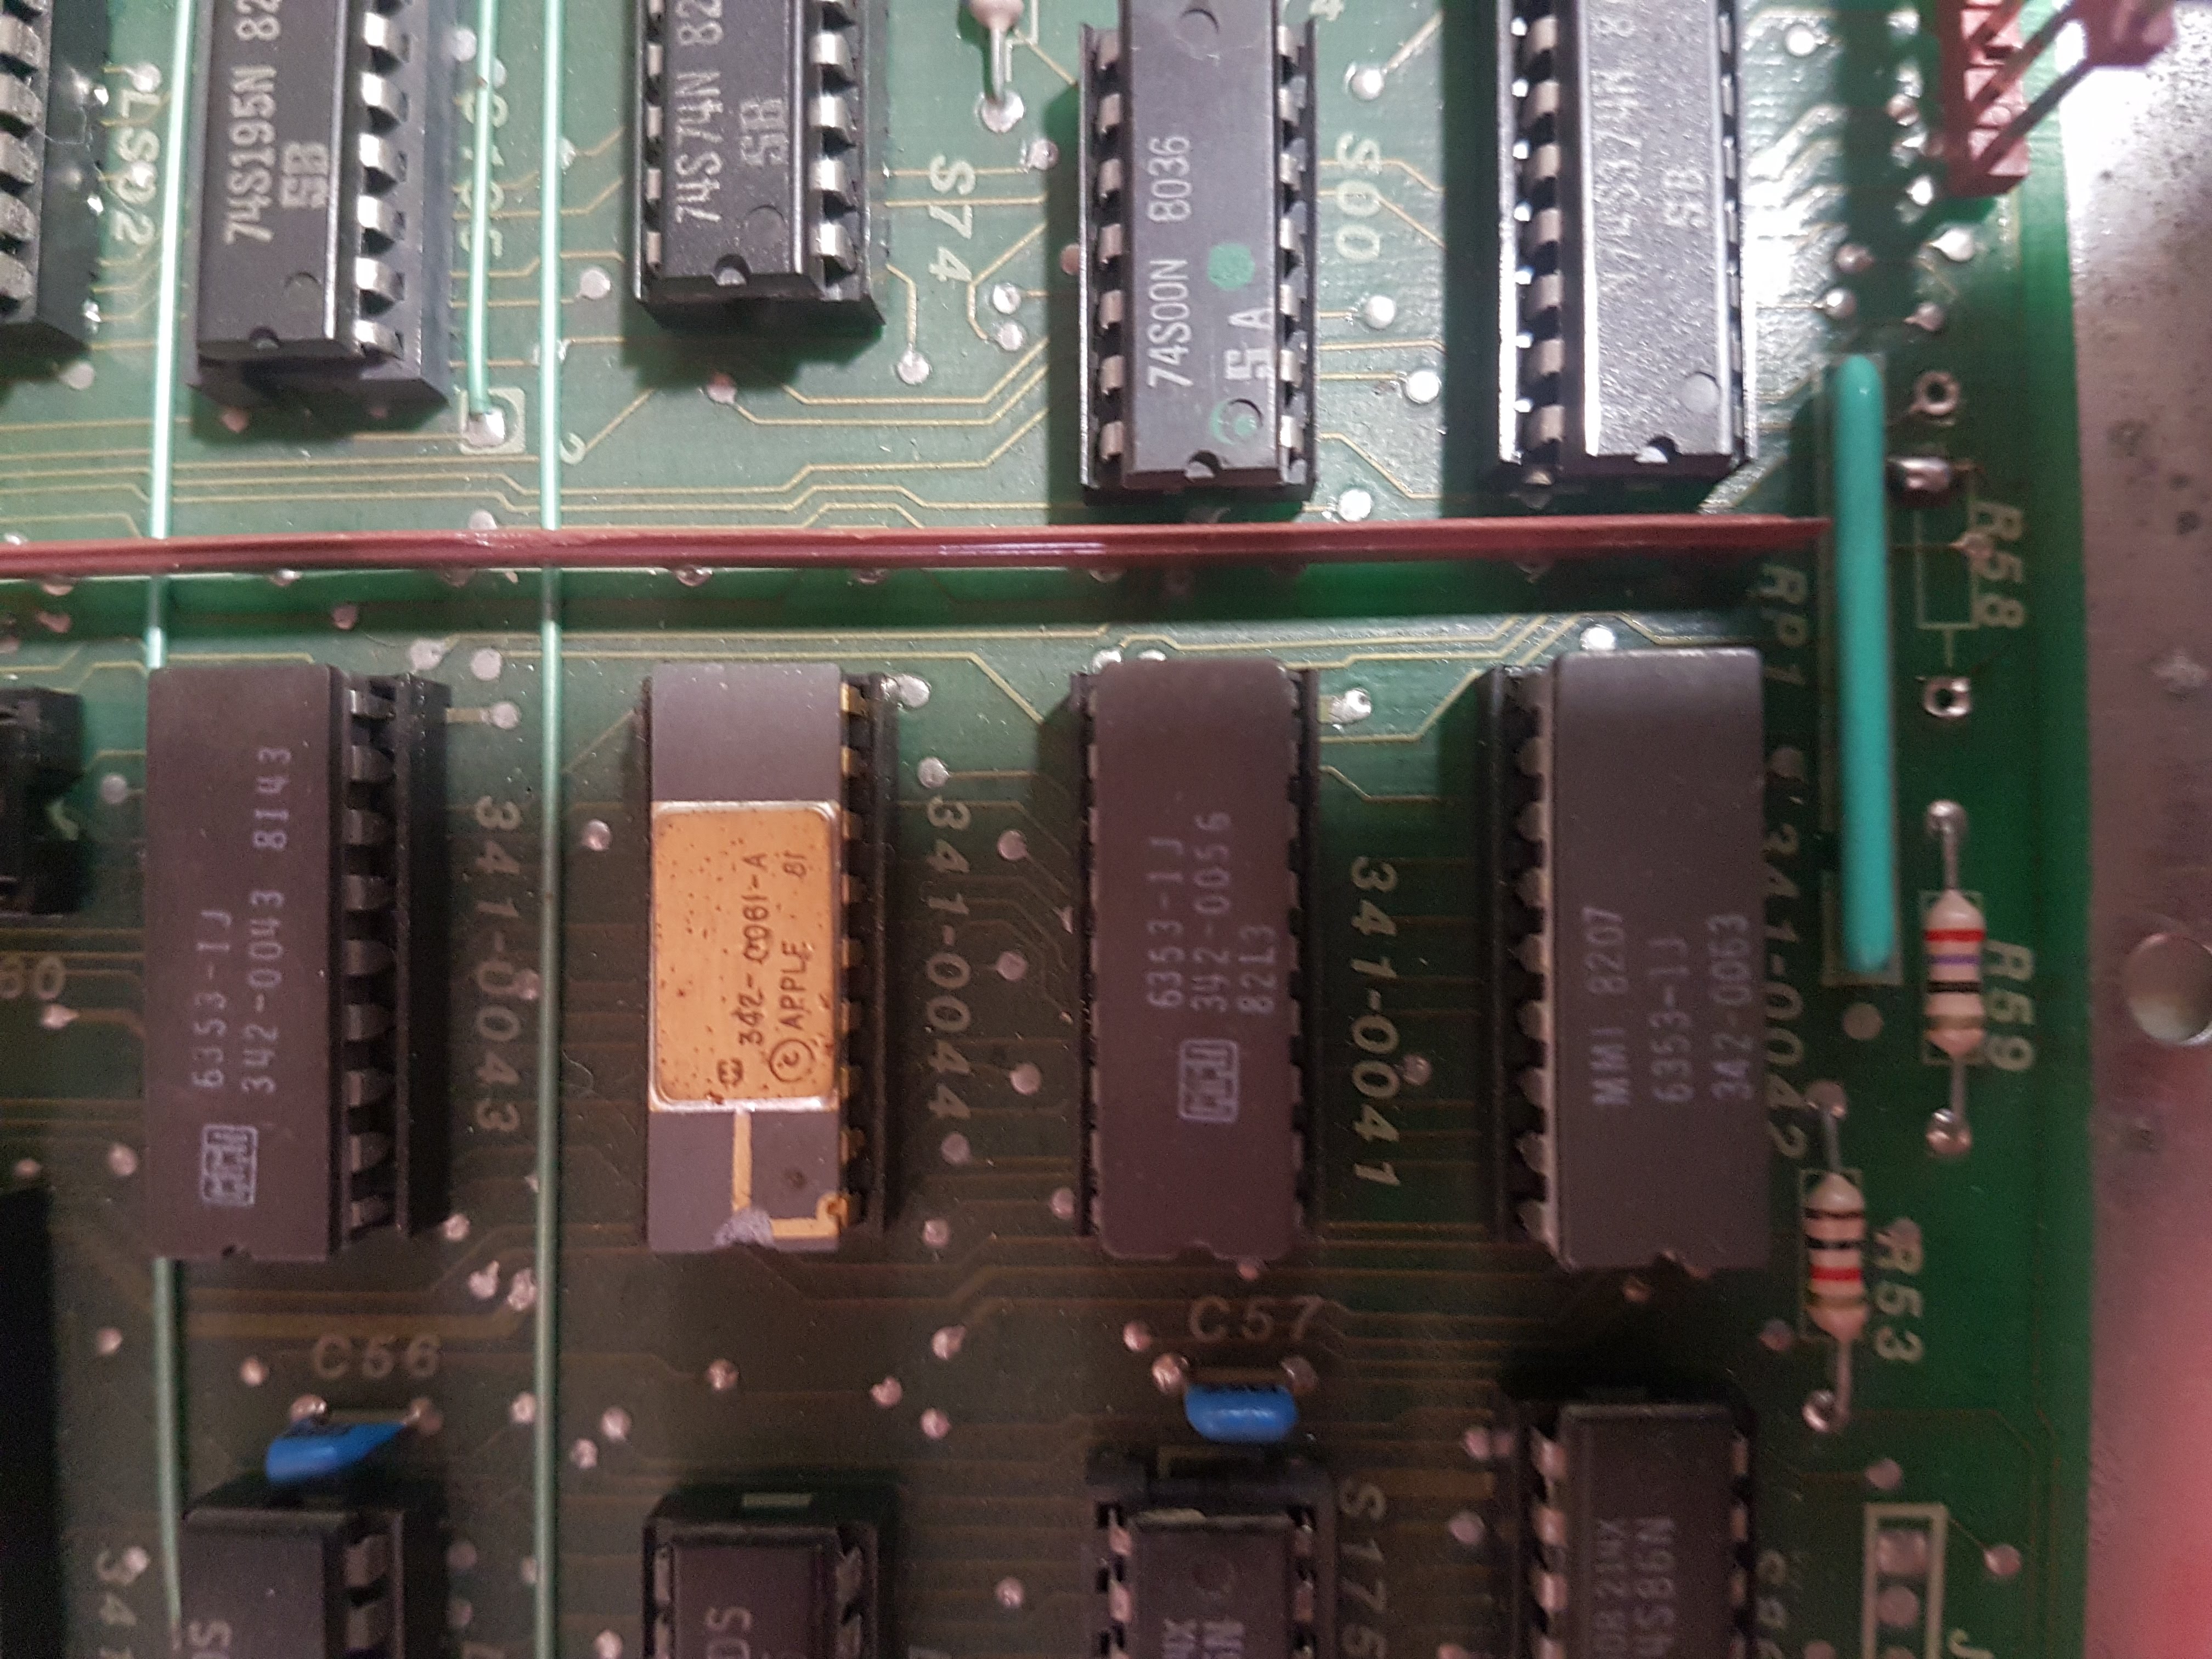
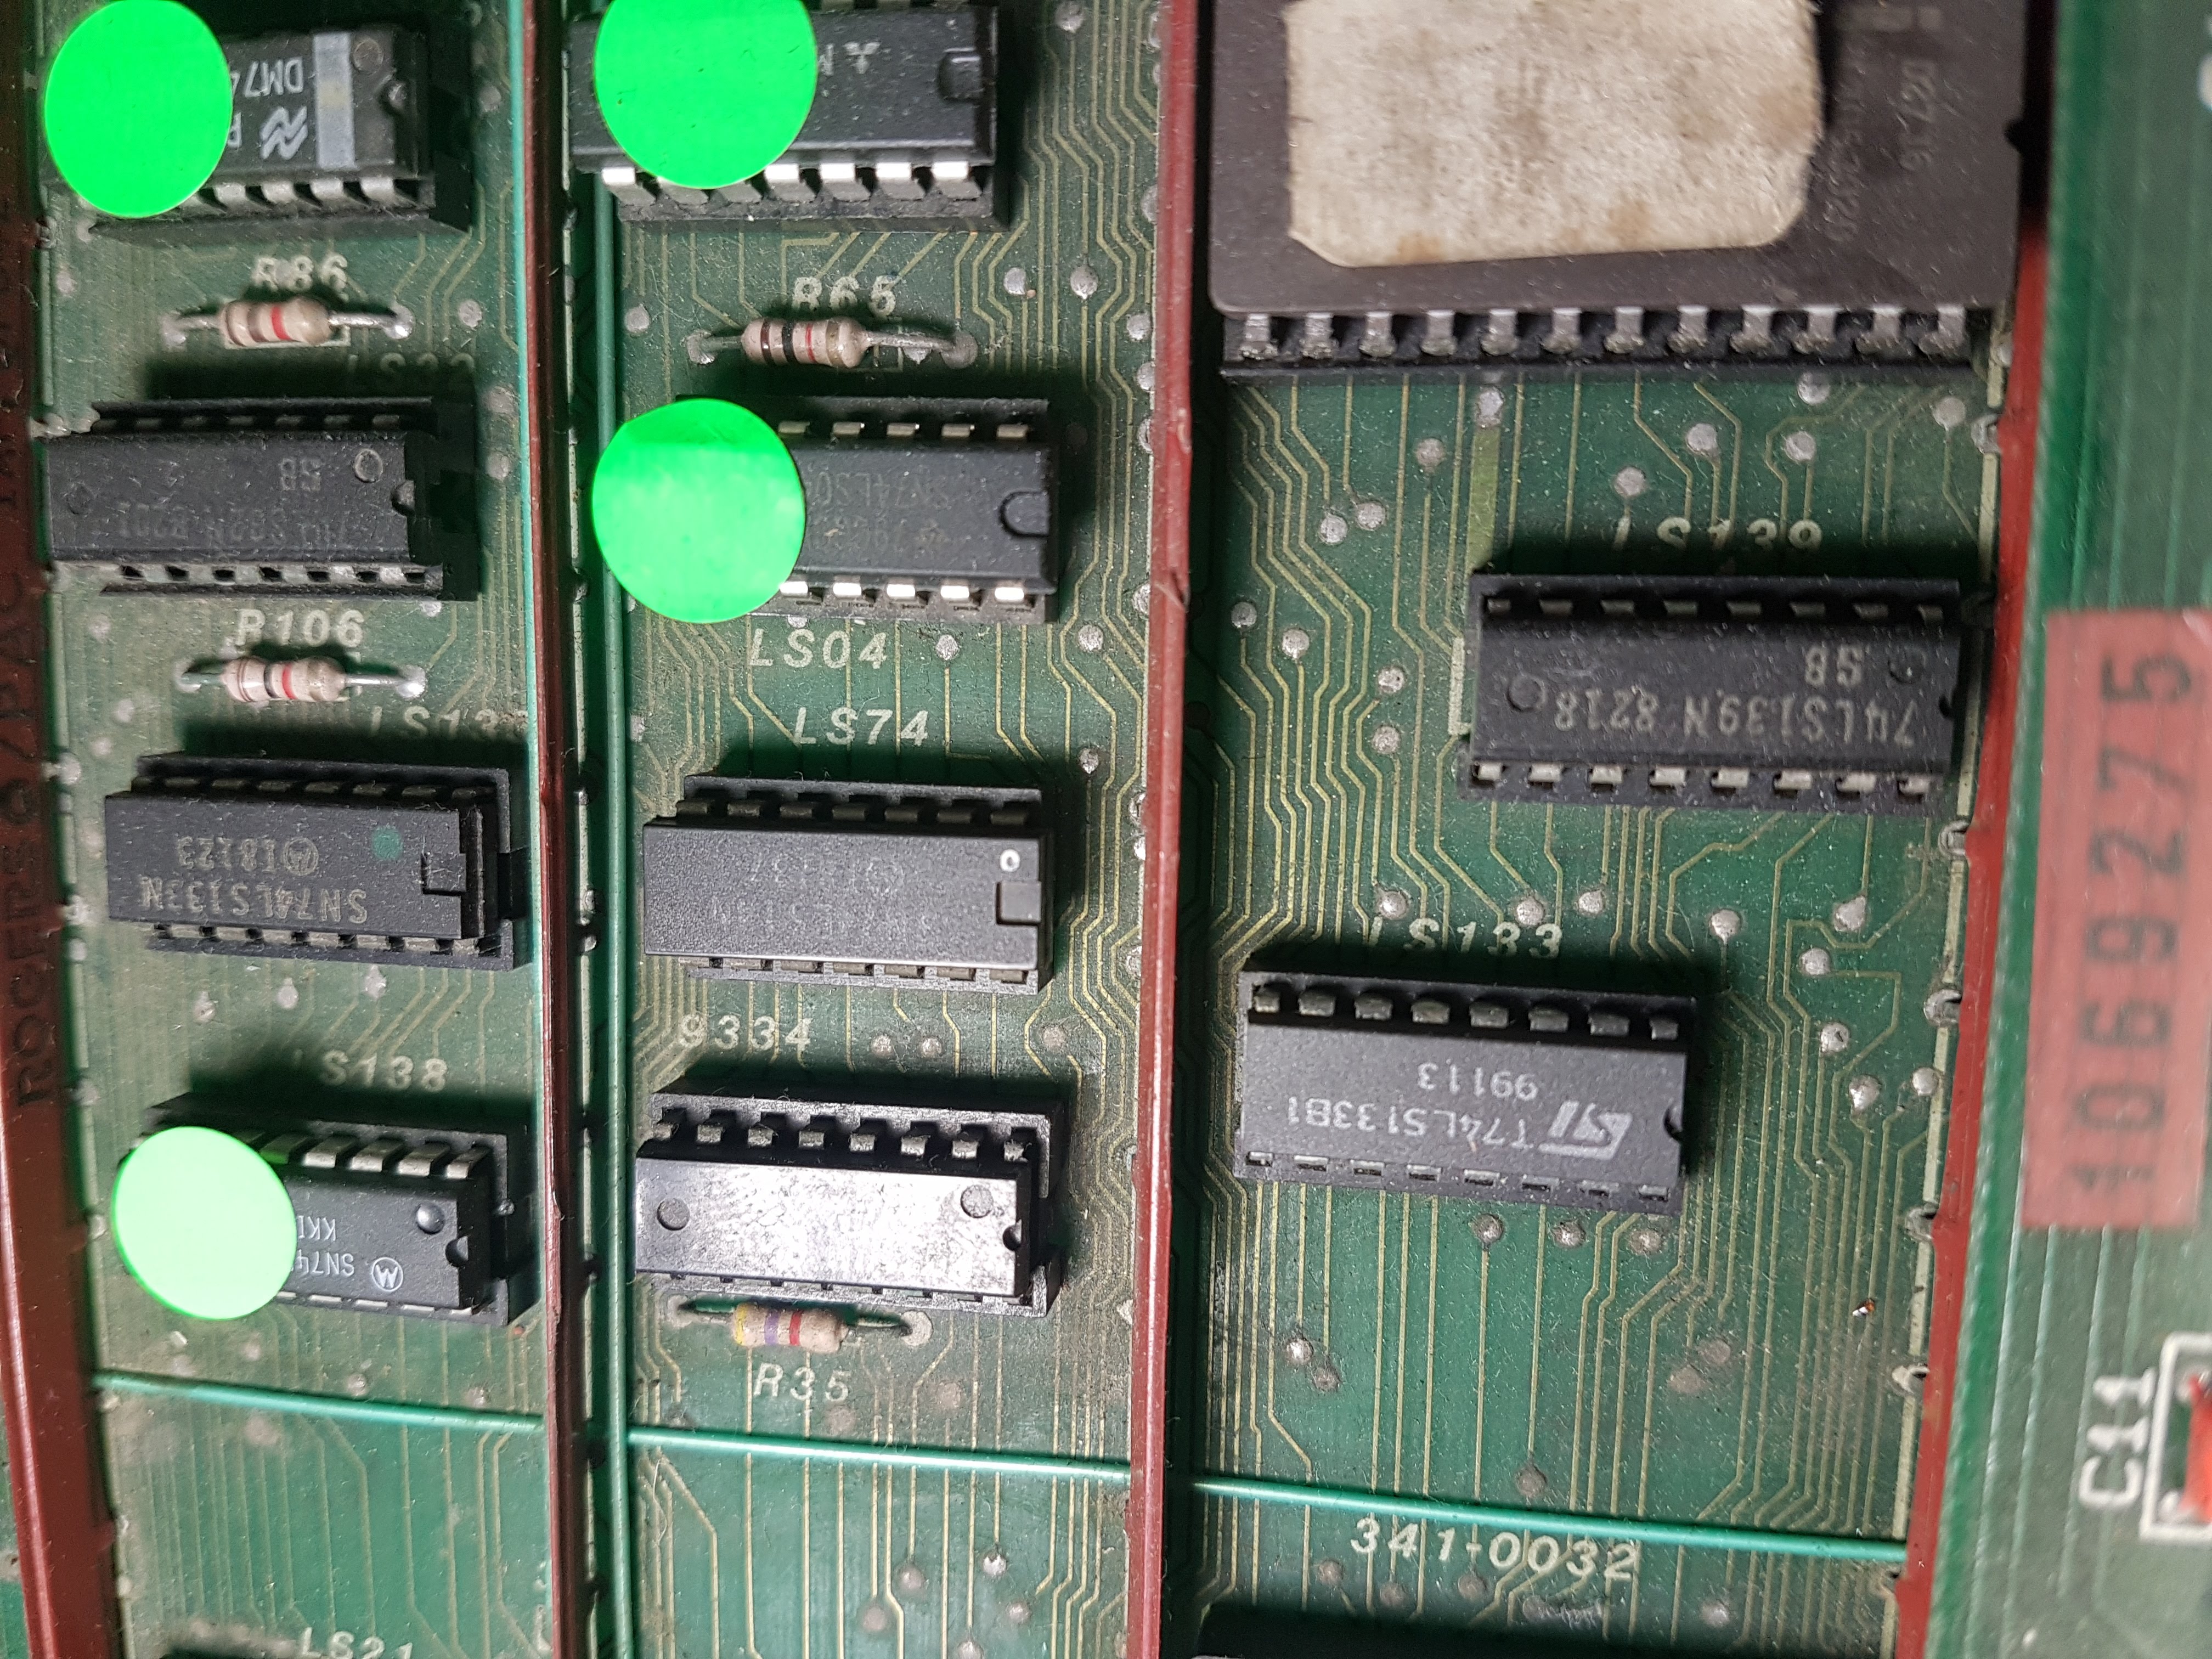
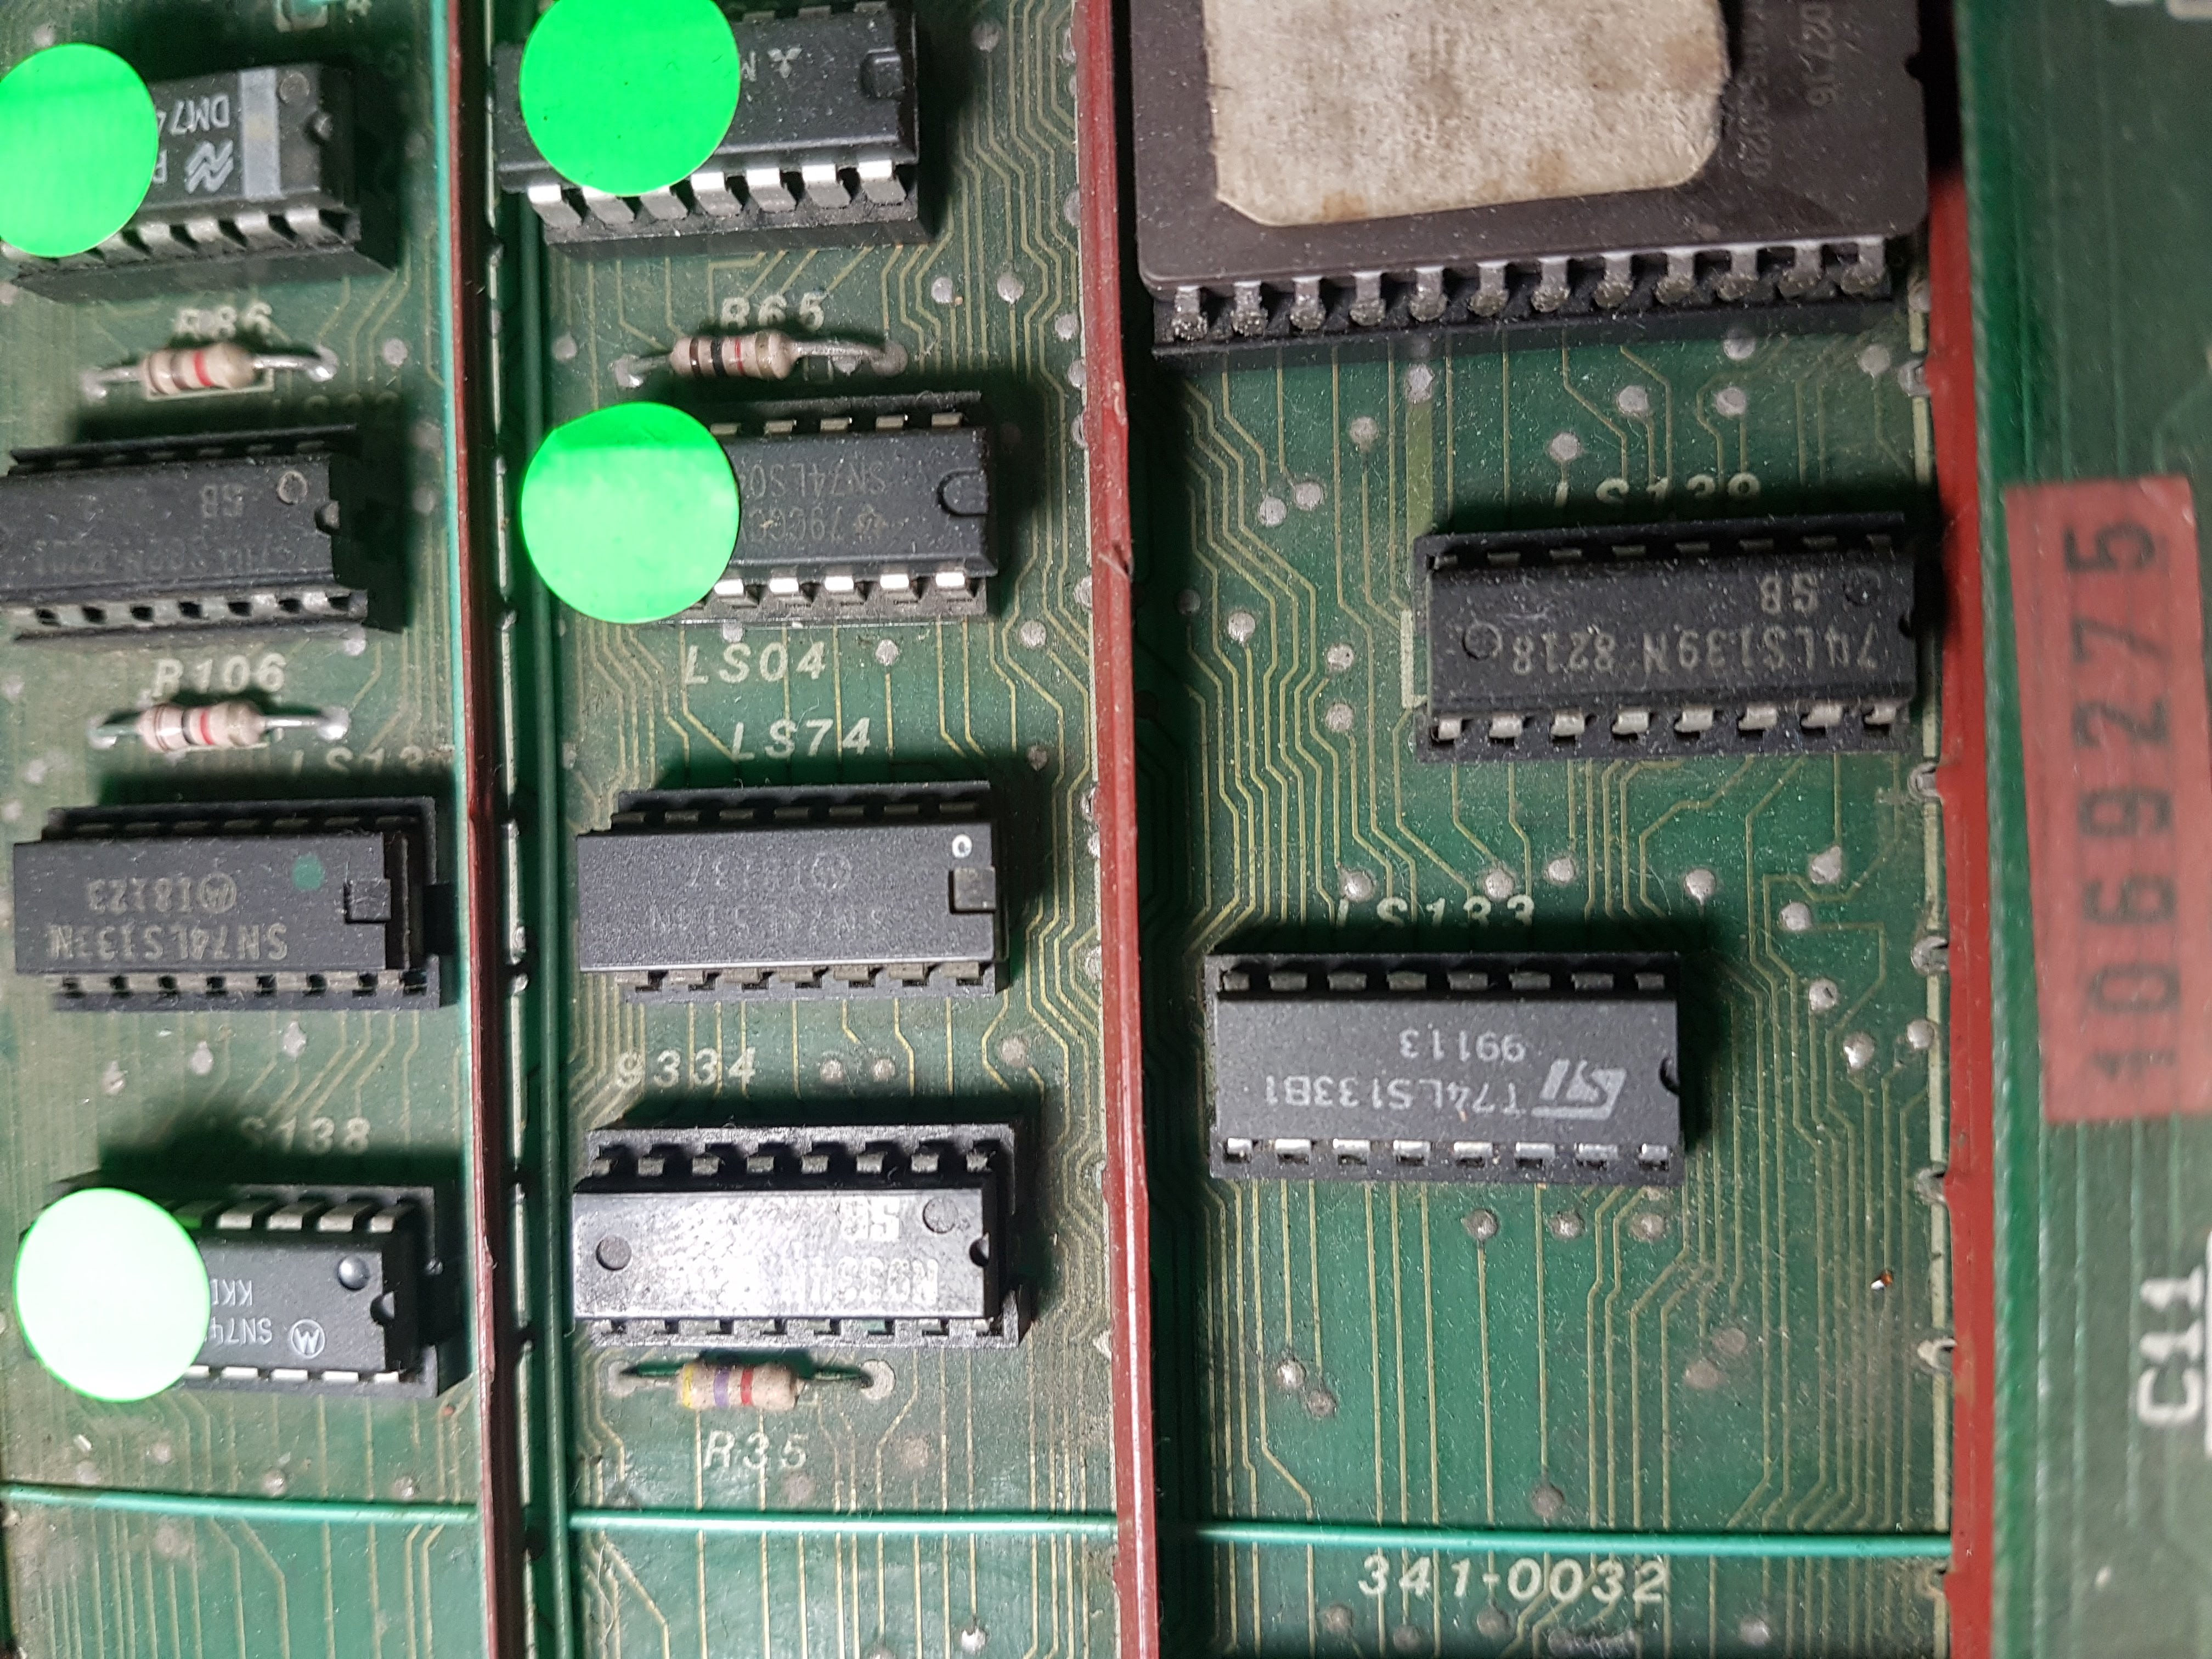
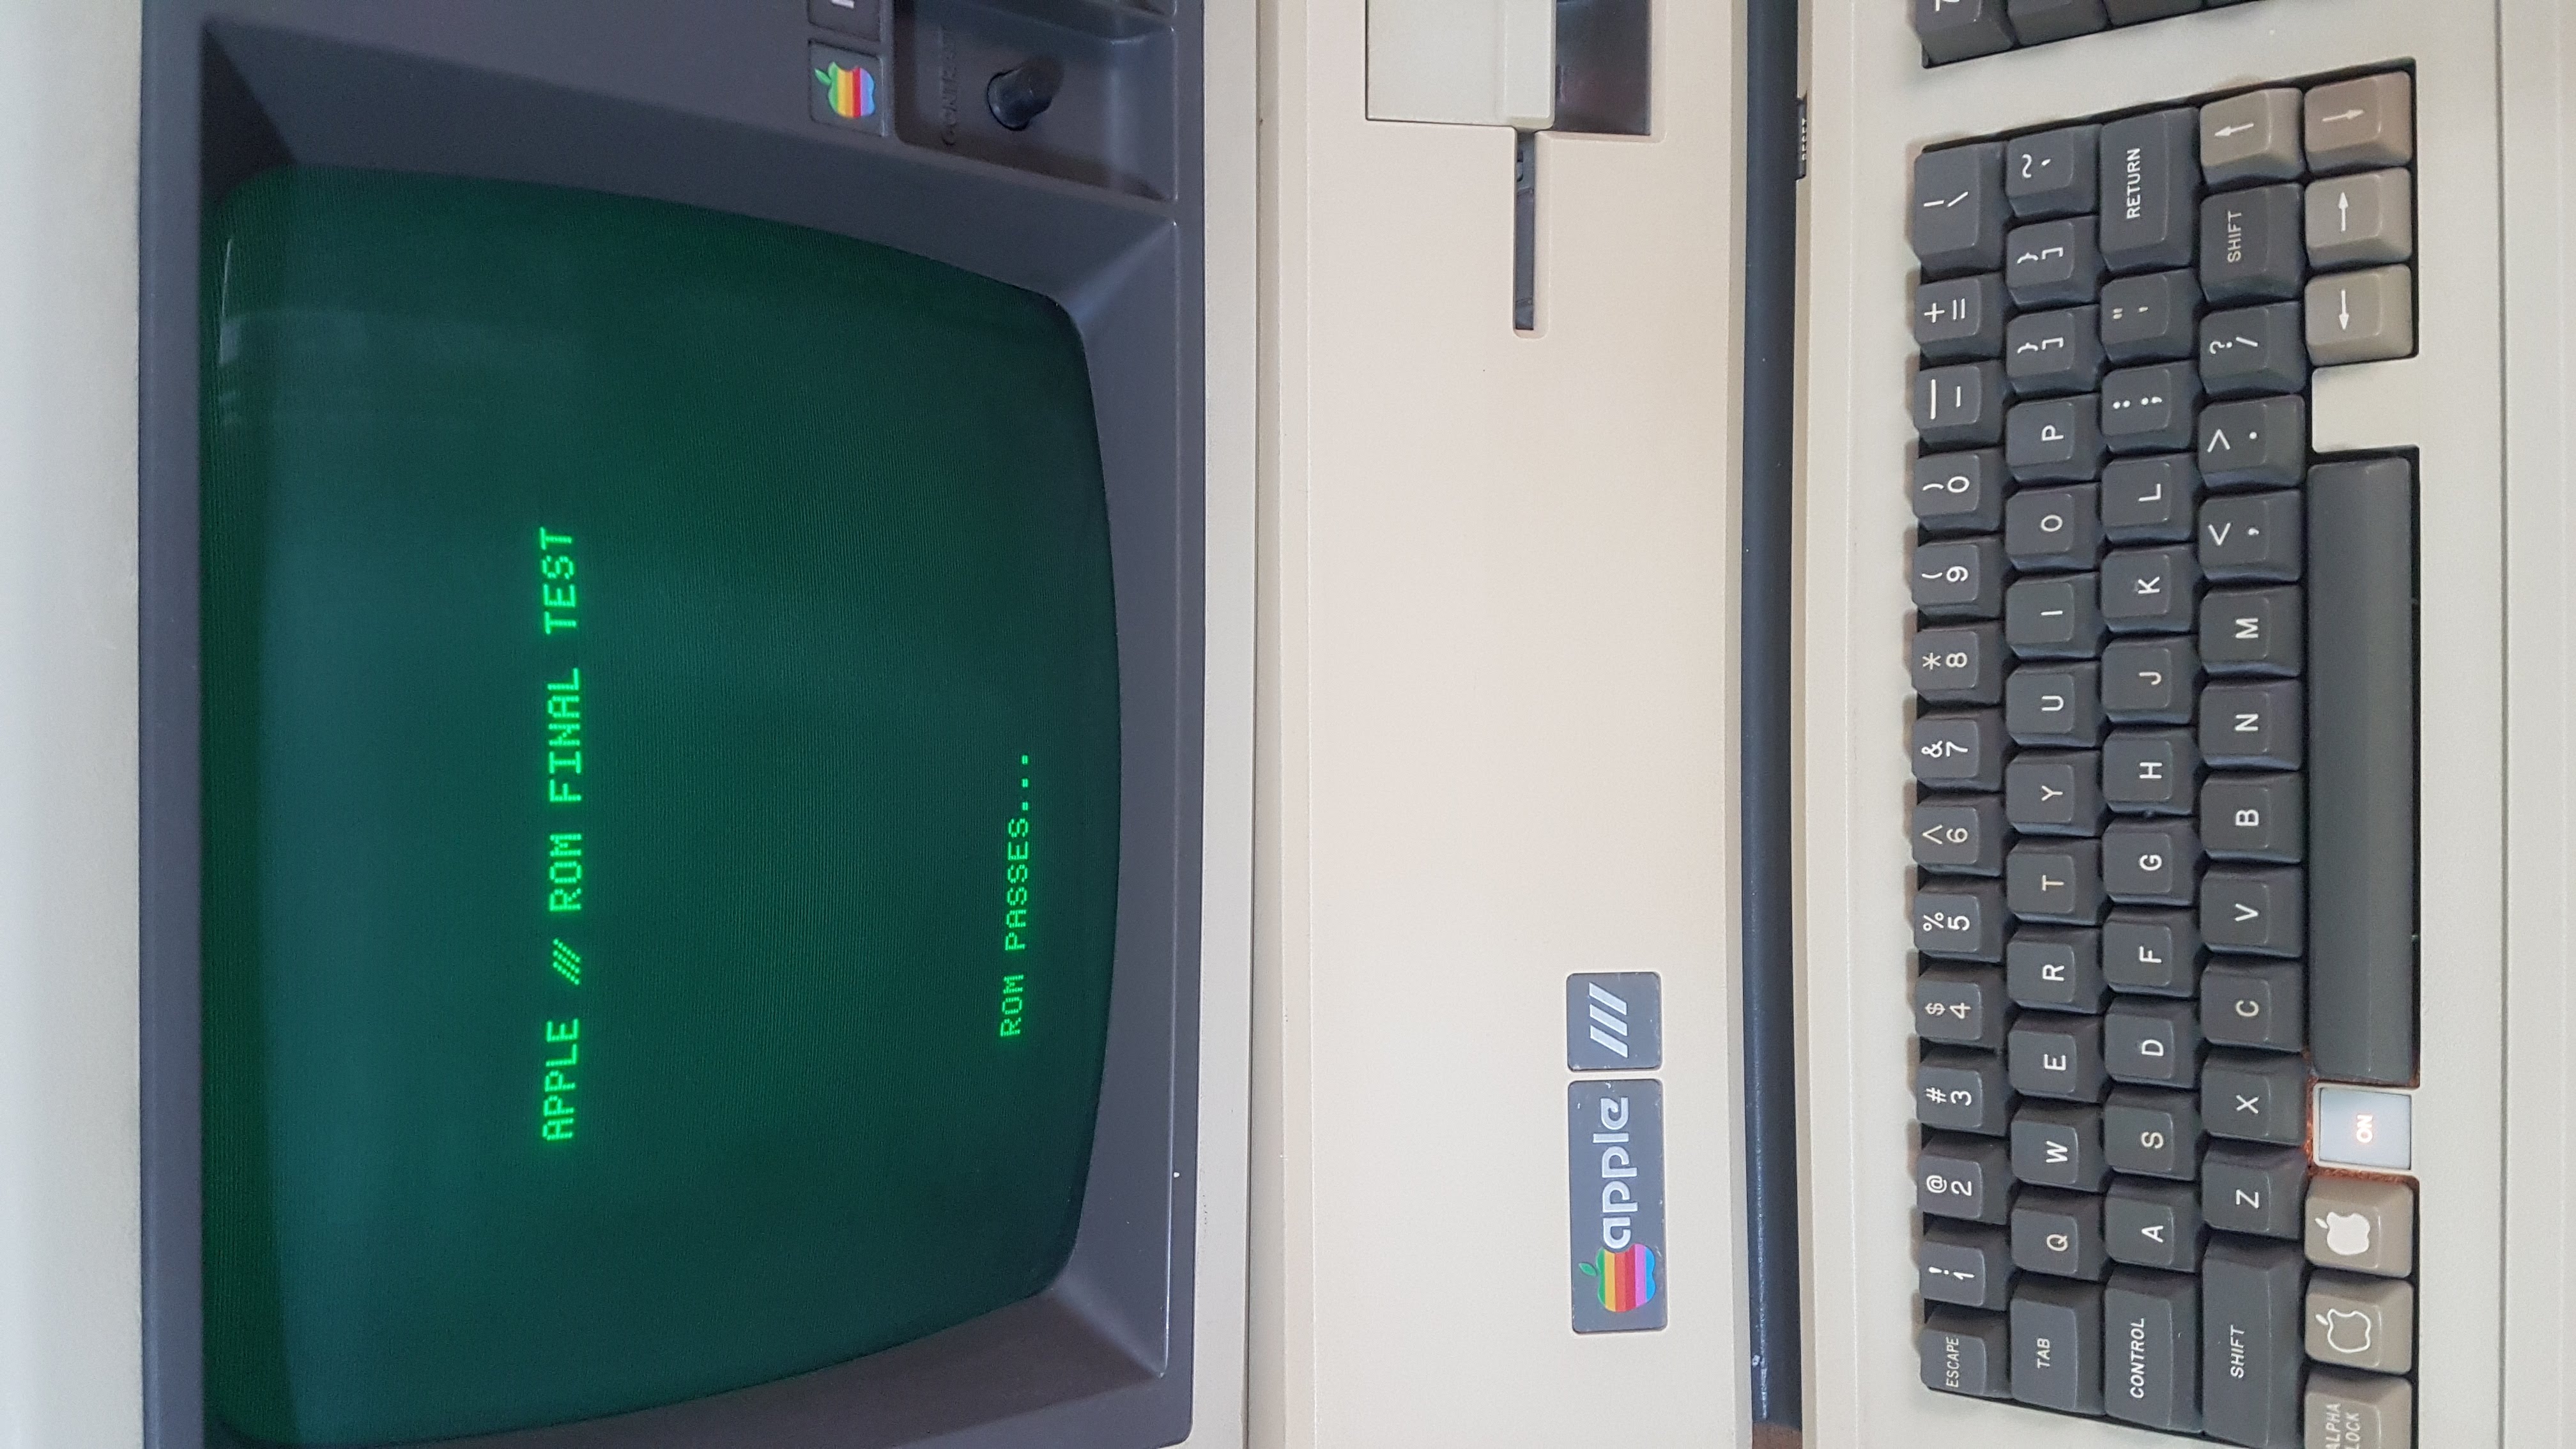
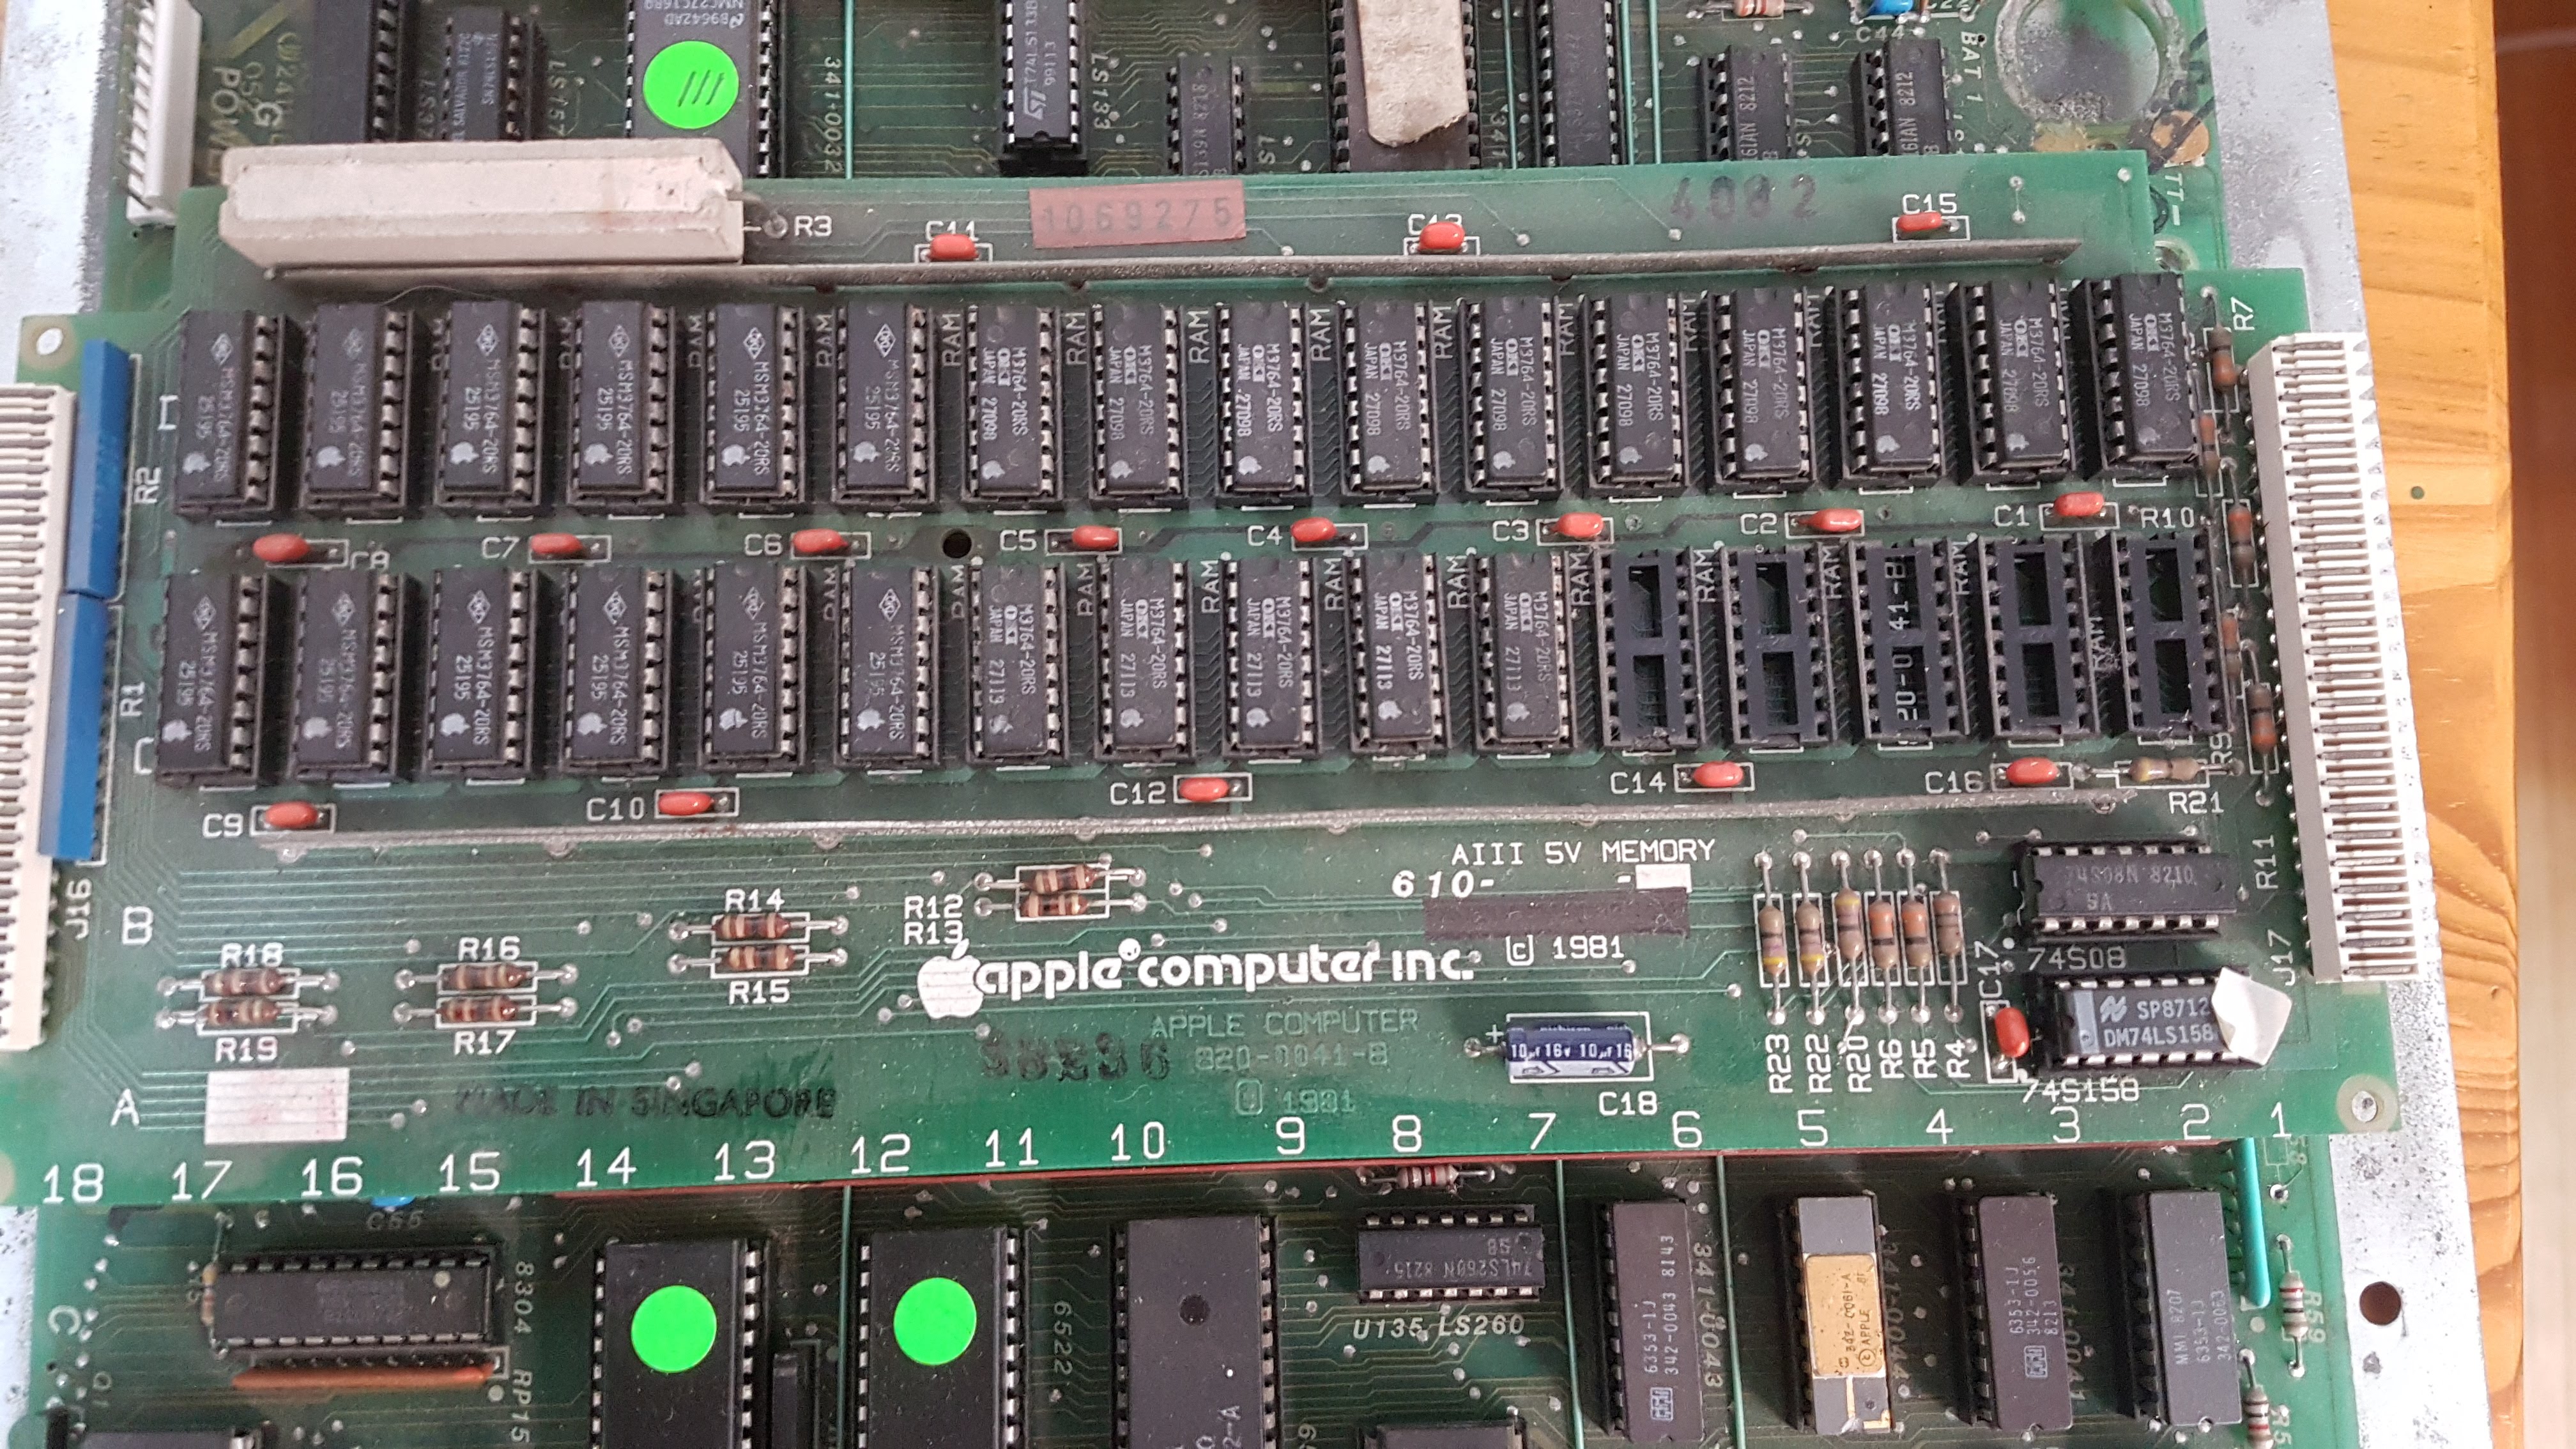
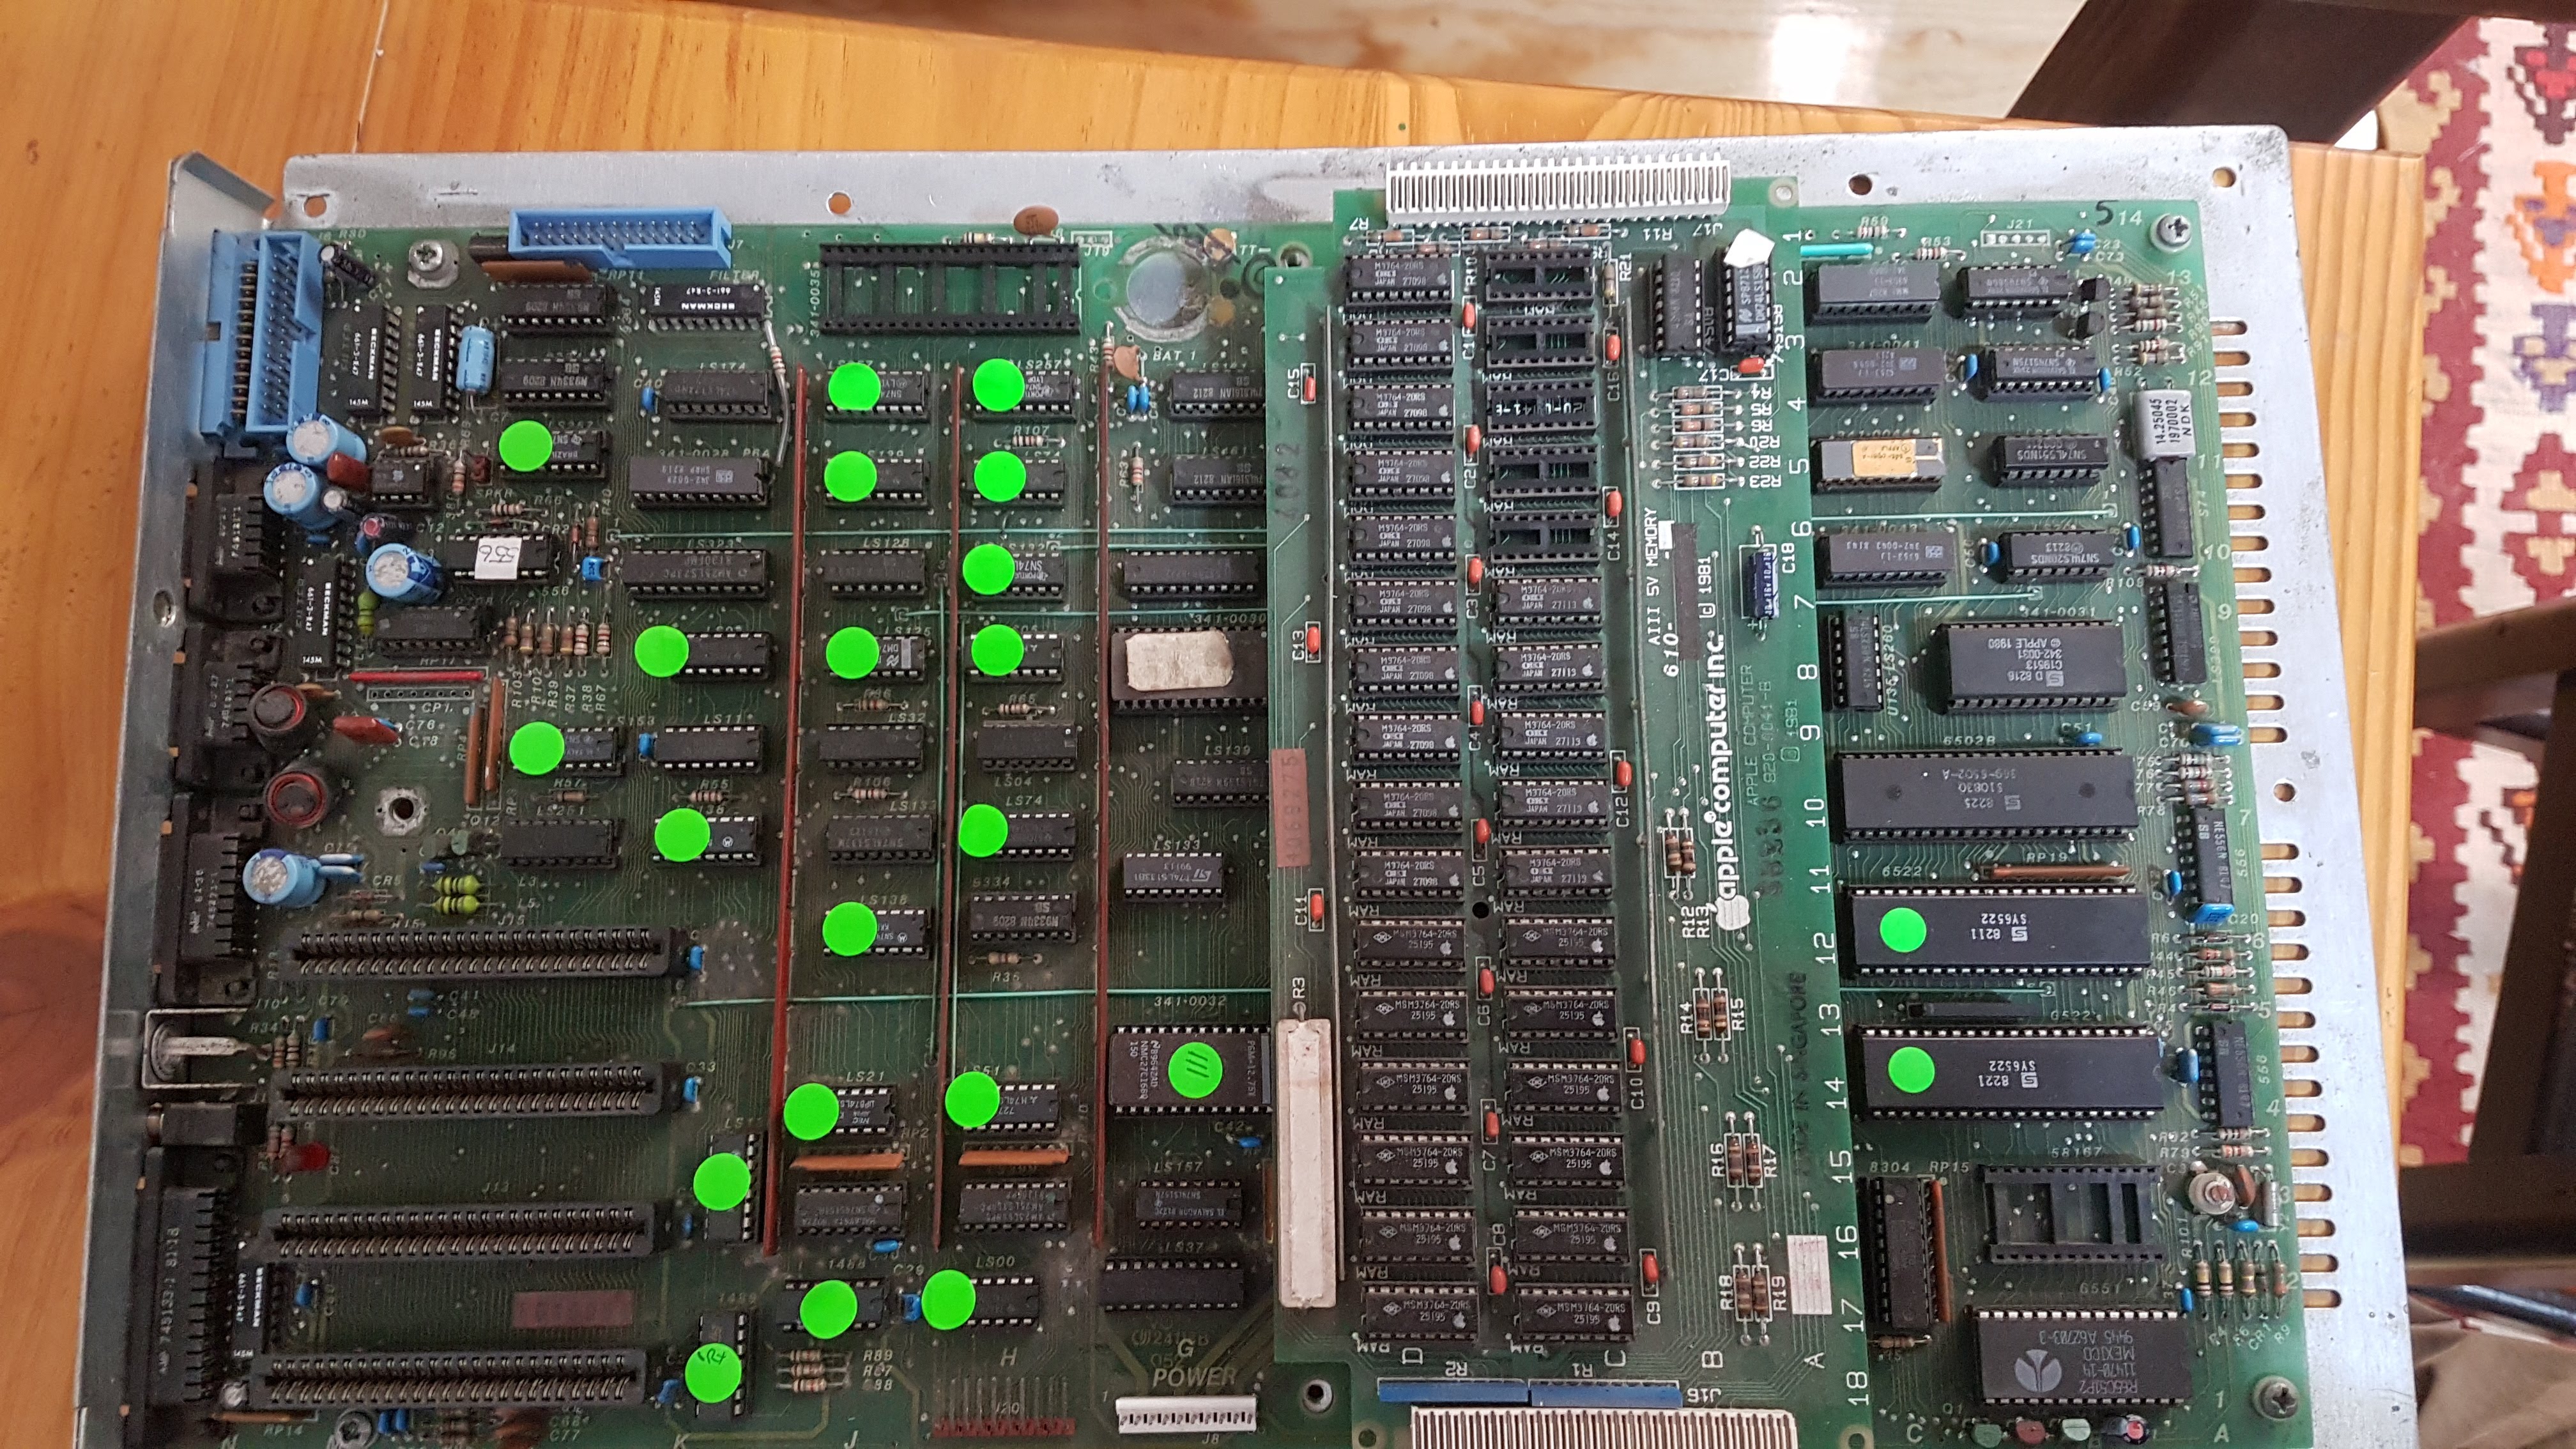
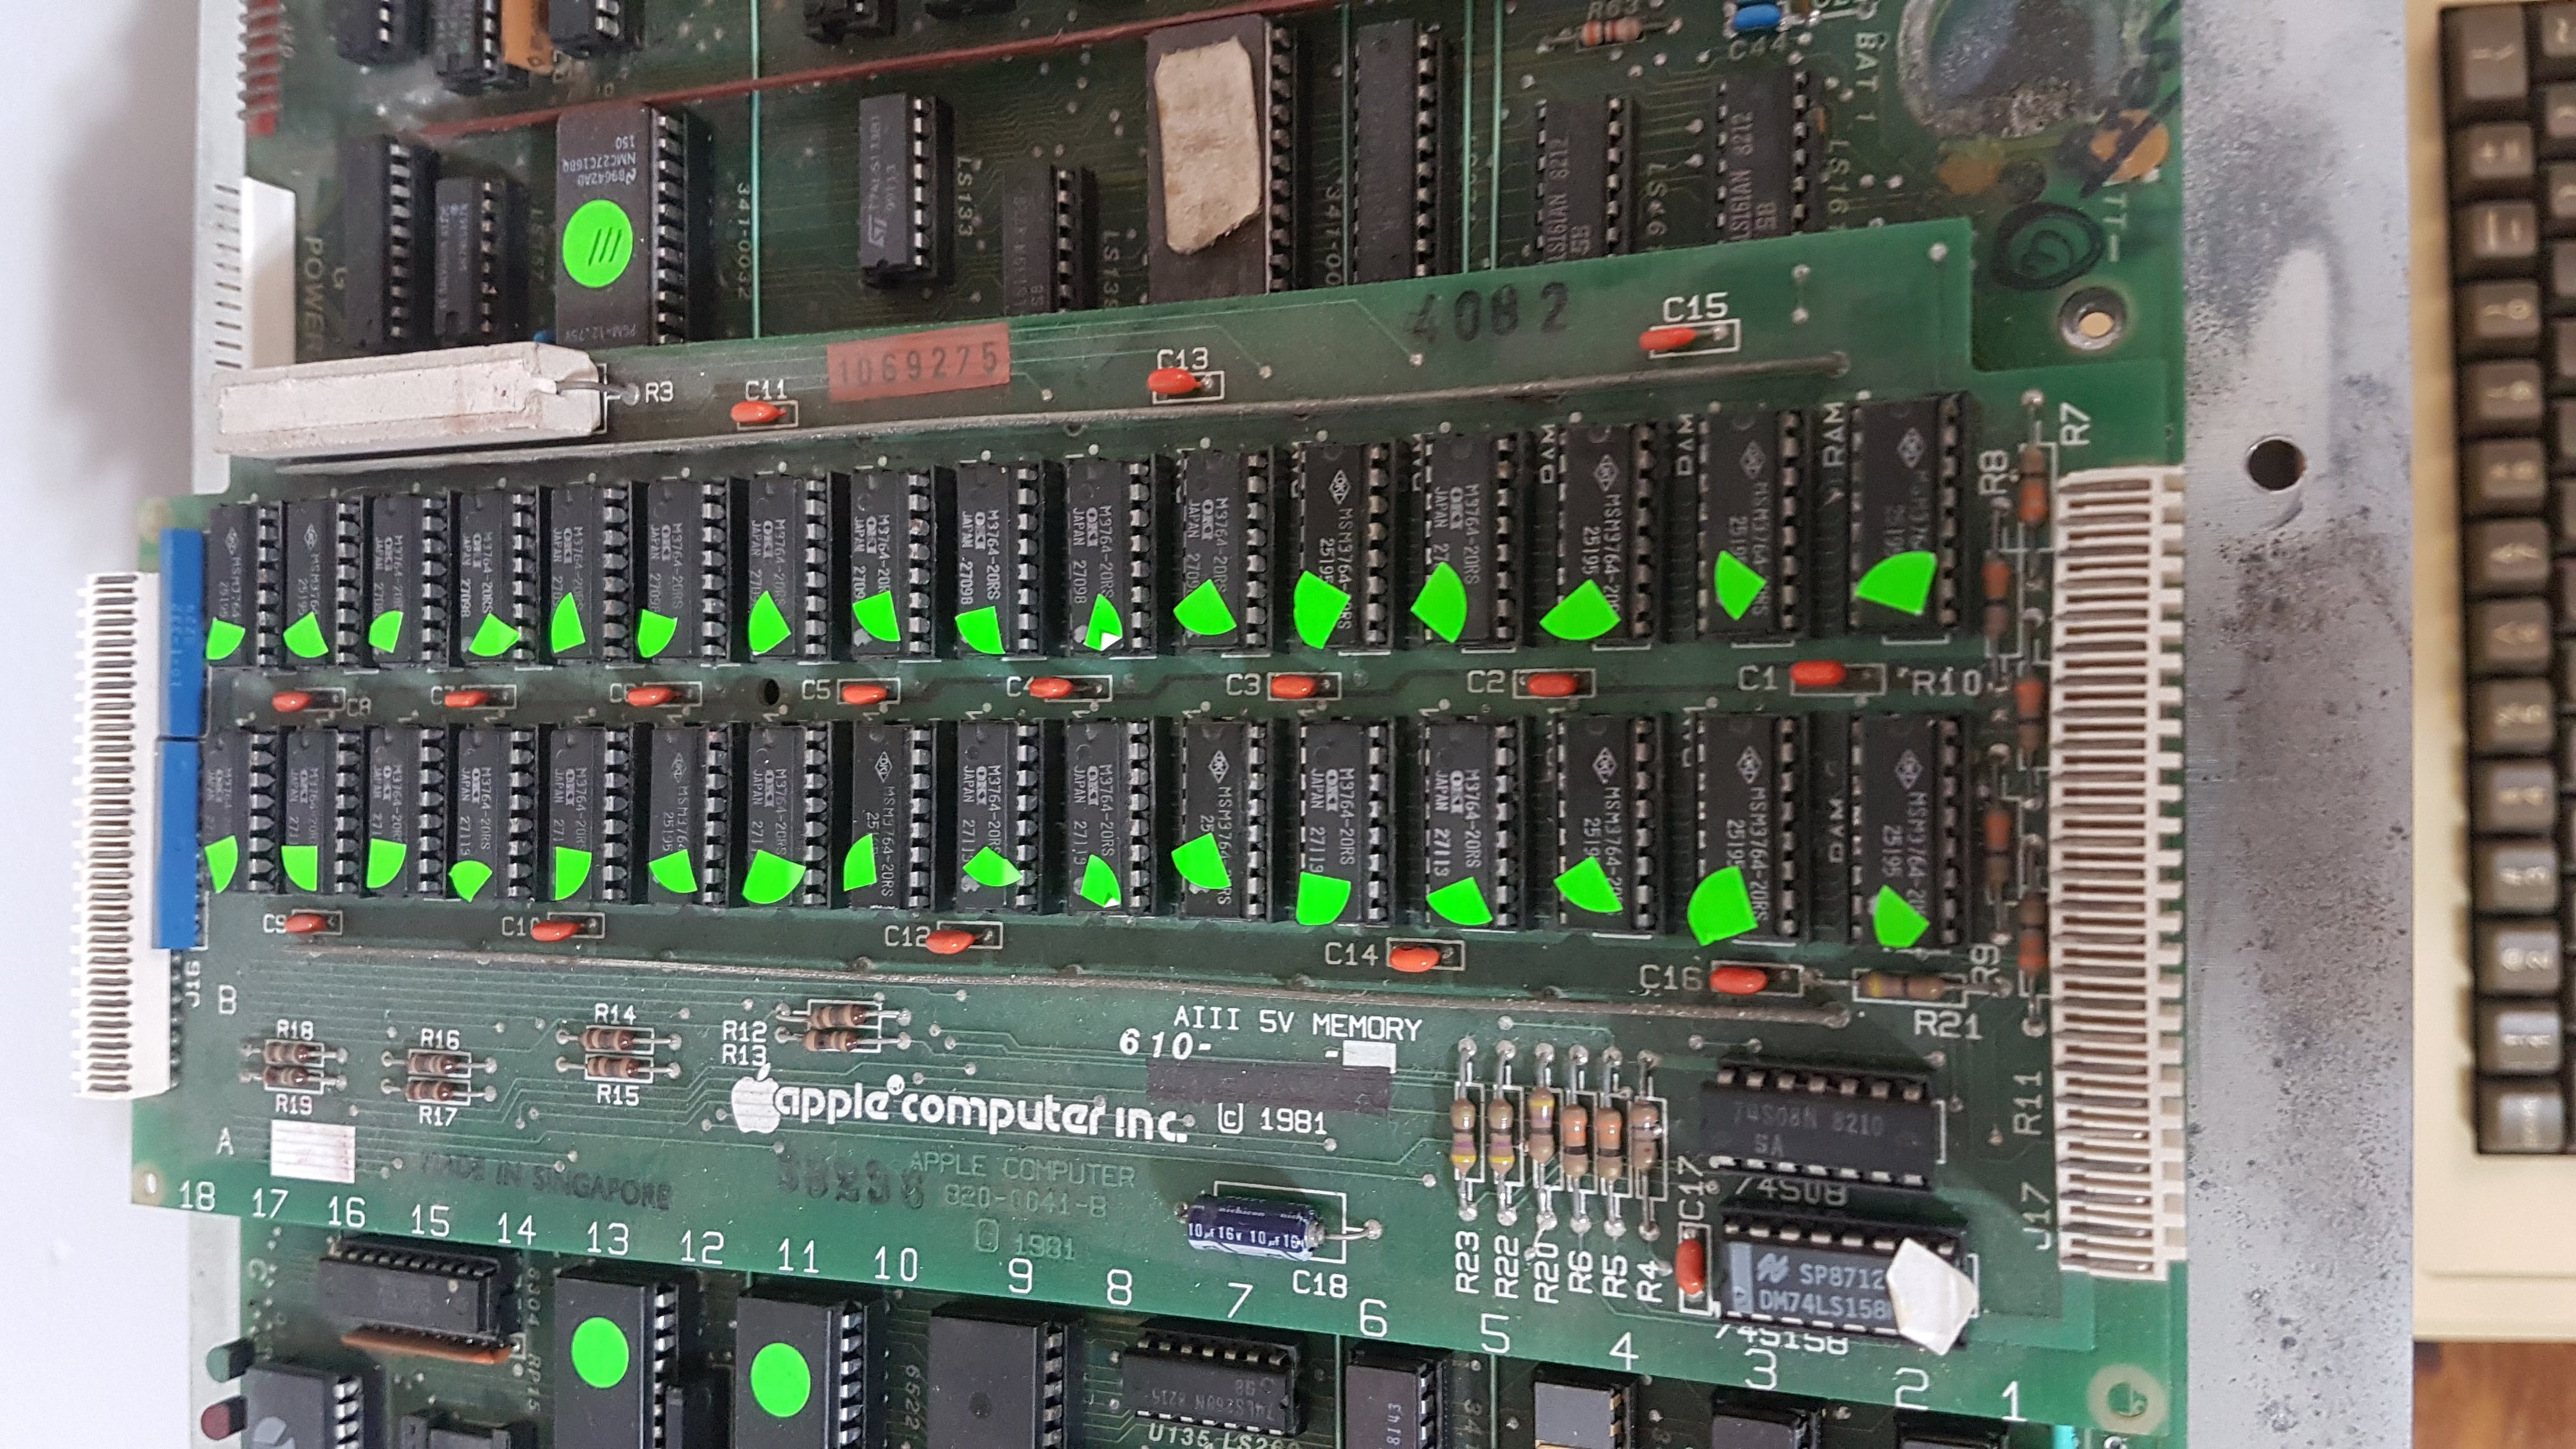
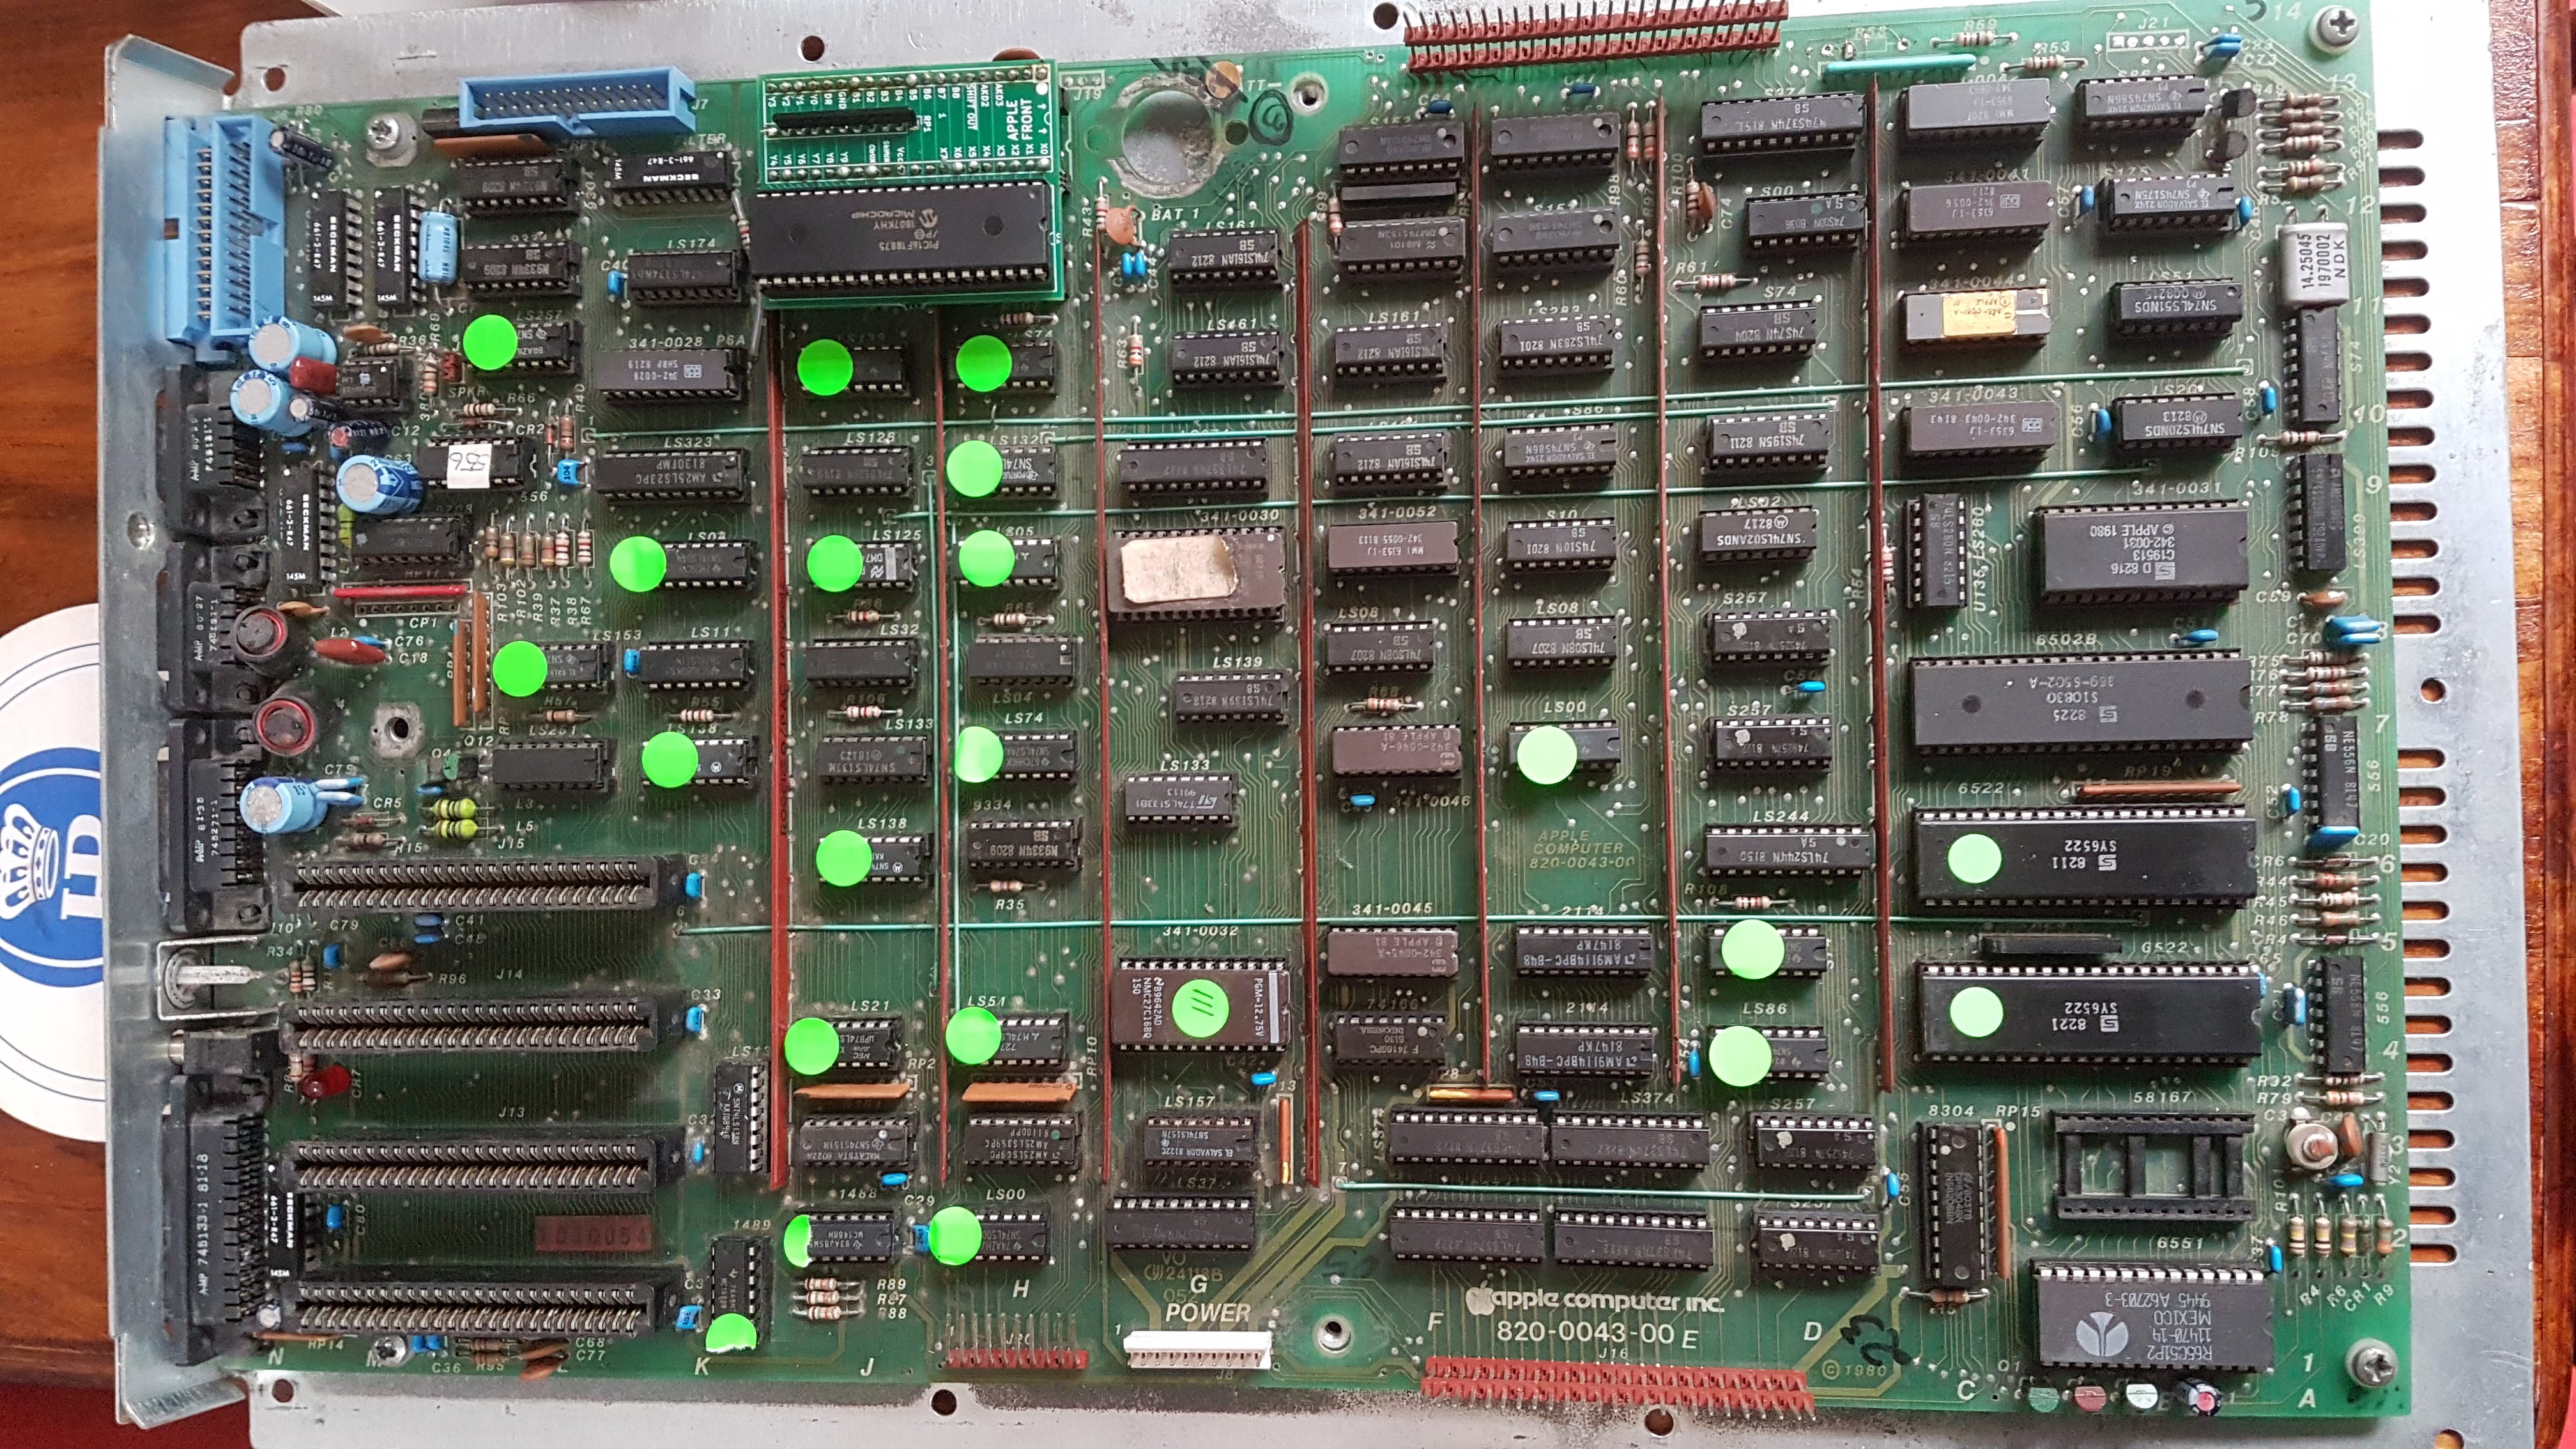
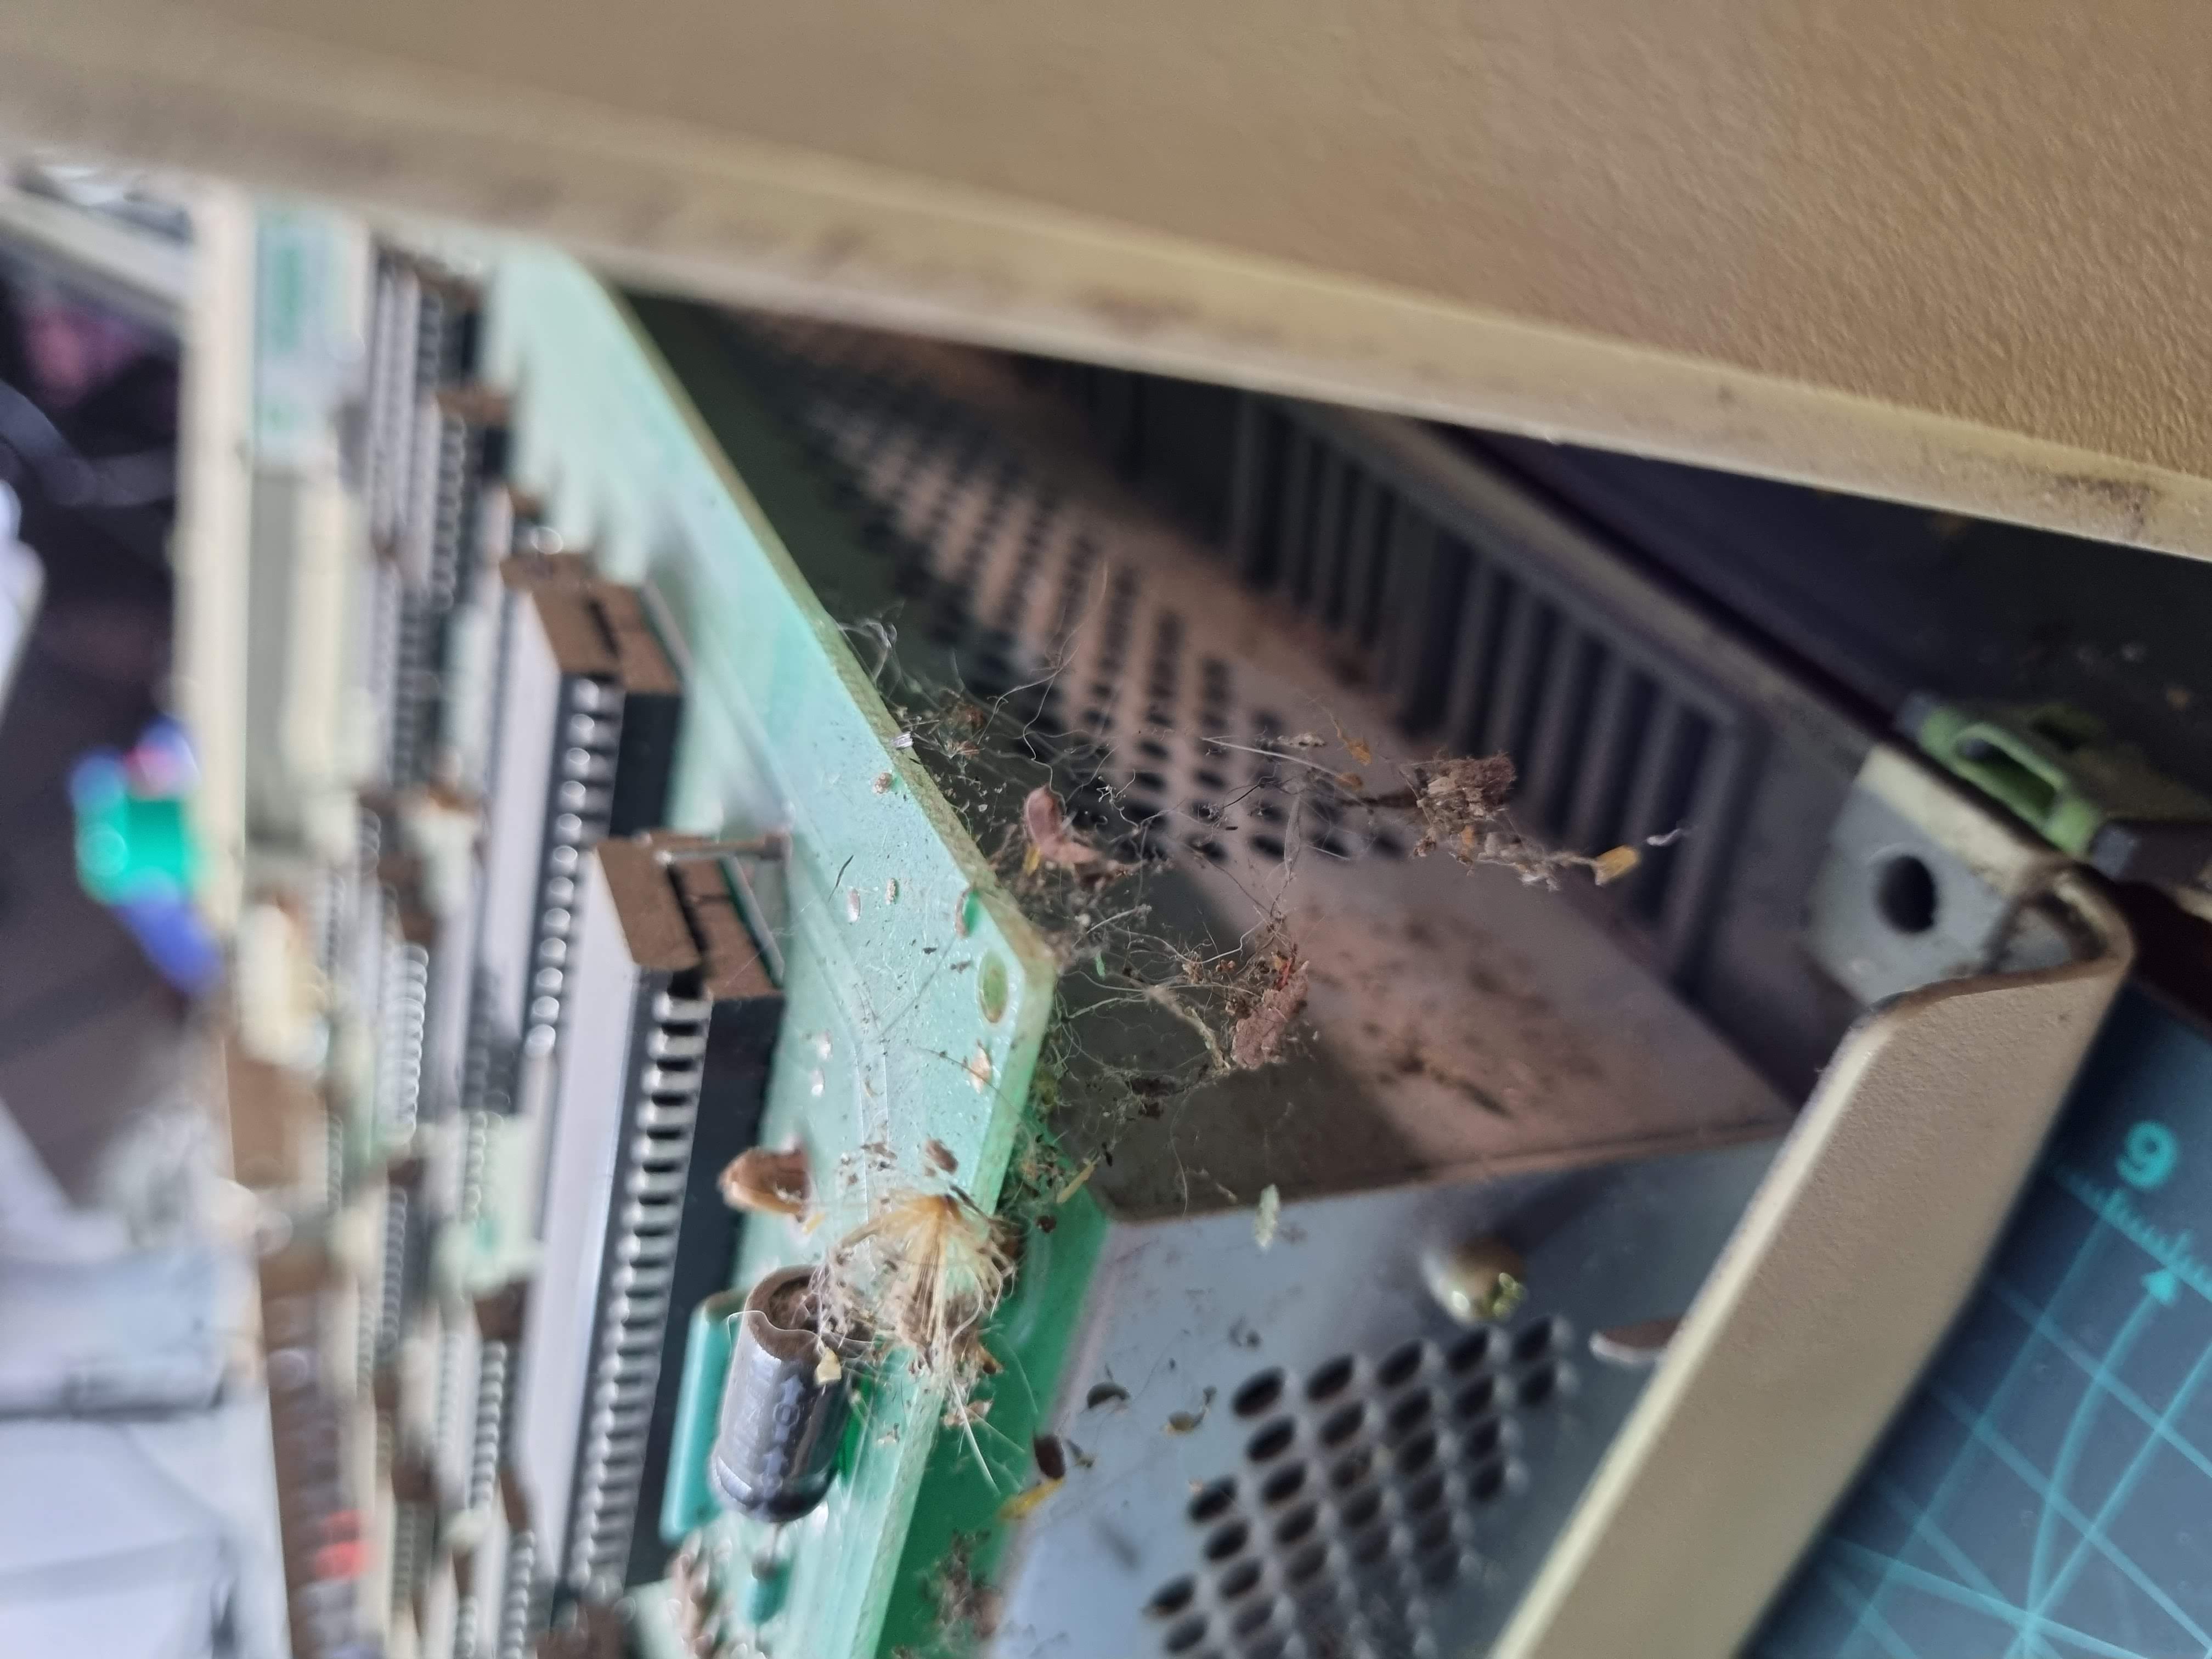
The first thing I knew I had to replace was the keyboard LED as the /// won't boot if it's dead and mine was dead. I got an original from the US which took a while to get. In the meantime, the main board and chips had not aged well. There was a LOT of corrosion on the chips and quite a few of the logic chips had legs rusted off. I must have replaced around 20 logic chips and two 6522s. I also had to replace the ROM, and Jannie from the VCCGSA helped me burn a new one.
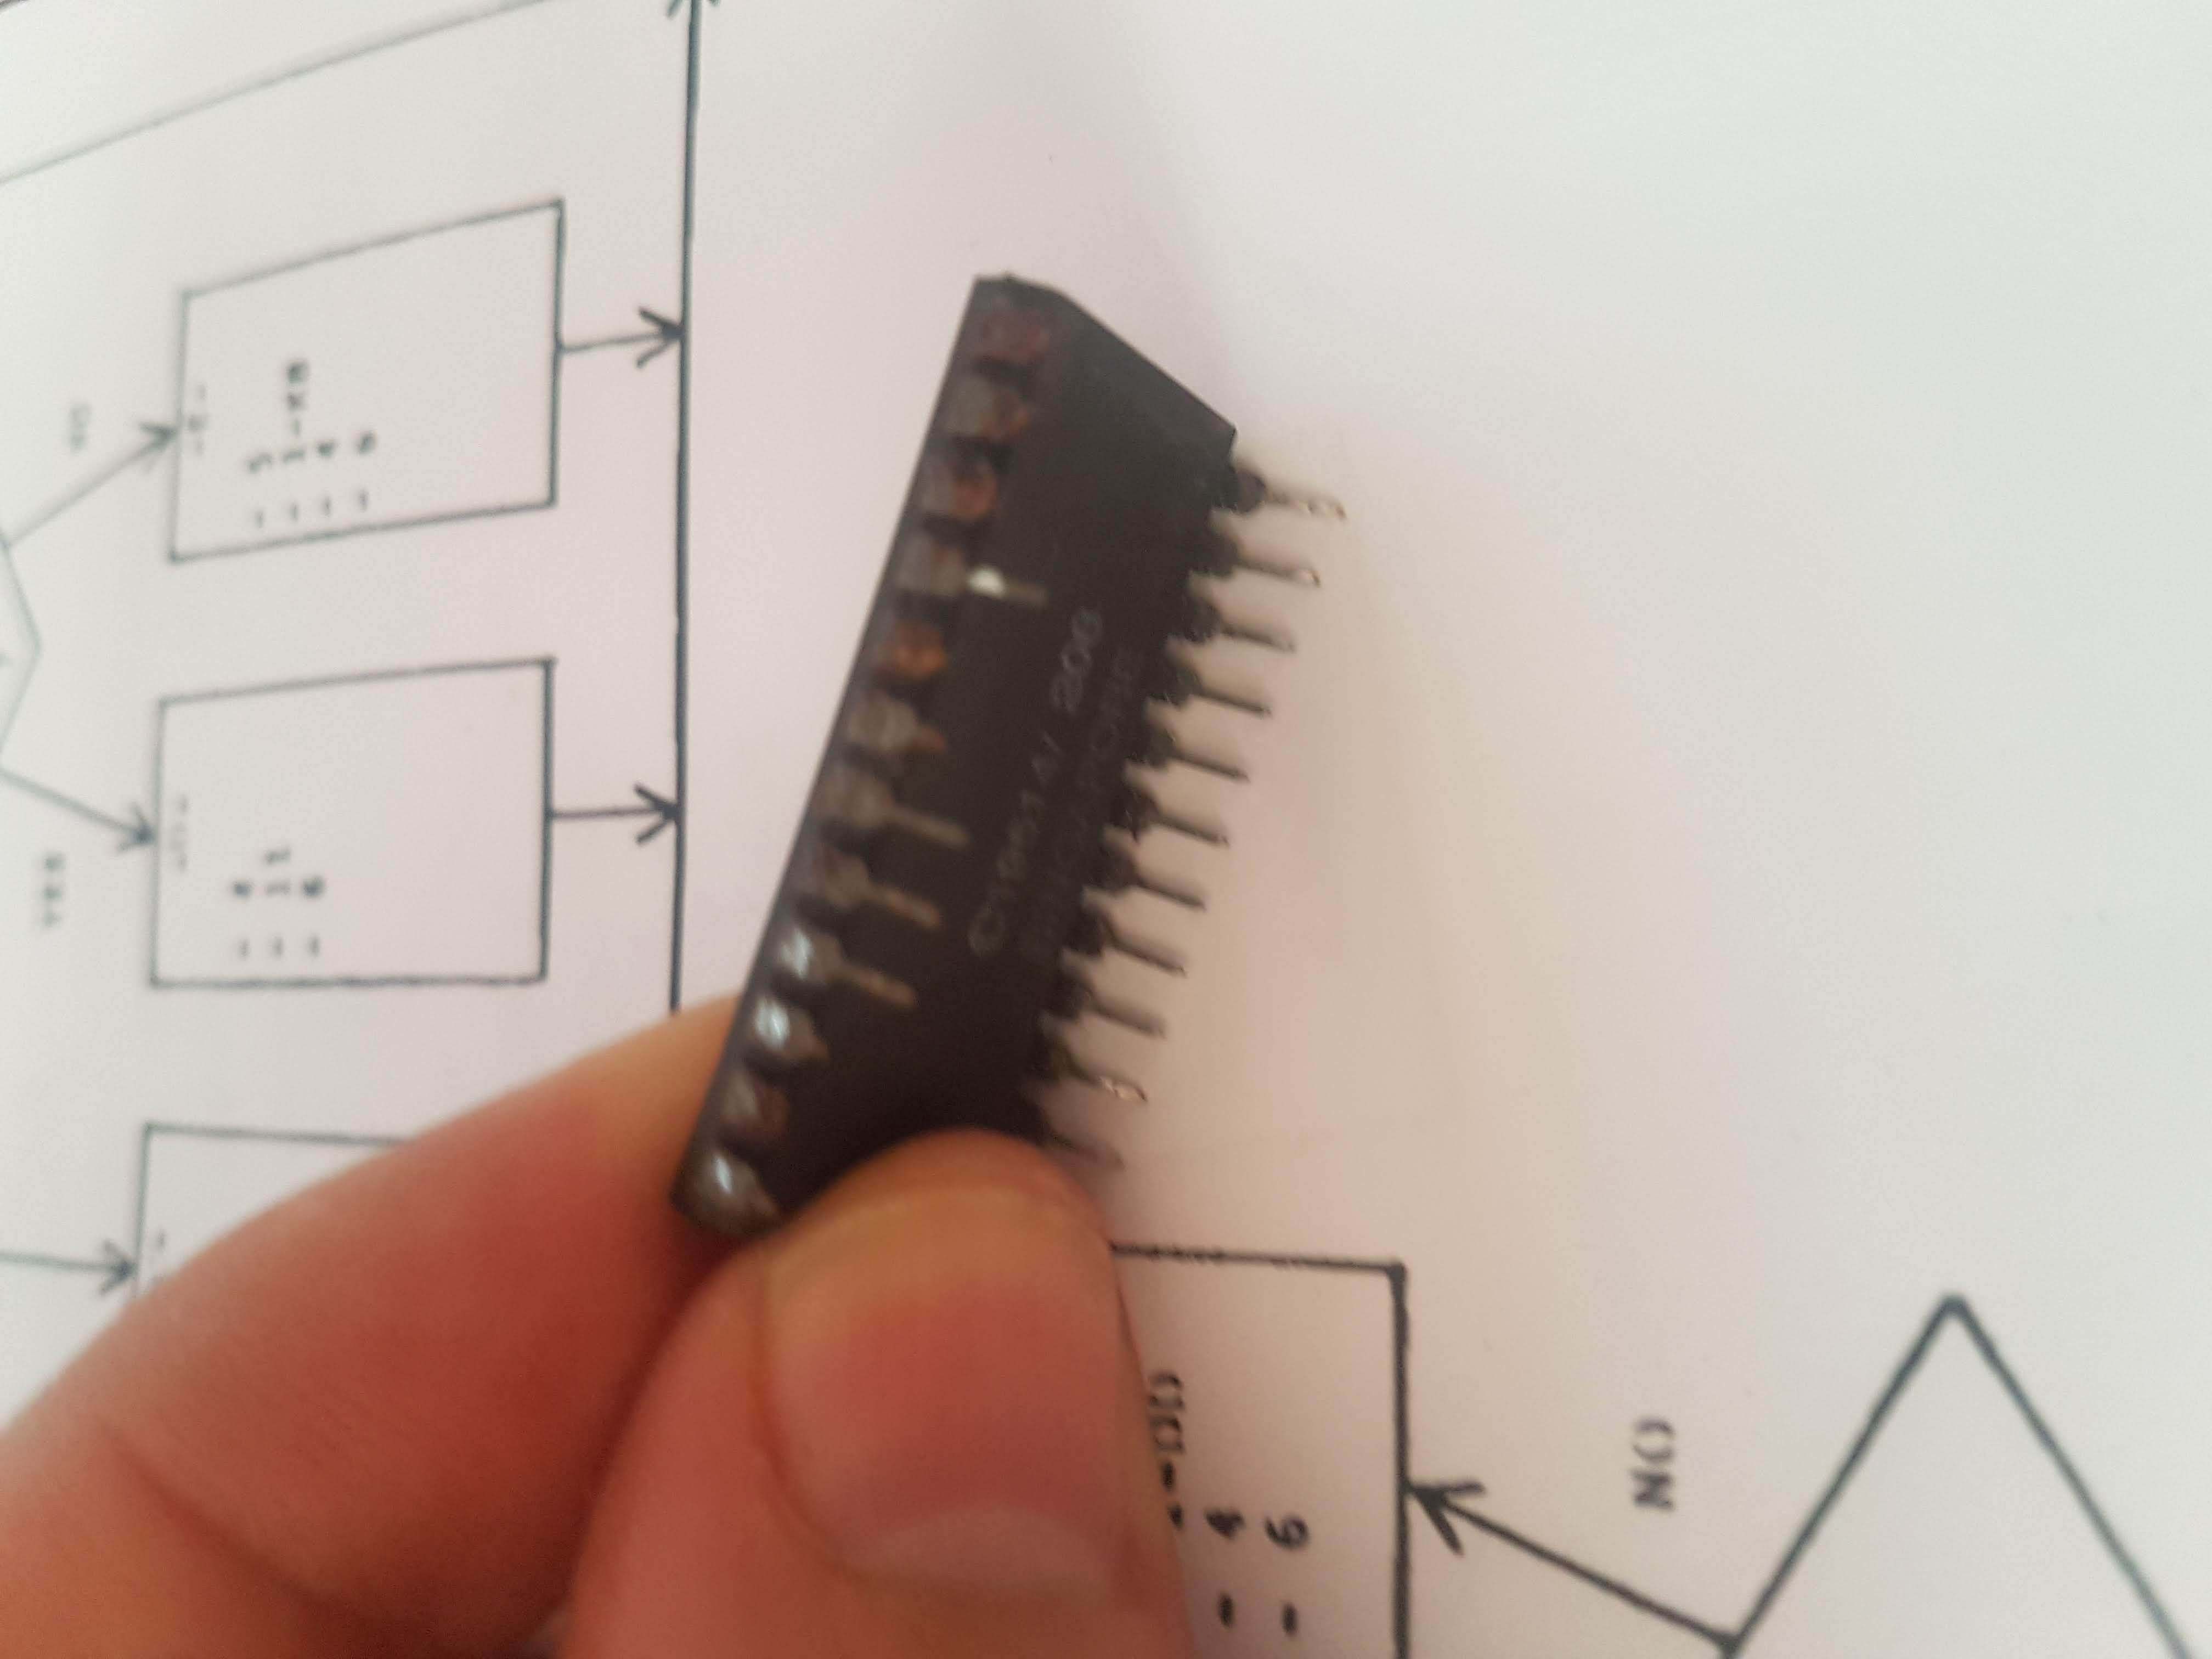
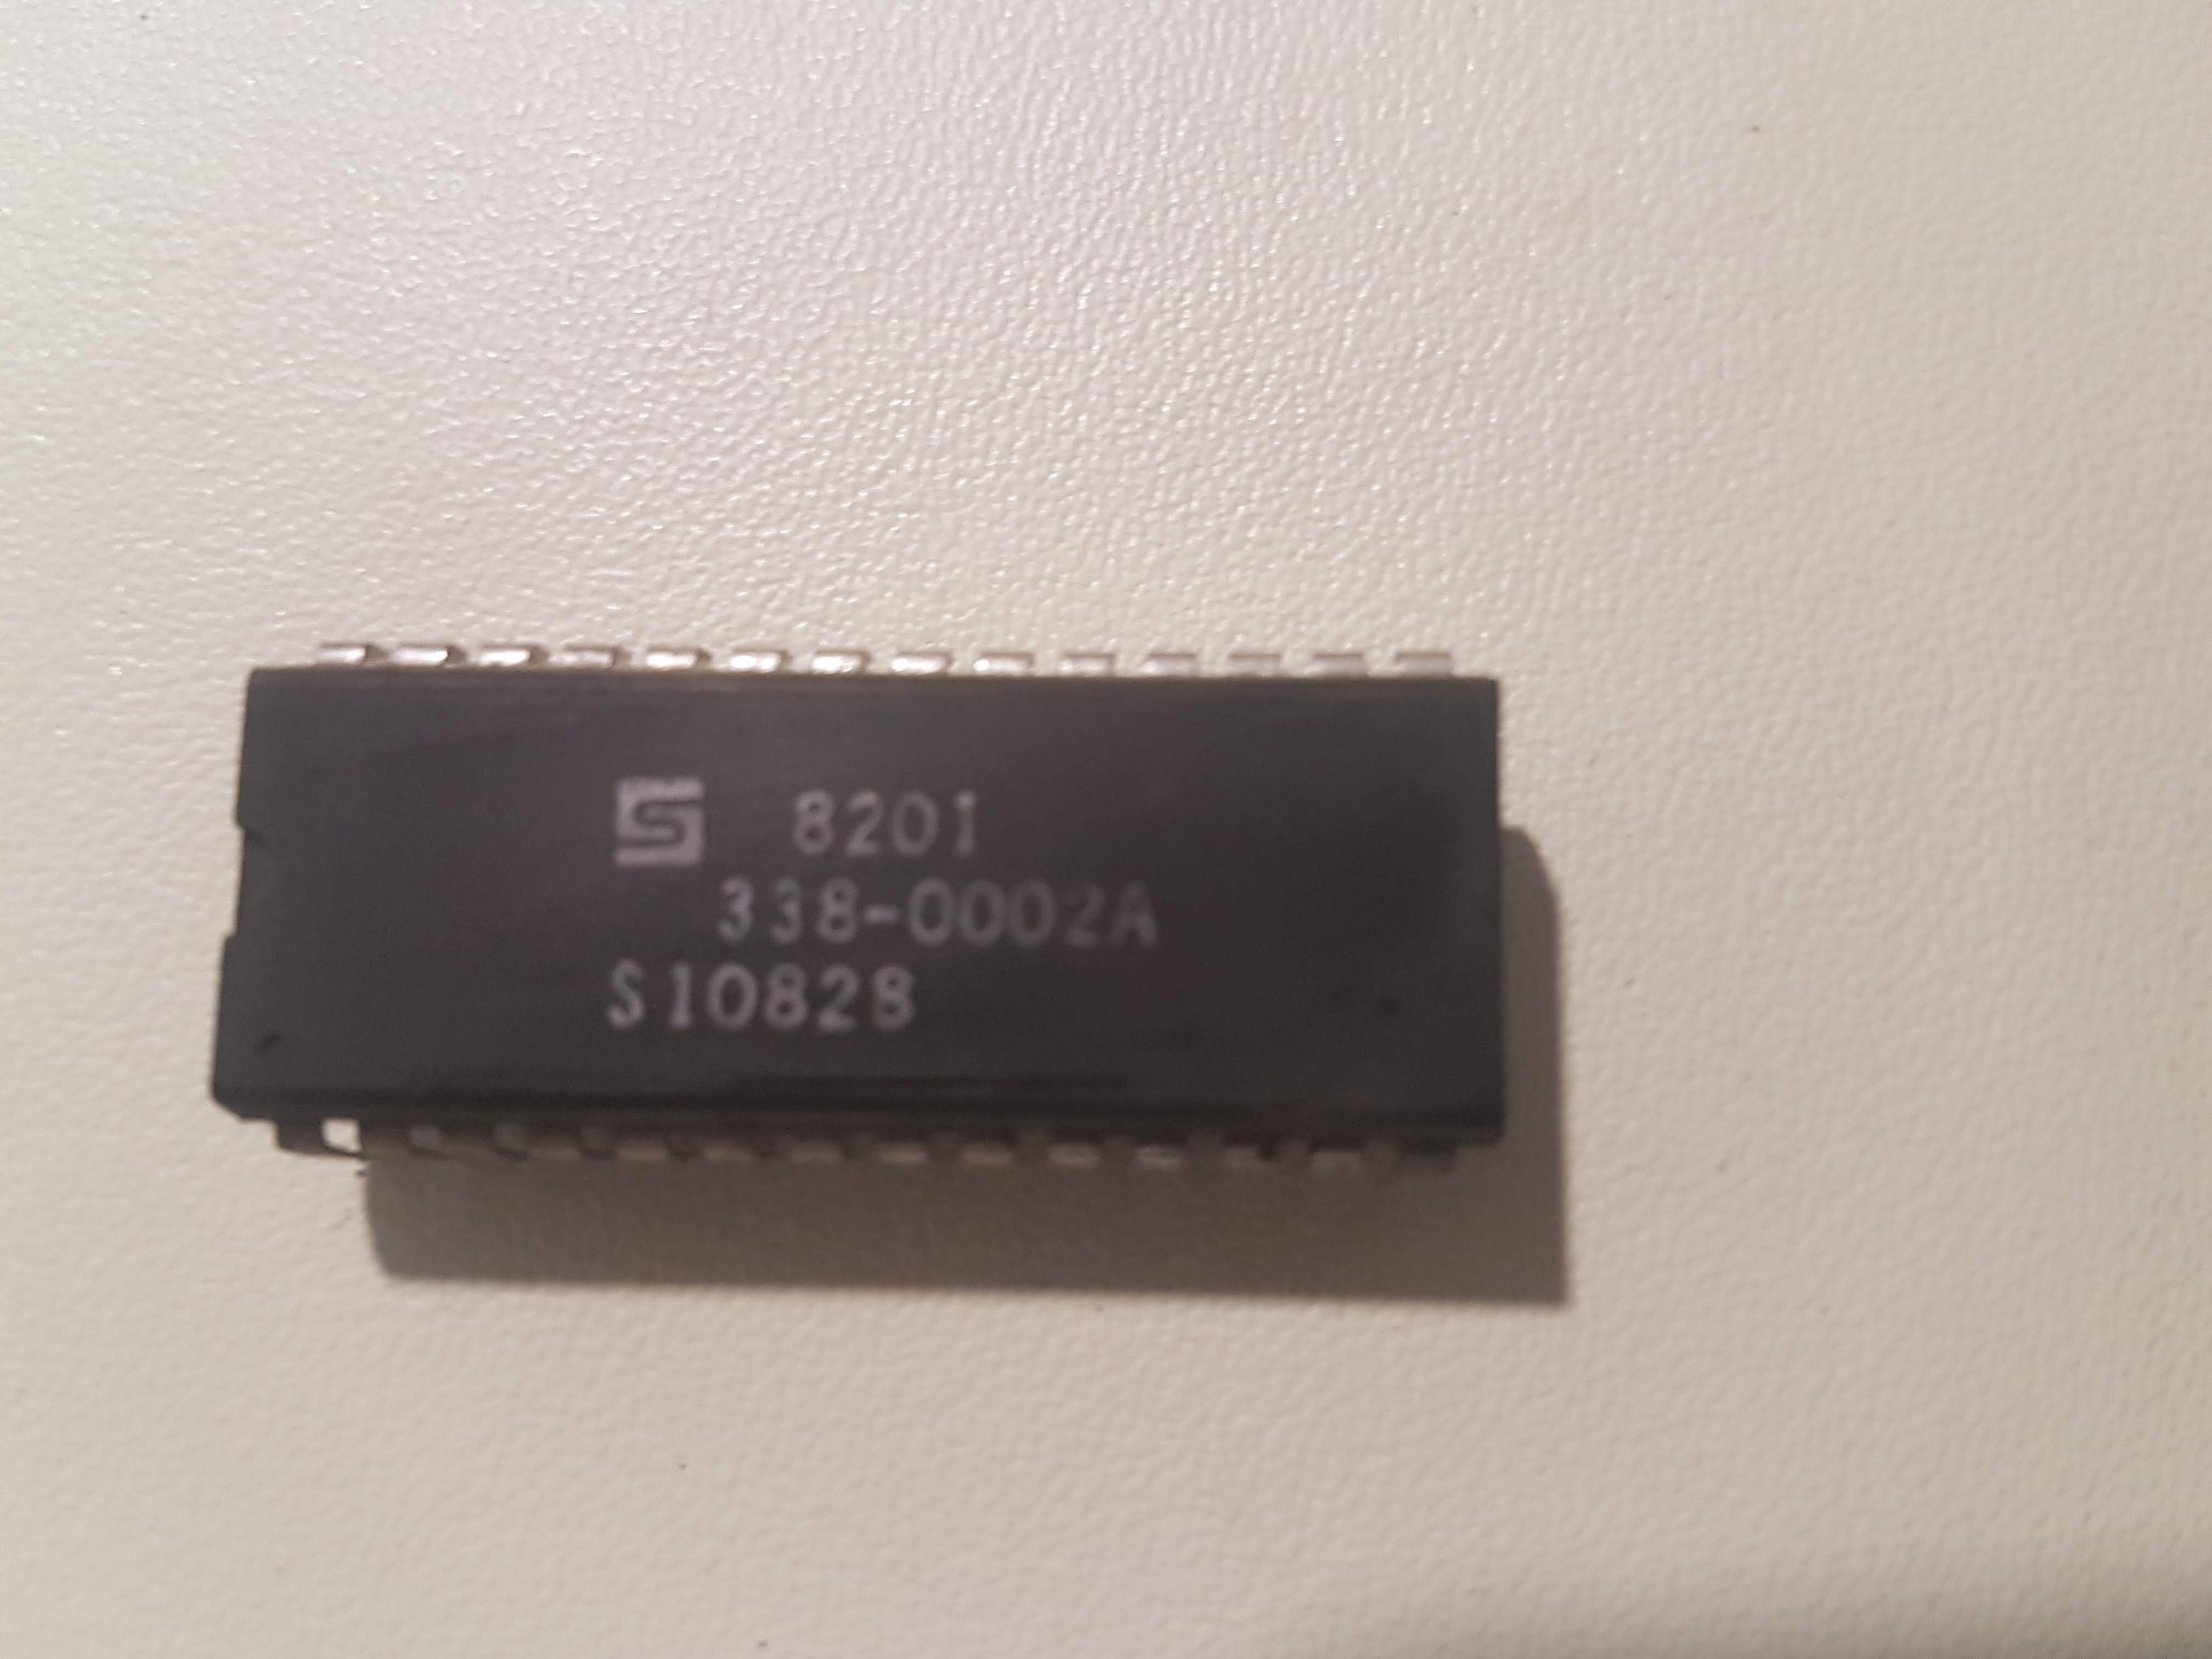
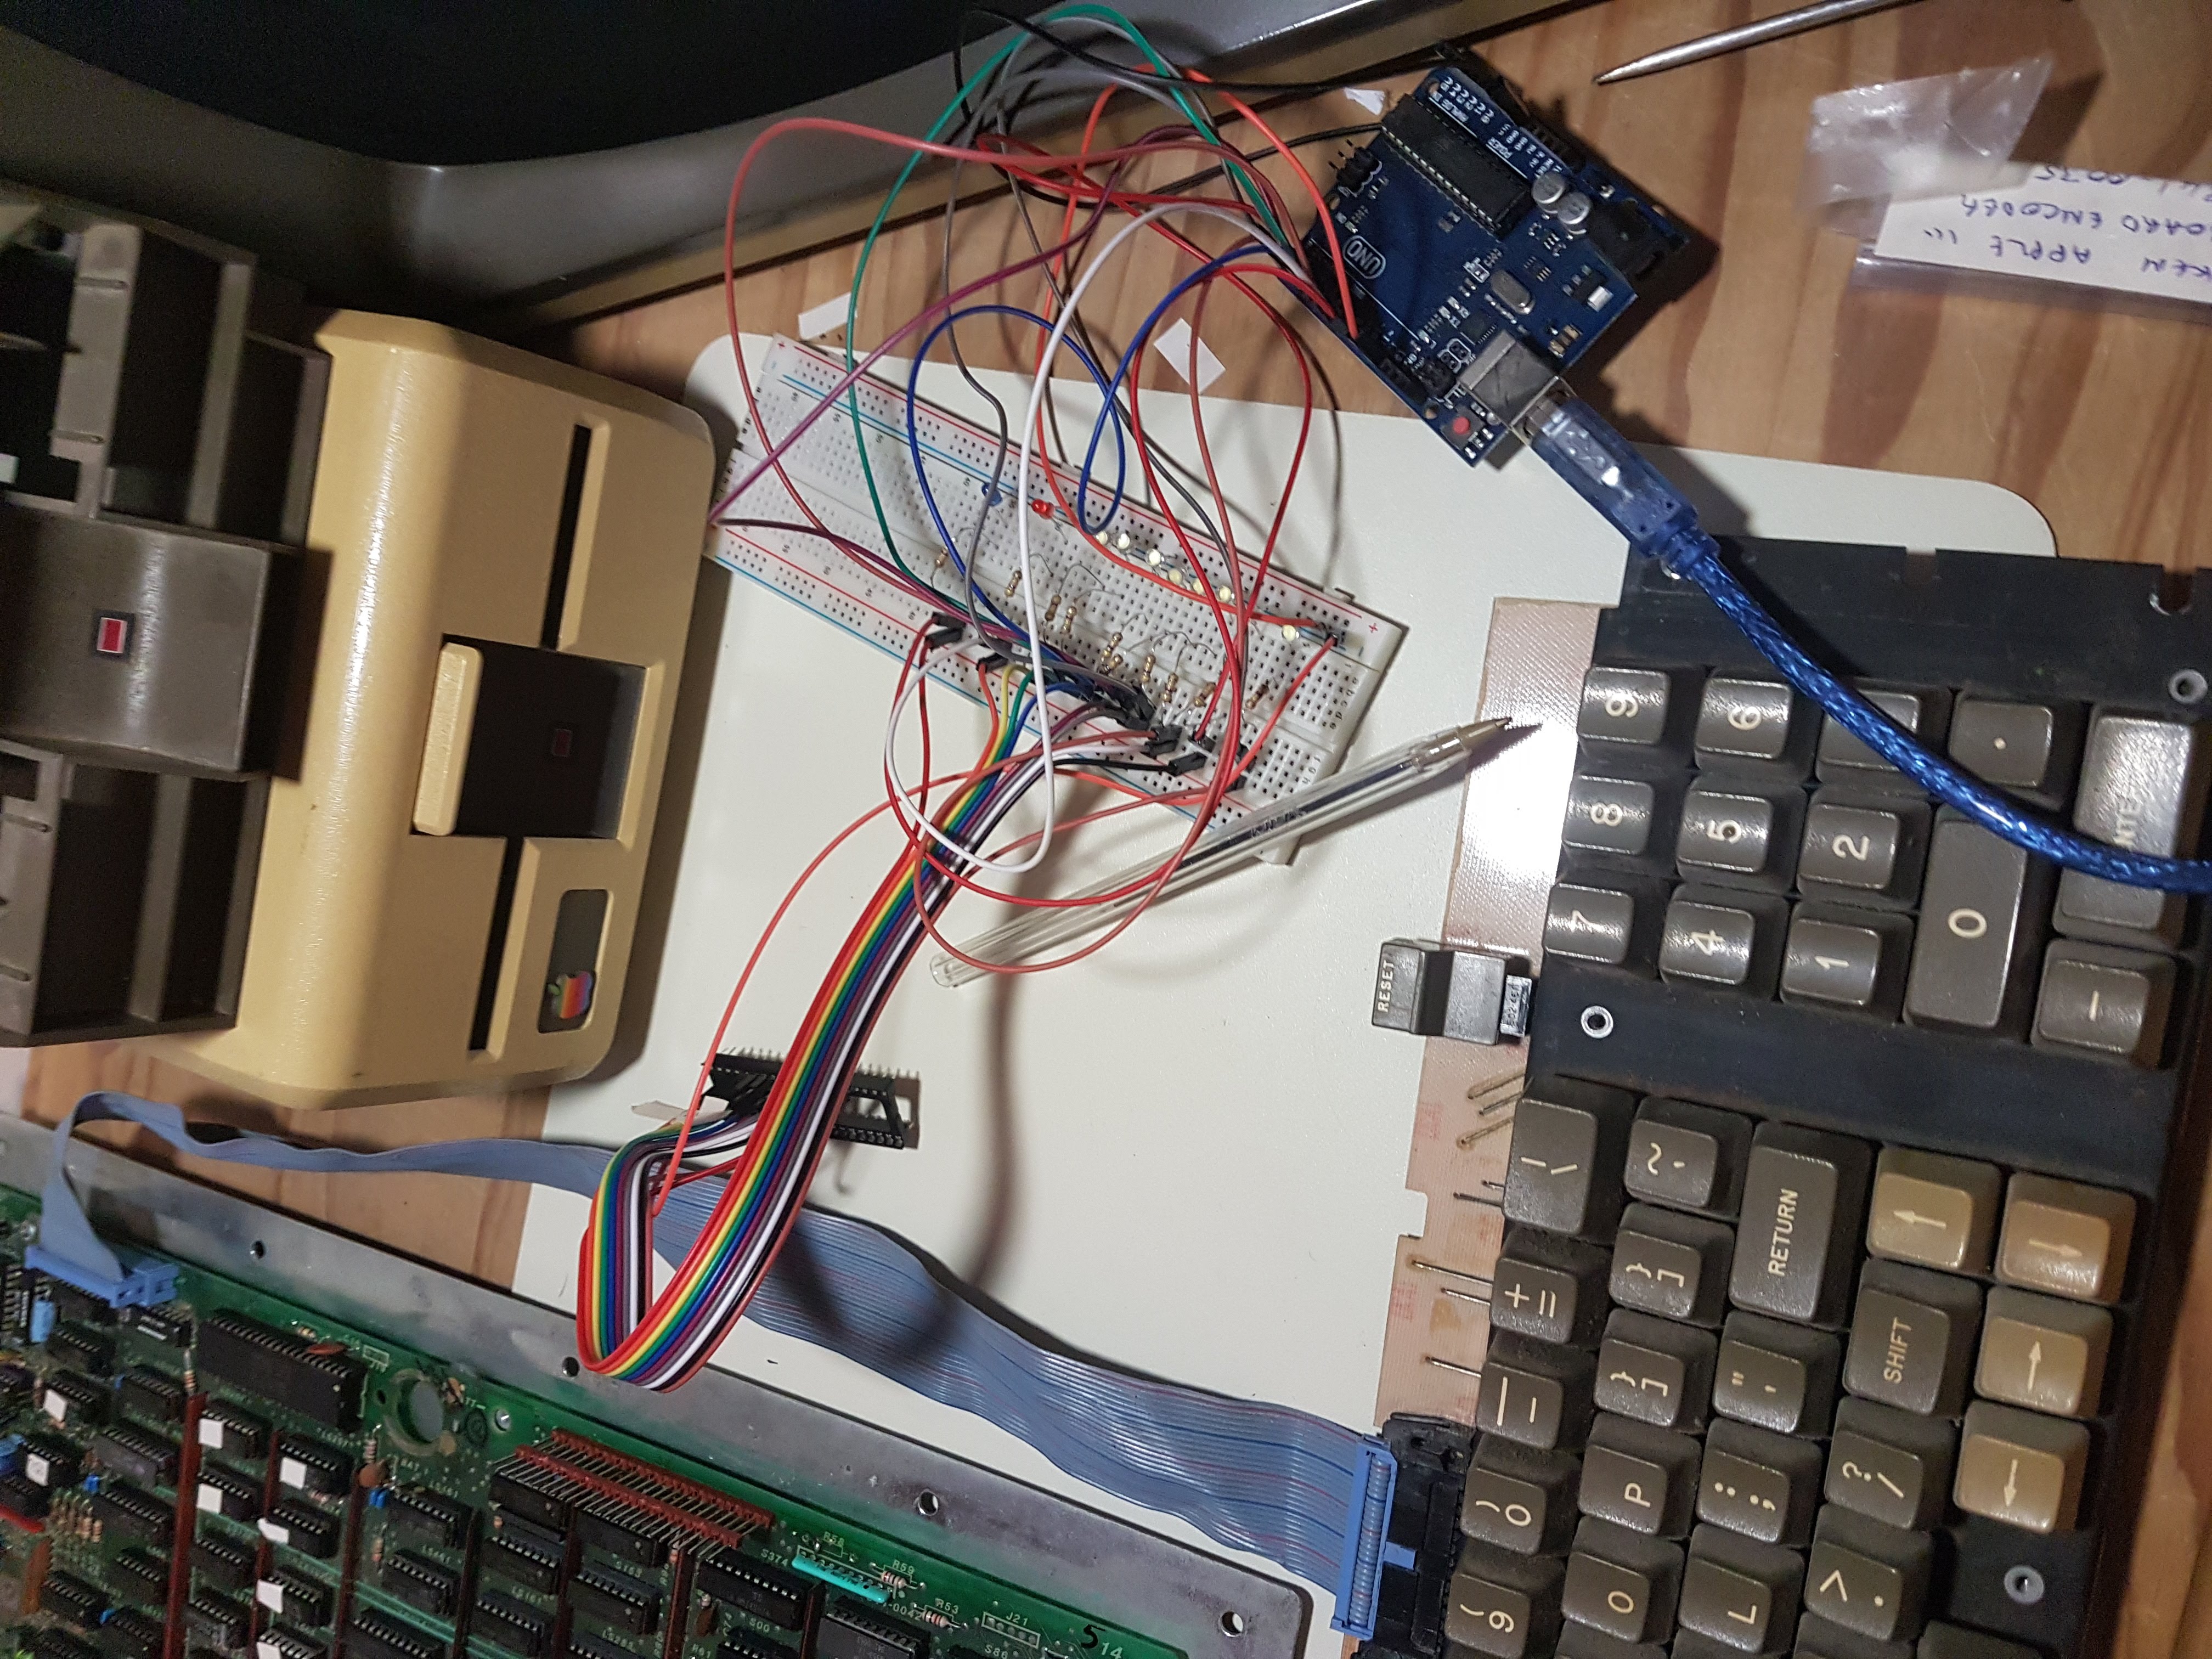
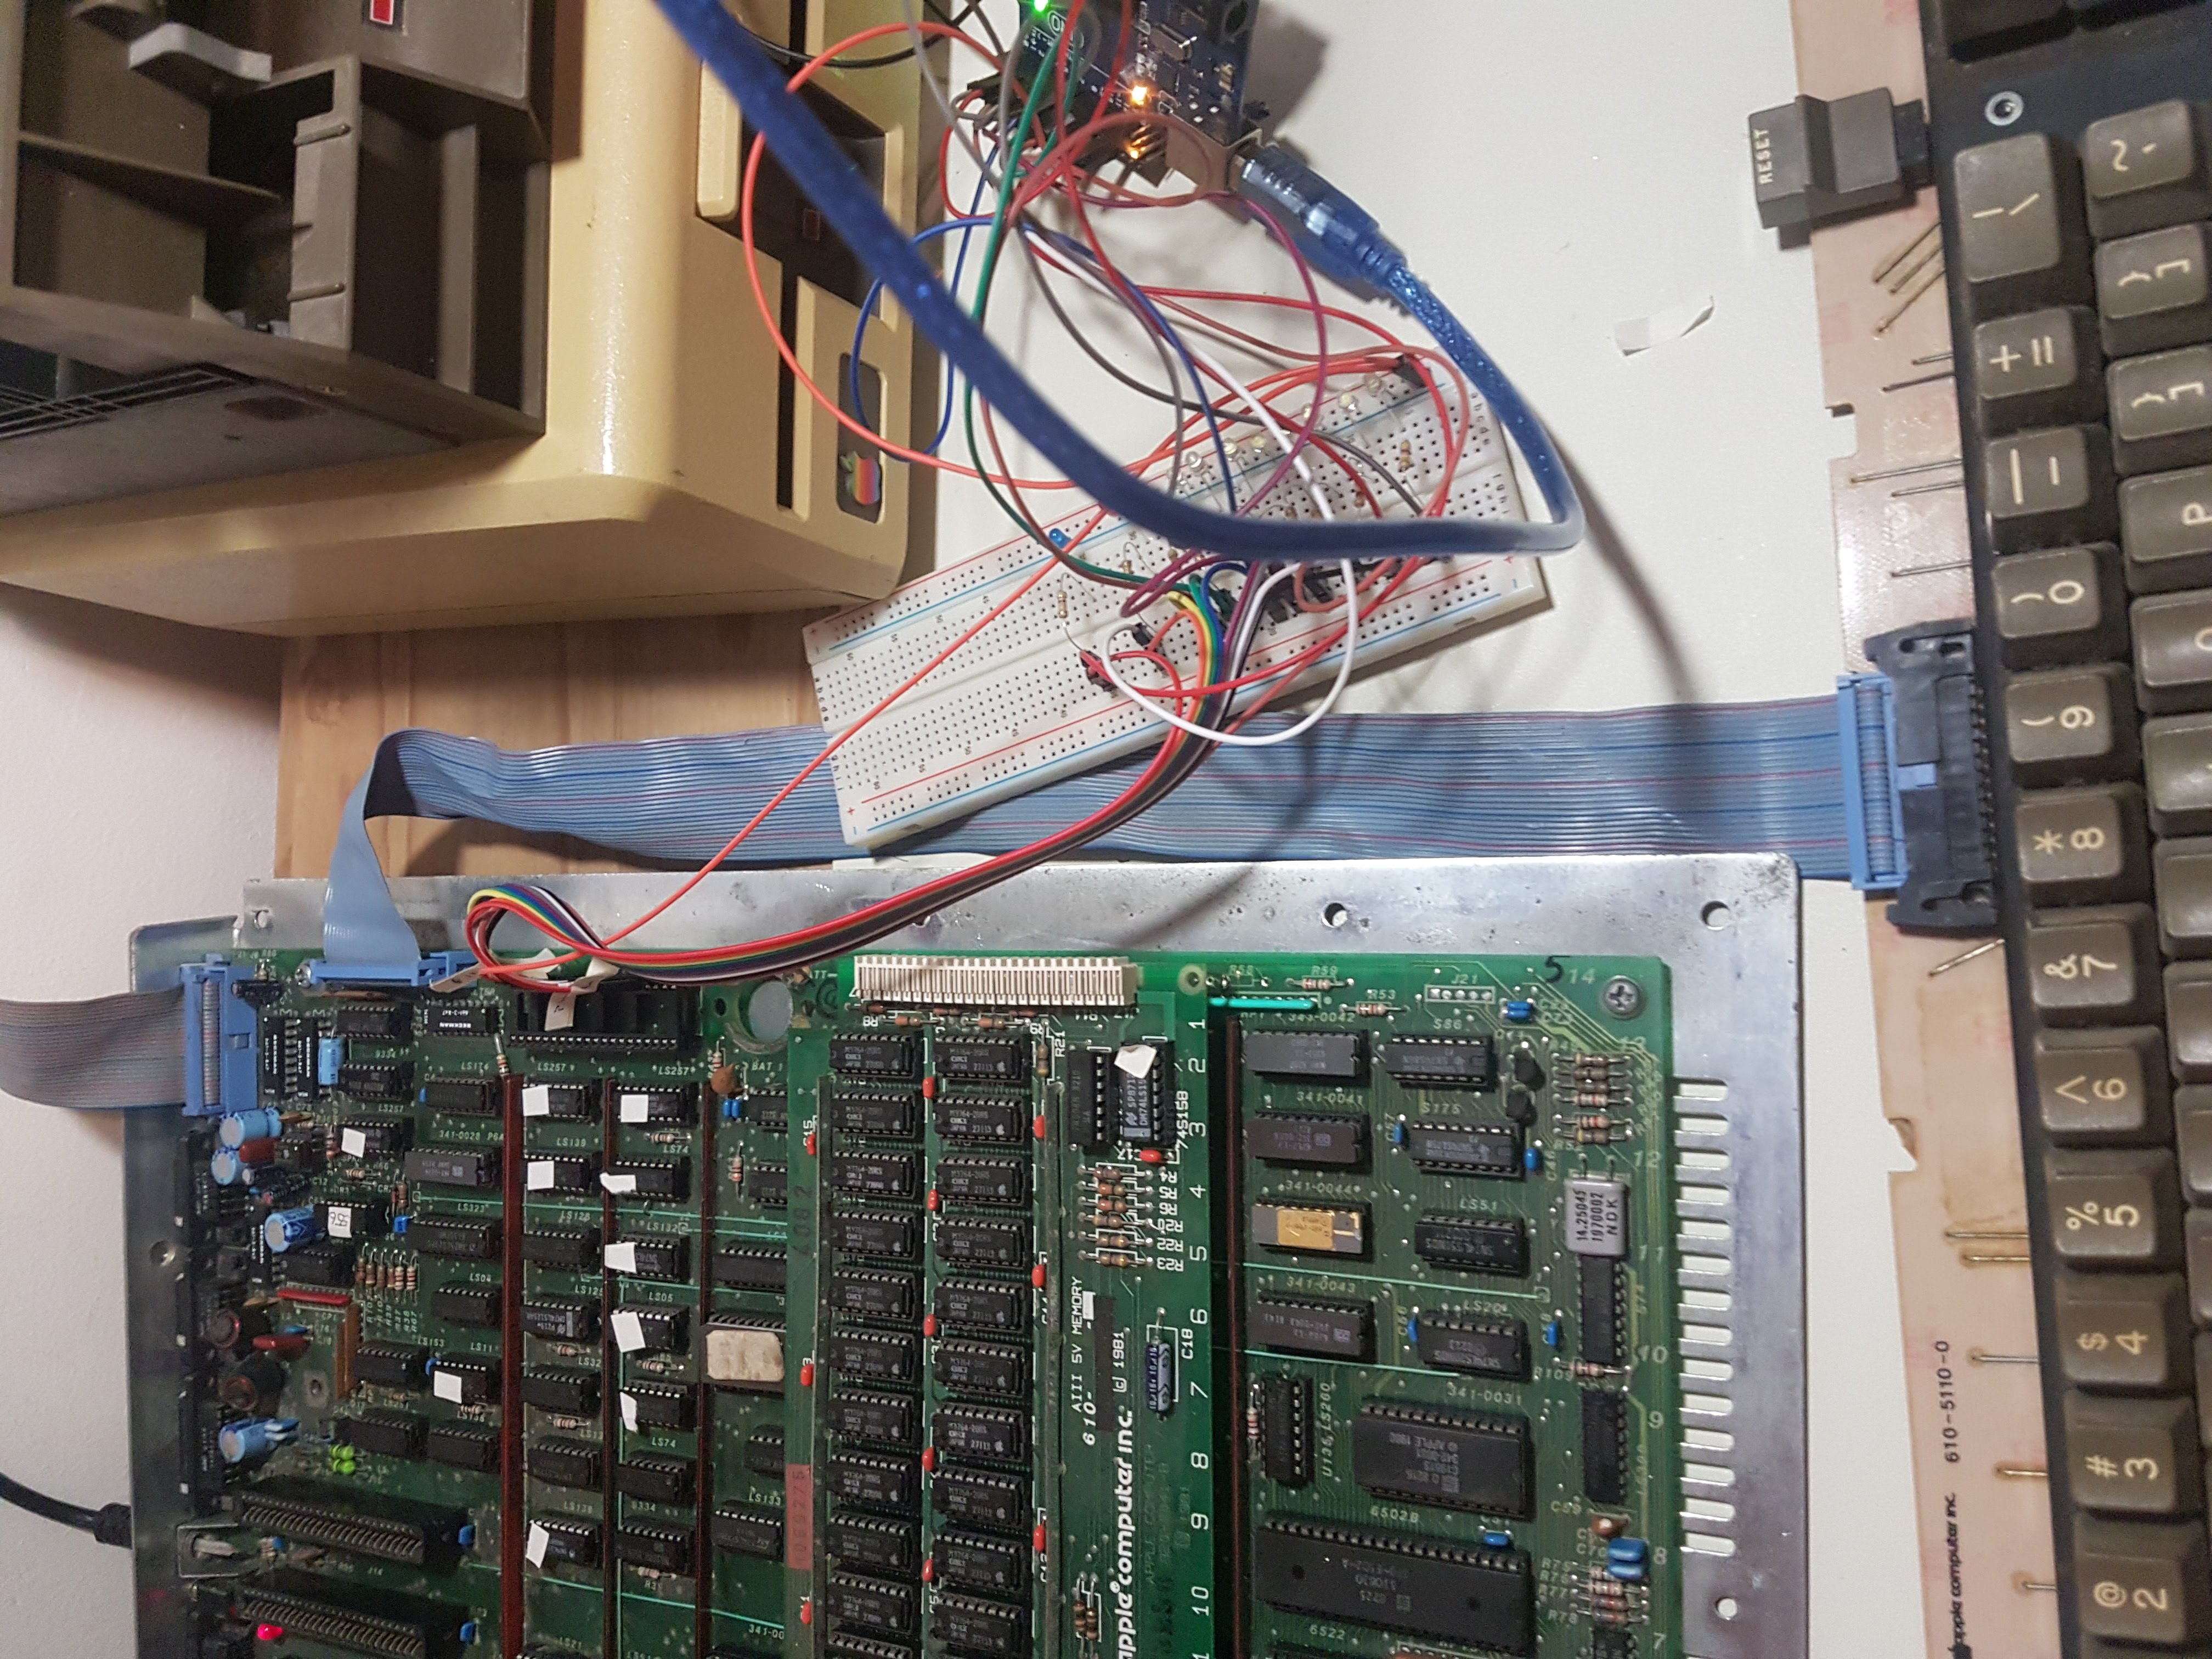
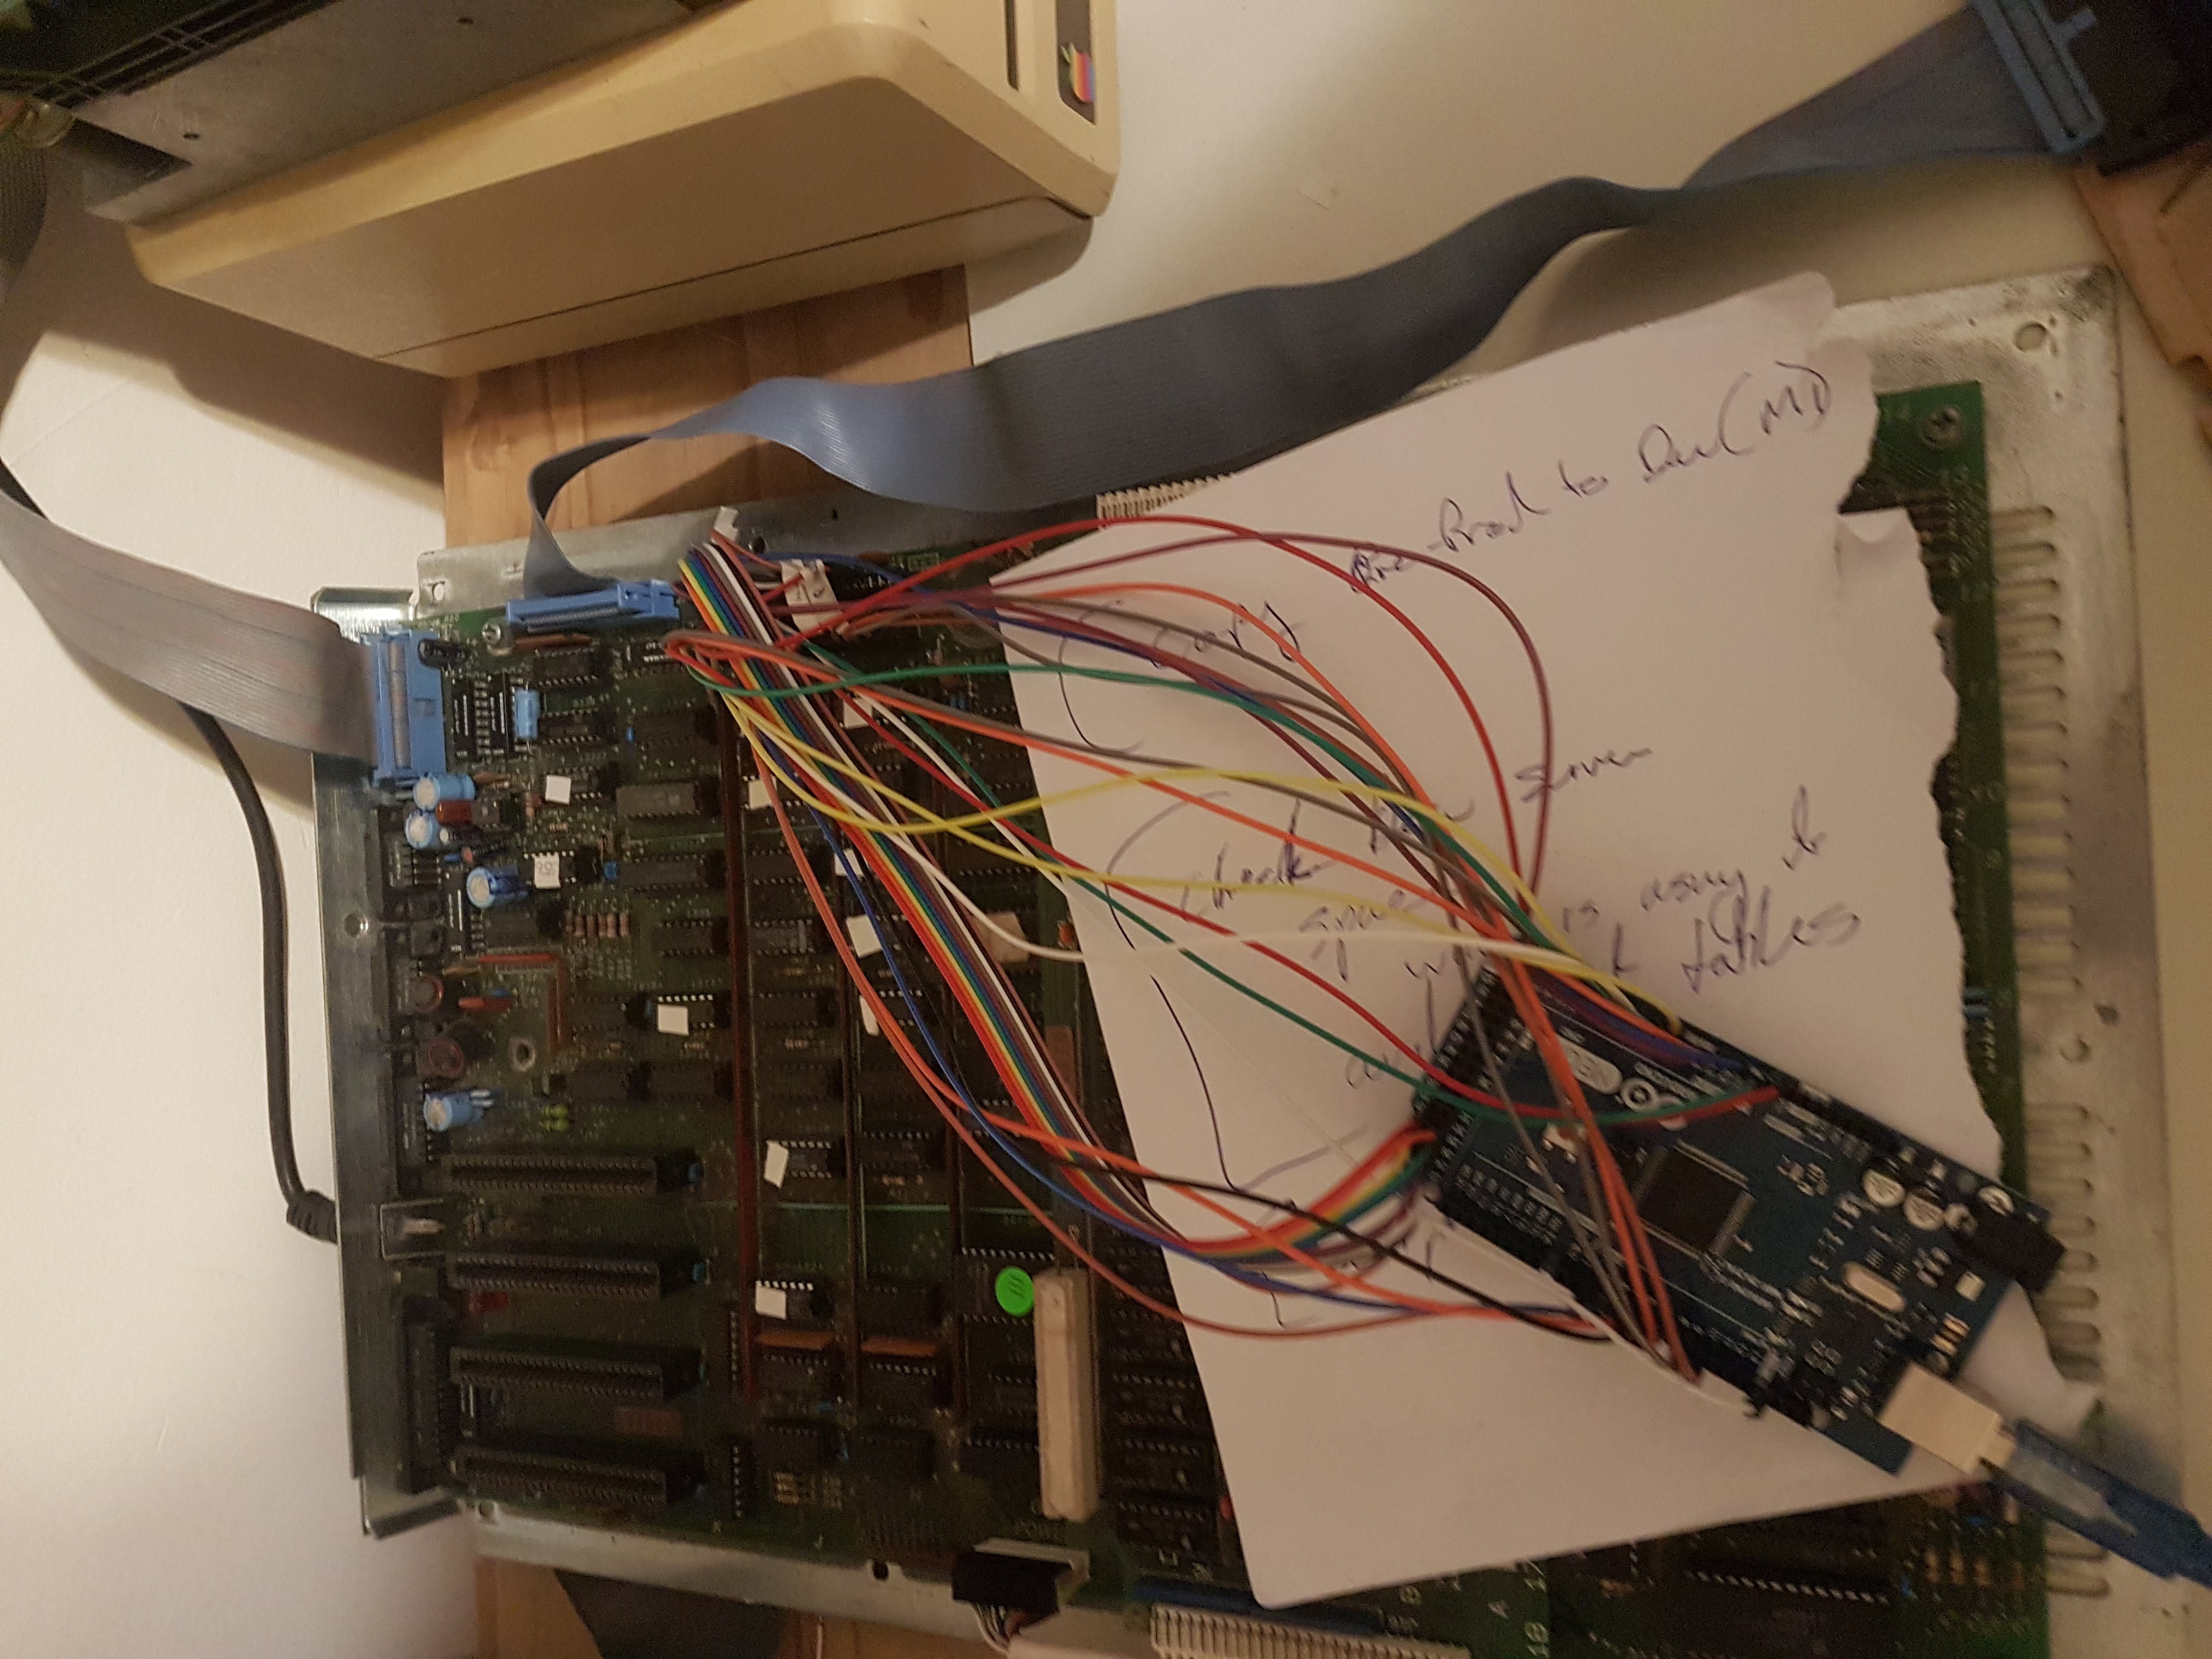
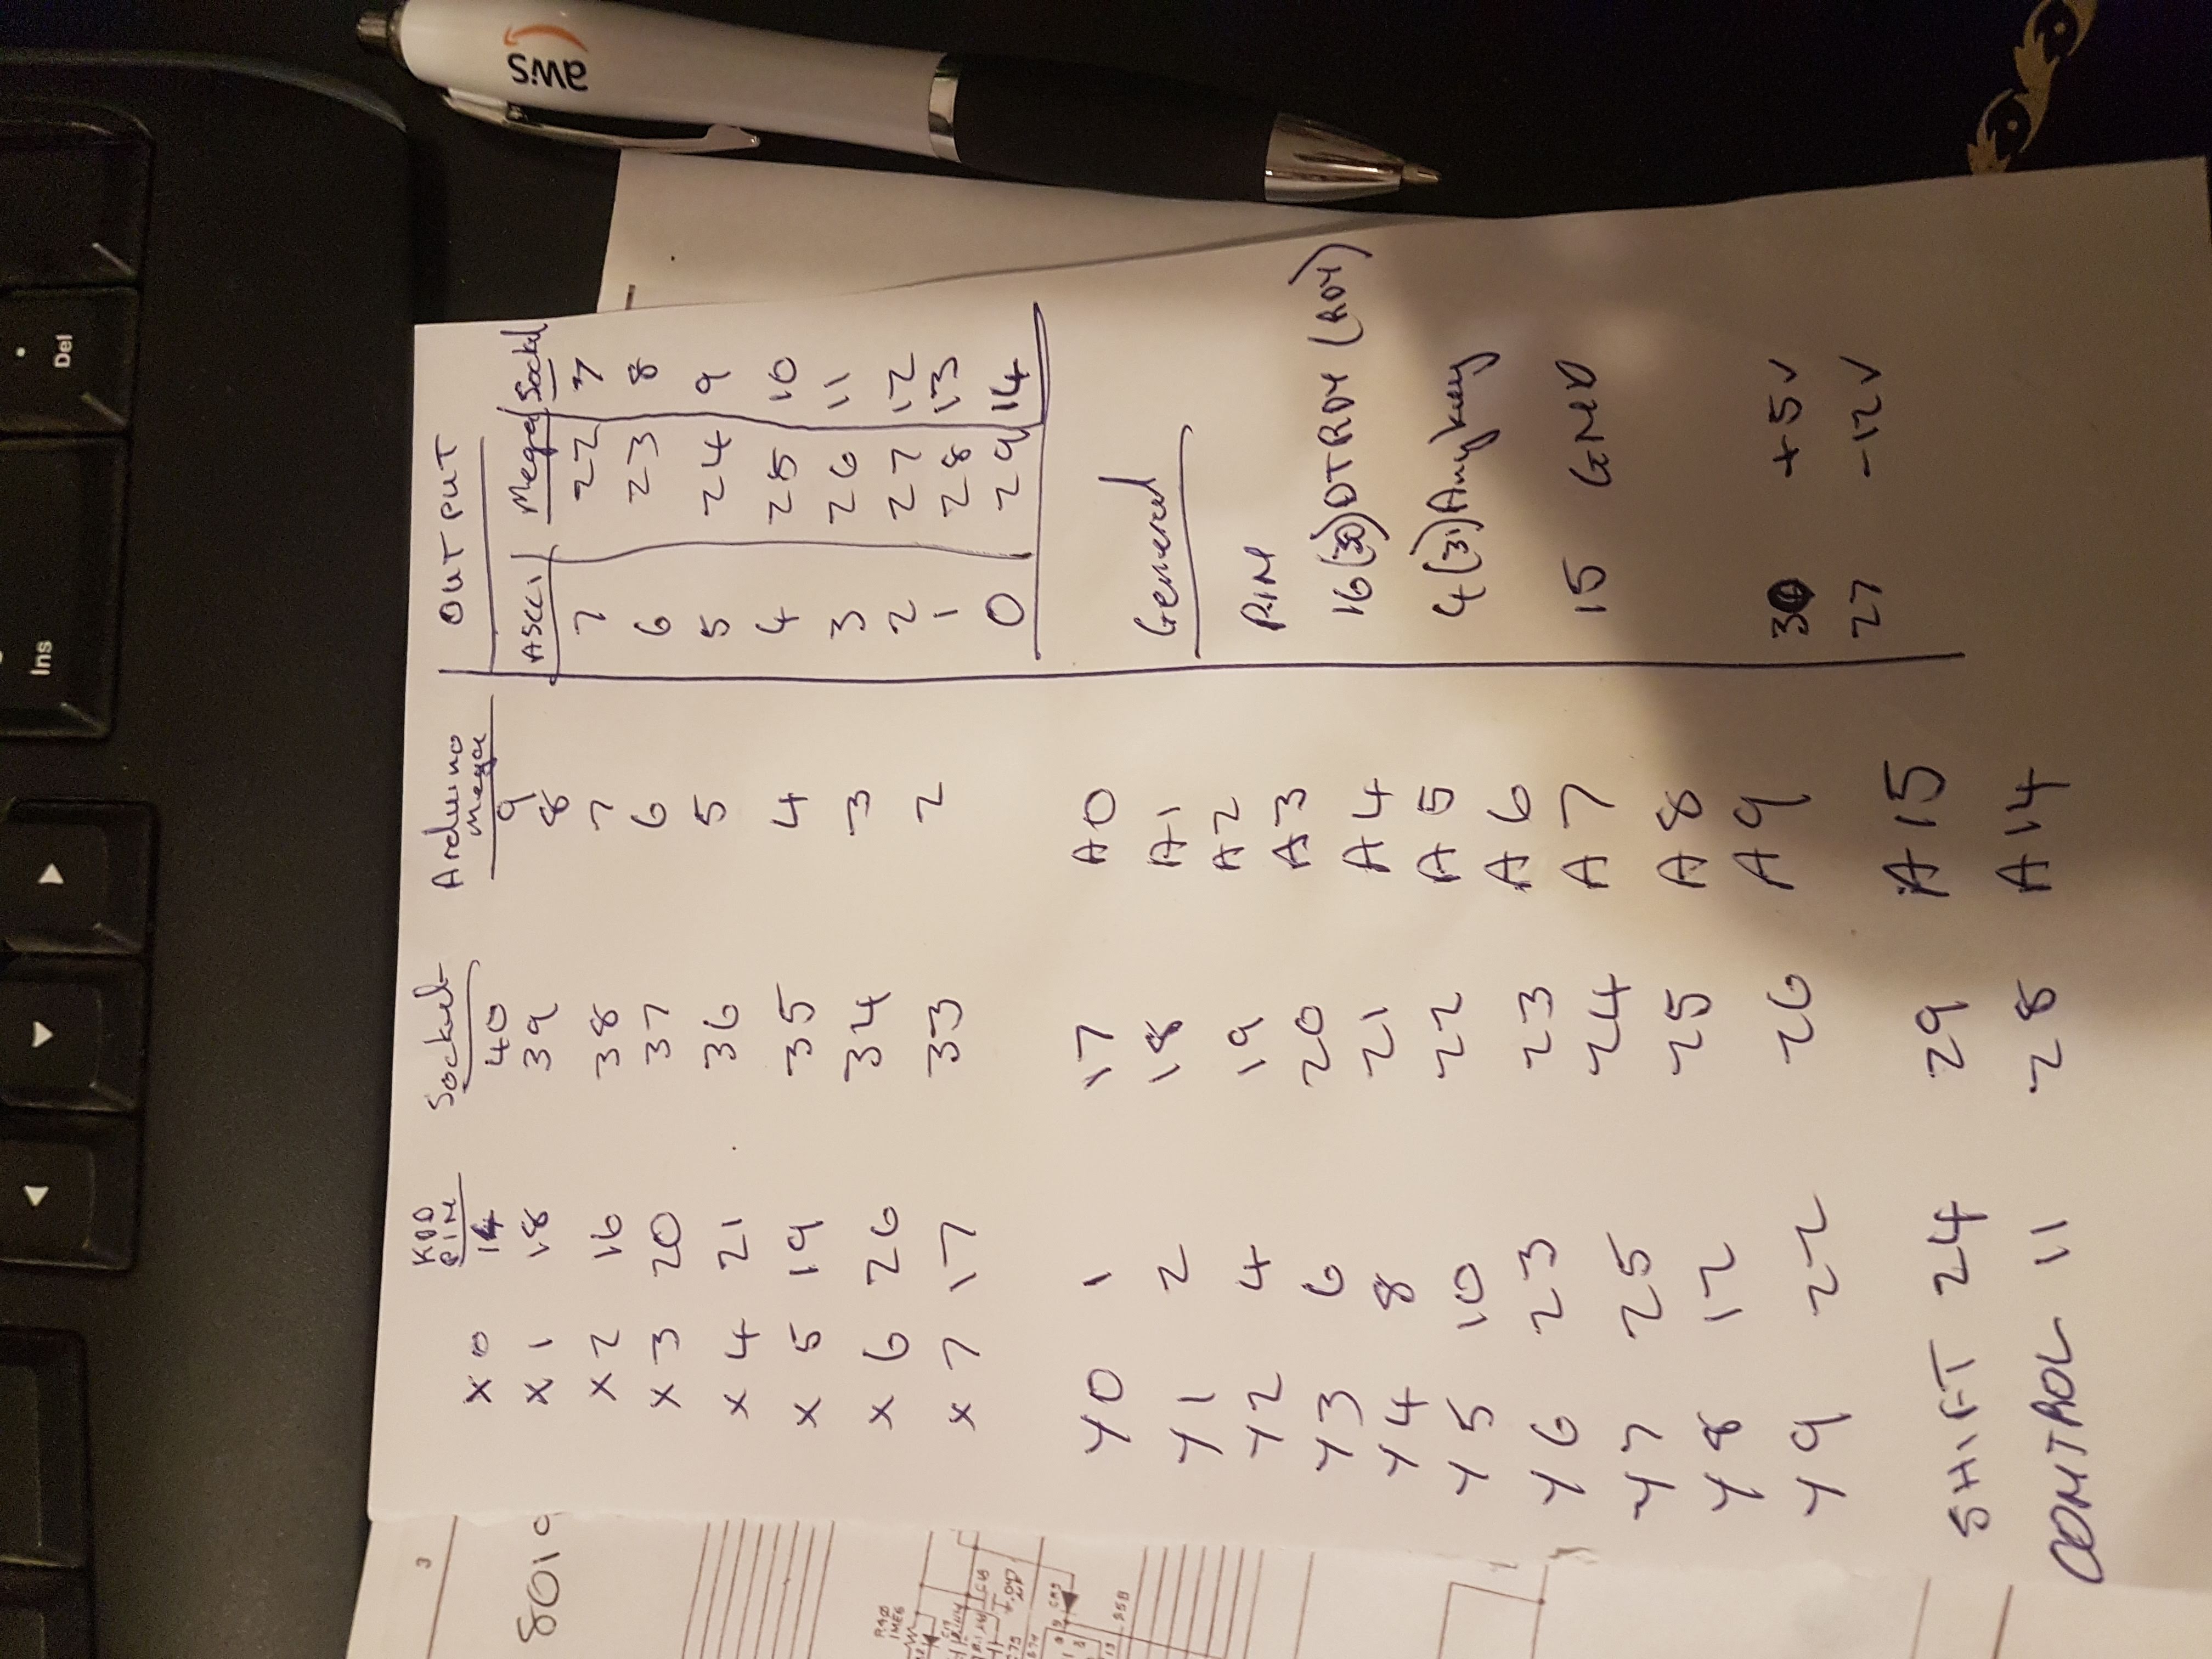
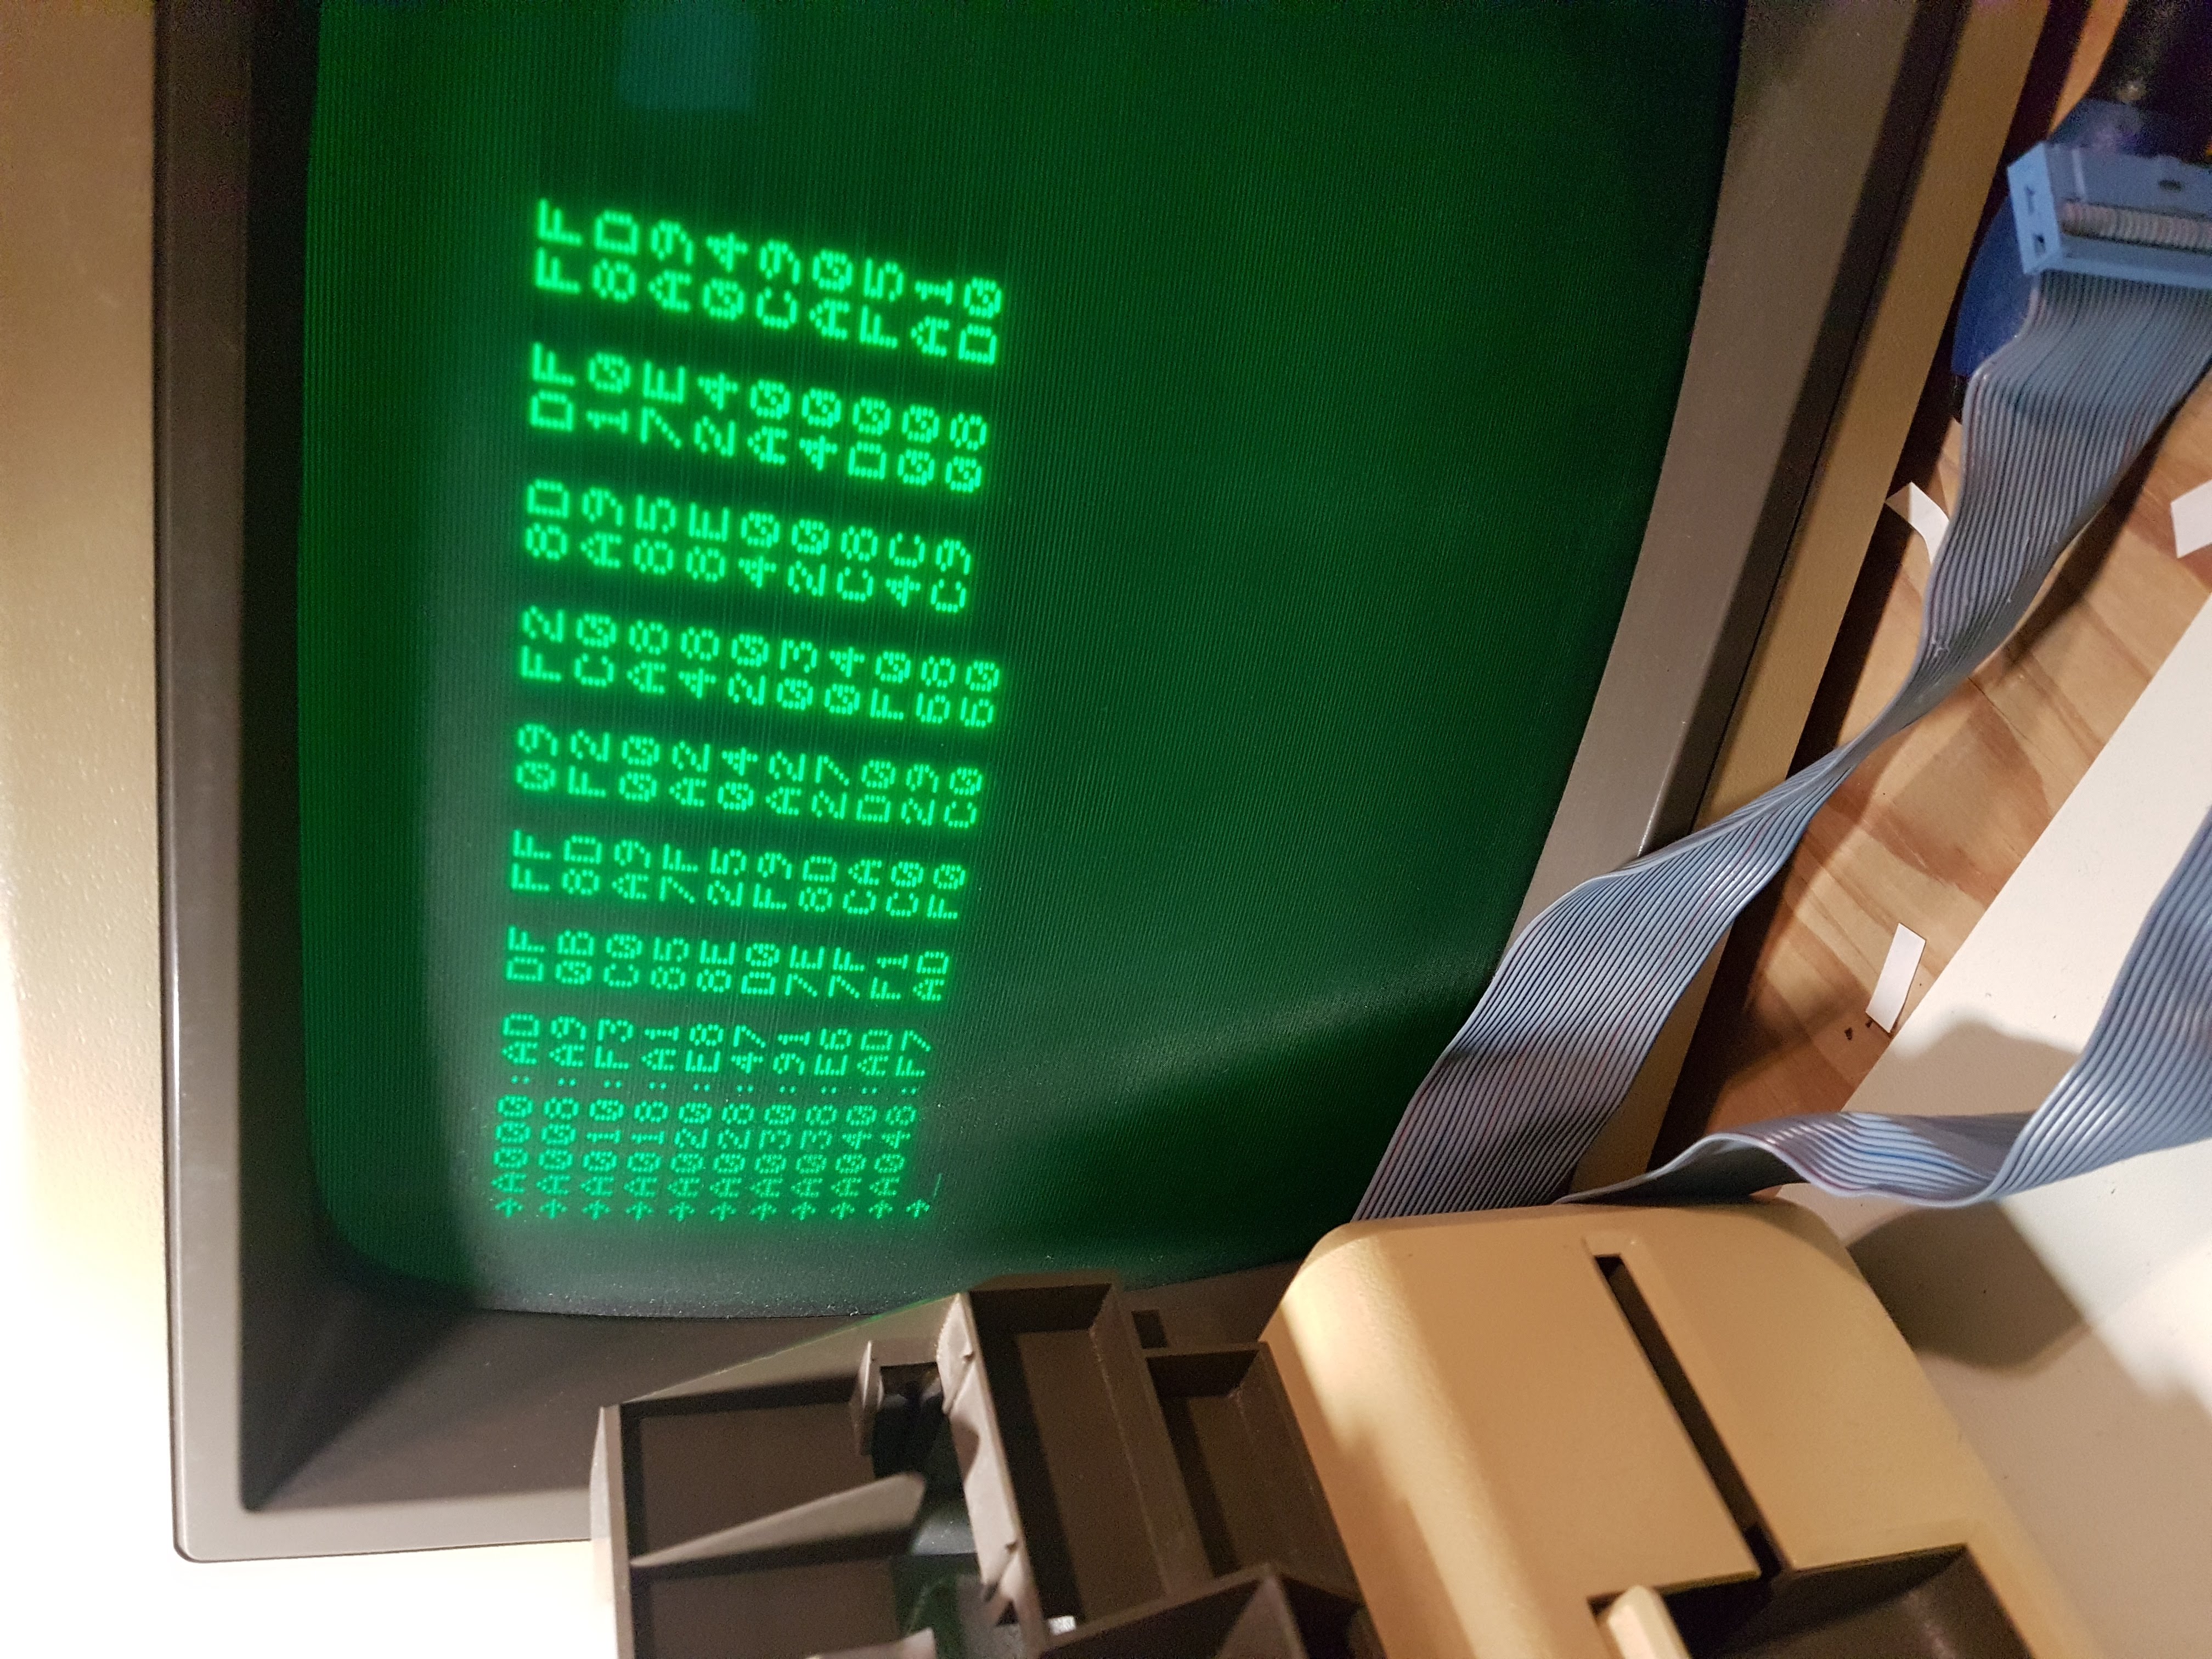
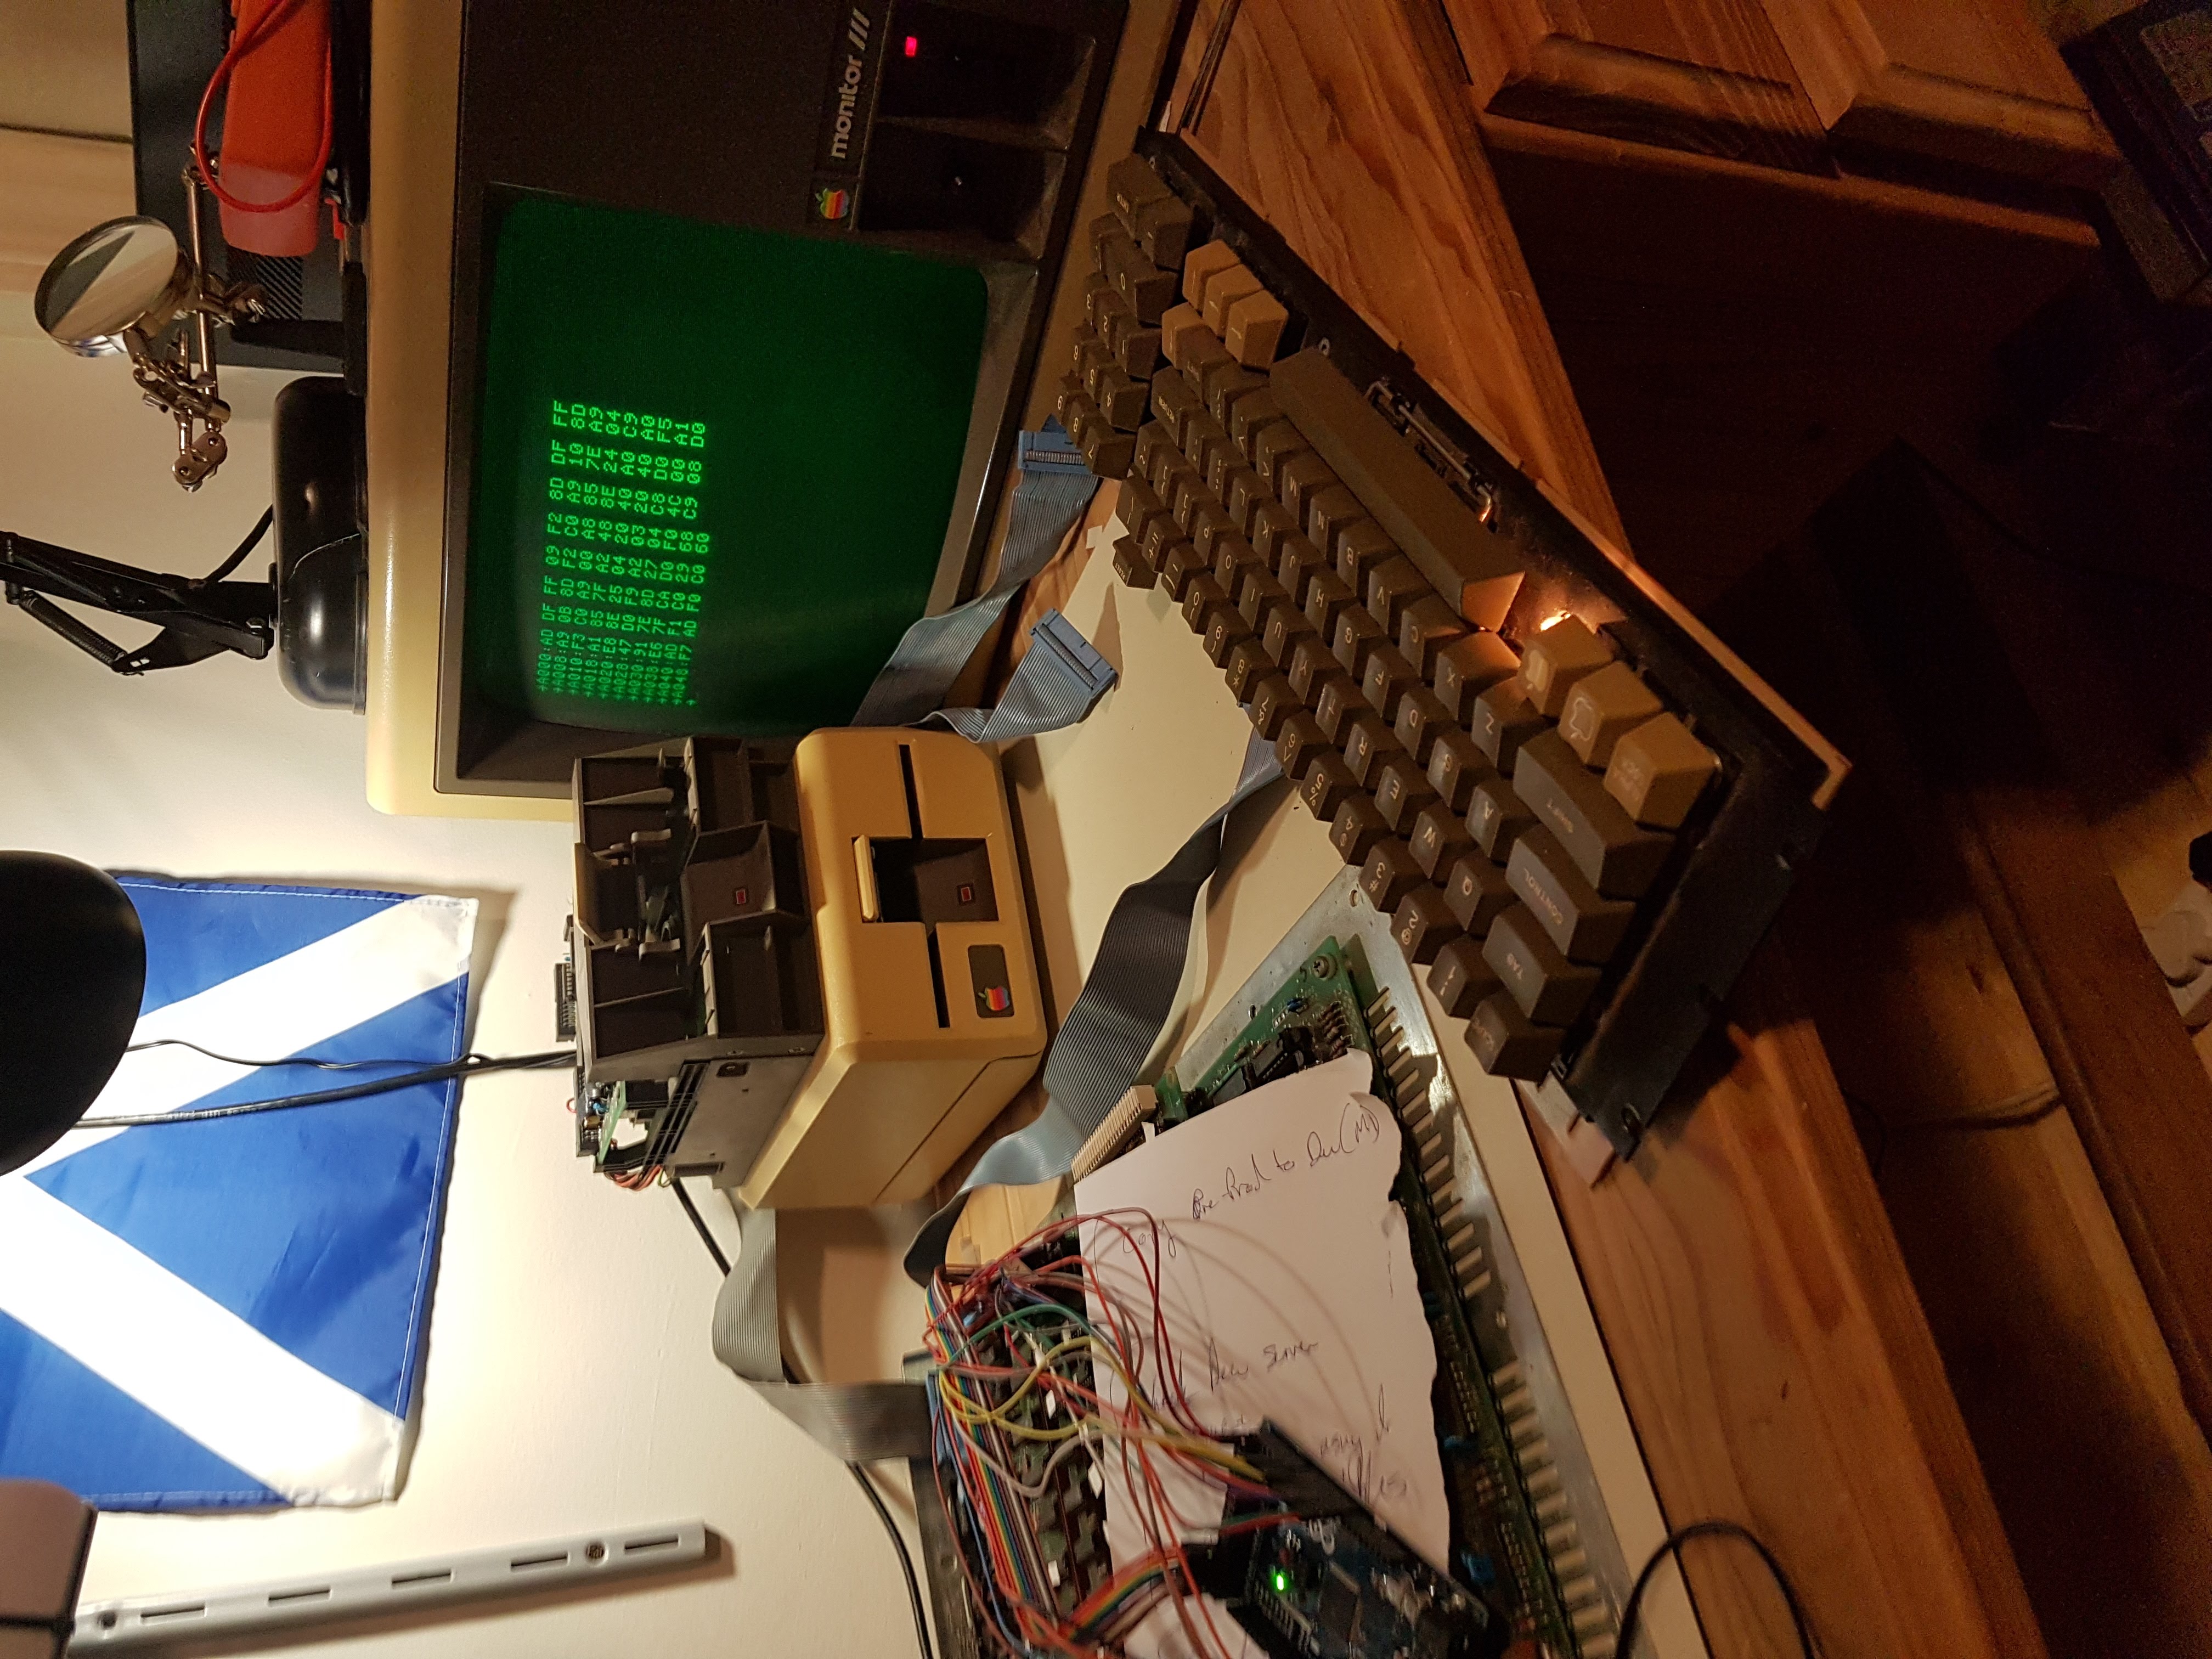
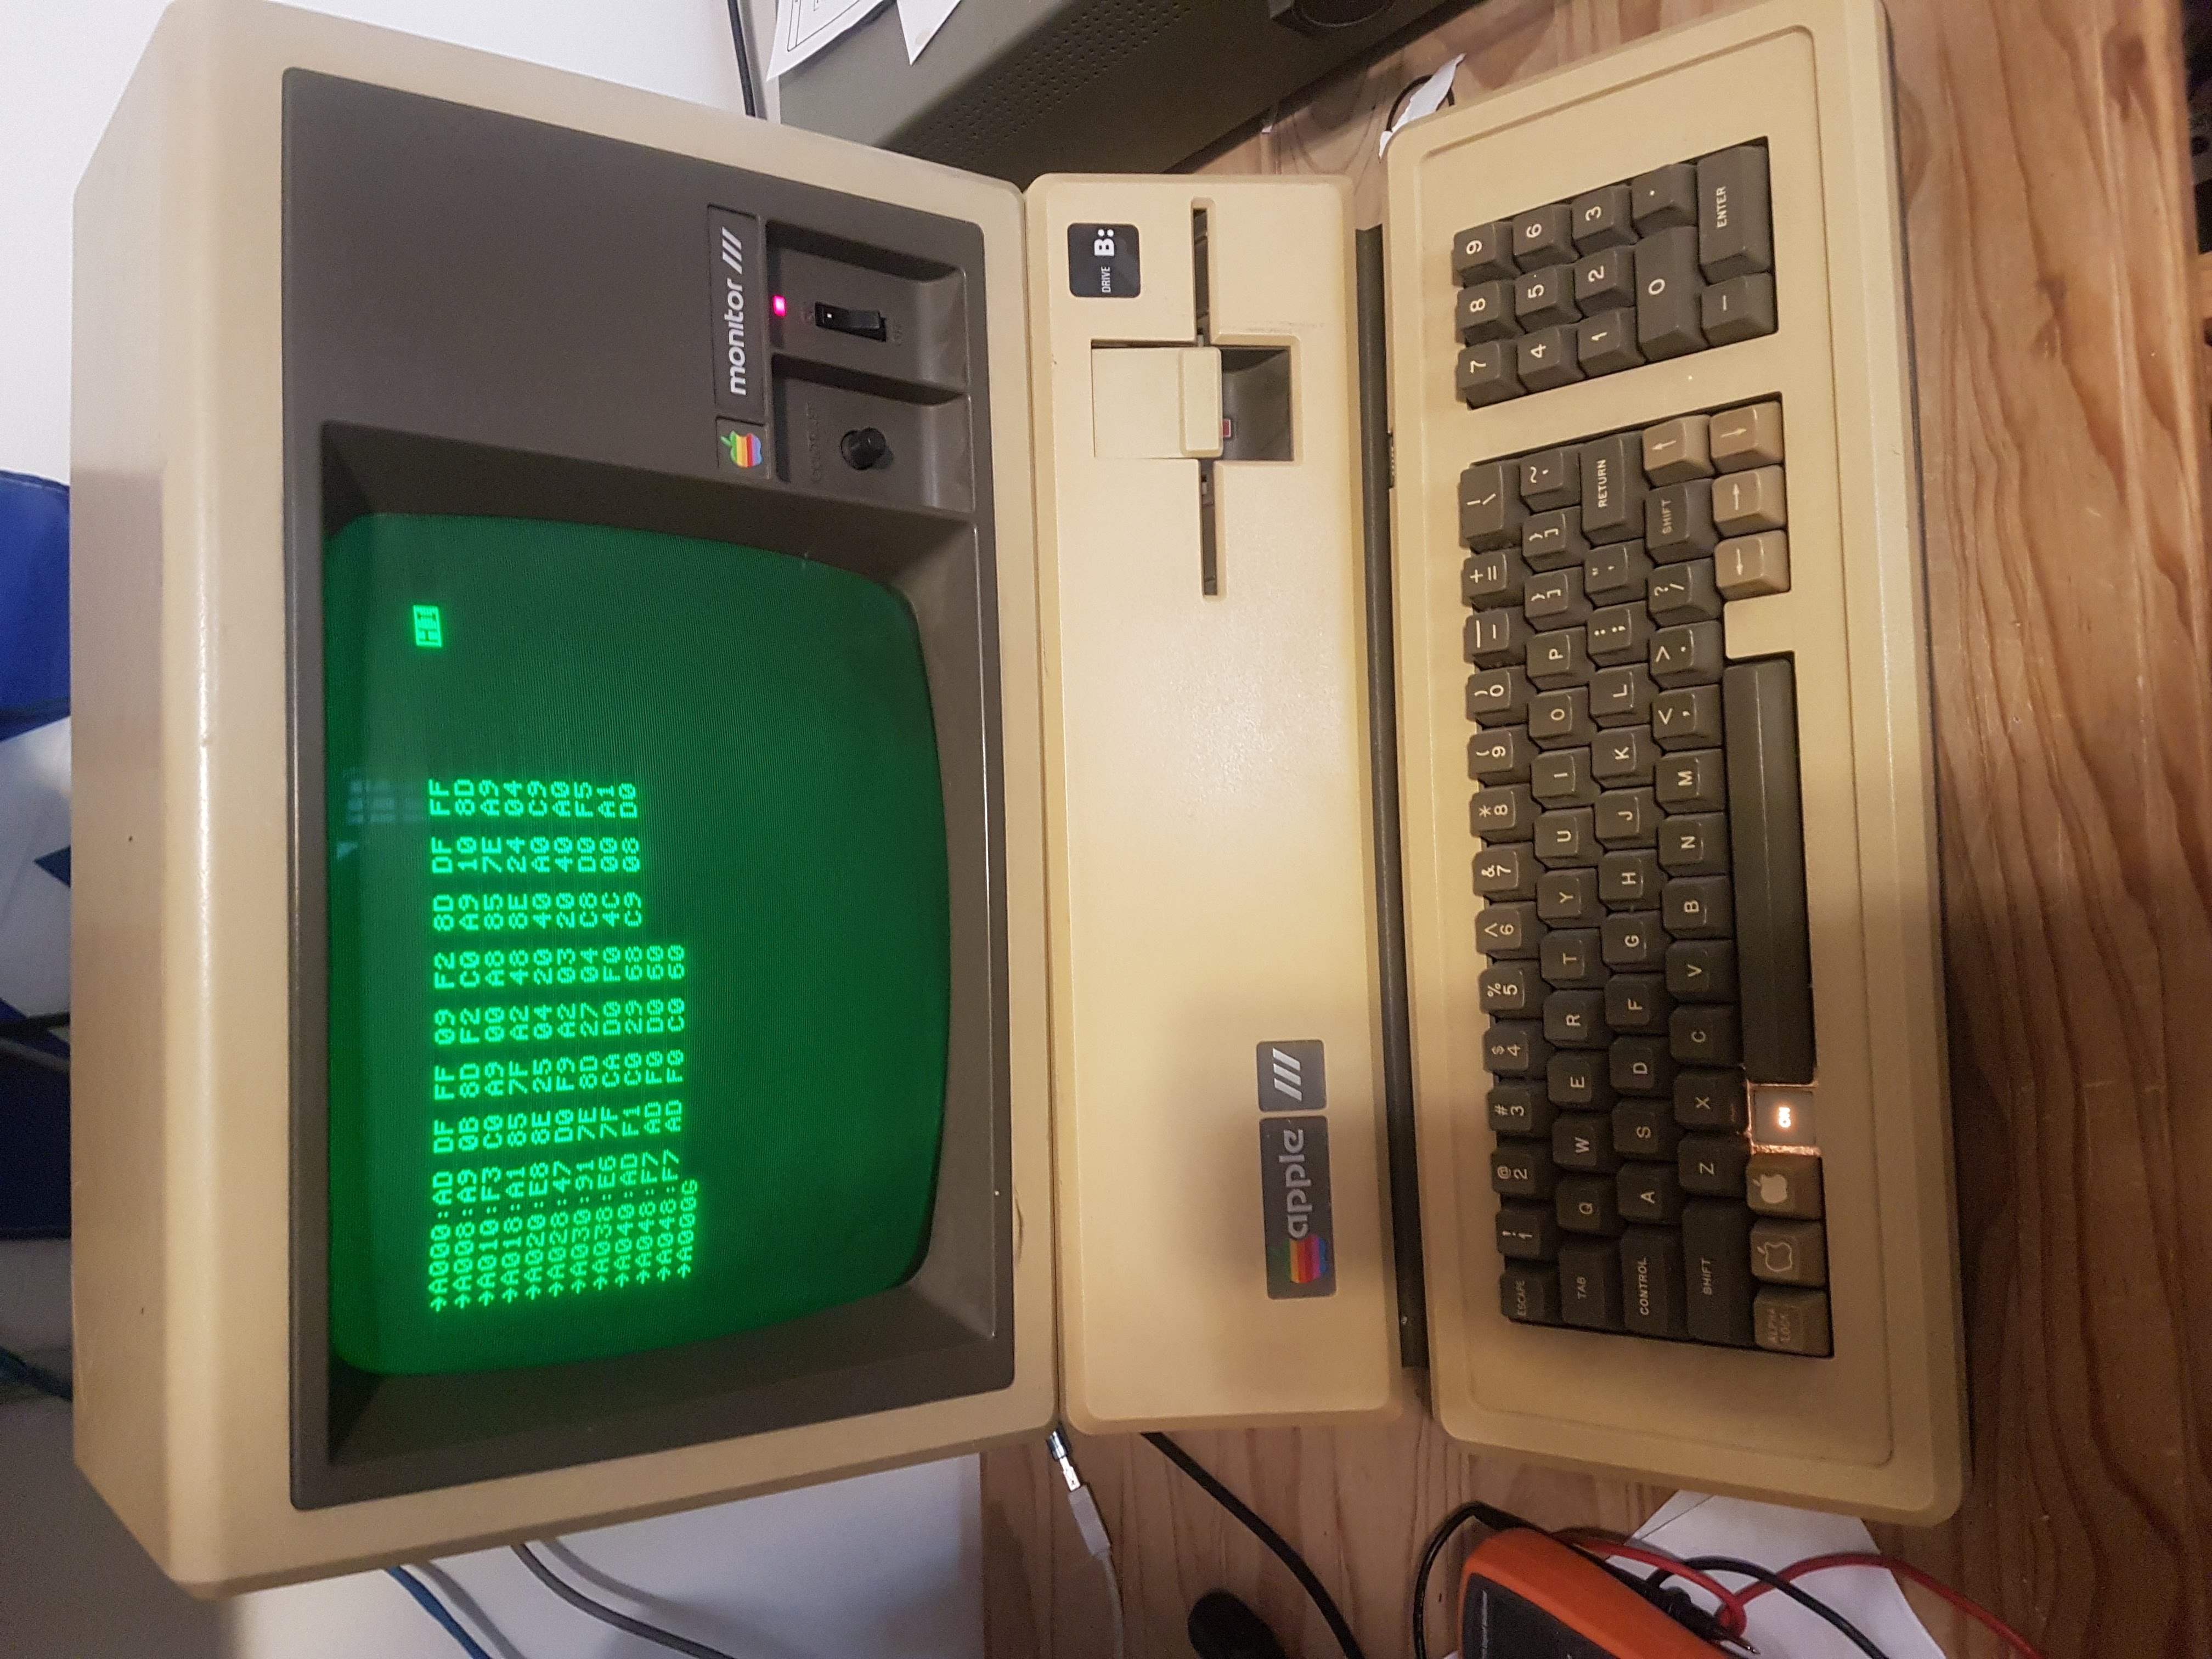
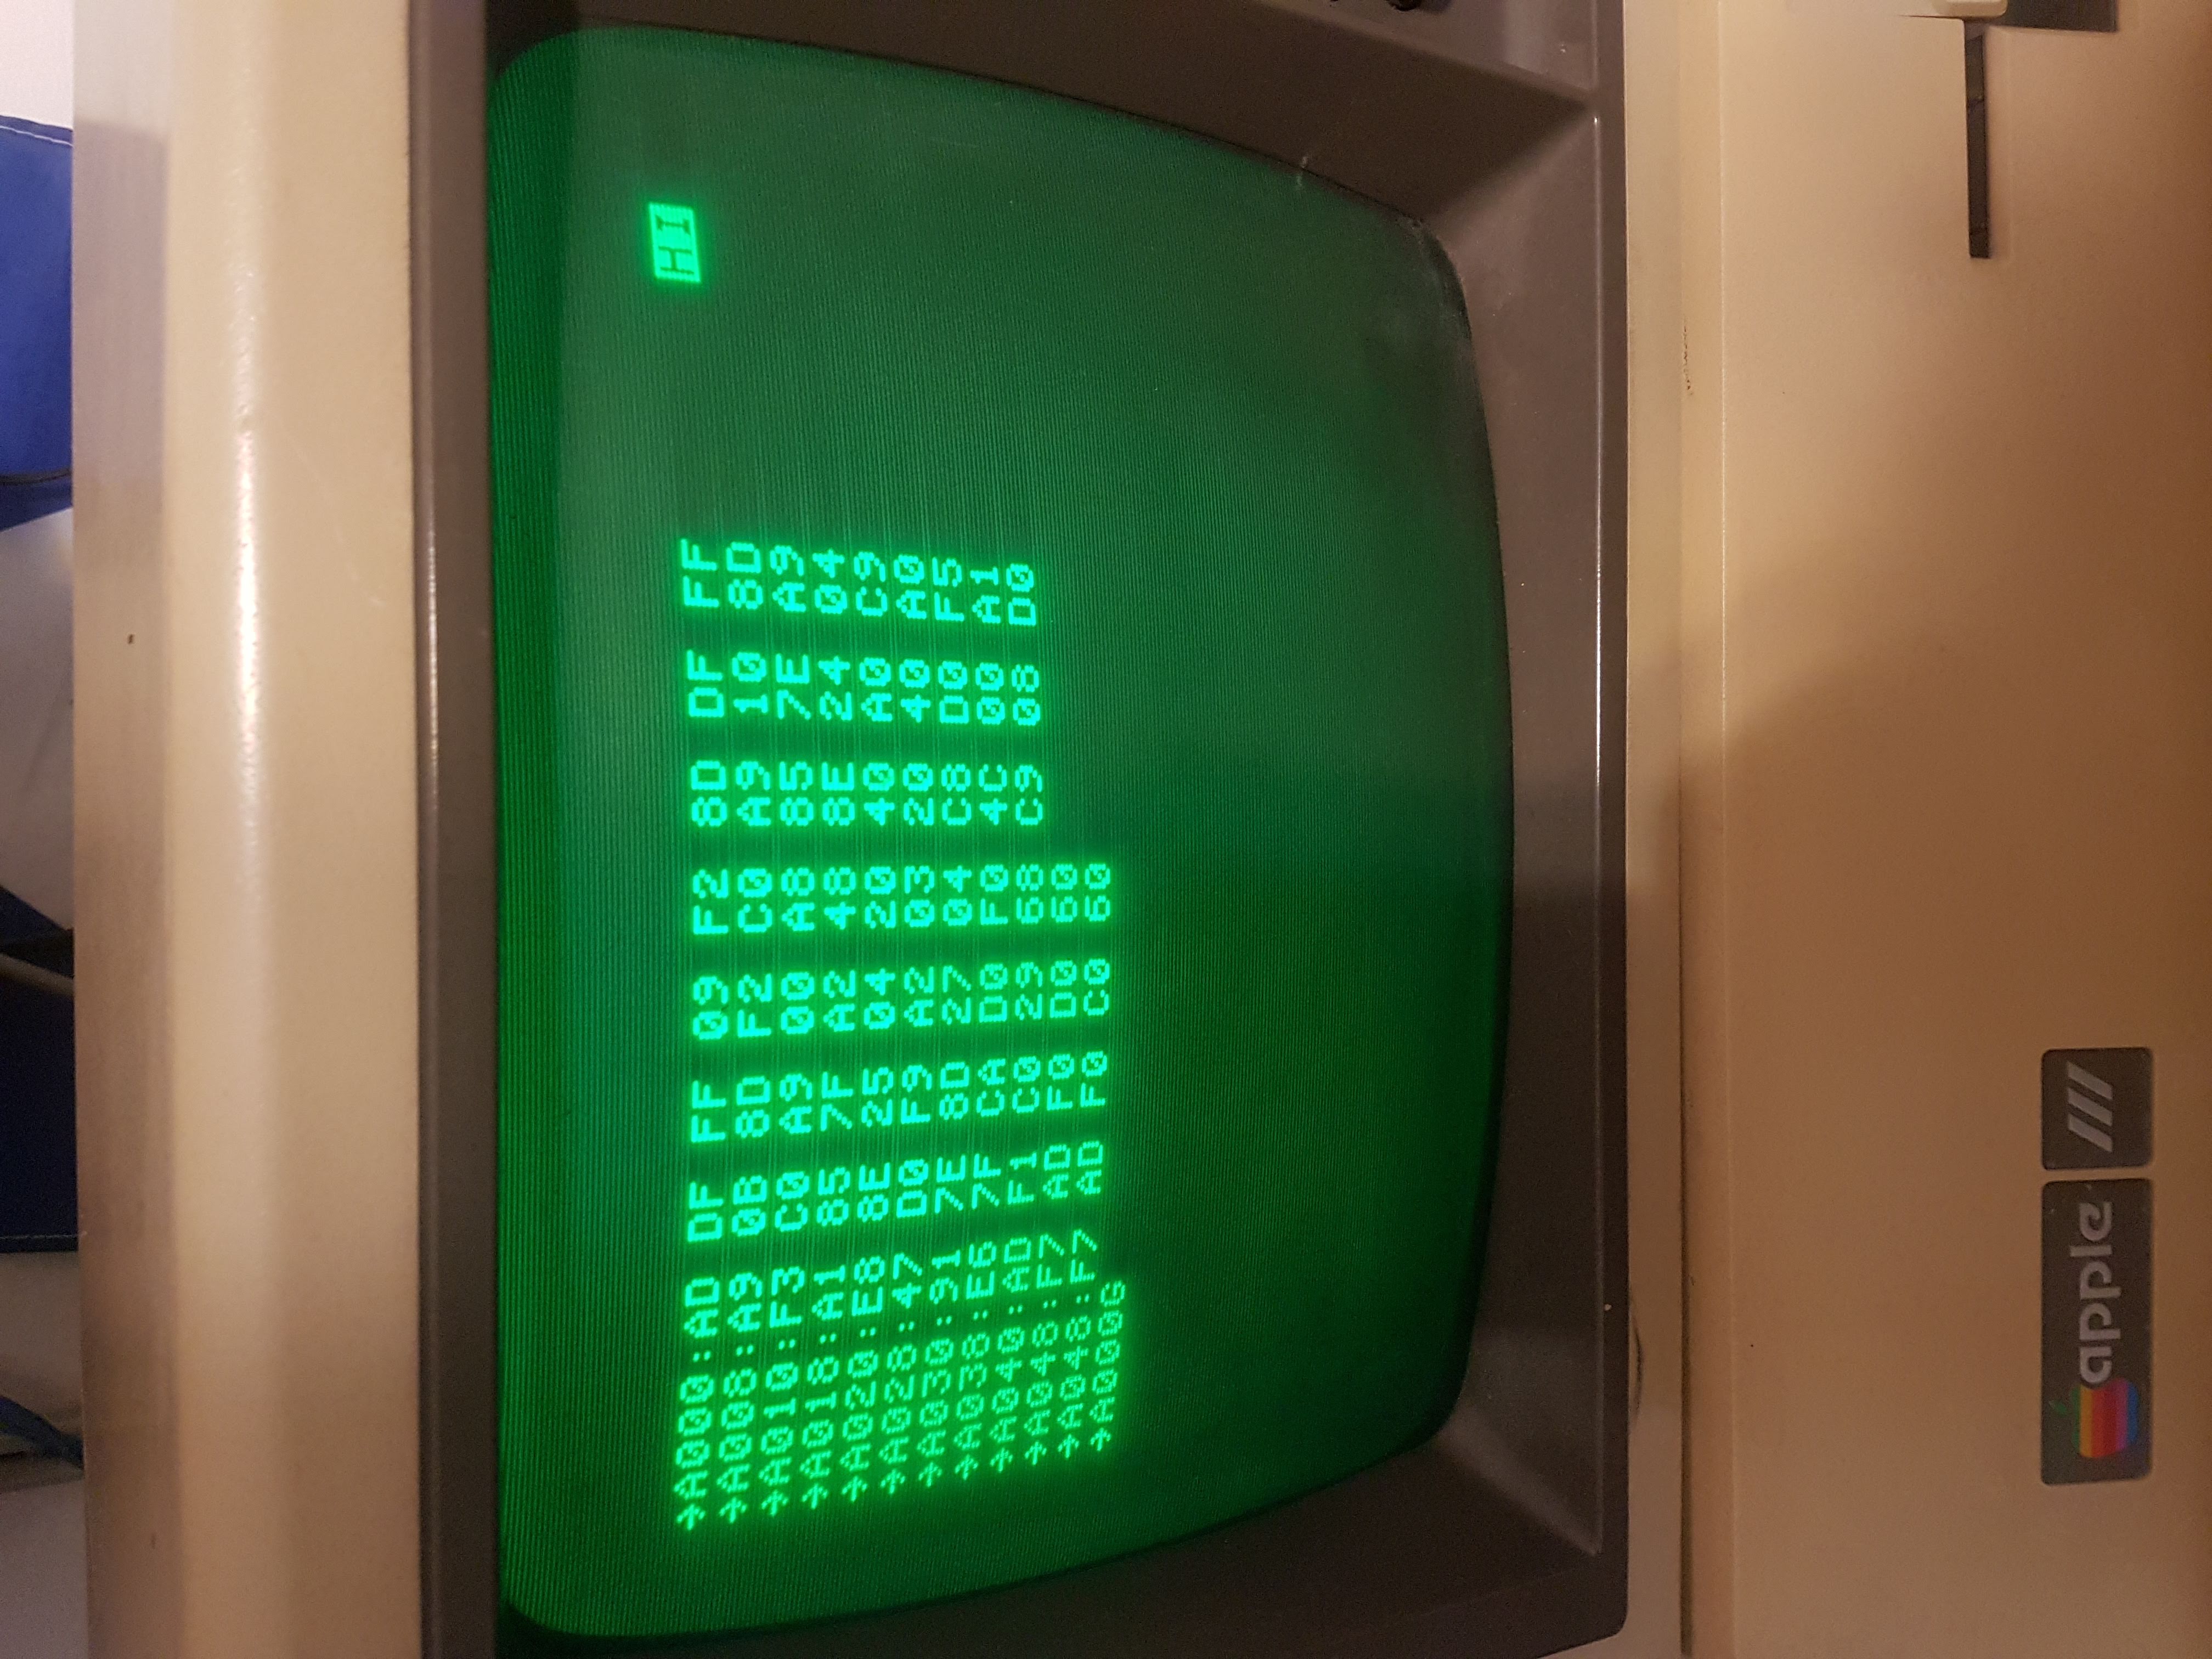
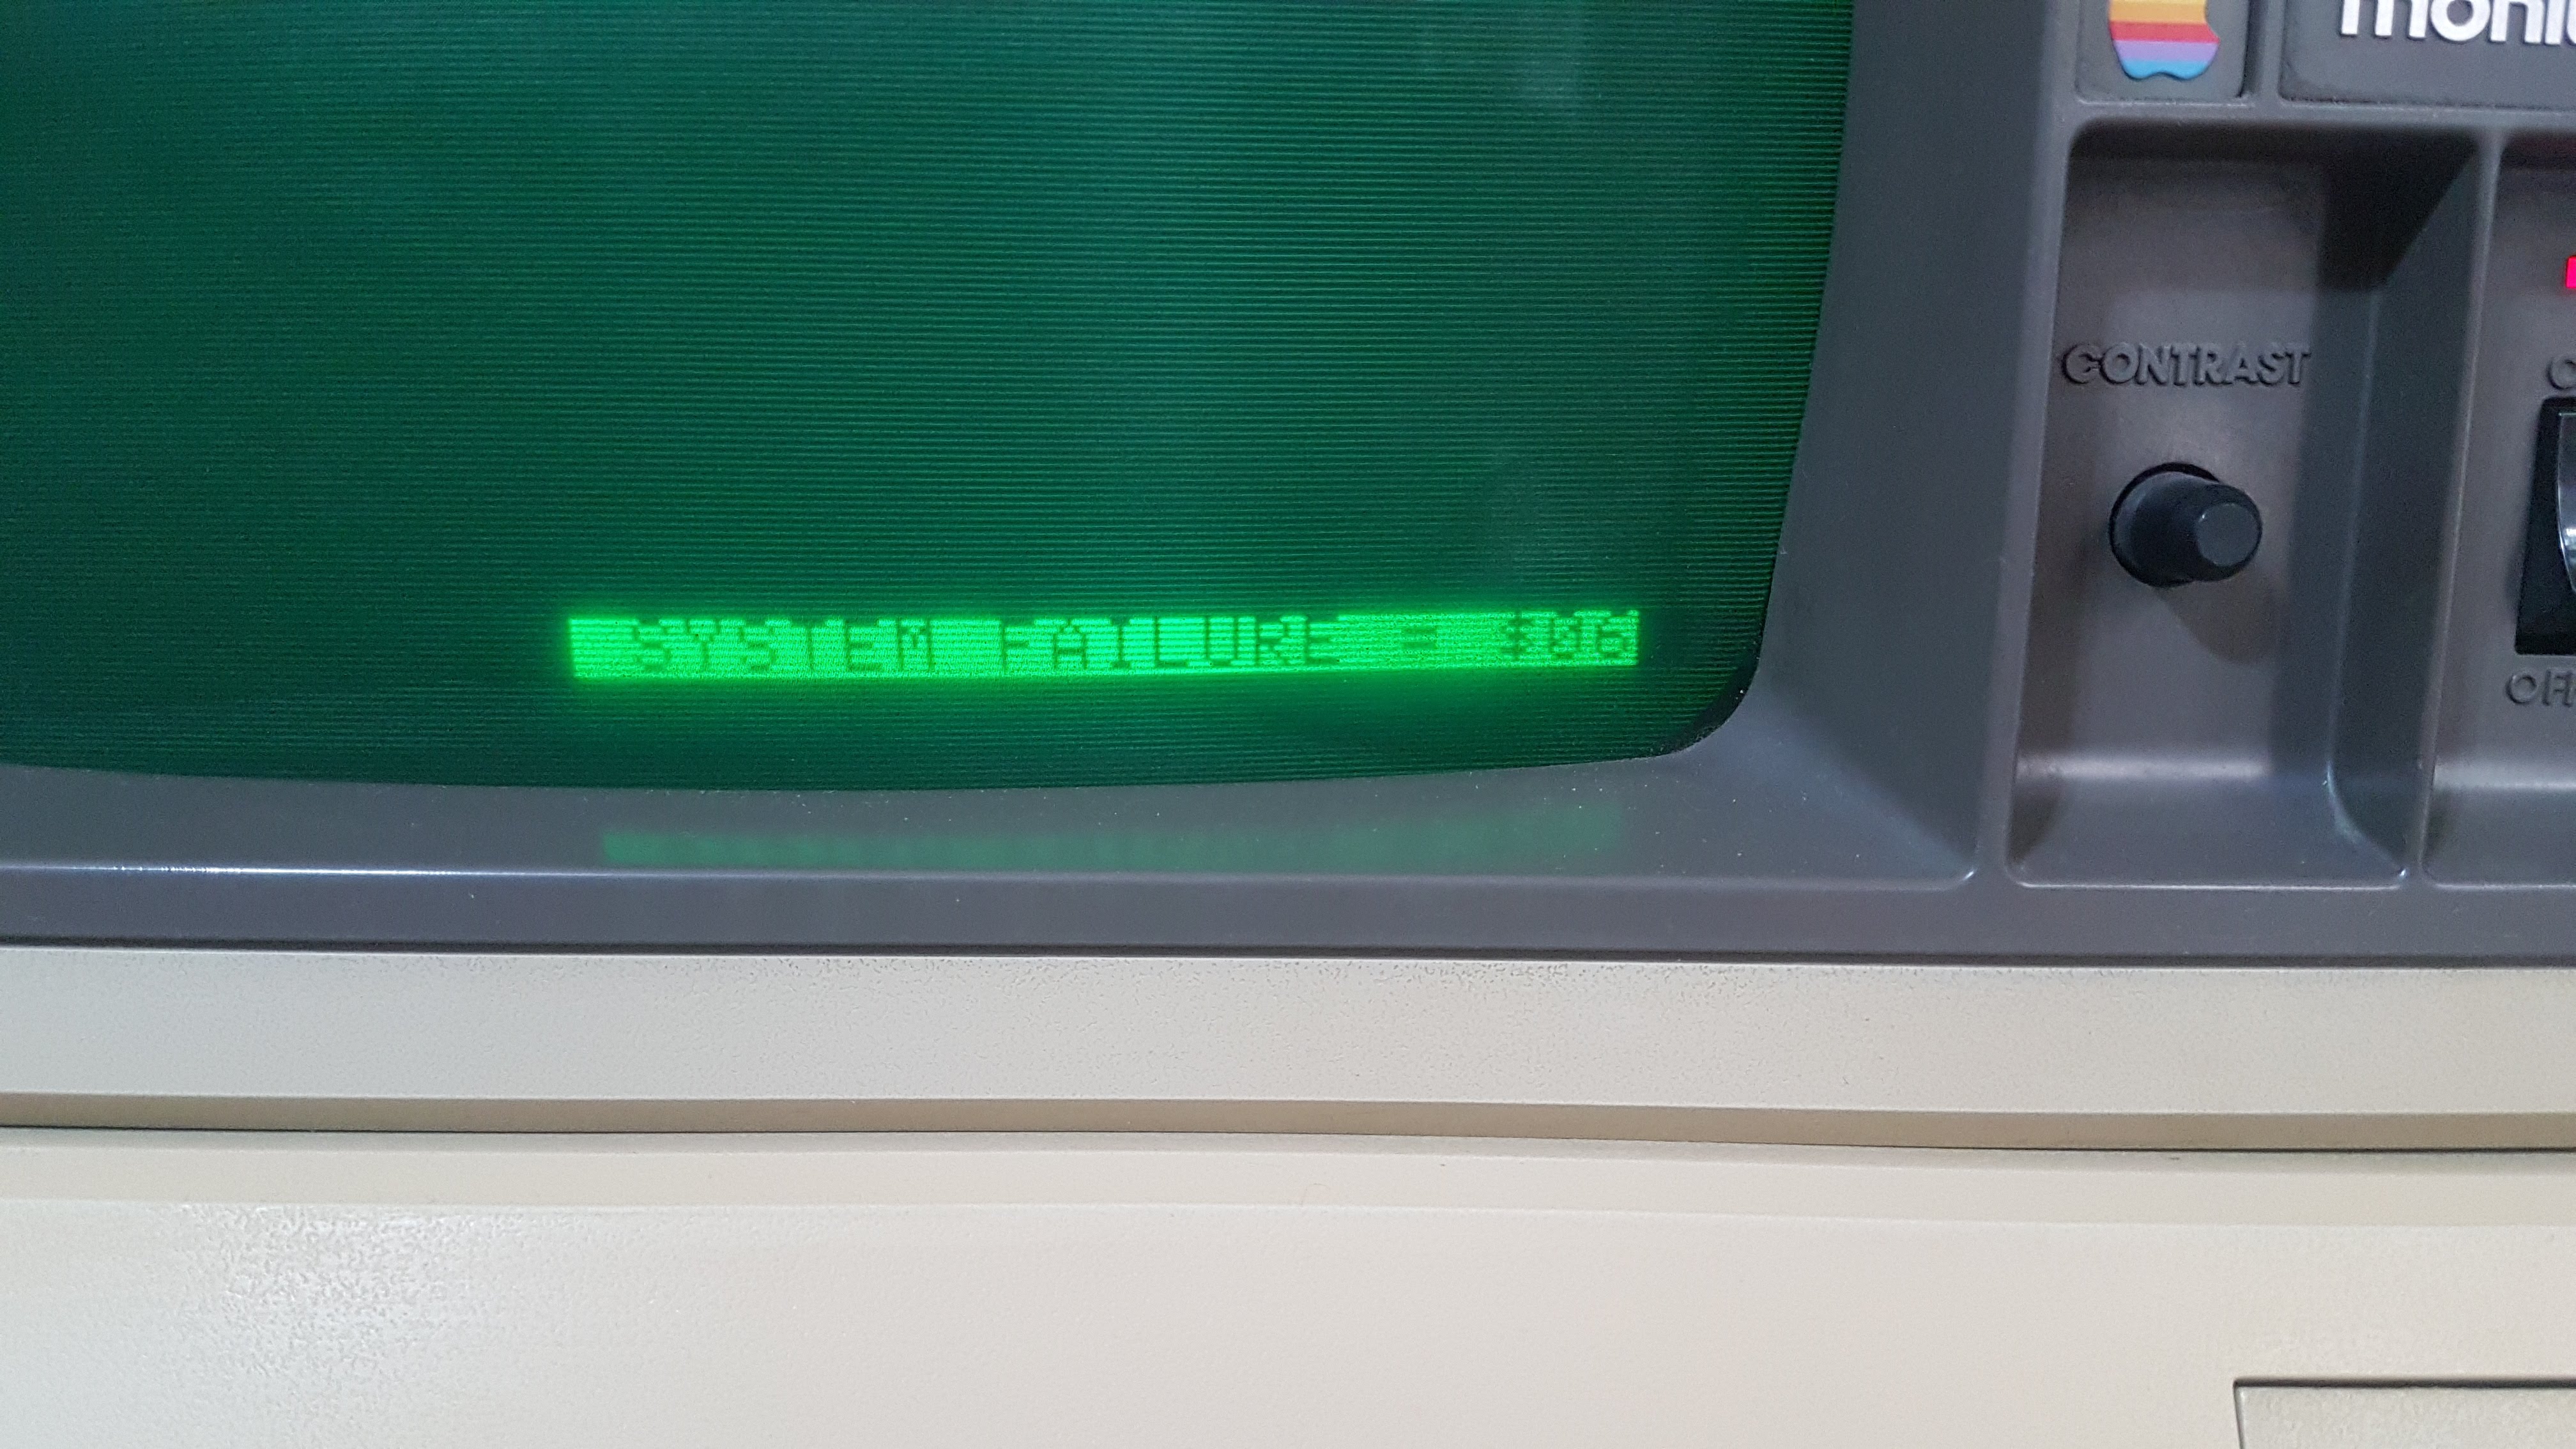
It eventually started to show signs of life, but then I realised the keyboard controller was faulty and they are actually rarer than hens teeth so I set about using an Arduino to emulate it's functionality which worked about 90% but it was not pretty. At this point I thought, okay, I'm going to boot into the Monitor (CTRL, Open Apple and Reset) and enter the hex code for ADTPro so I could connect via serial and attempt to boot it. At this point I realised I hate serial as it caused me endless grief and I didn't get it to work. I think it still had other faults which stopped the serial connection from working.
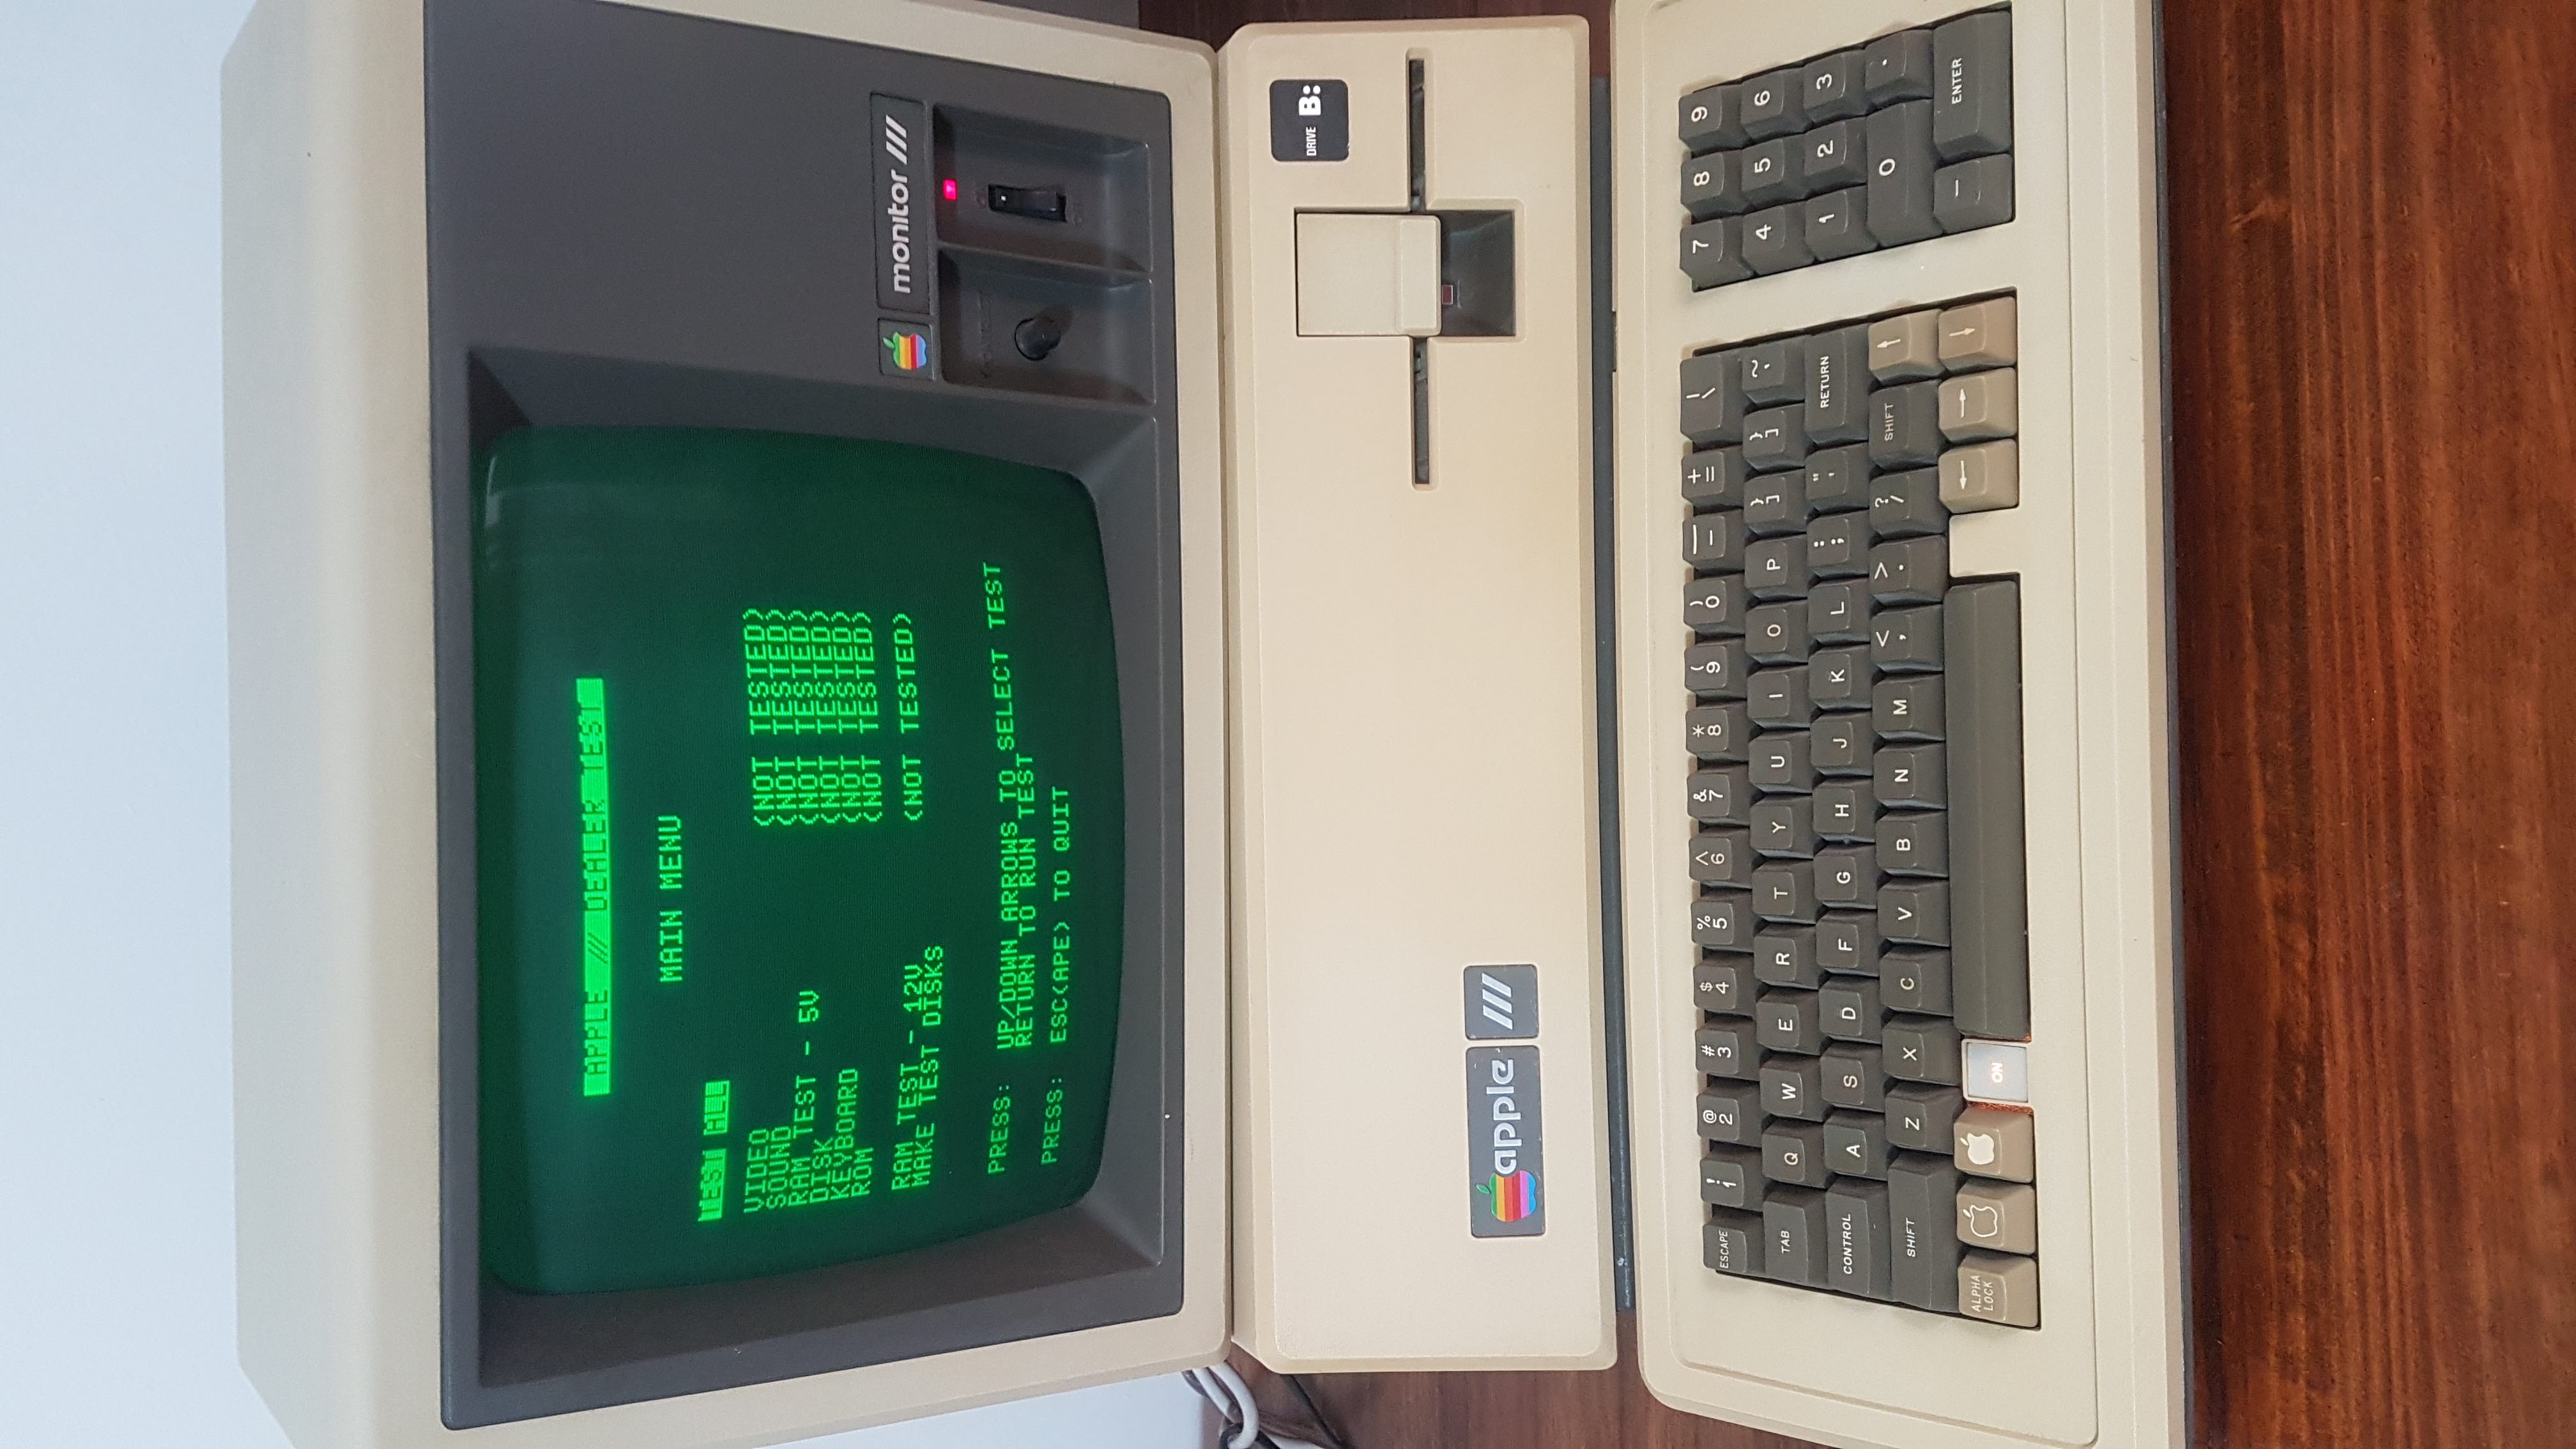
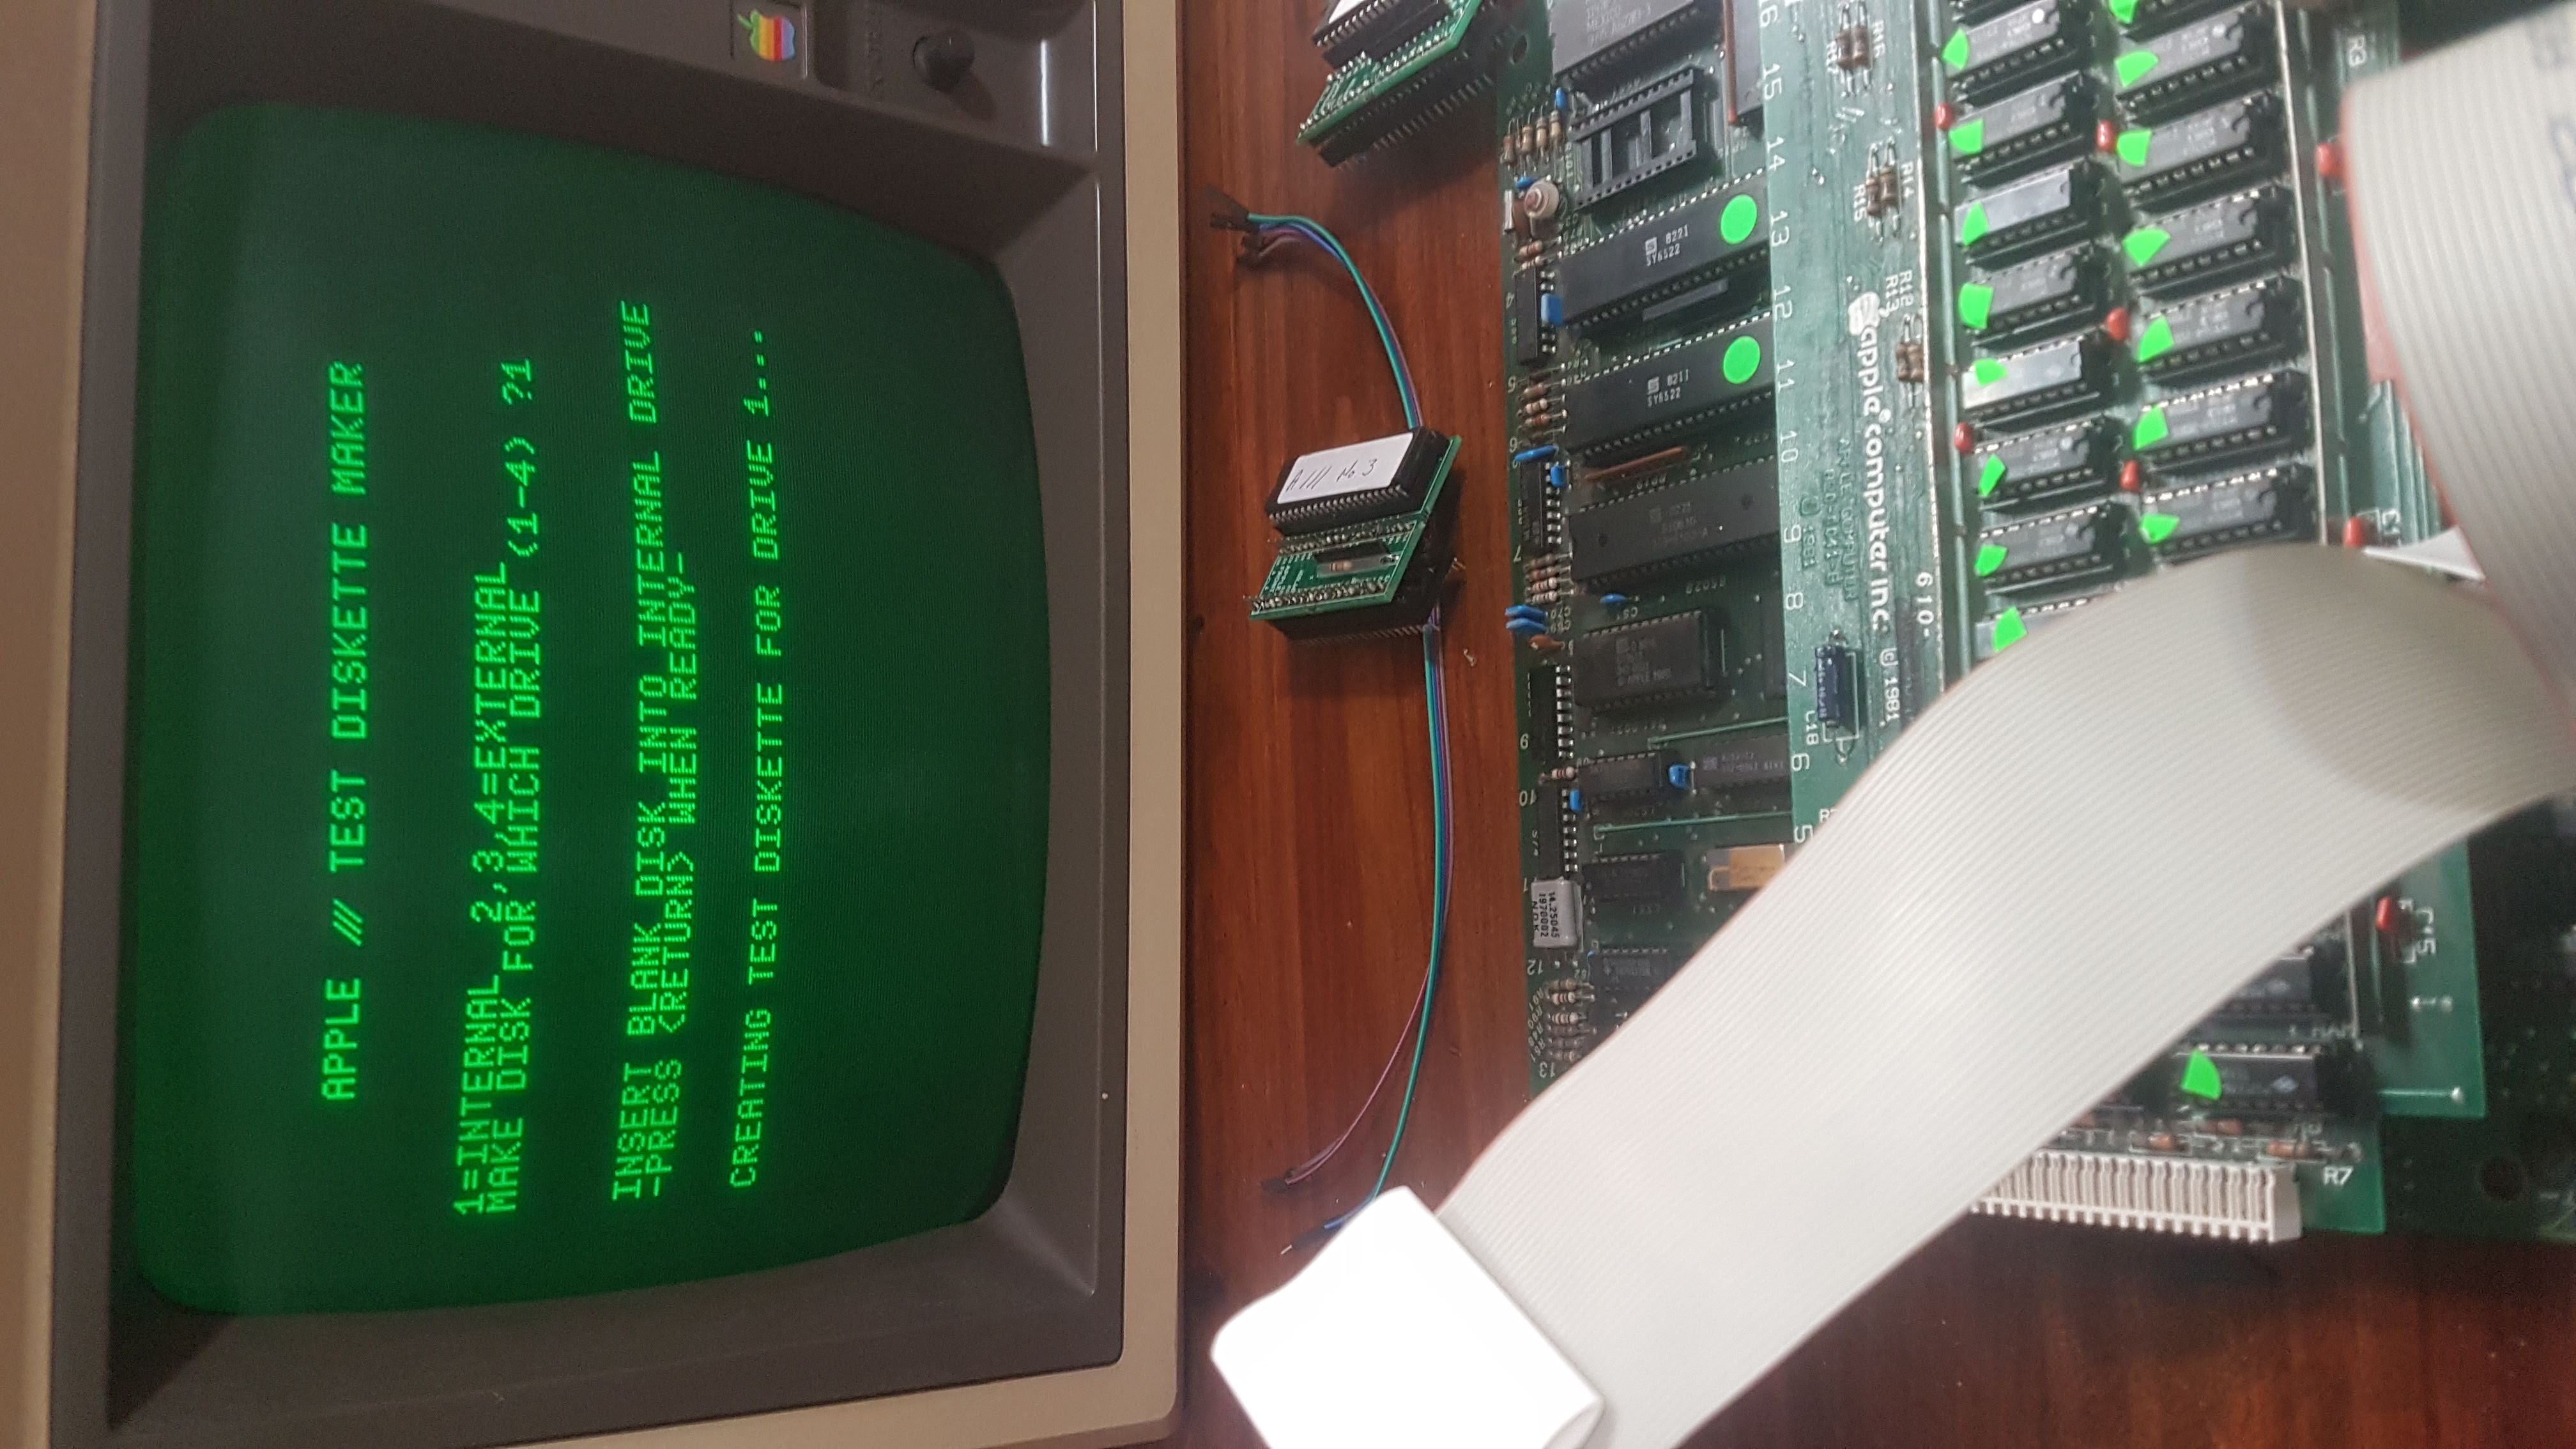
At the 2019 meetup and wine drinking marathon at Jannie's I created a diagnostic disk on an Apple // which I could use to test the machine.
Some time passed......due to distractions like work.
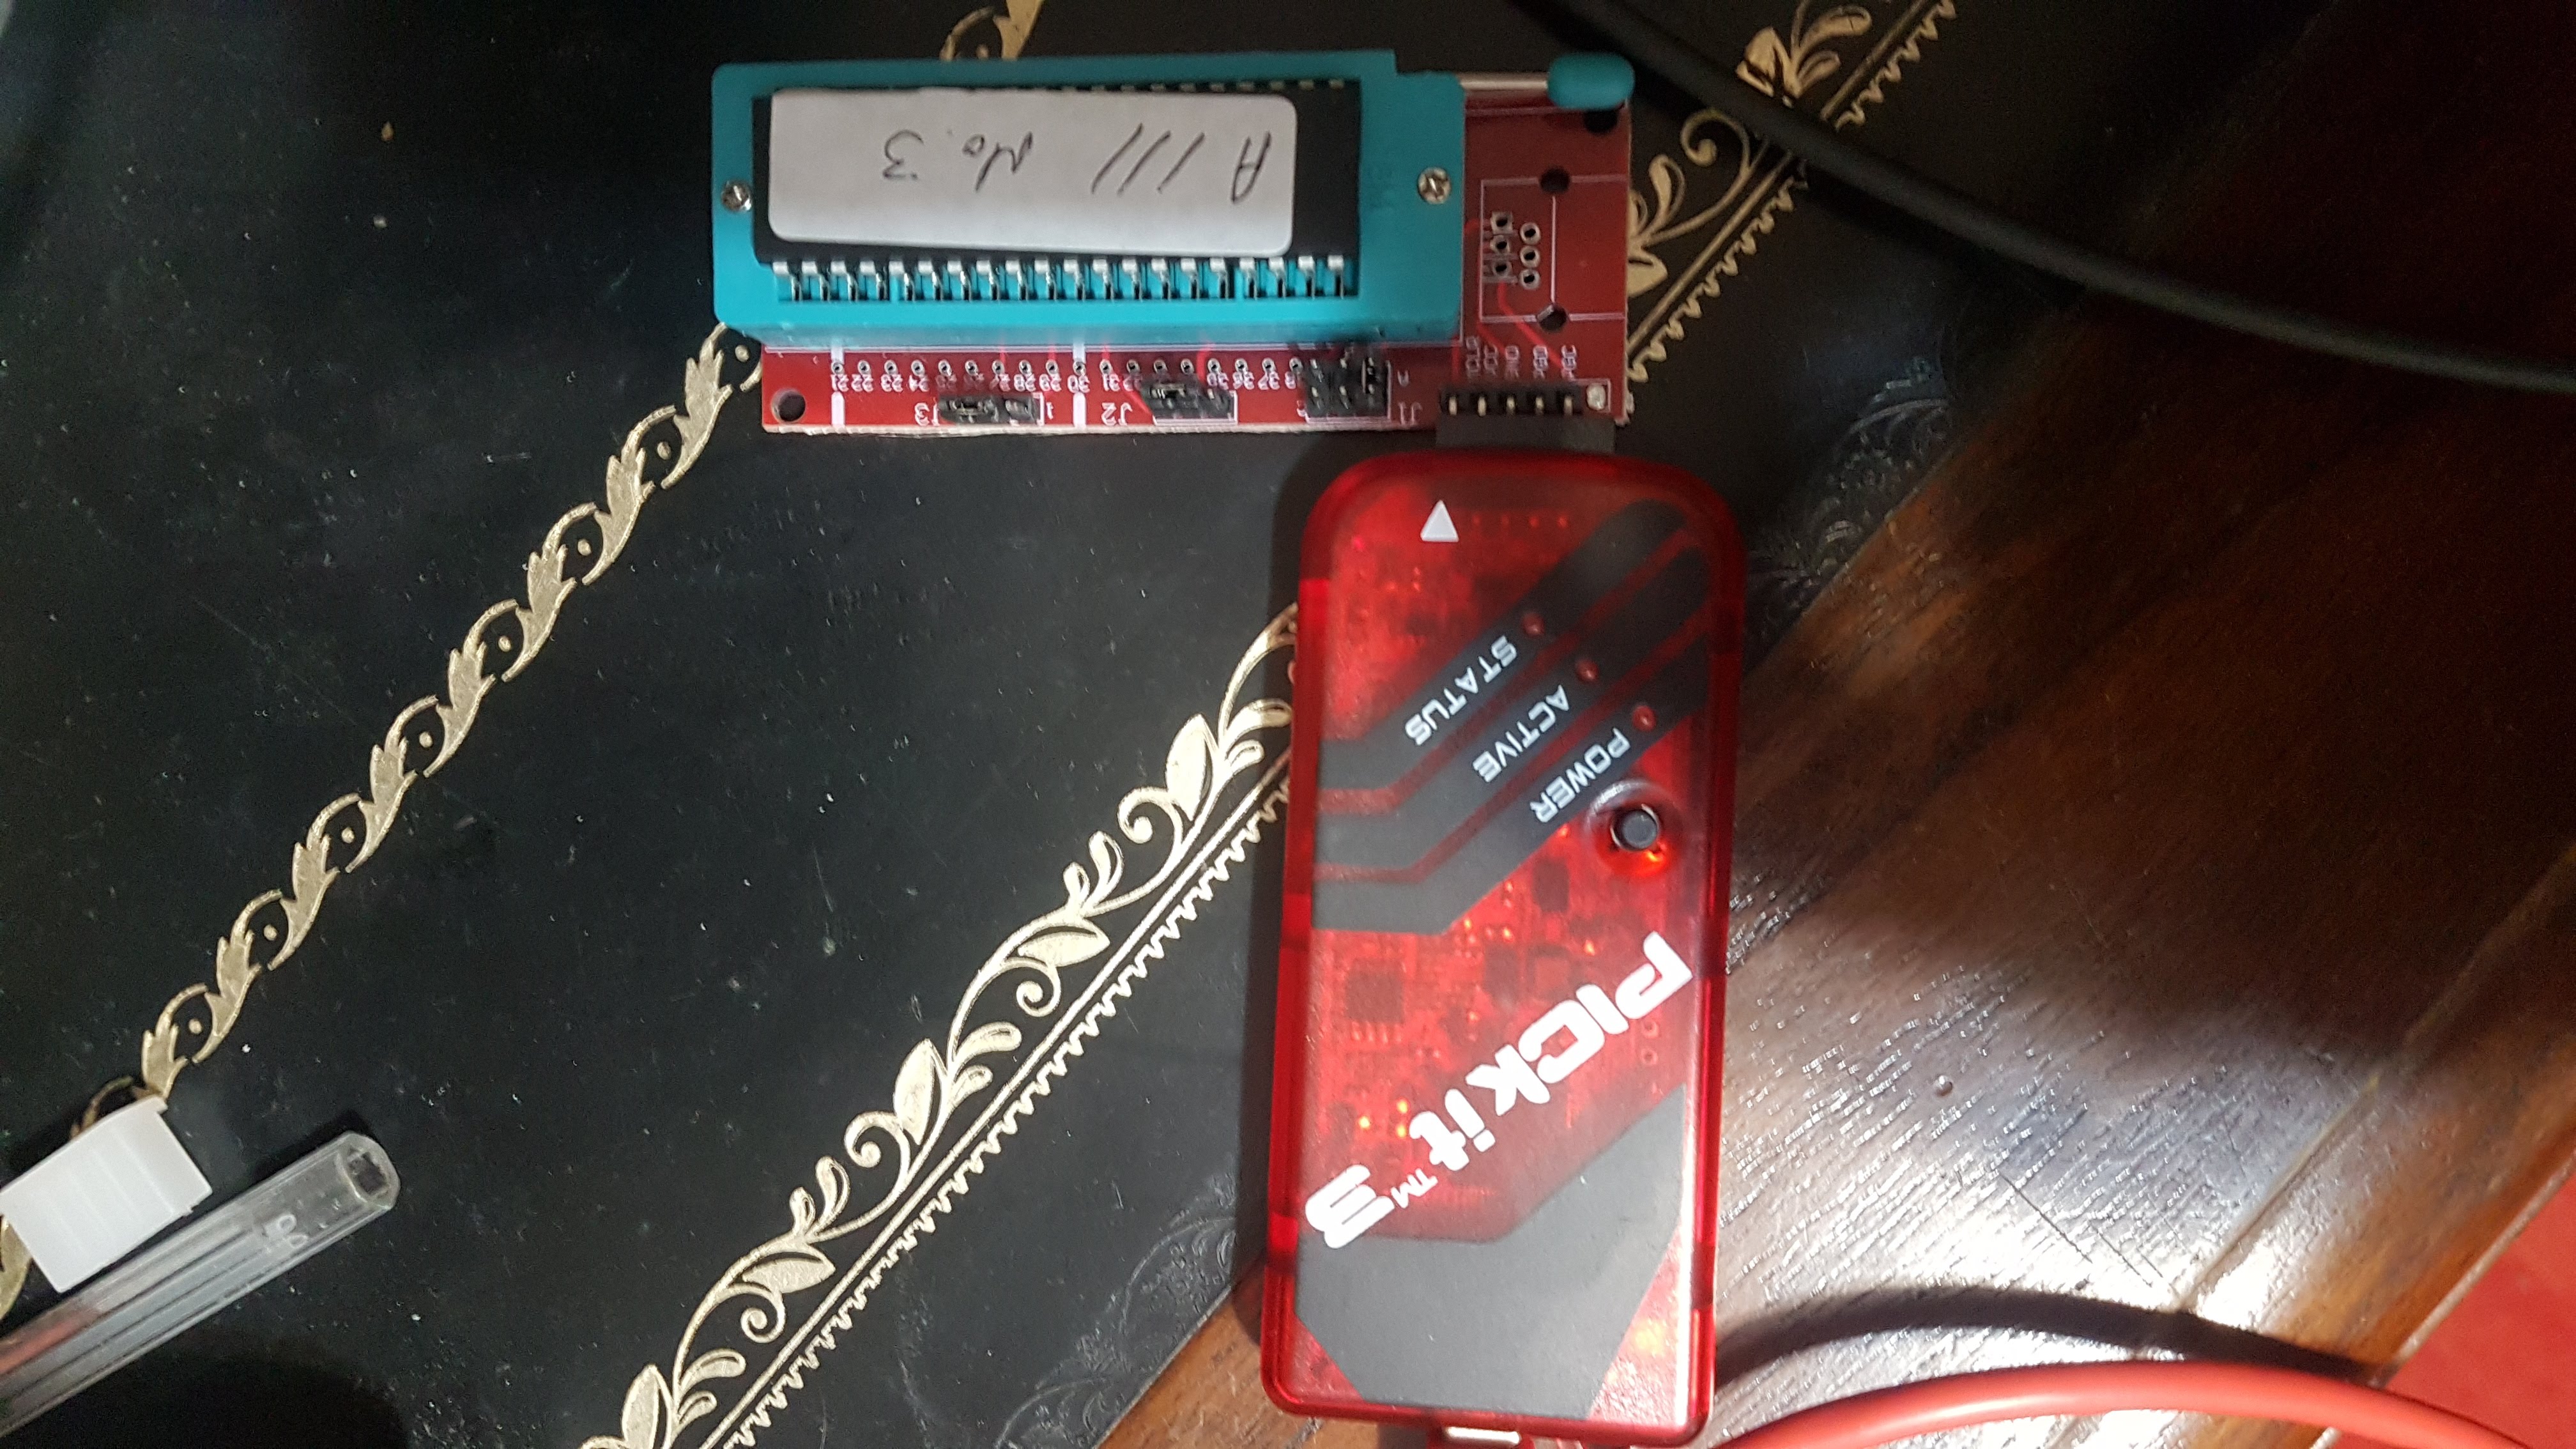
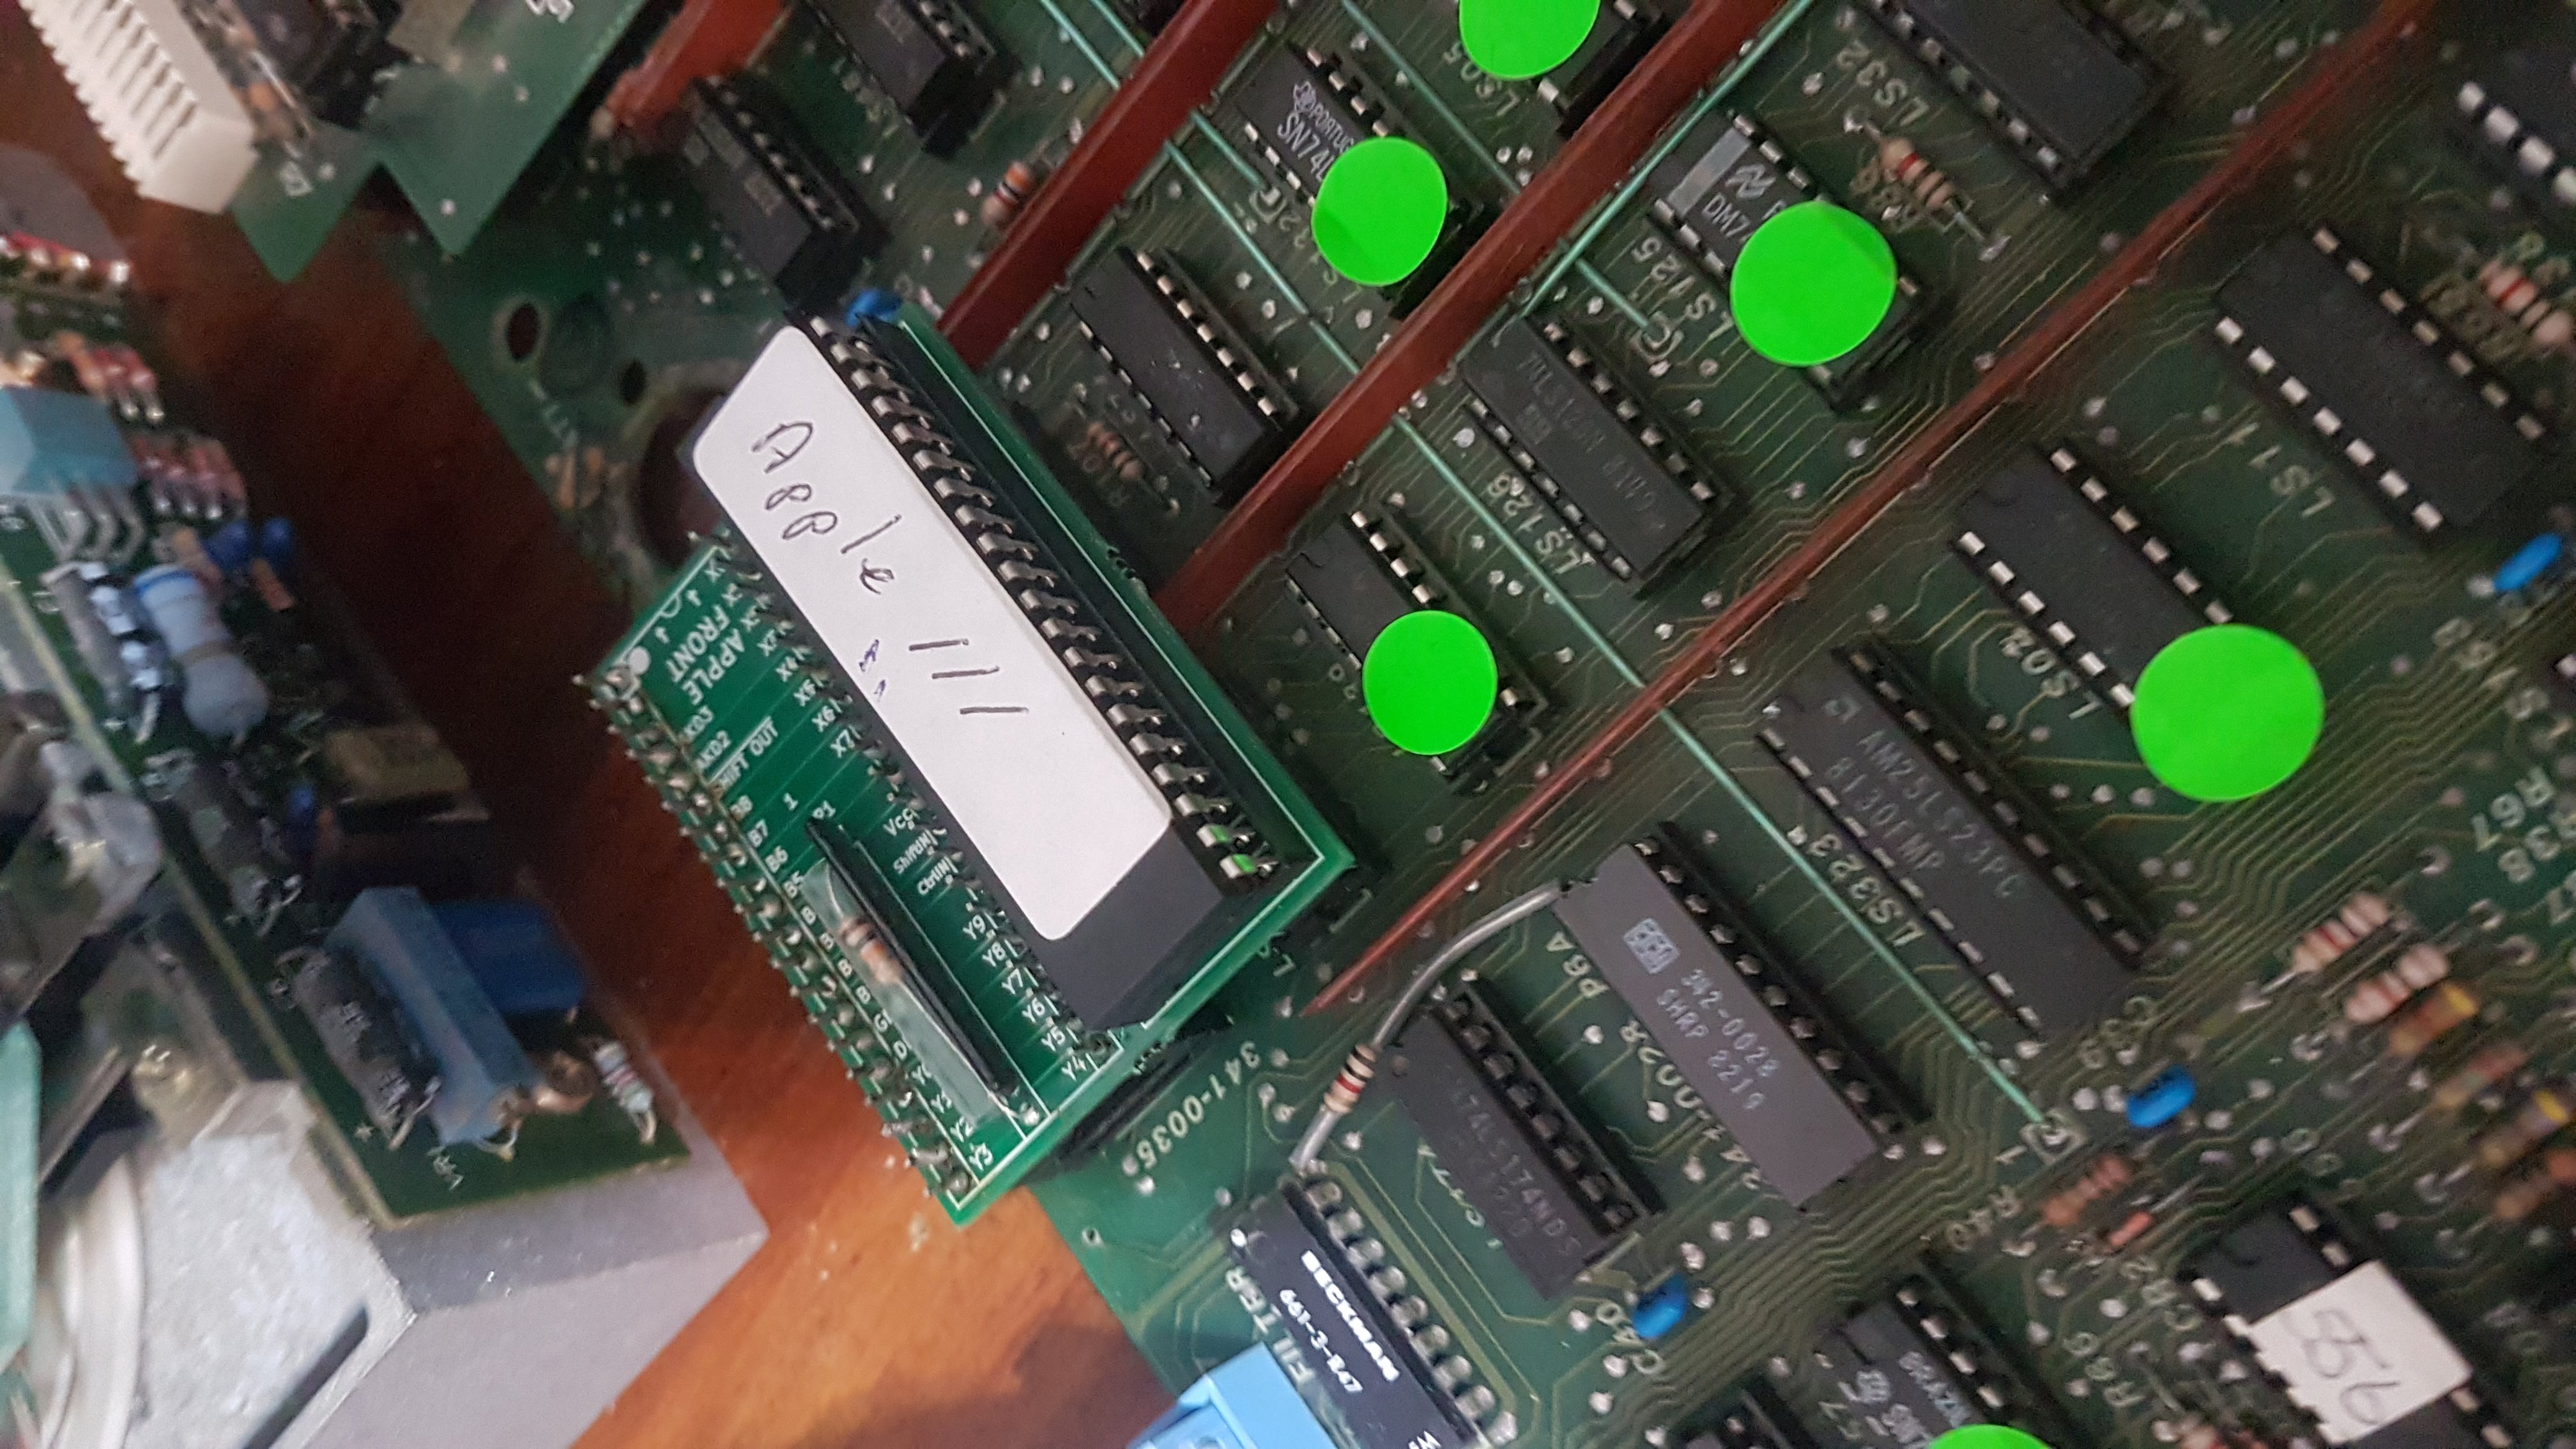
In late 2019, I saw another person on the Apple /// group had created a PIC chip version of the keyboard controller which passed all the diagnostic tests so I got the gerbers and code for it and made my own here in SA. I was ready for it to be easy from here but NO! 
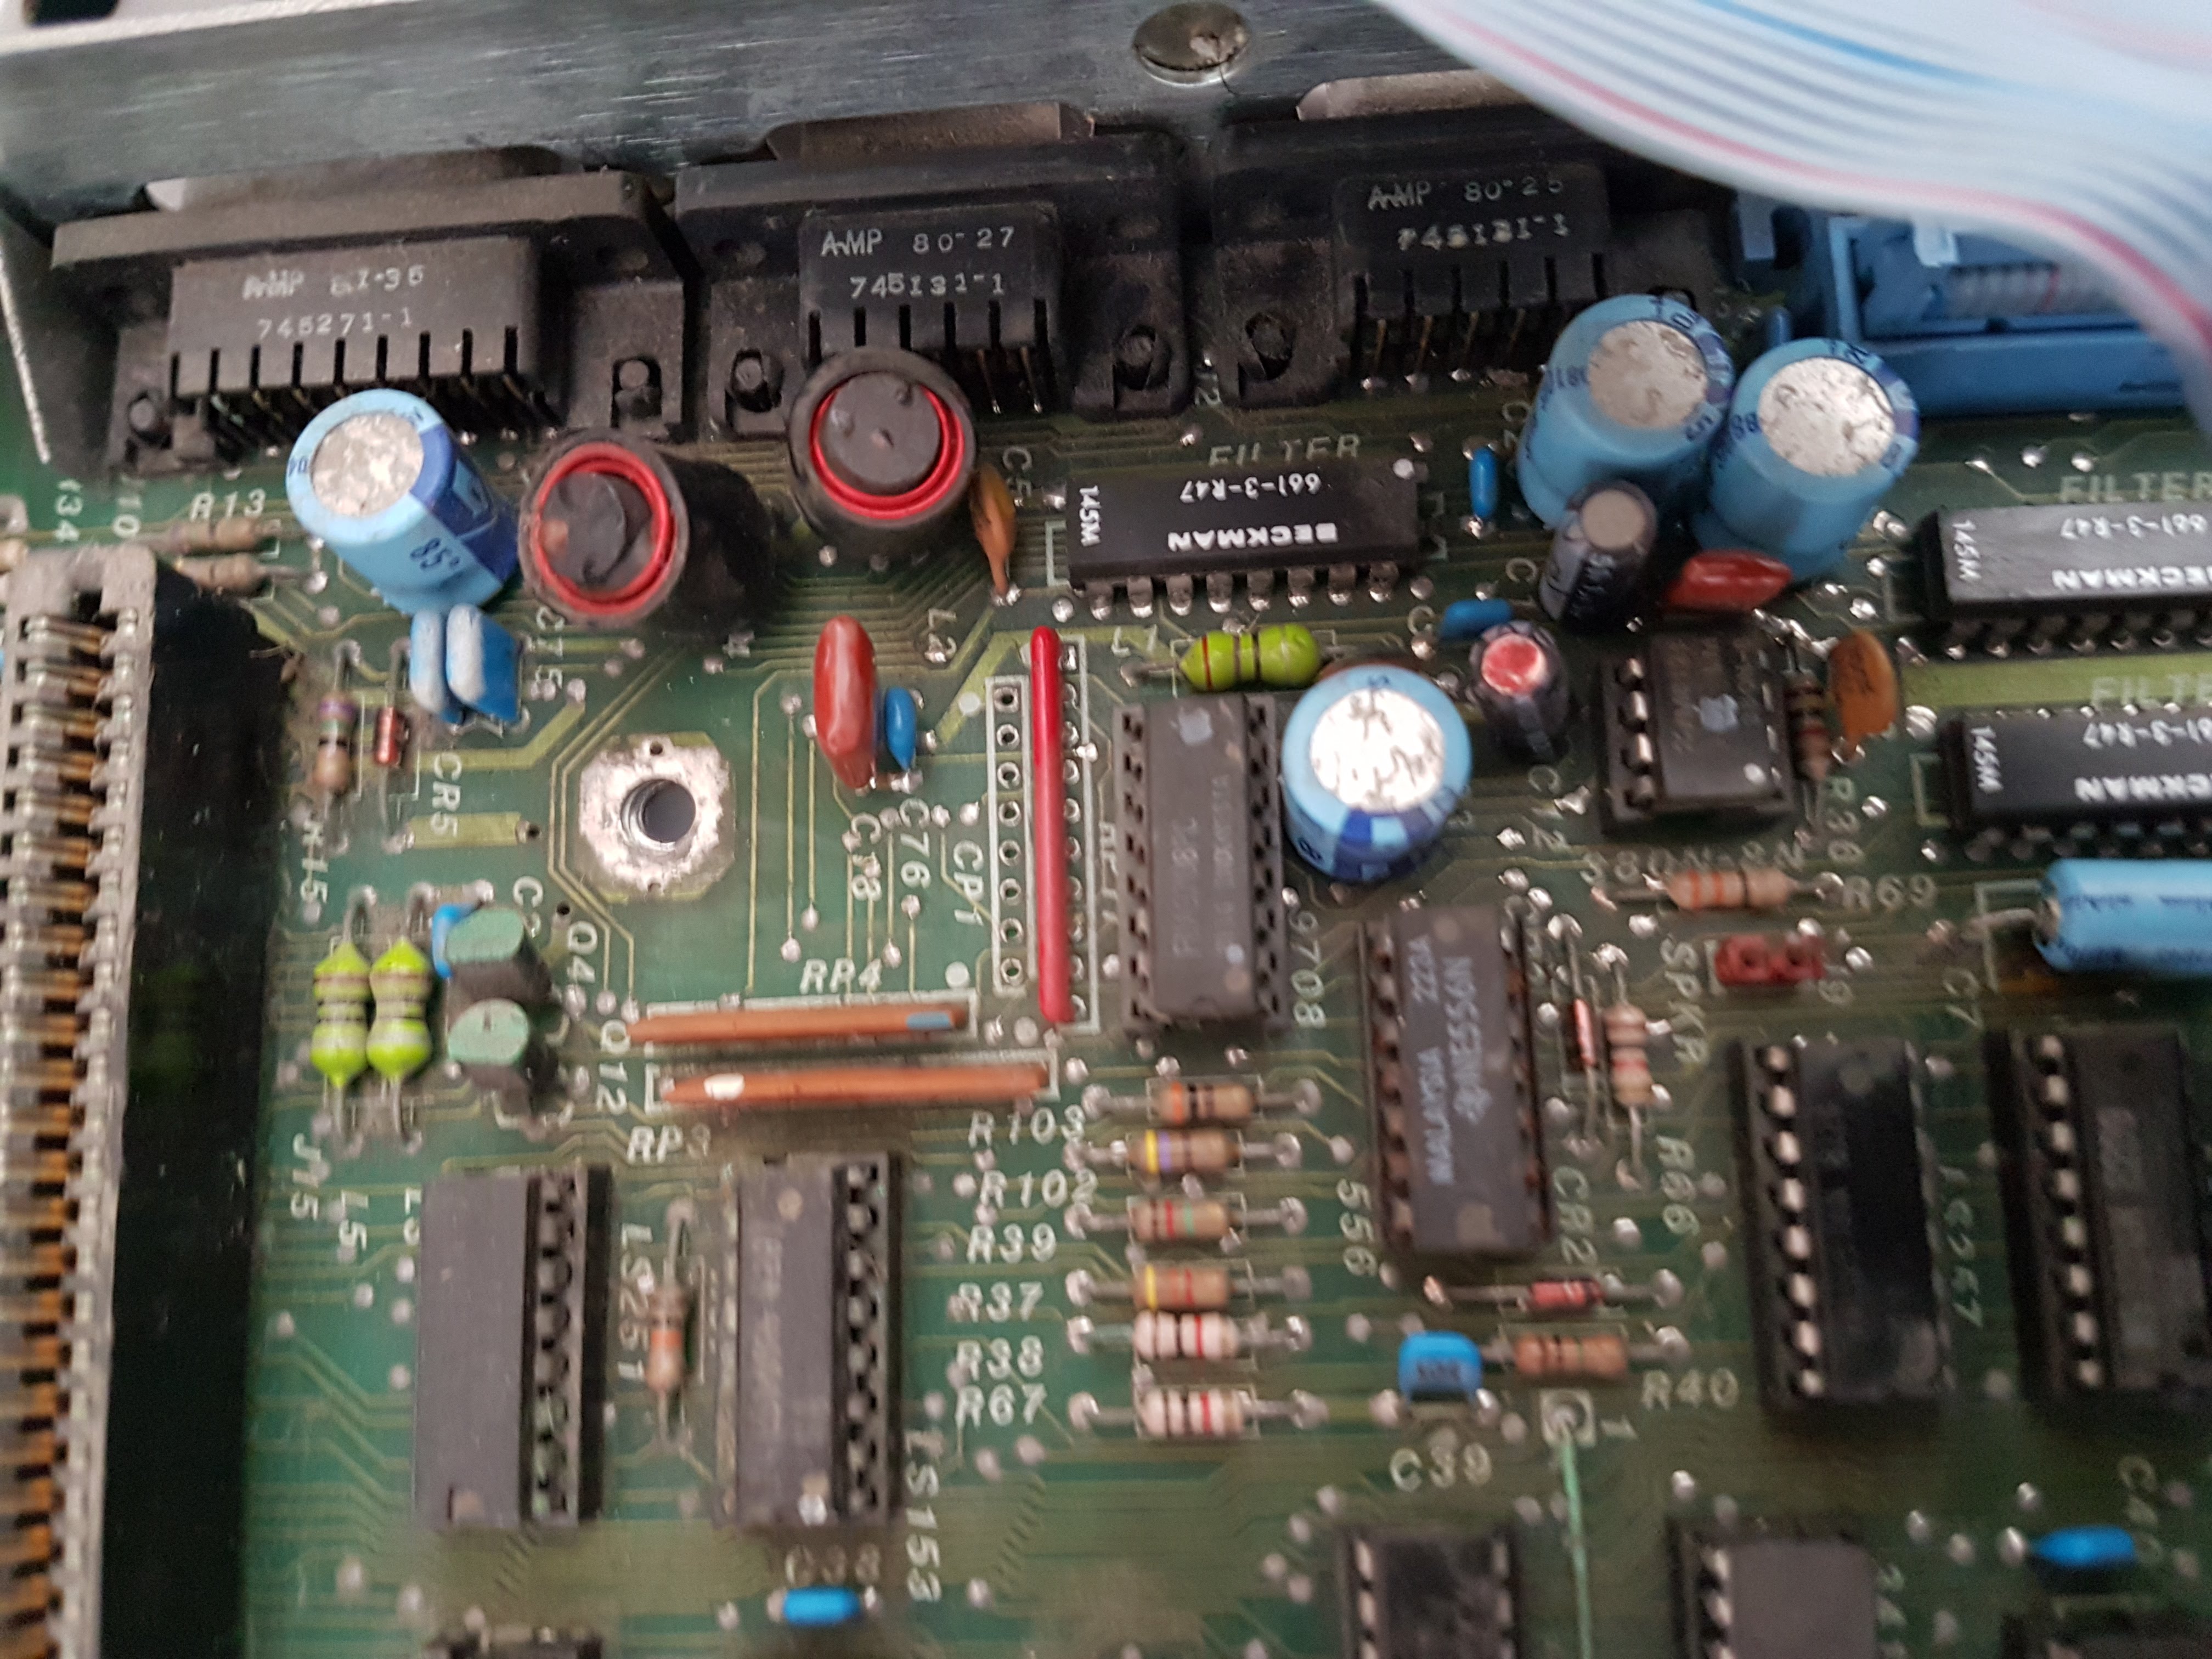
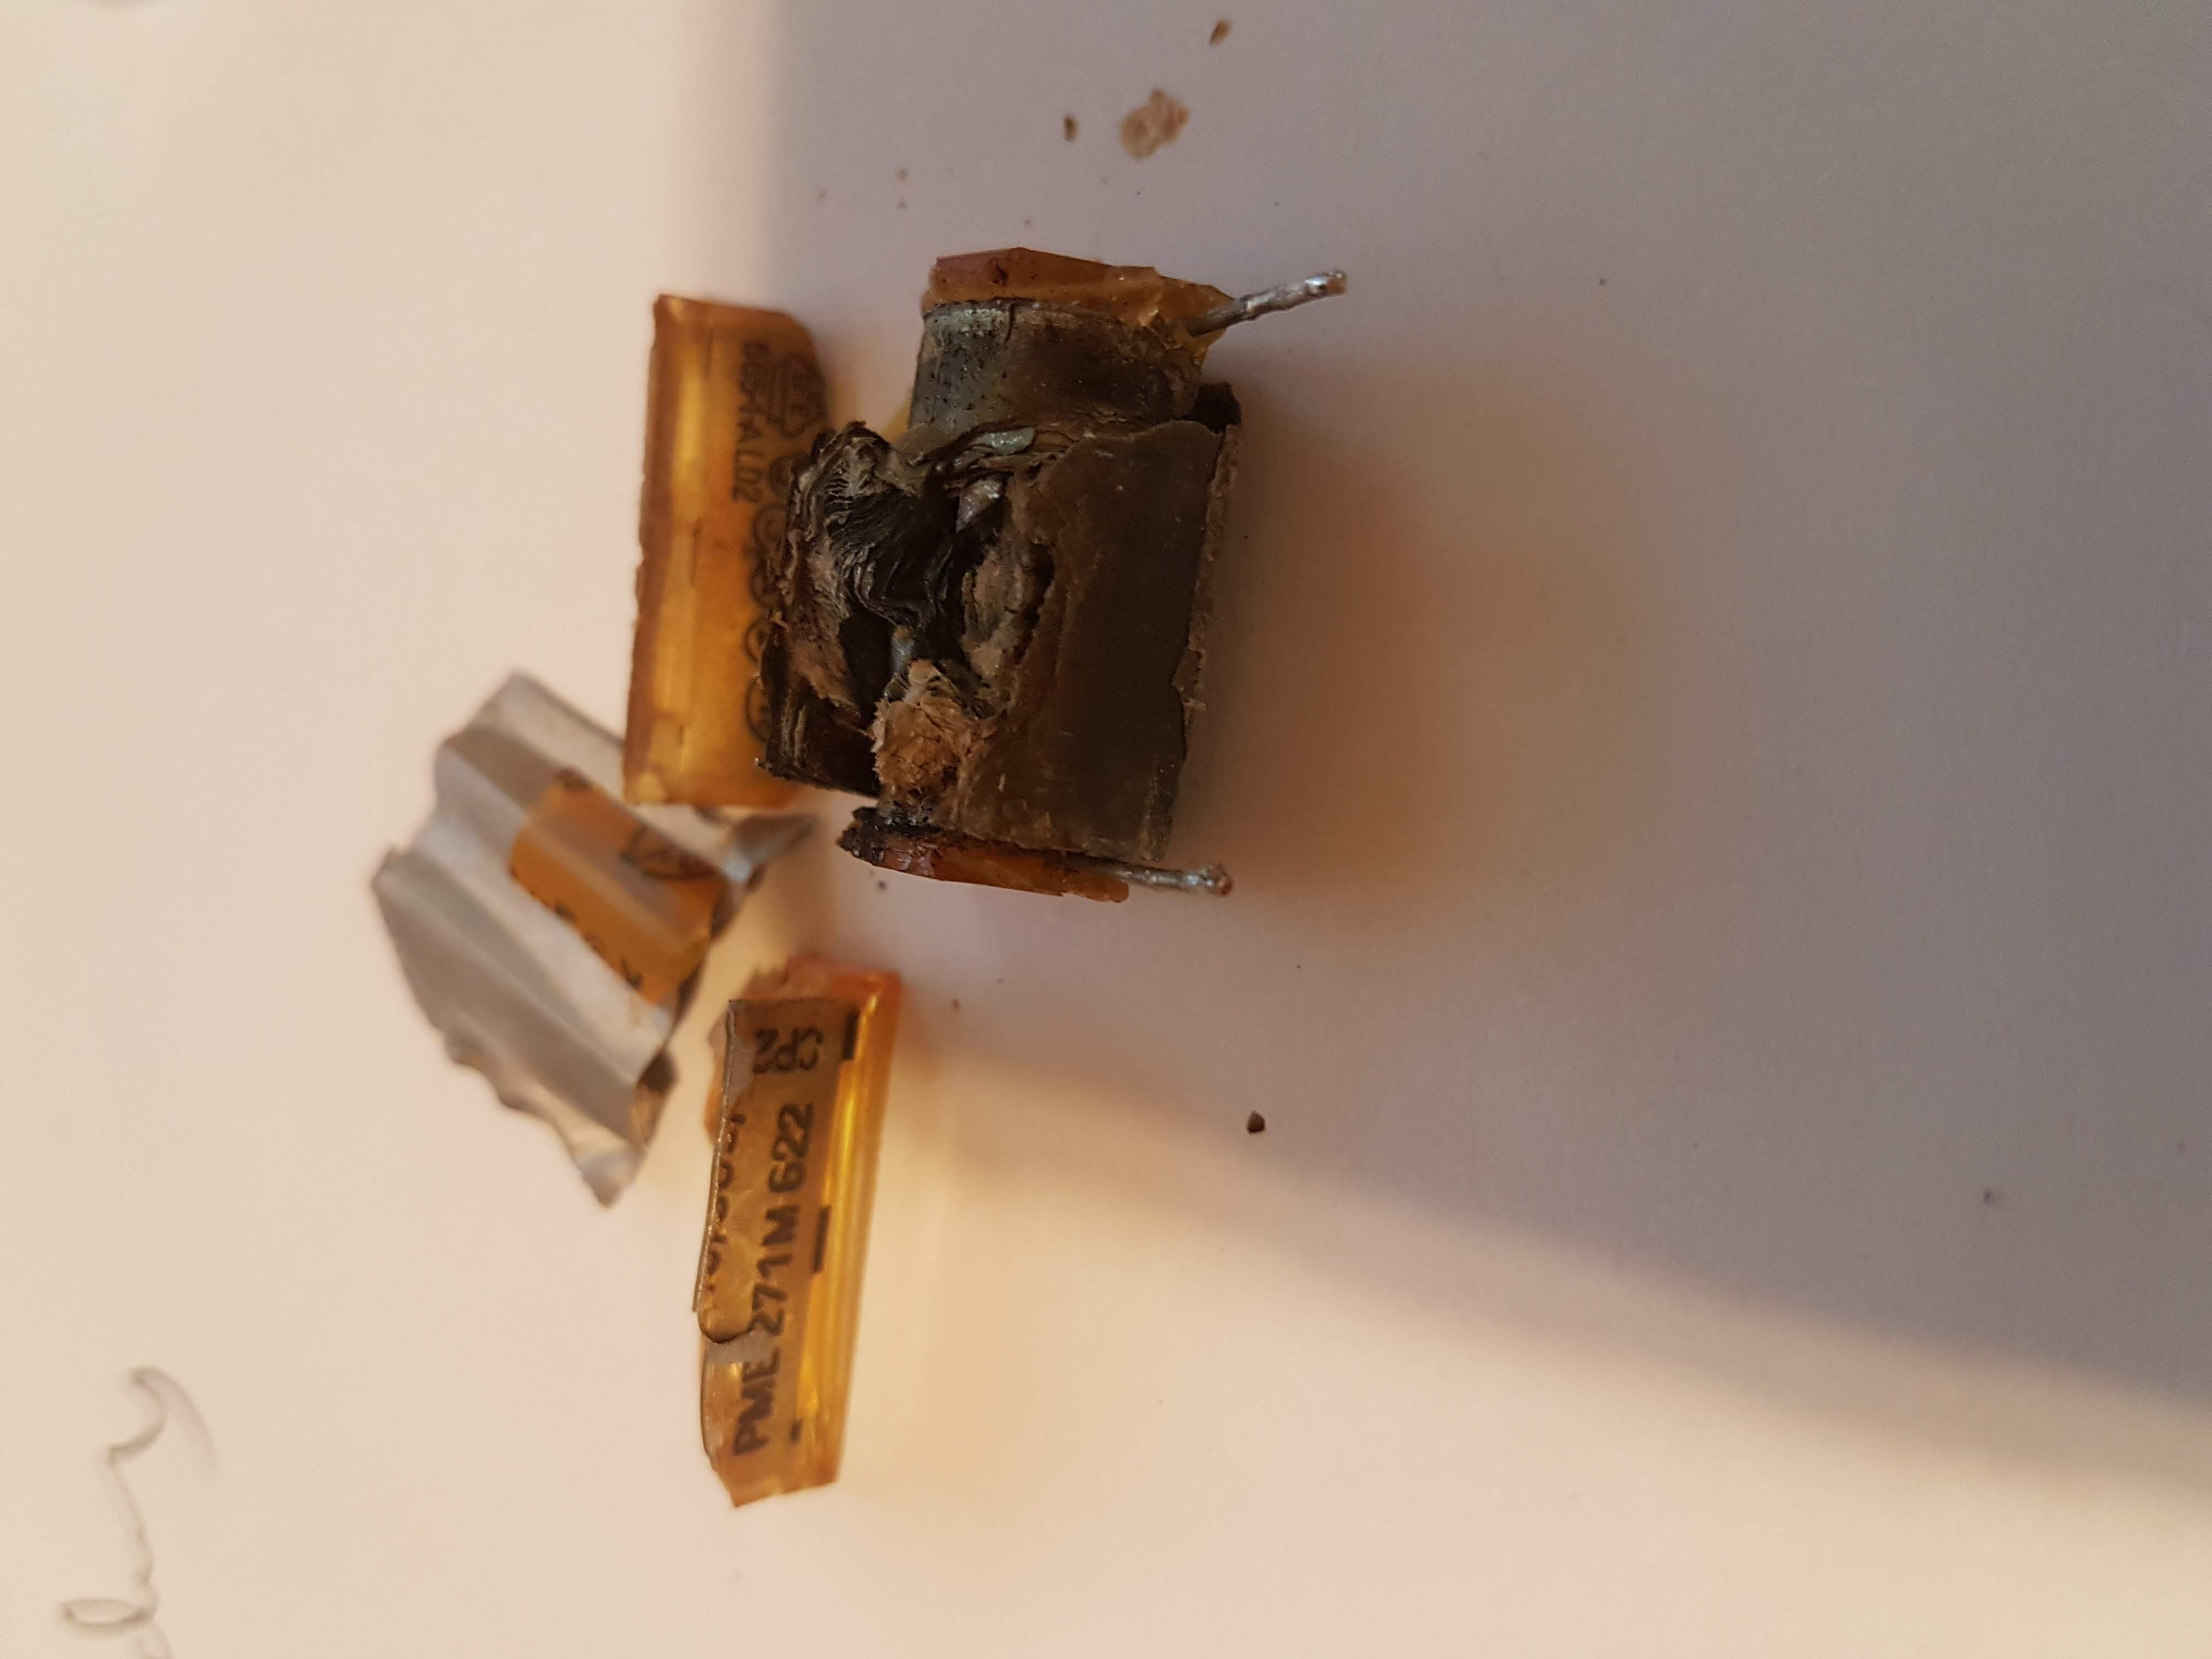
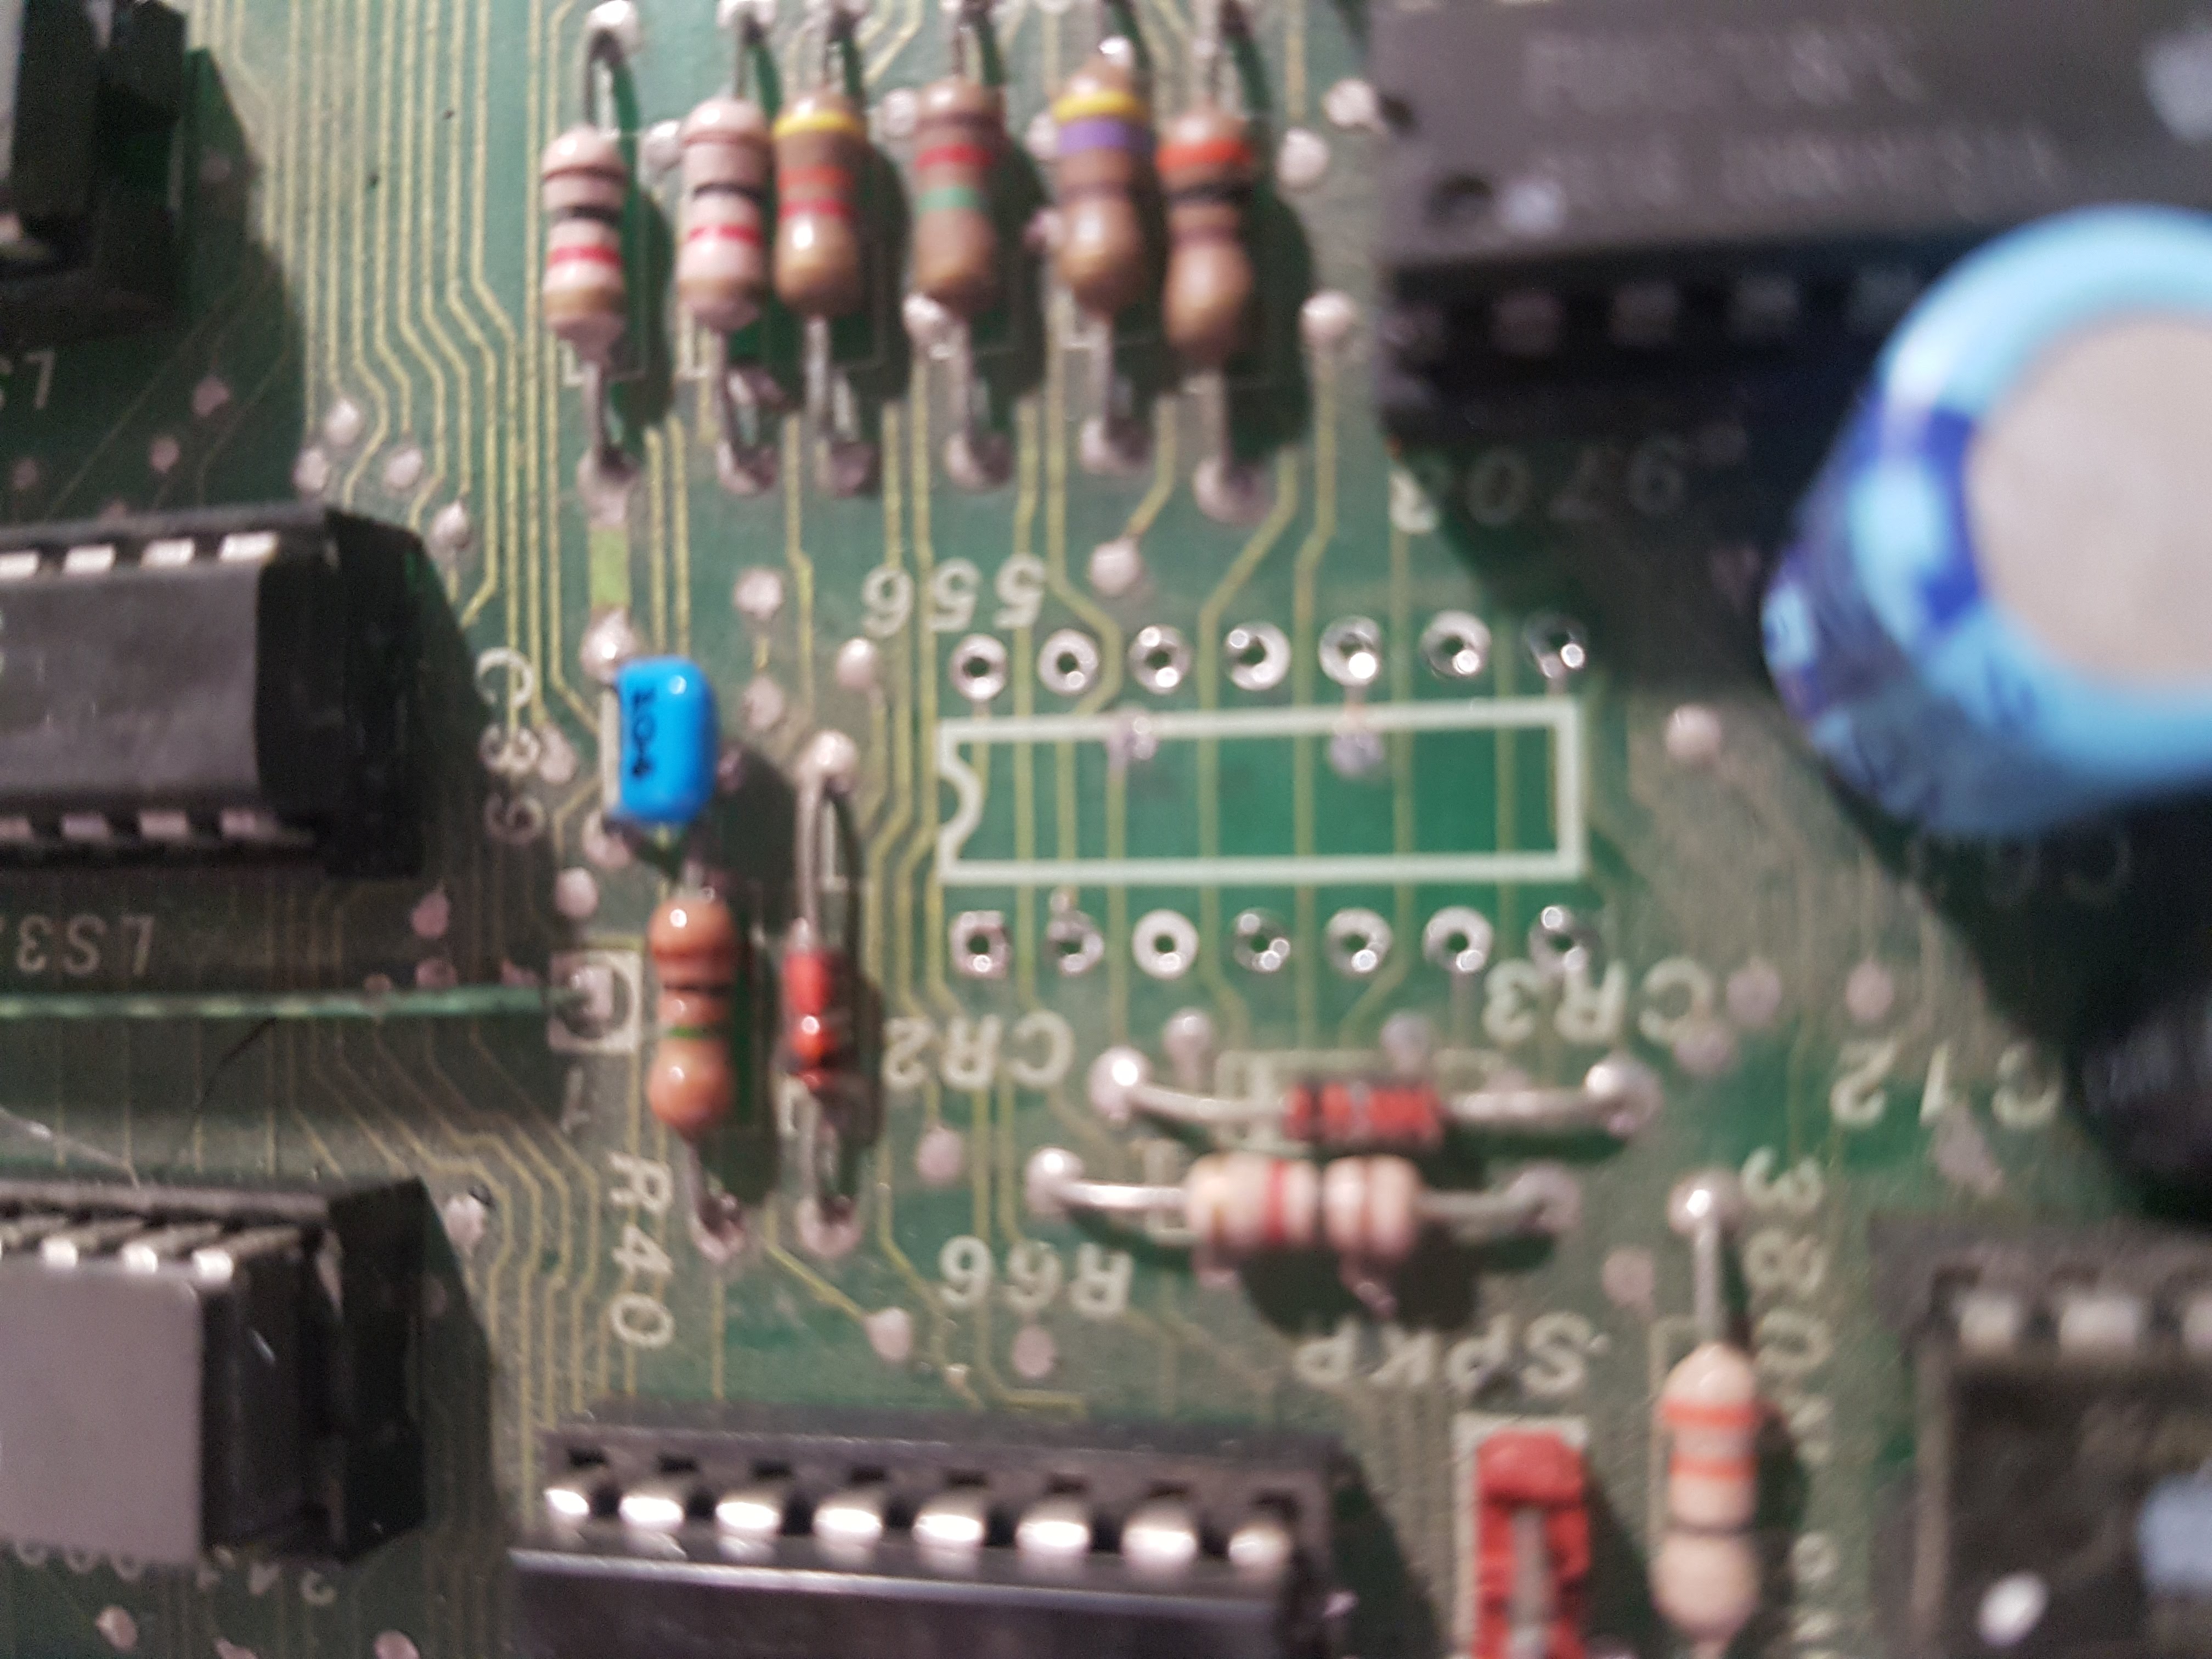
Anyway, I have now learned how to program PIC chips and have a much better understanding of various ways to emulate the Apple /// keyboard controller. I also found a few other issues along the way and replaced another couple of logic chips and capacitors.
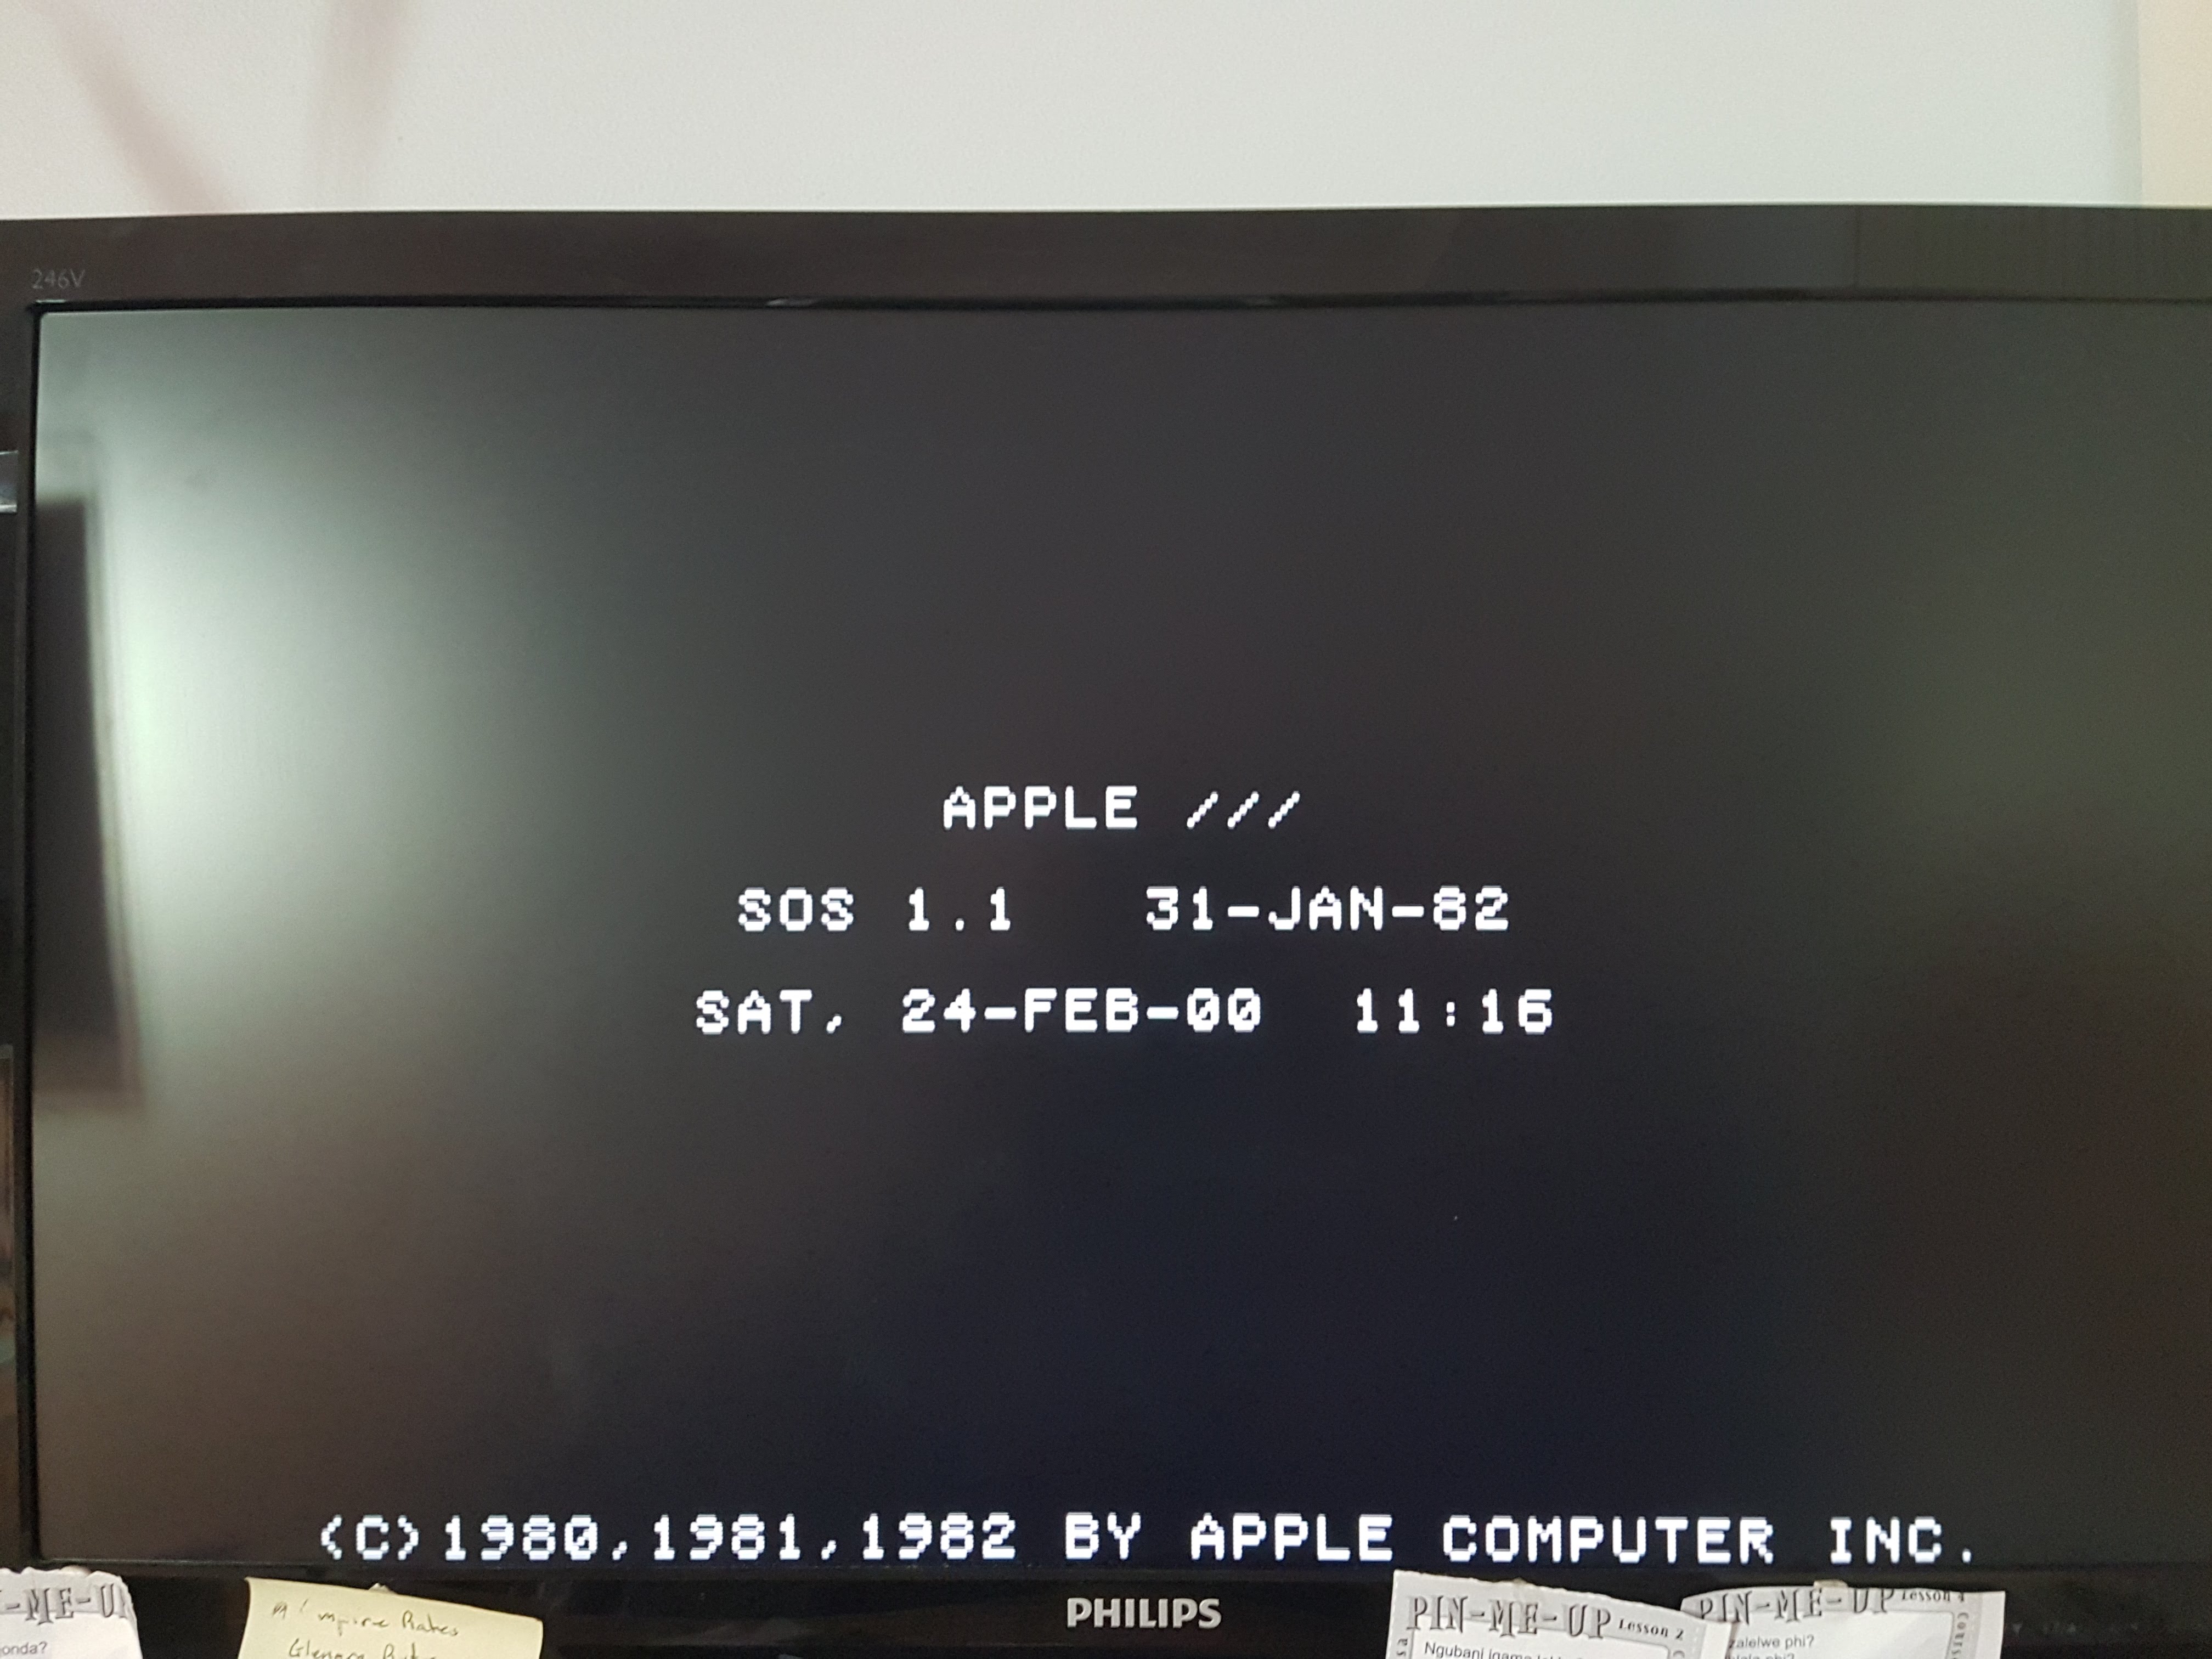
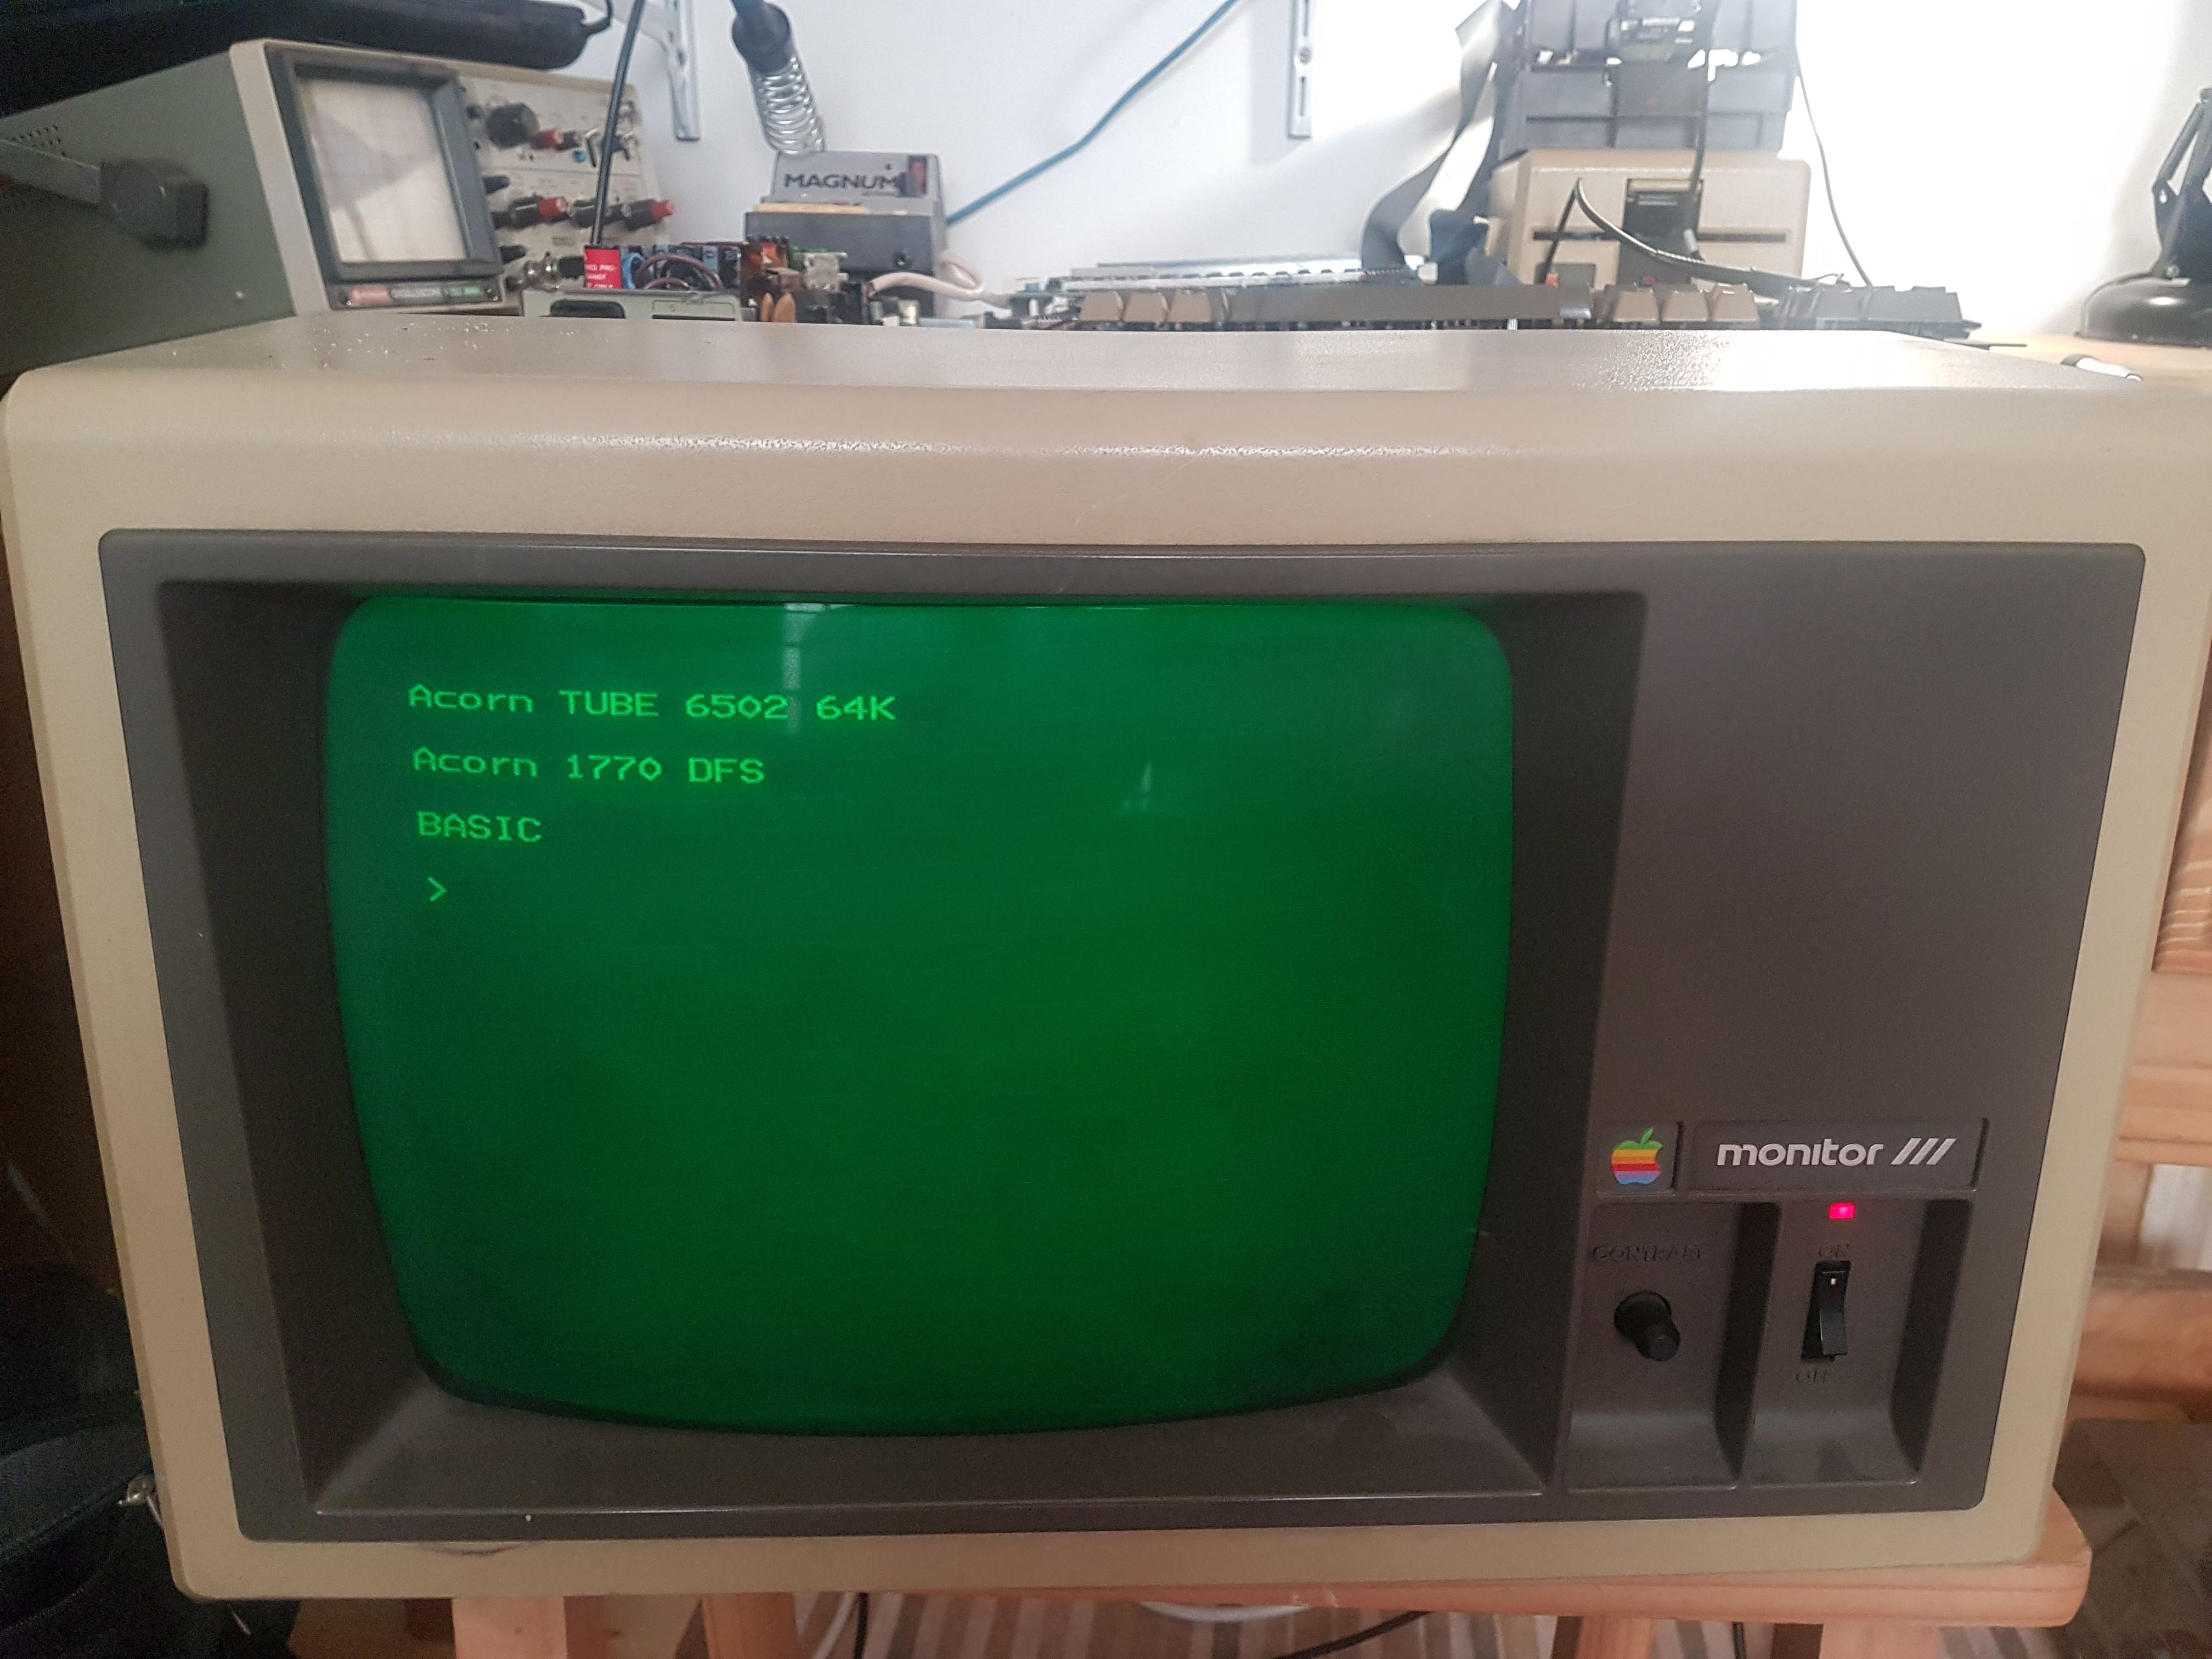
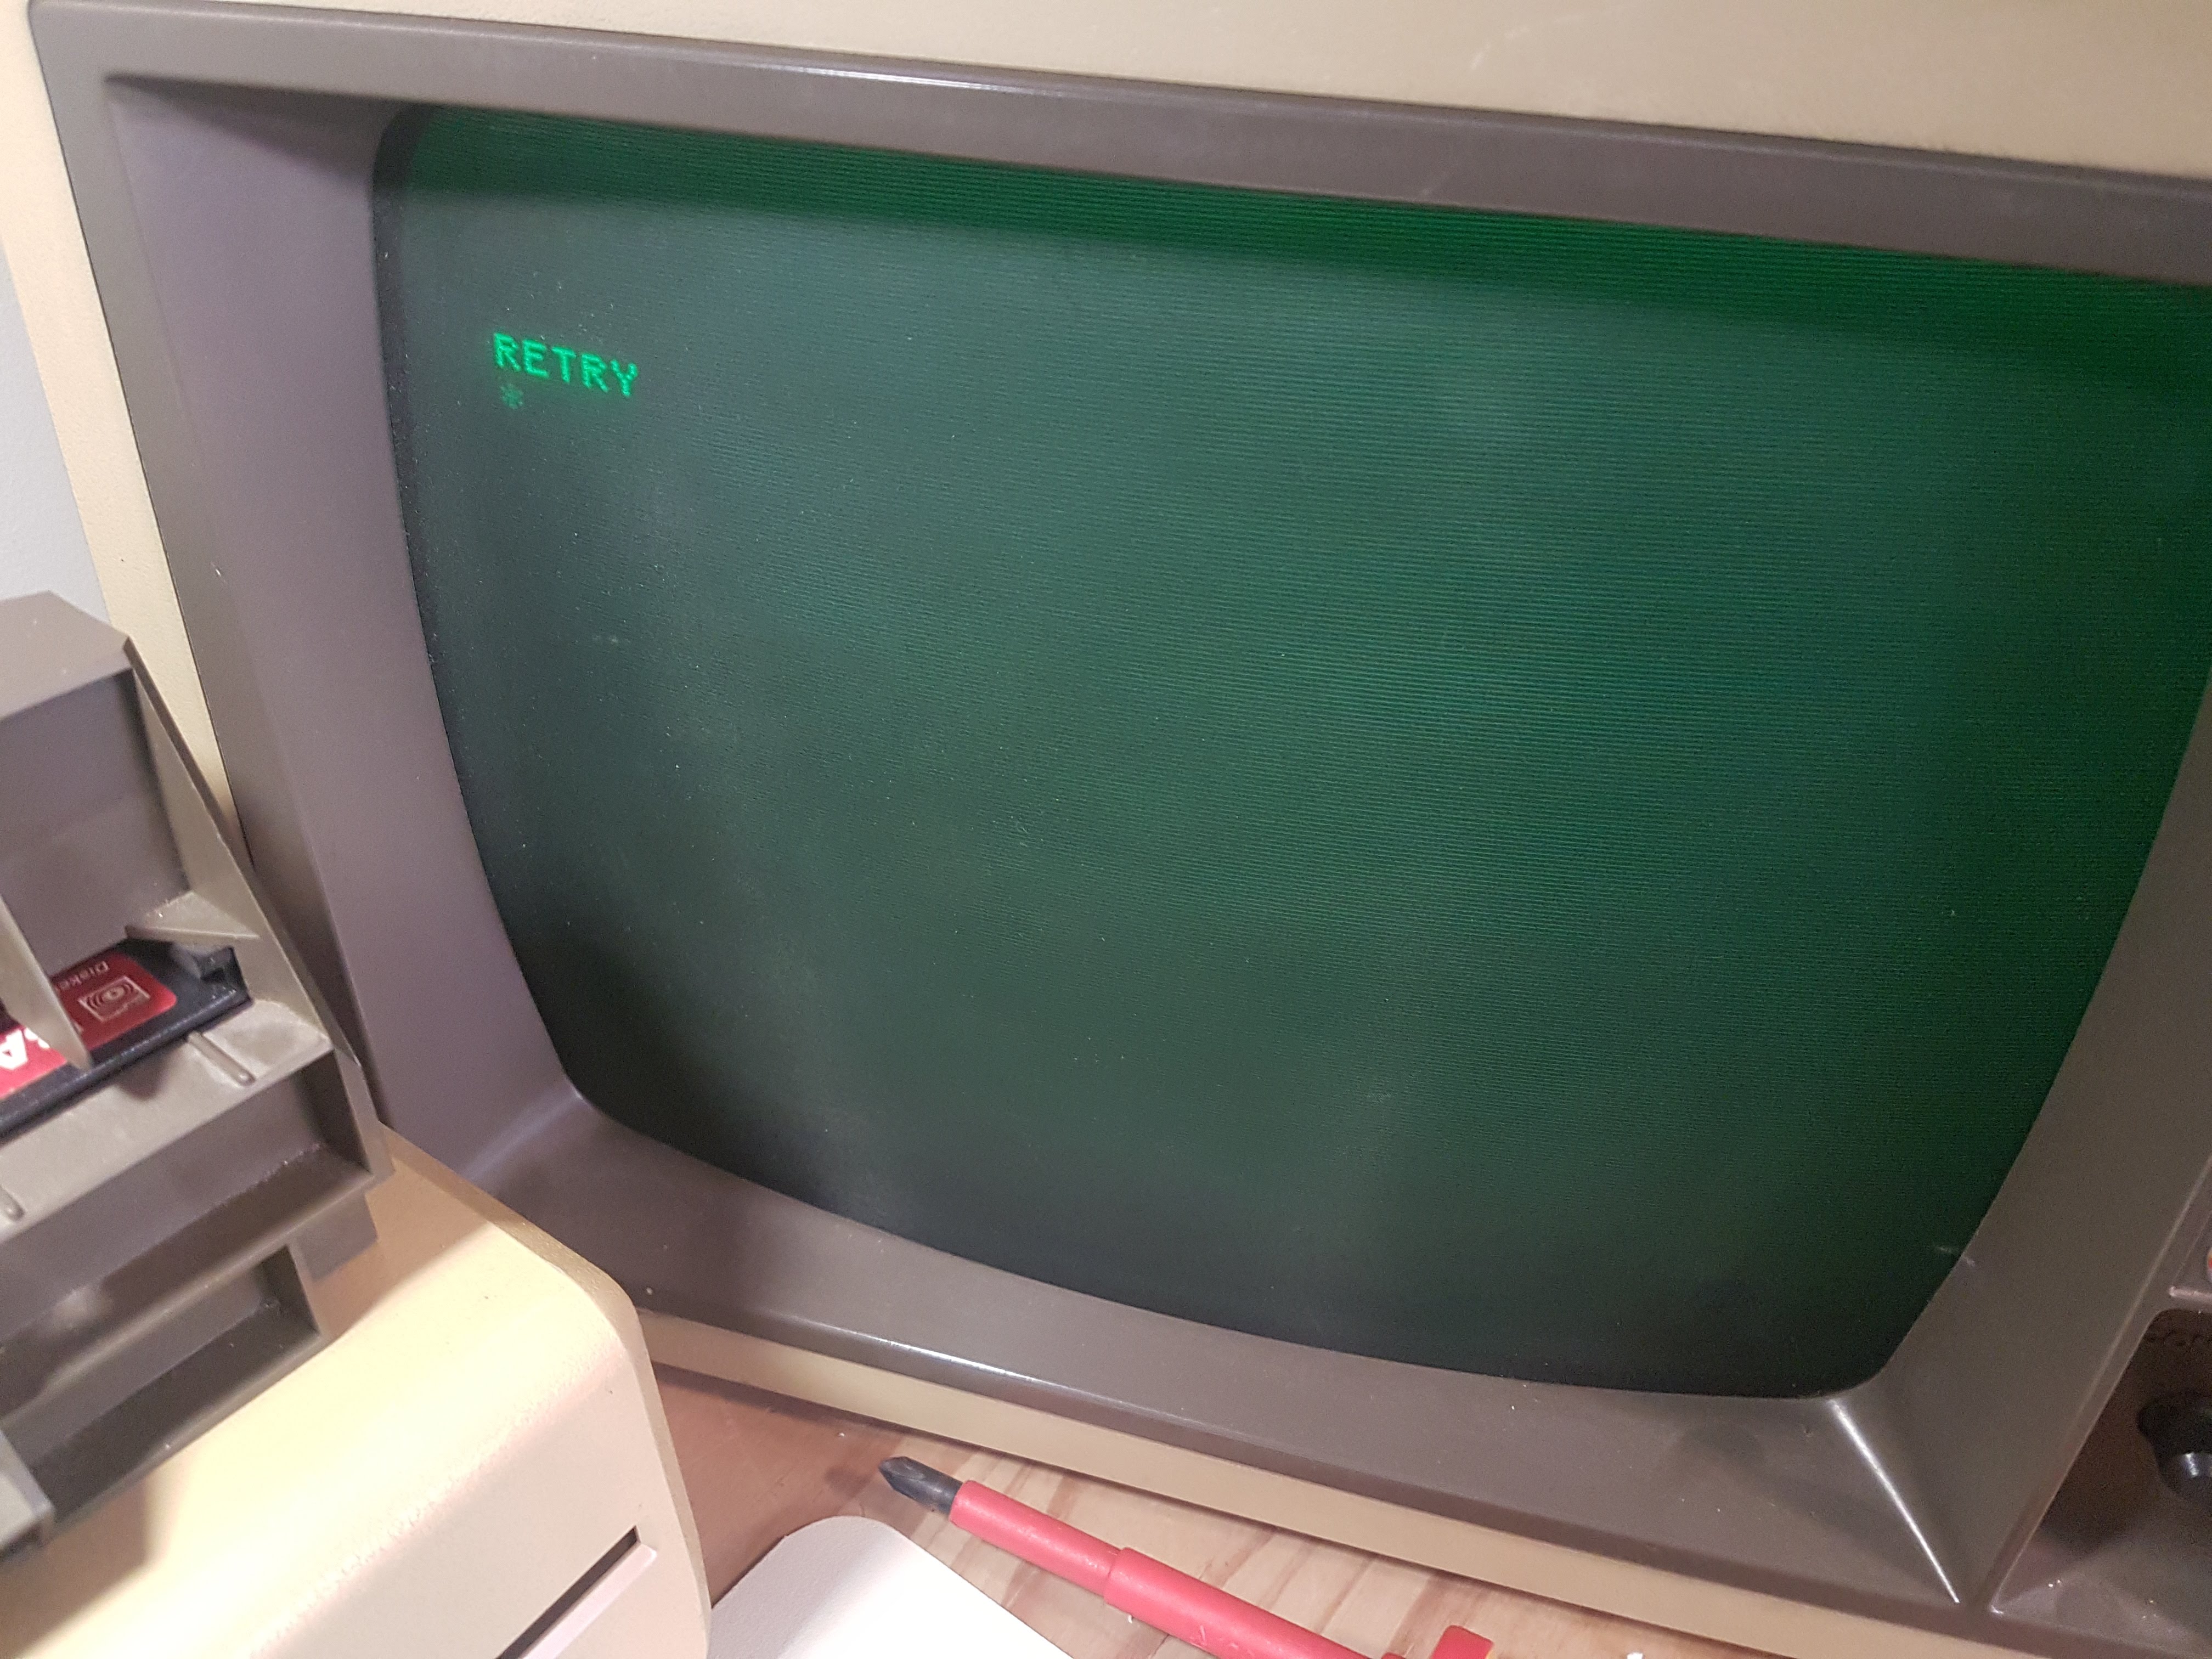
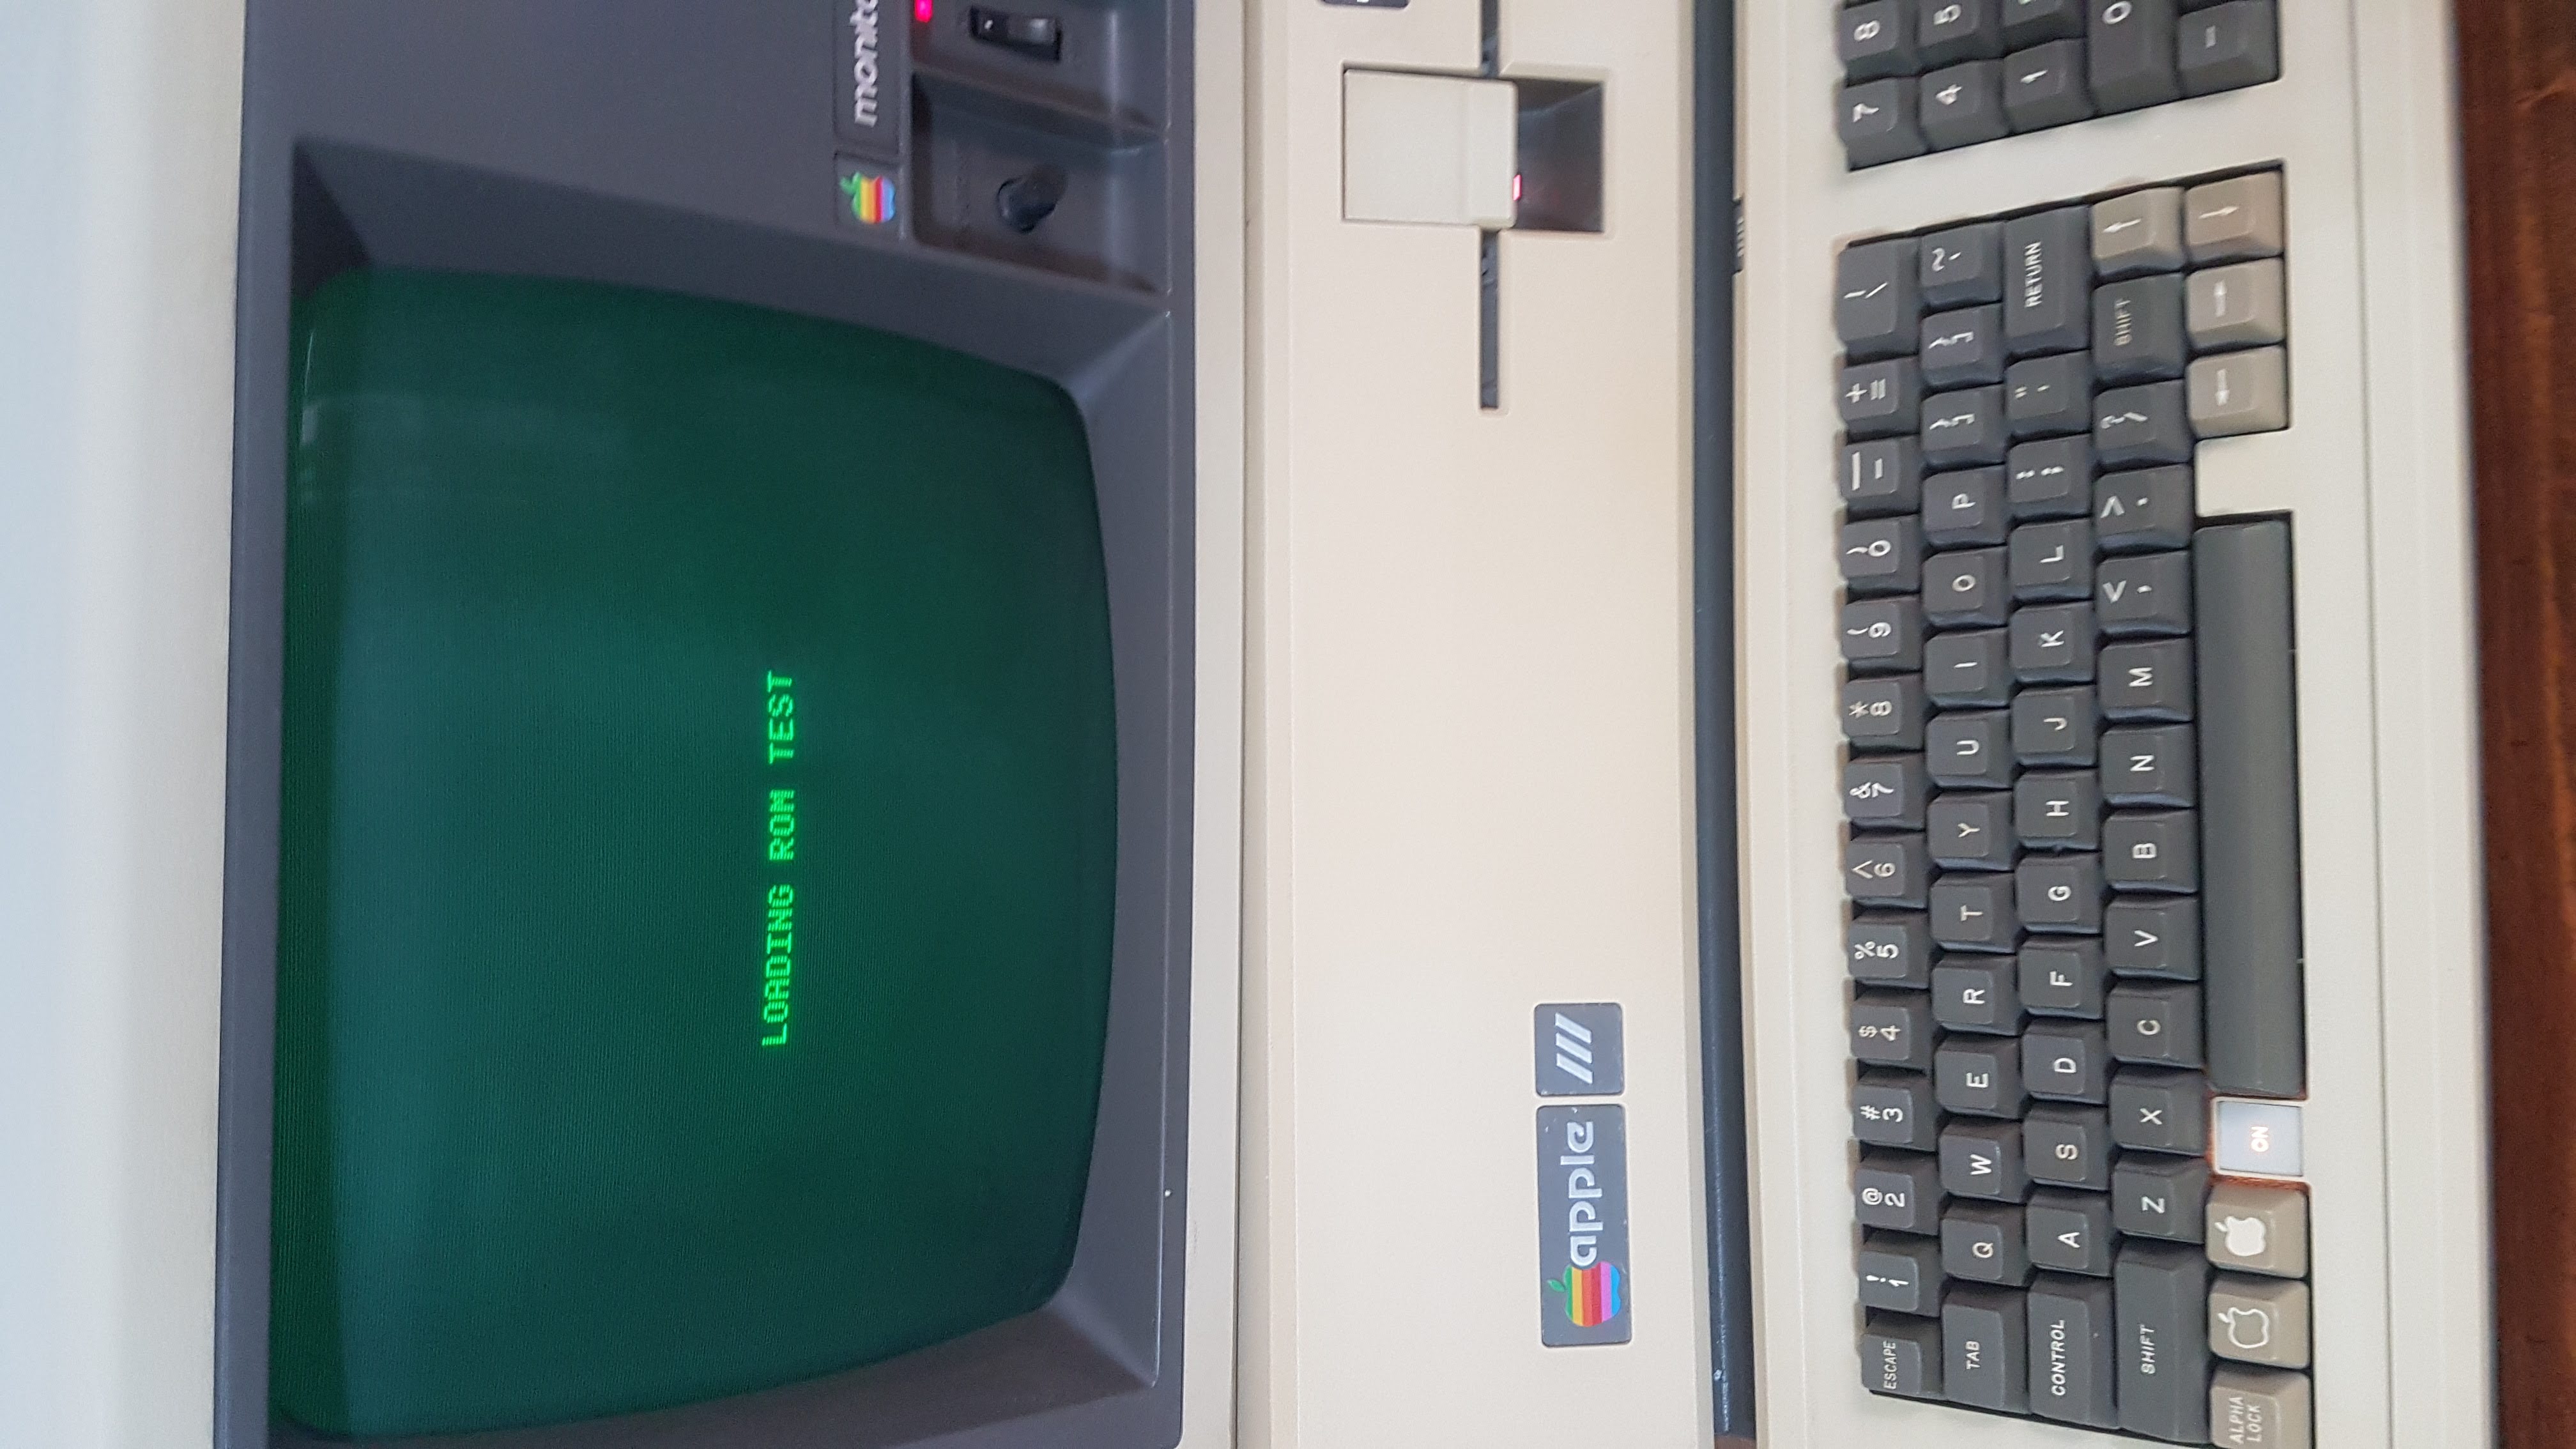
The good news is that I can now boot into the diagnostics disk and my /// passed all the tests apart from the keyboard test as the PIC controller doesn't quite work on my machine. I think it may be because my /// was made in Ireland and his in the US.
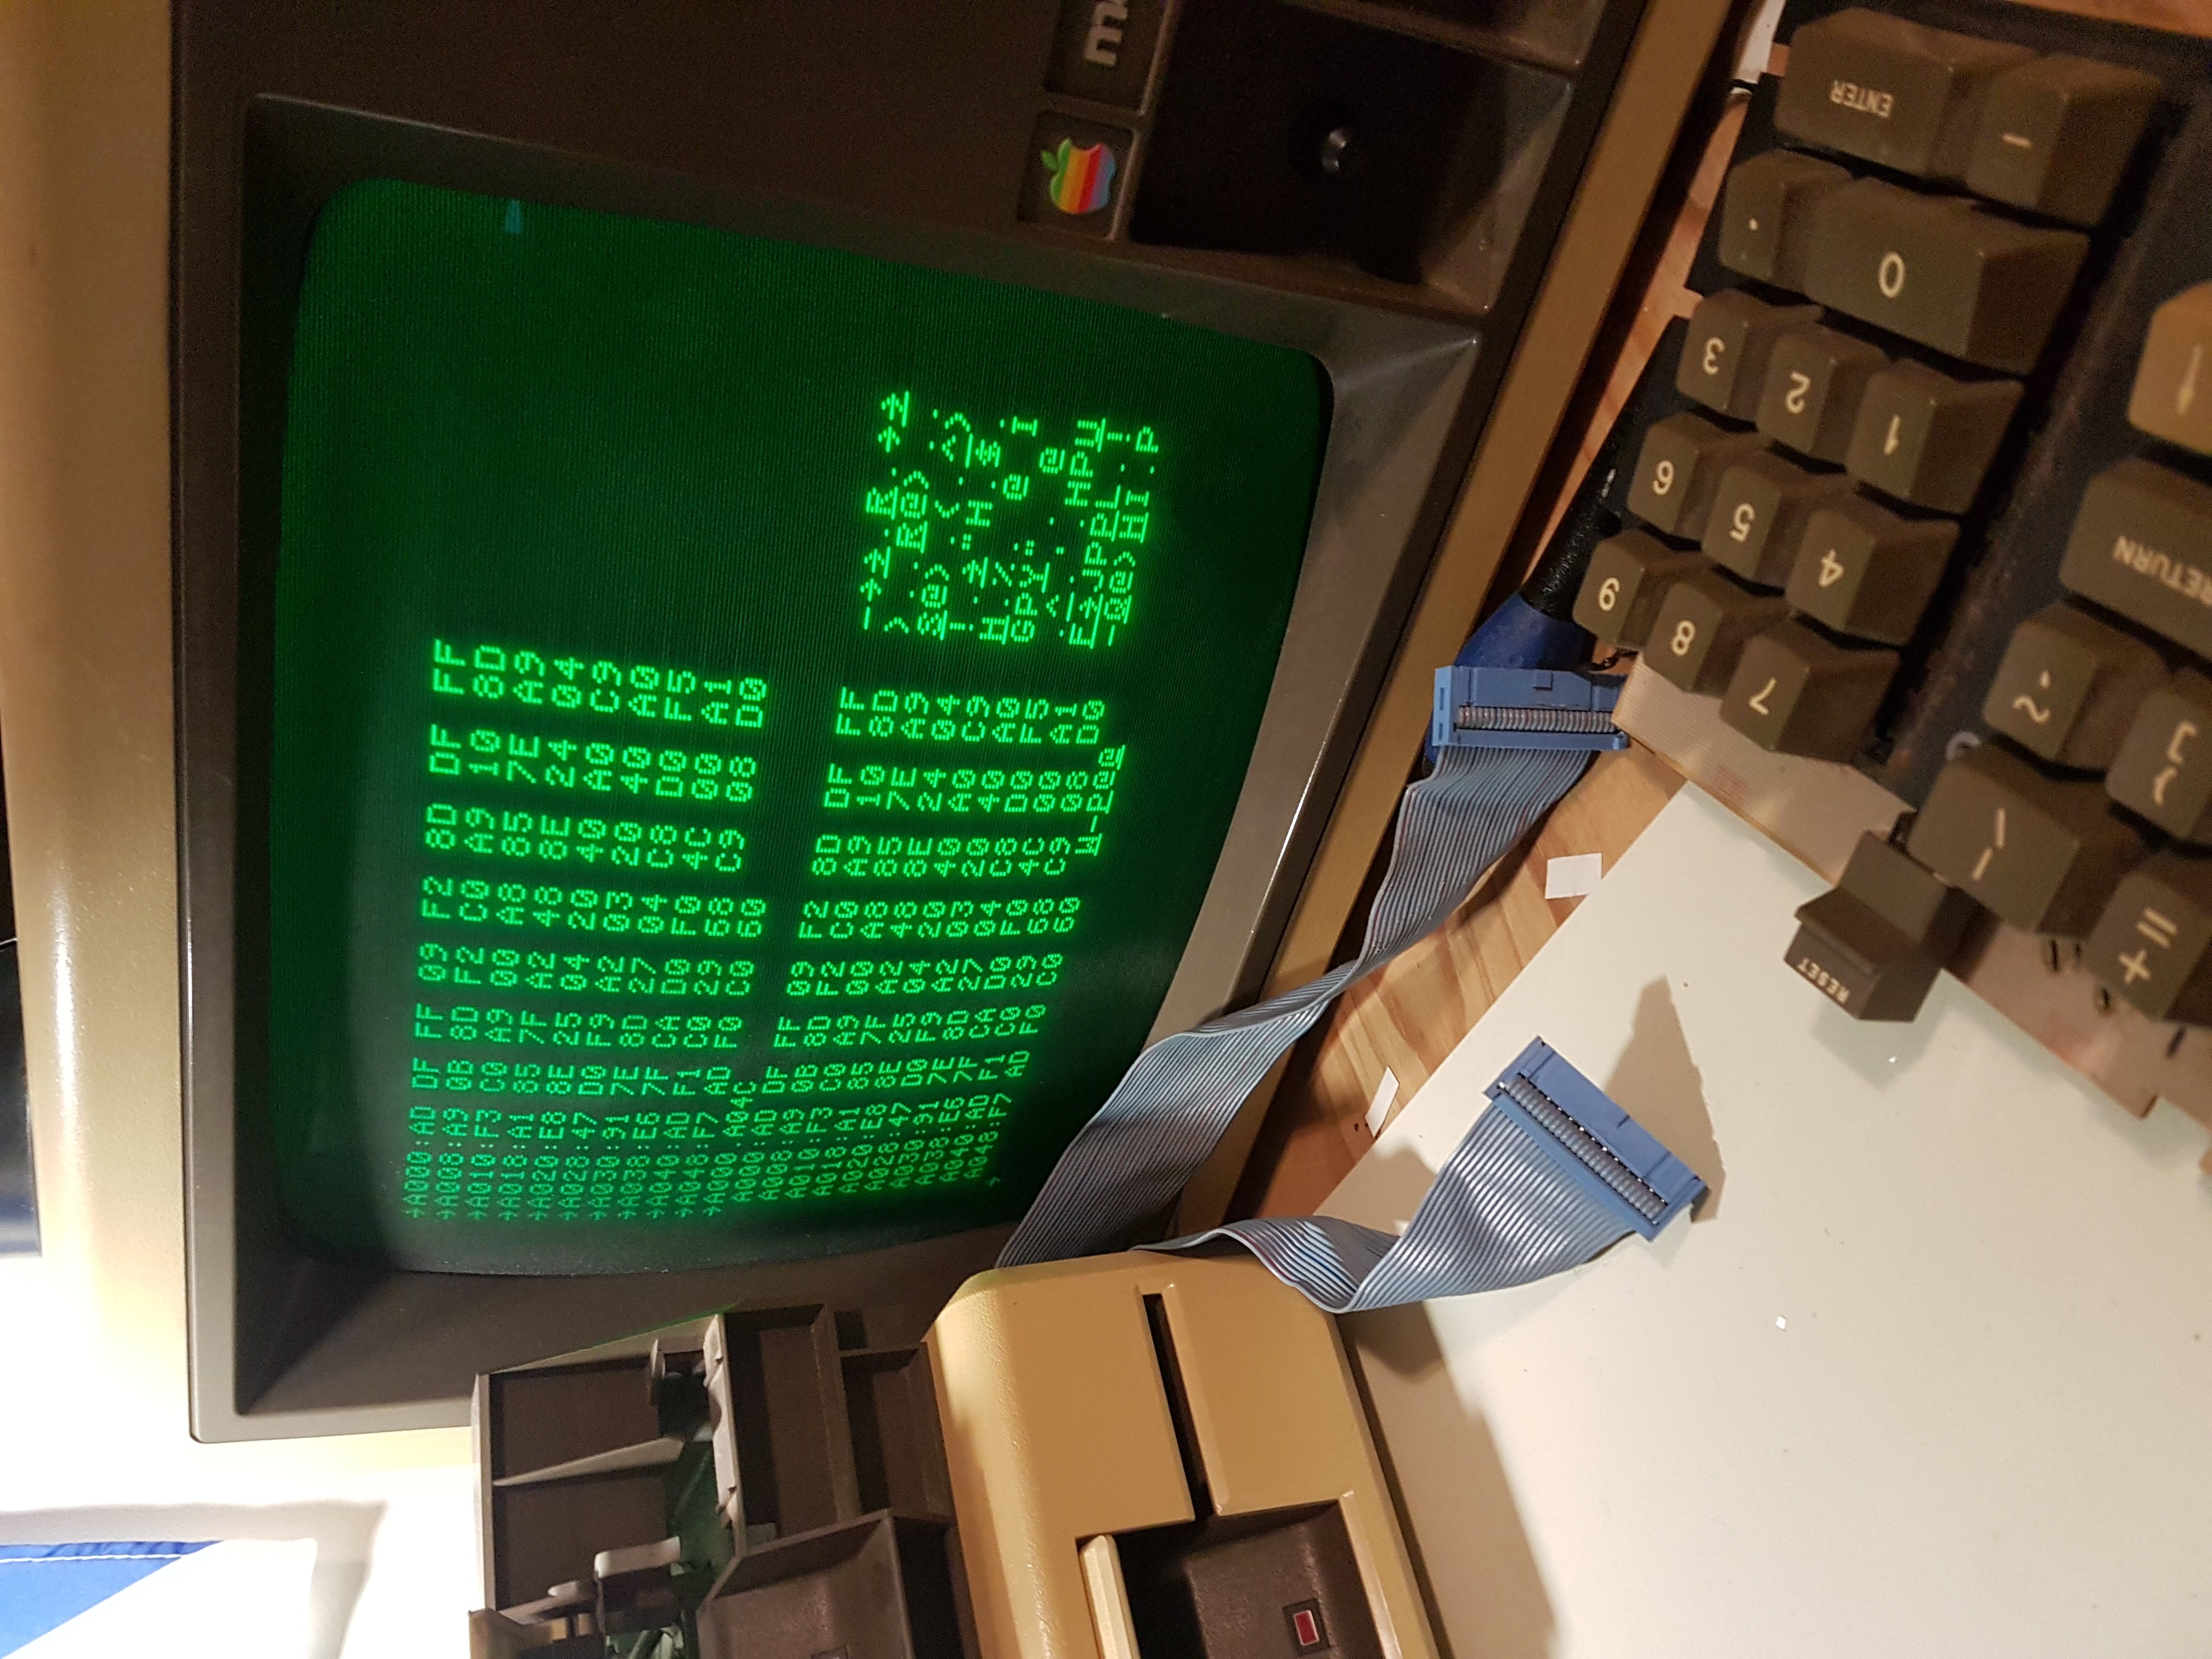
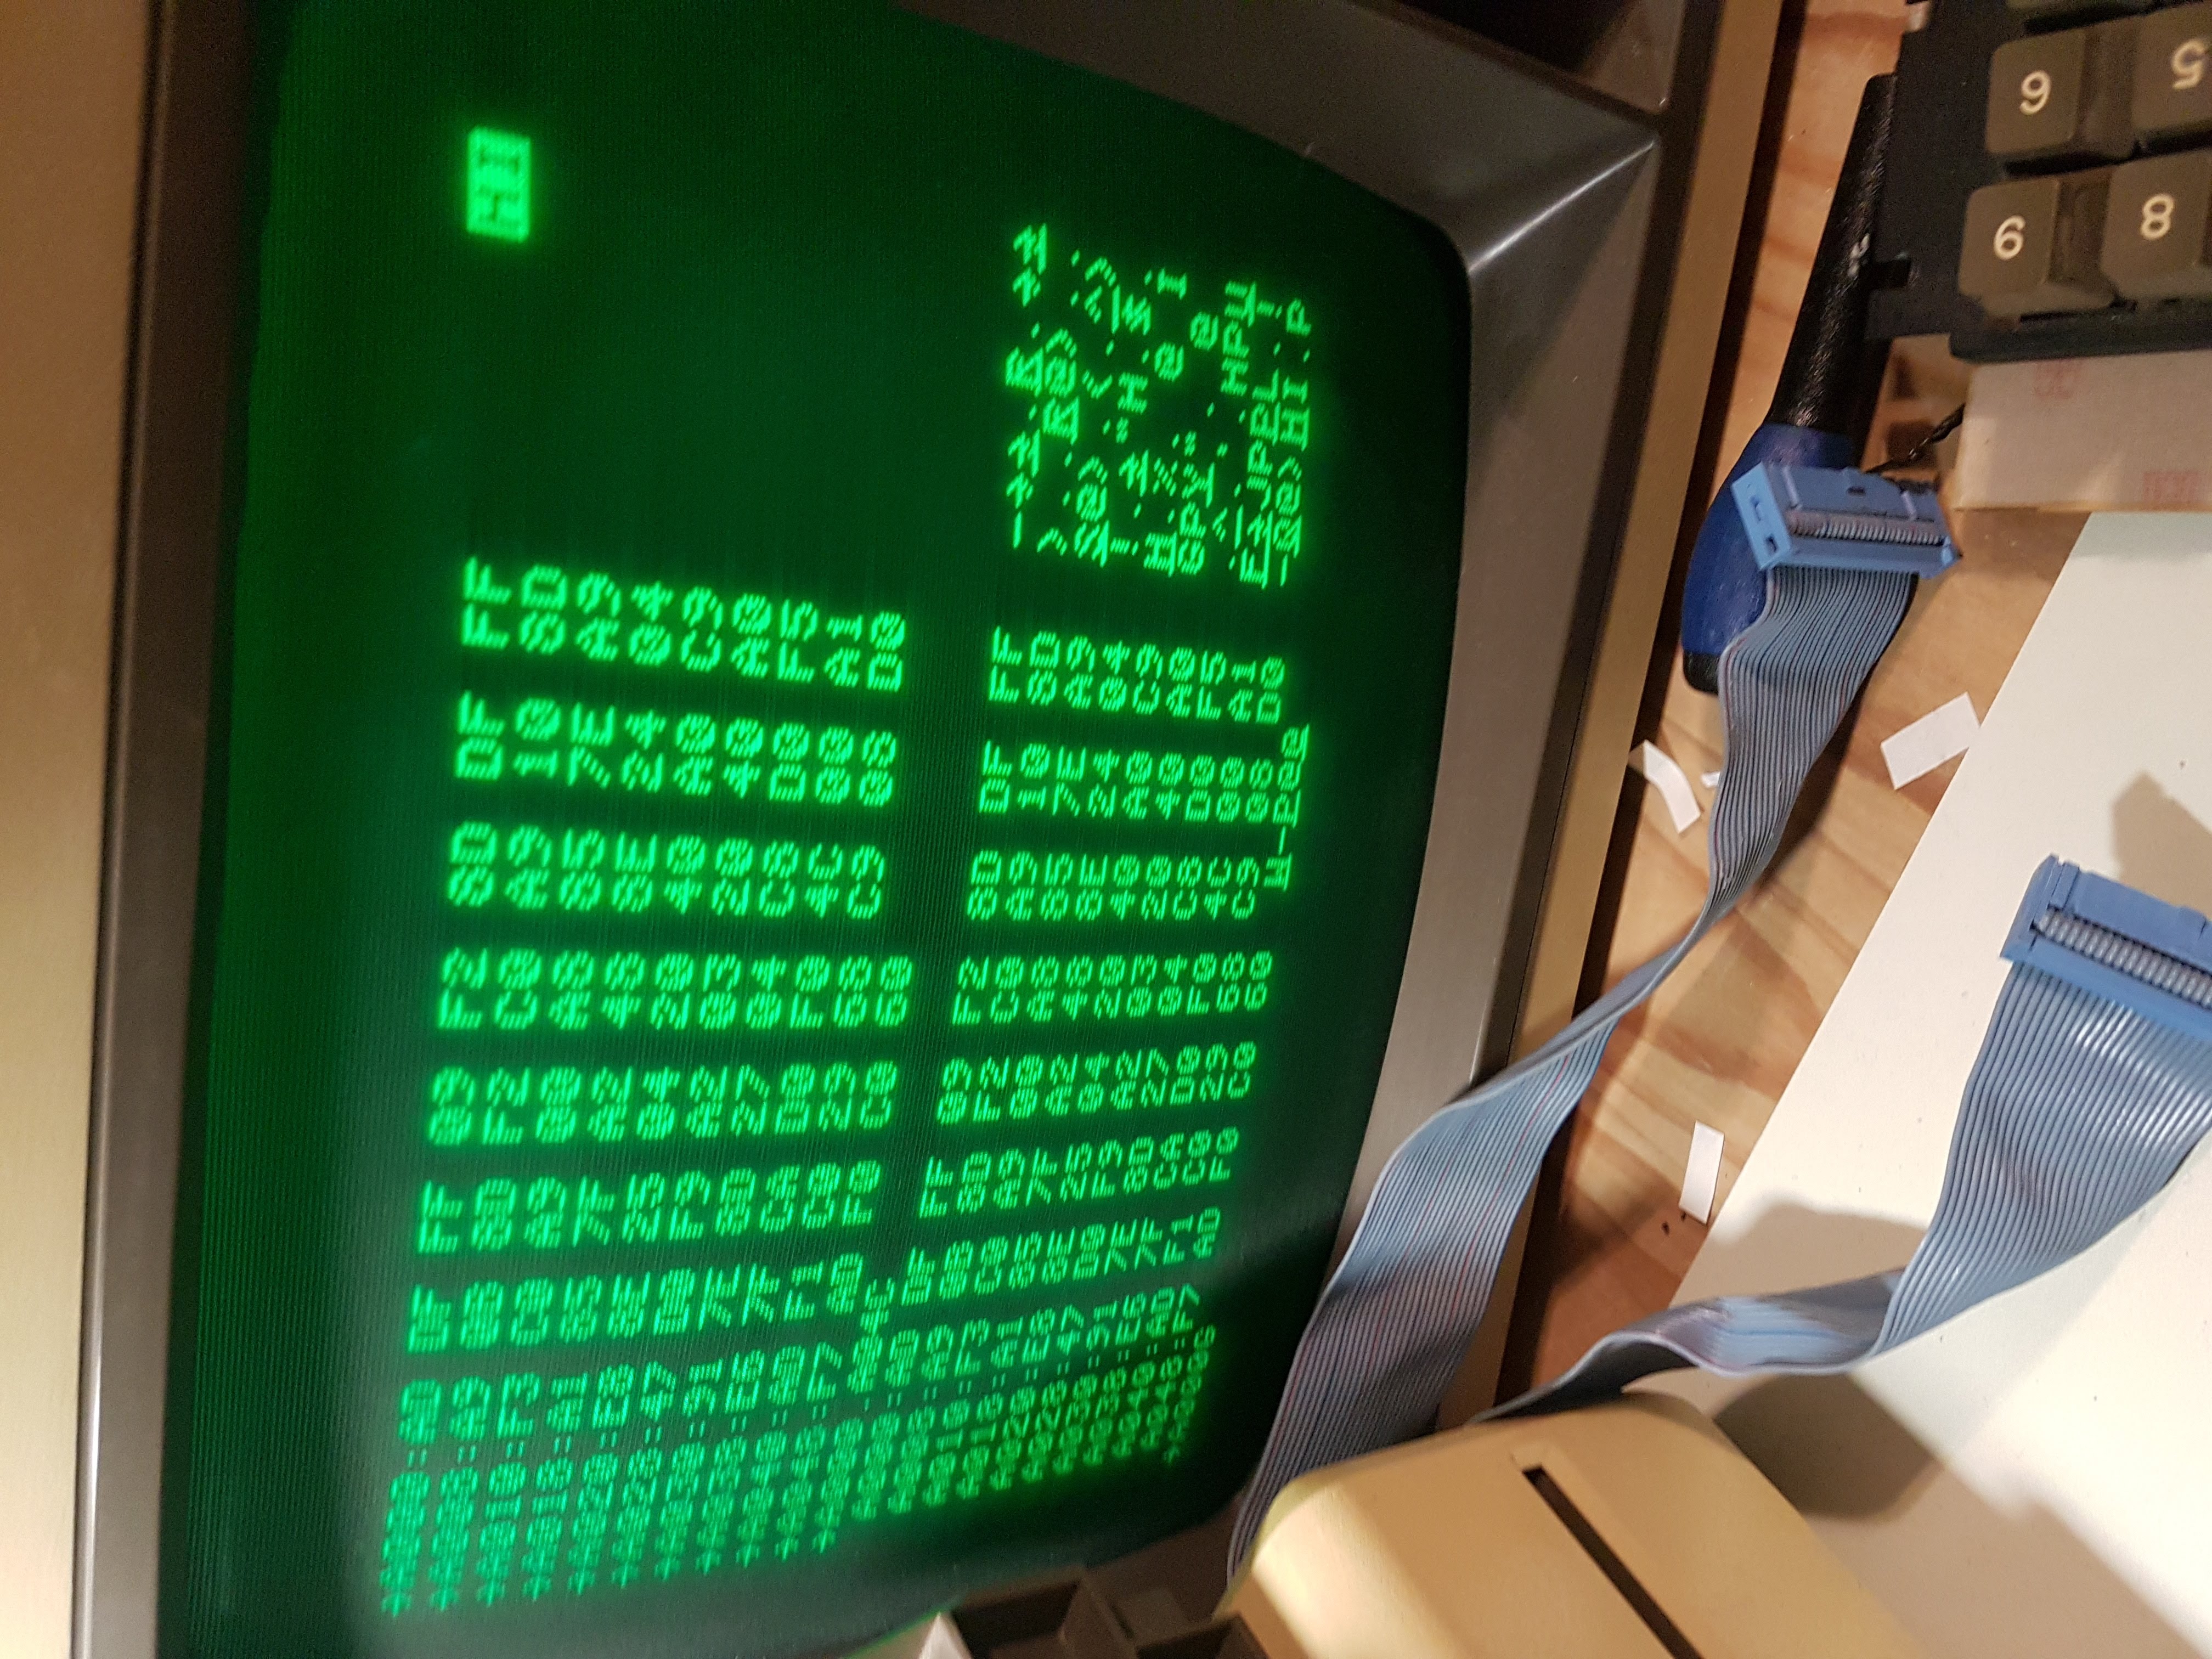
It is now currently still putting out some random characters but I'm close. I thought I would finish before the end of November but I'm not there yet.
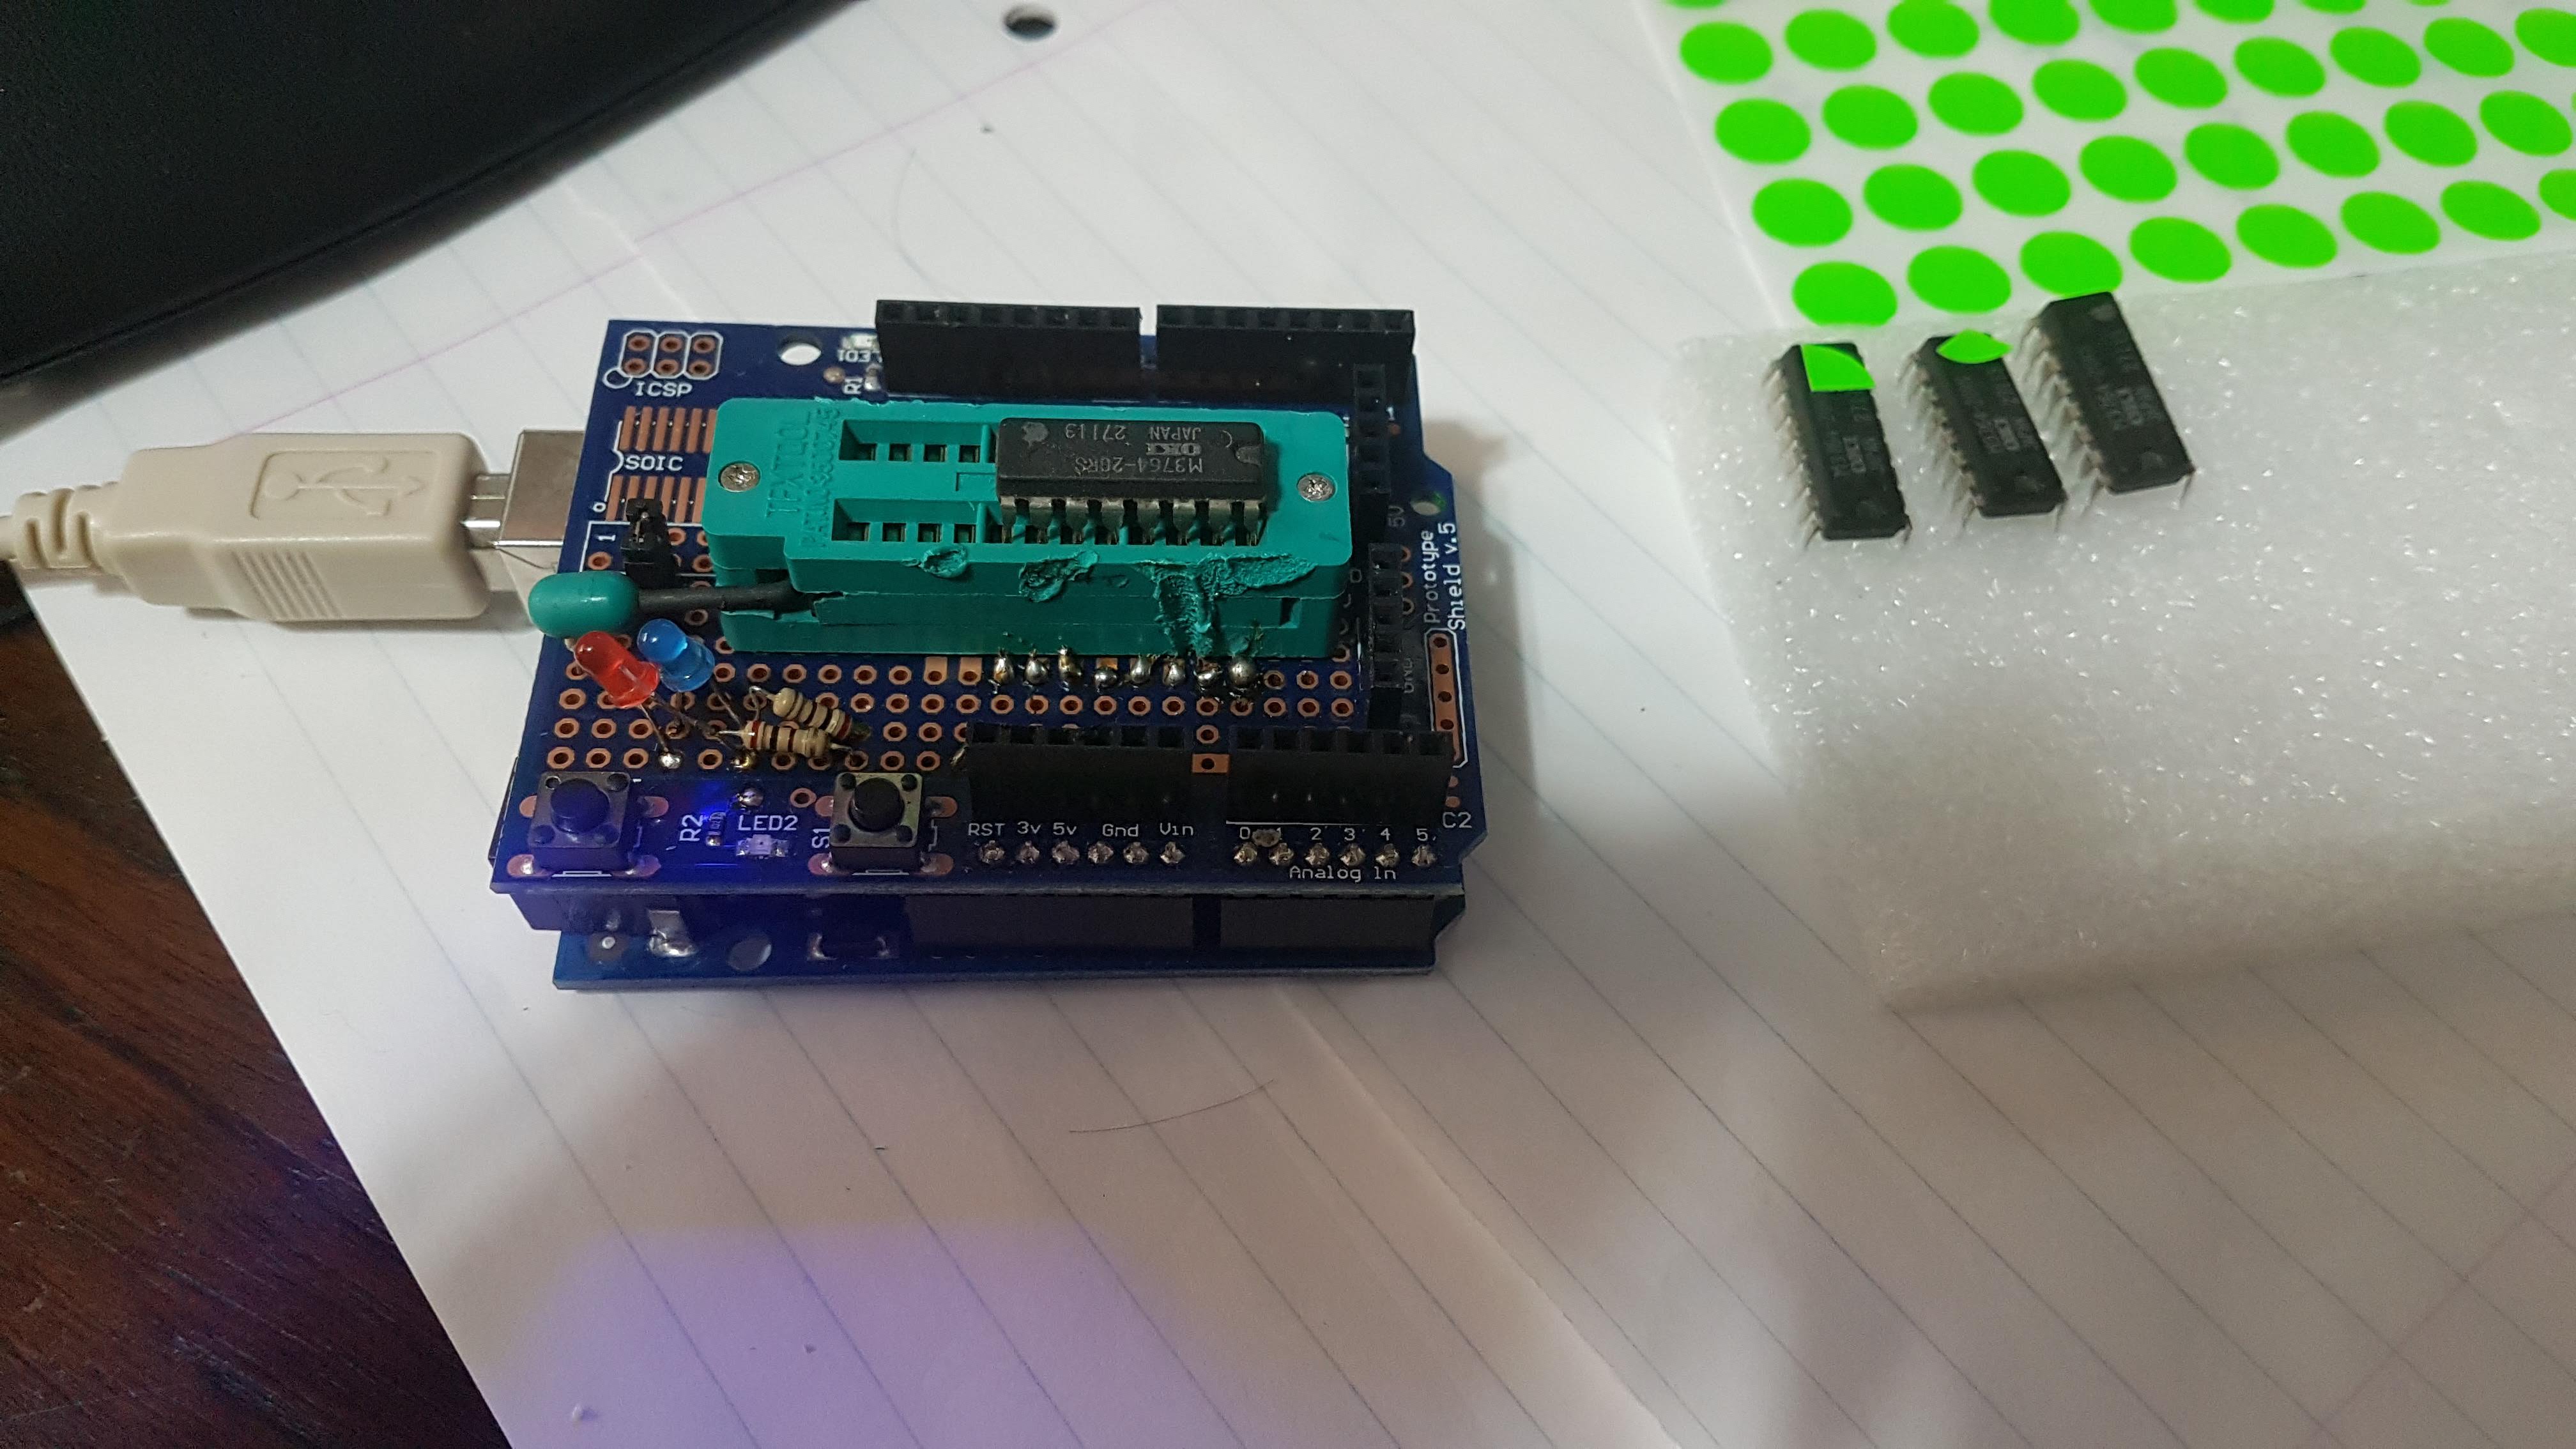
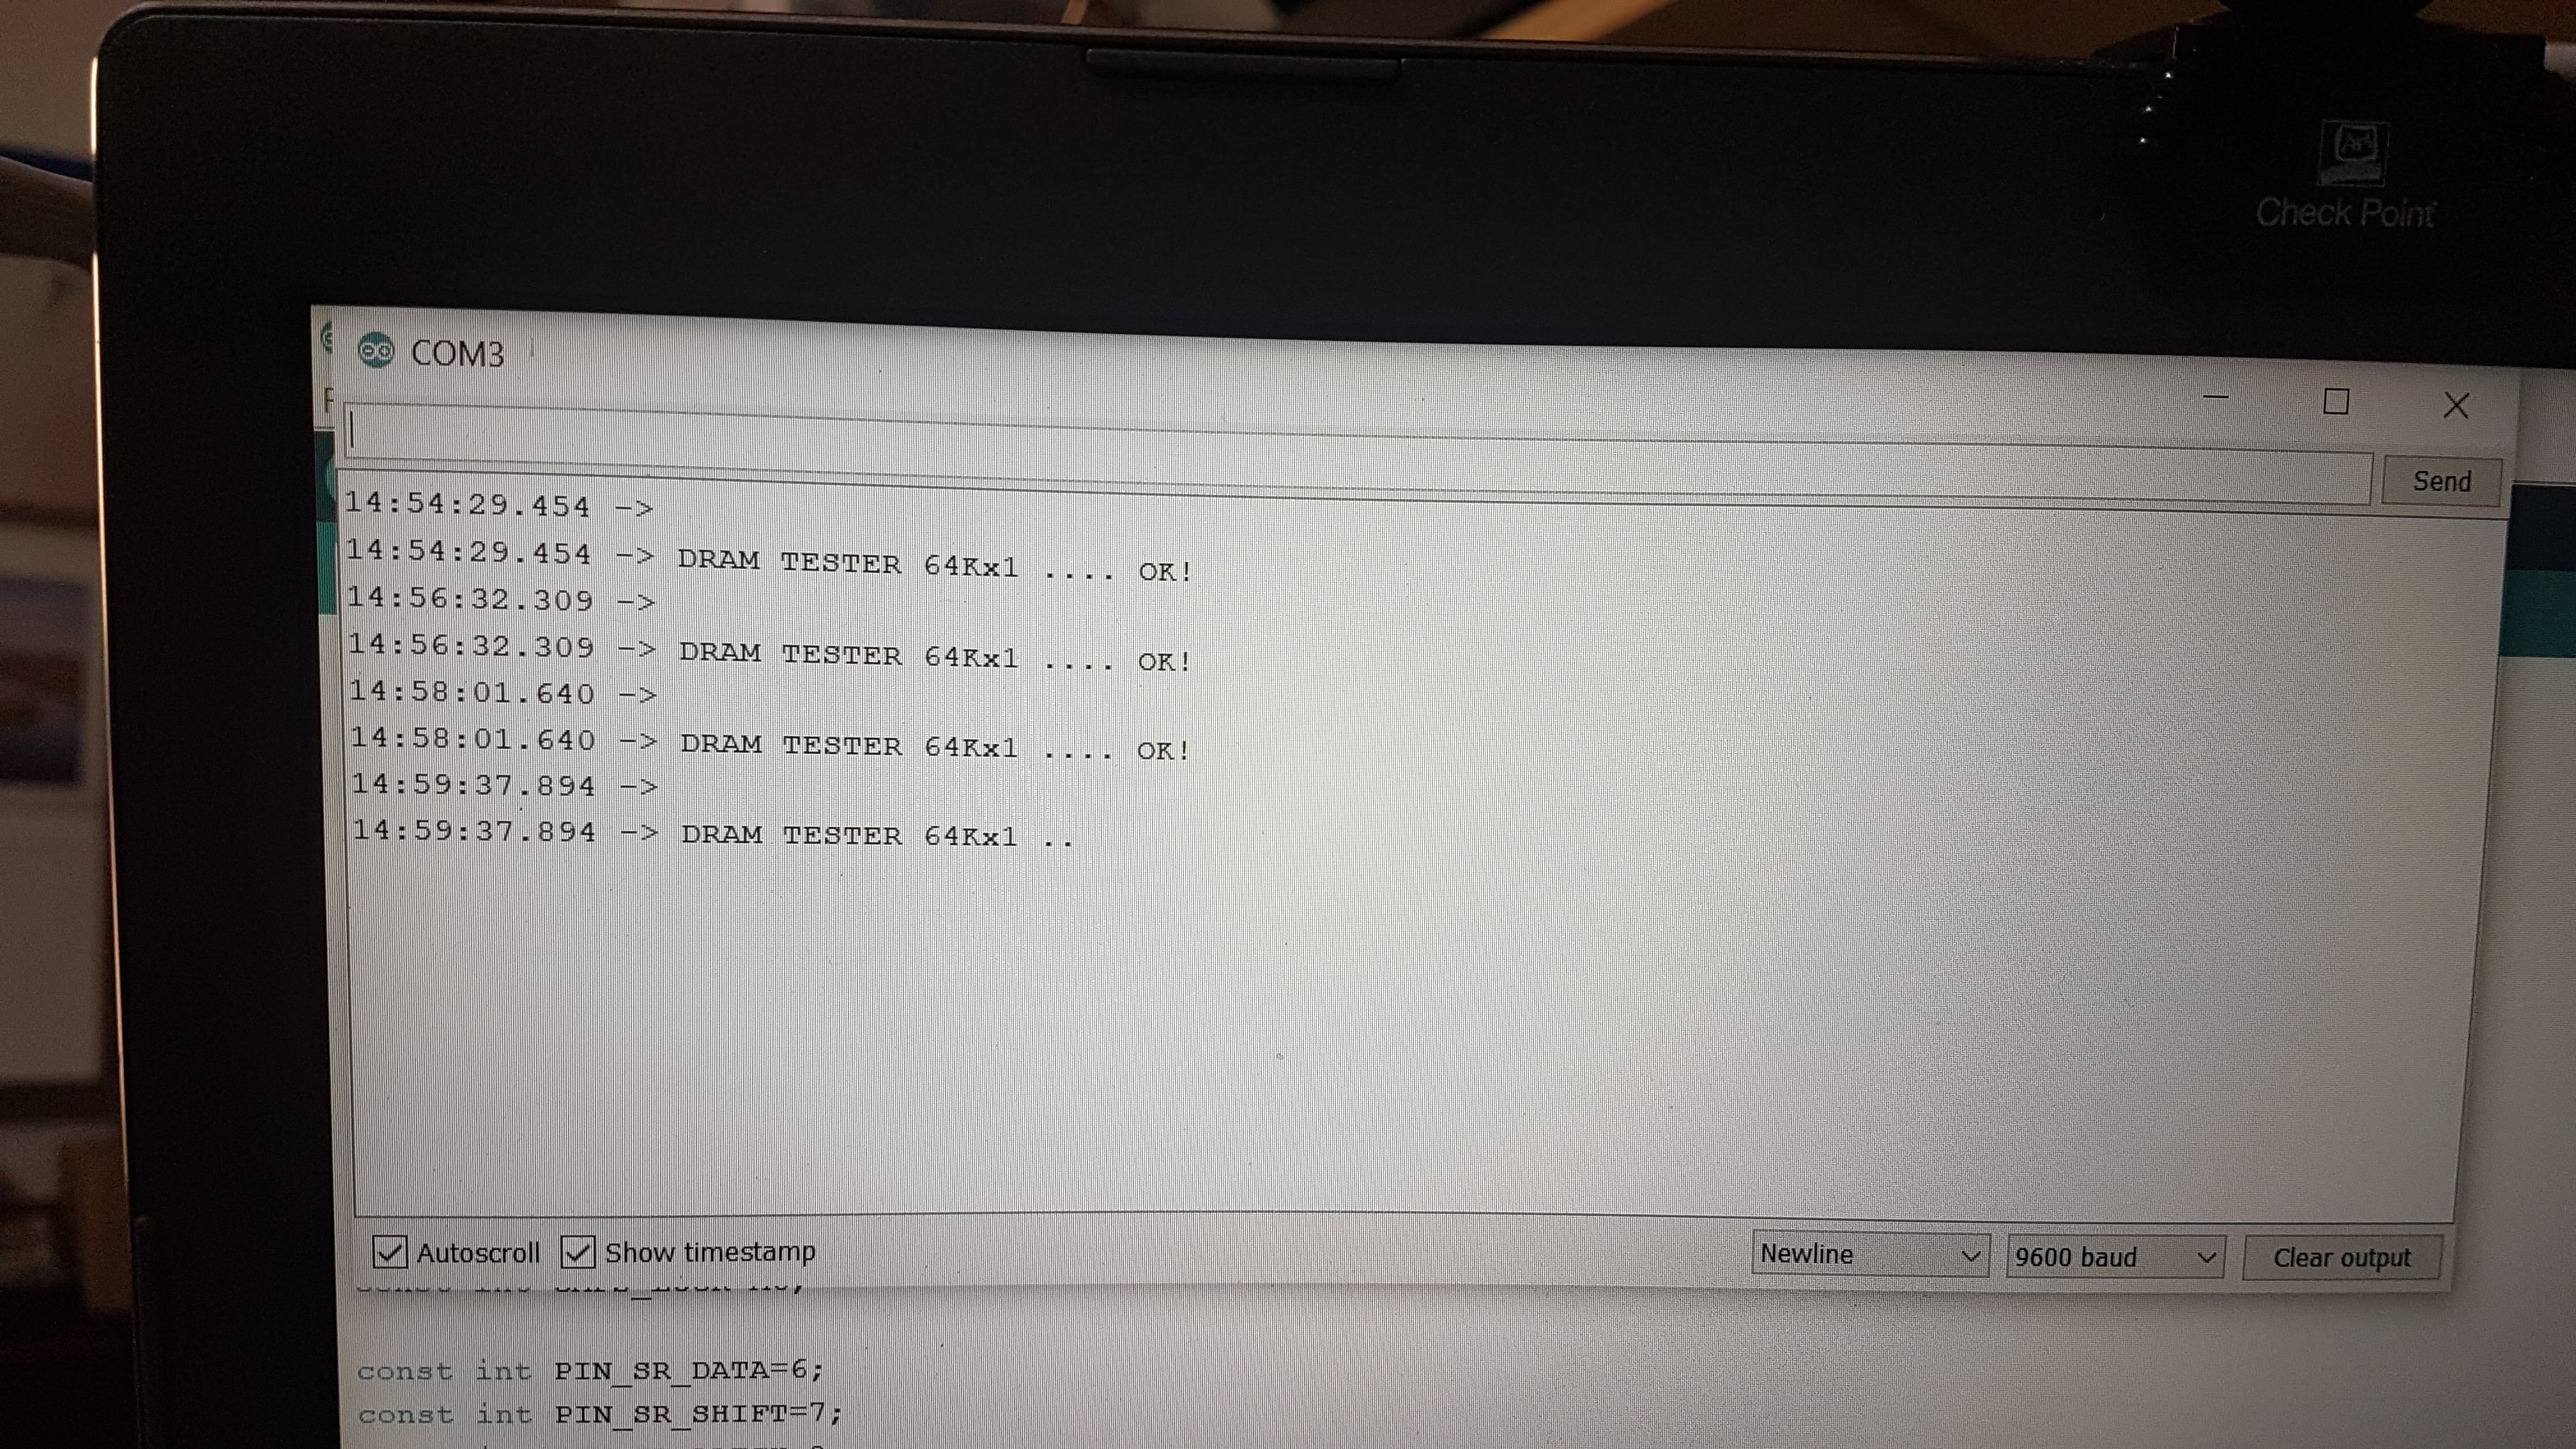
Along the way I have learned to program PIC chips, build a RAM tester hat for the Arduino, solder, use a scope, use a probe, test chips with a TL866 and drink lots of wine. Vintage computing is not about buying and owning a perfect working computer but the process of fixing and finding out everything about it.
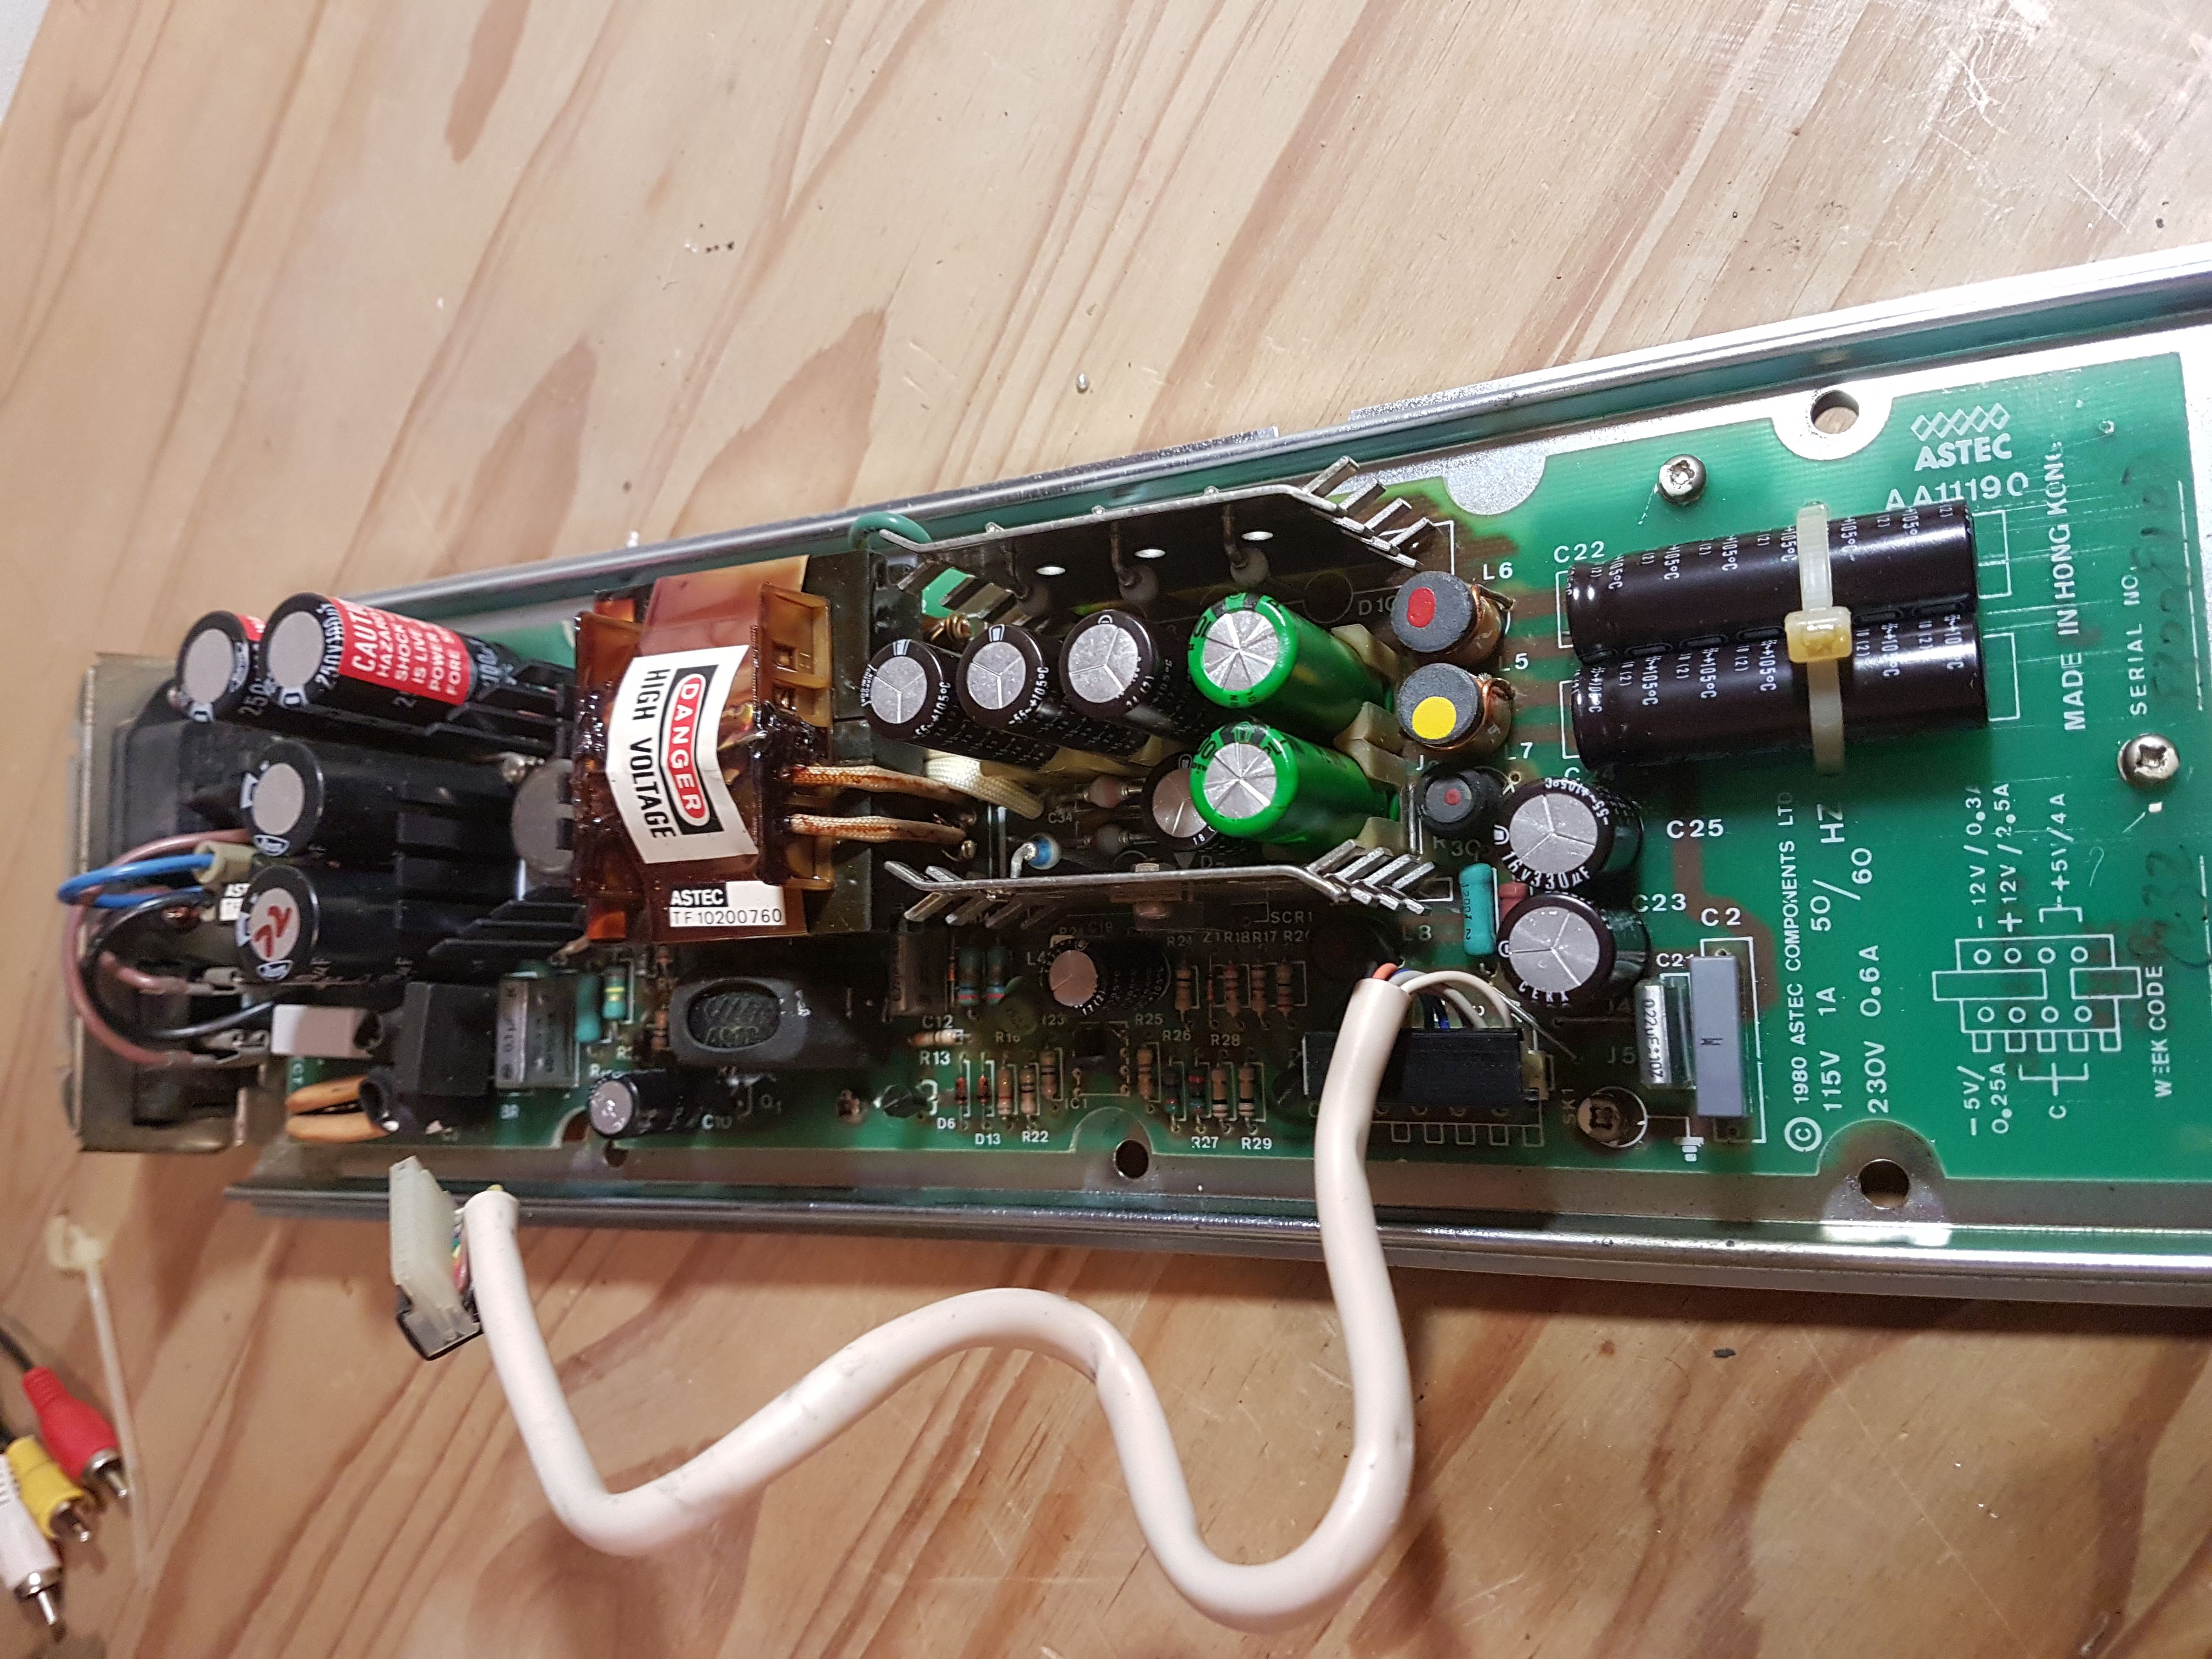
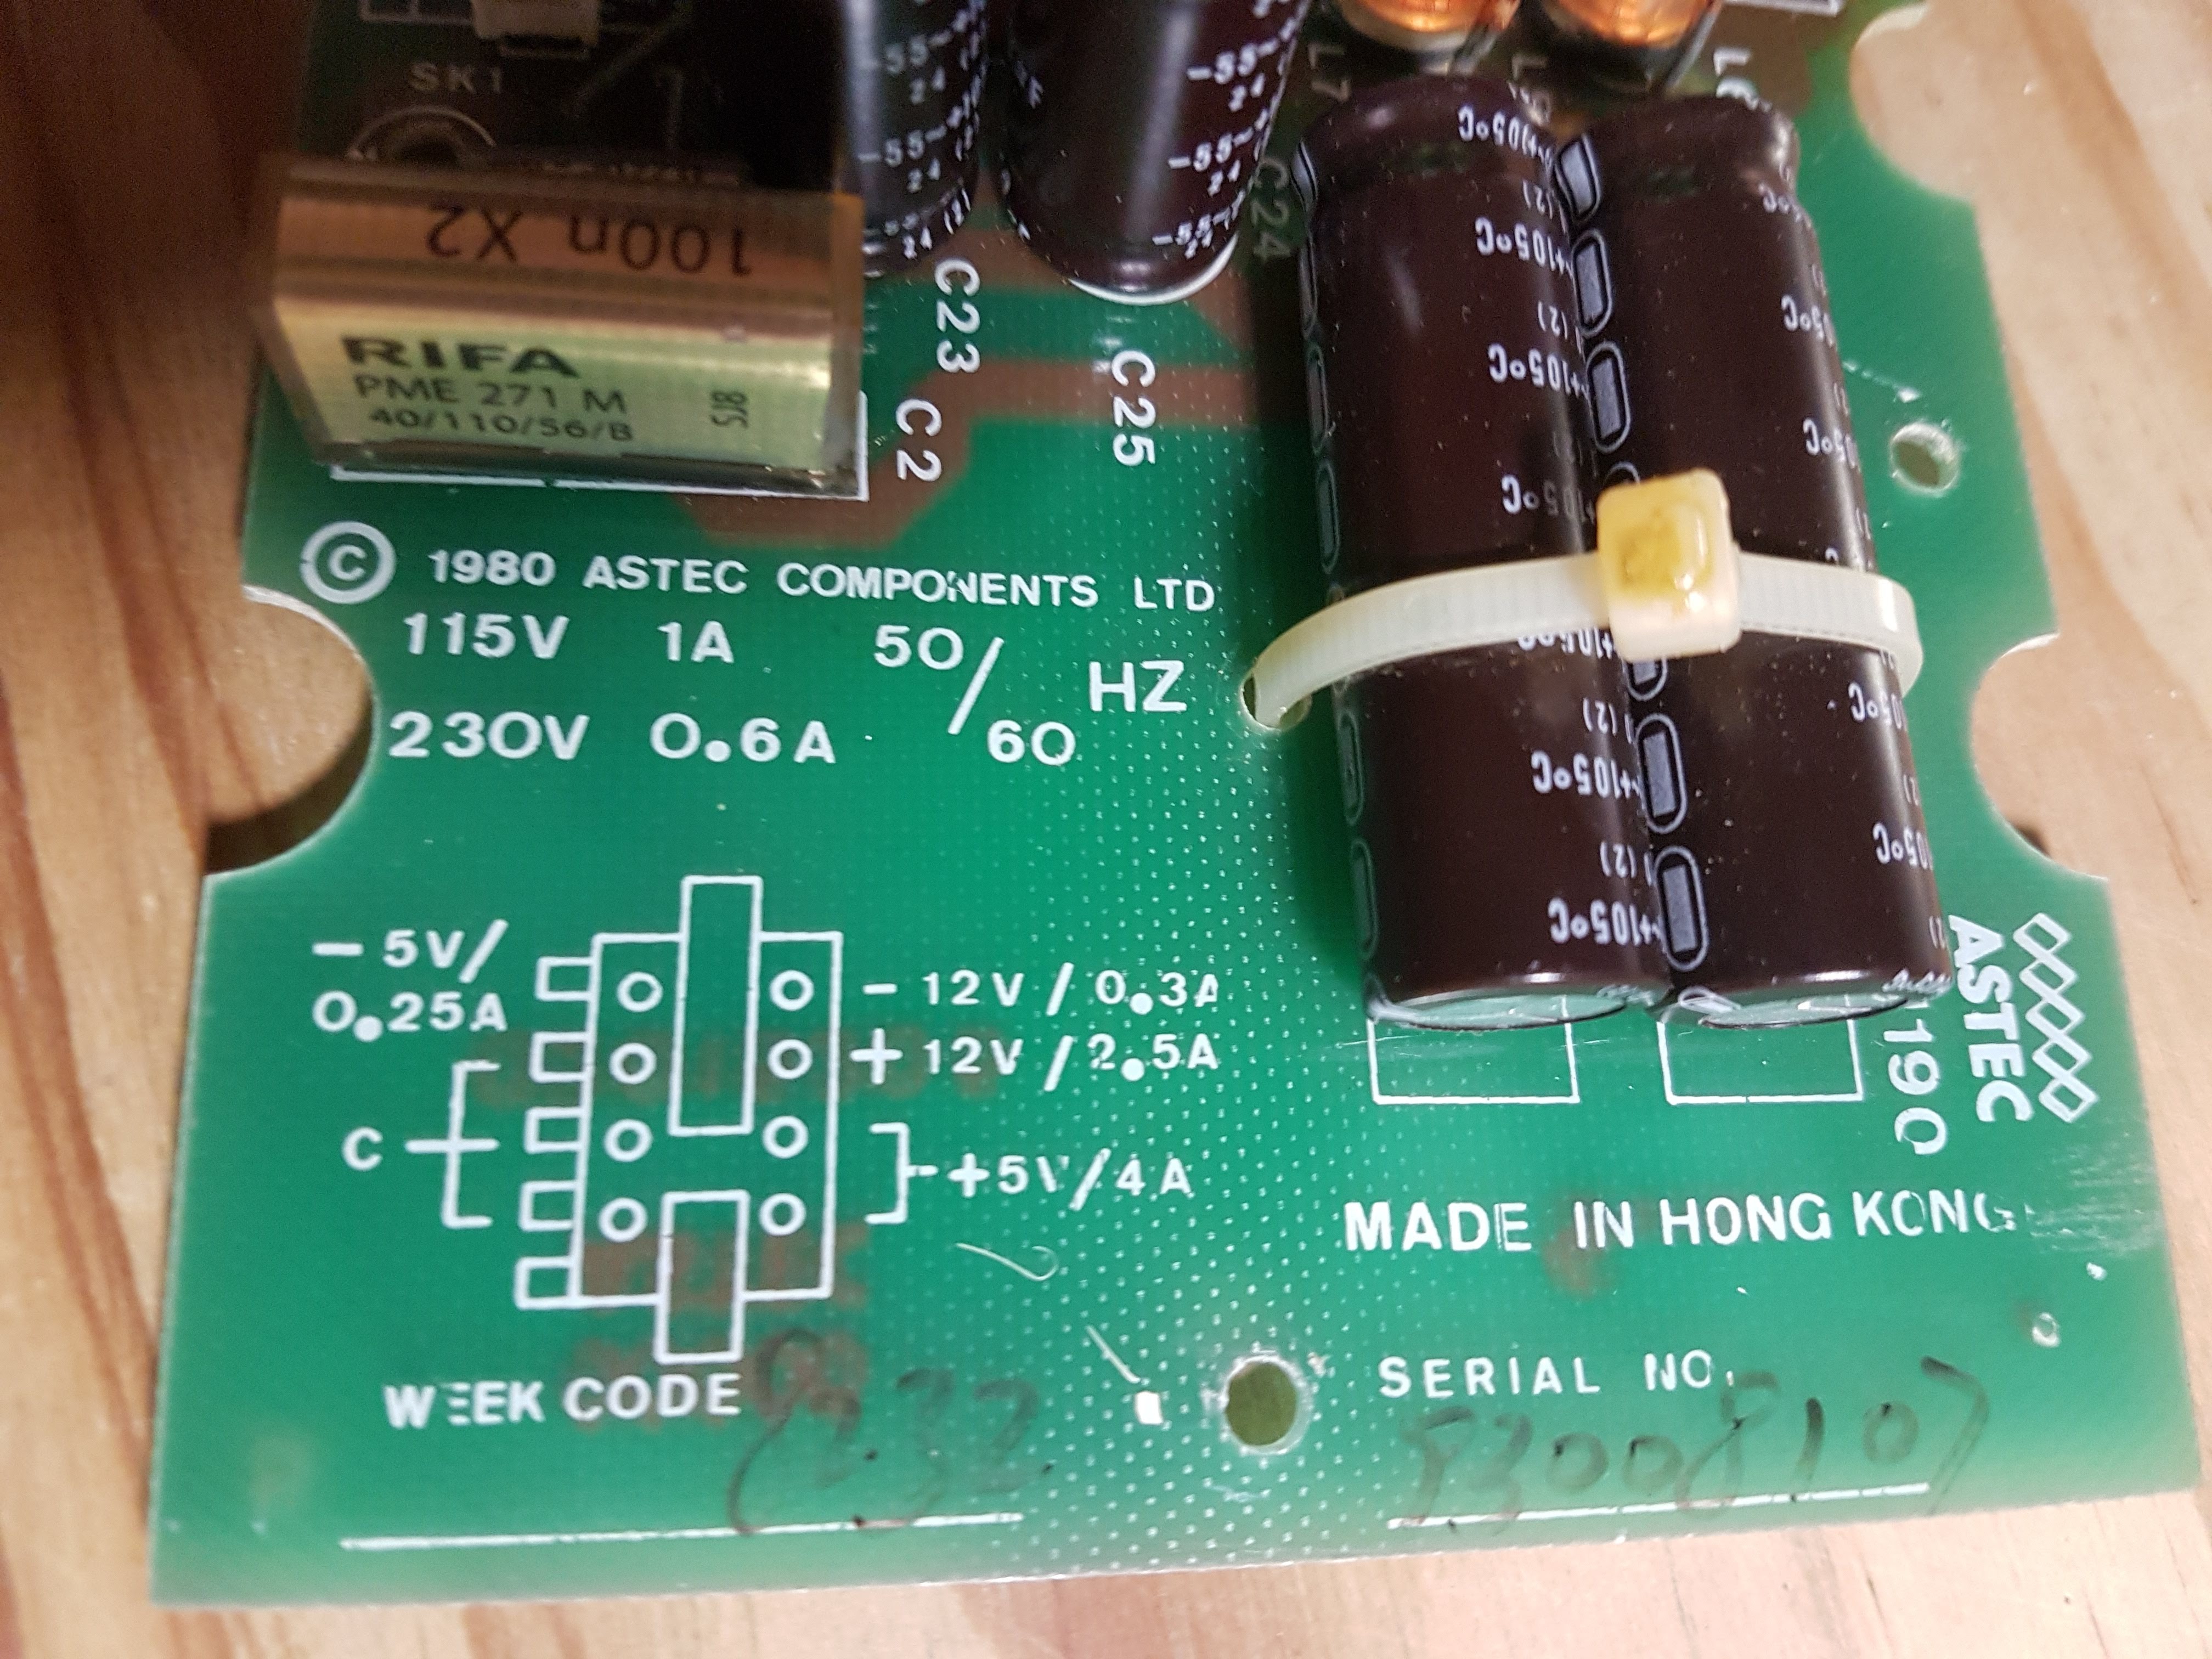
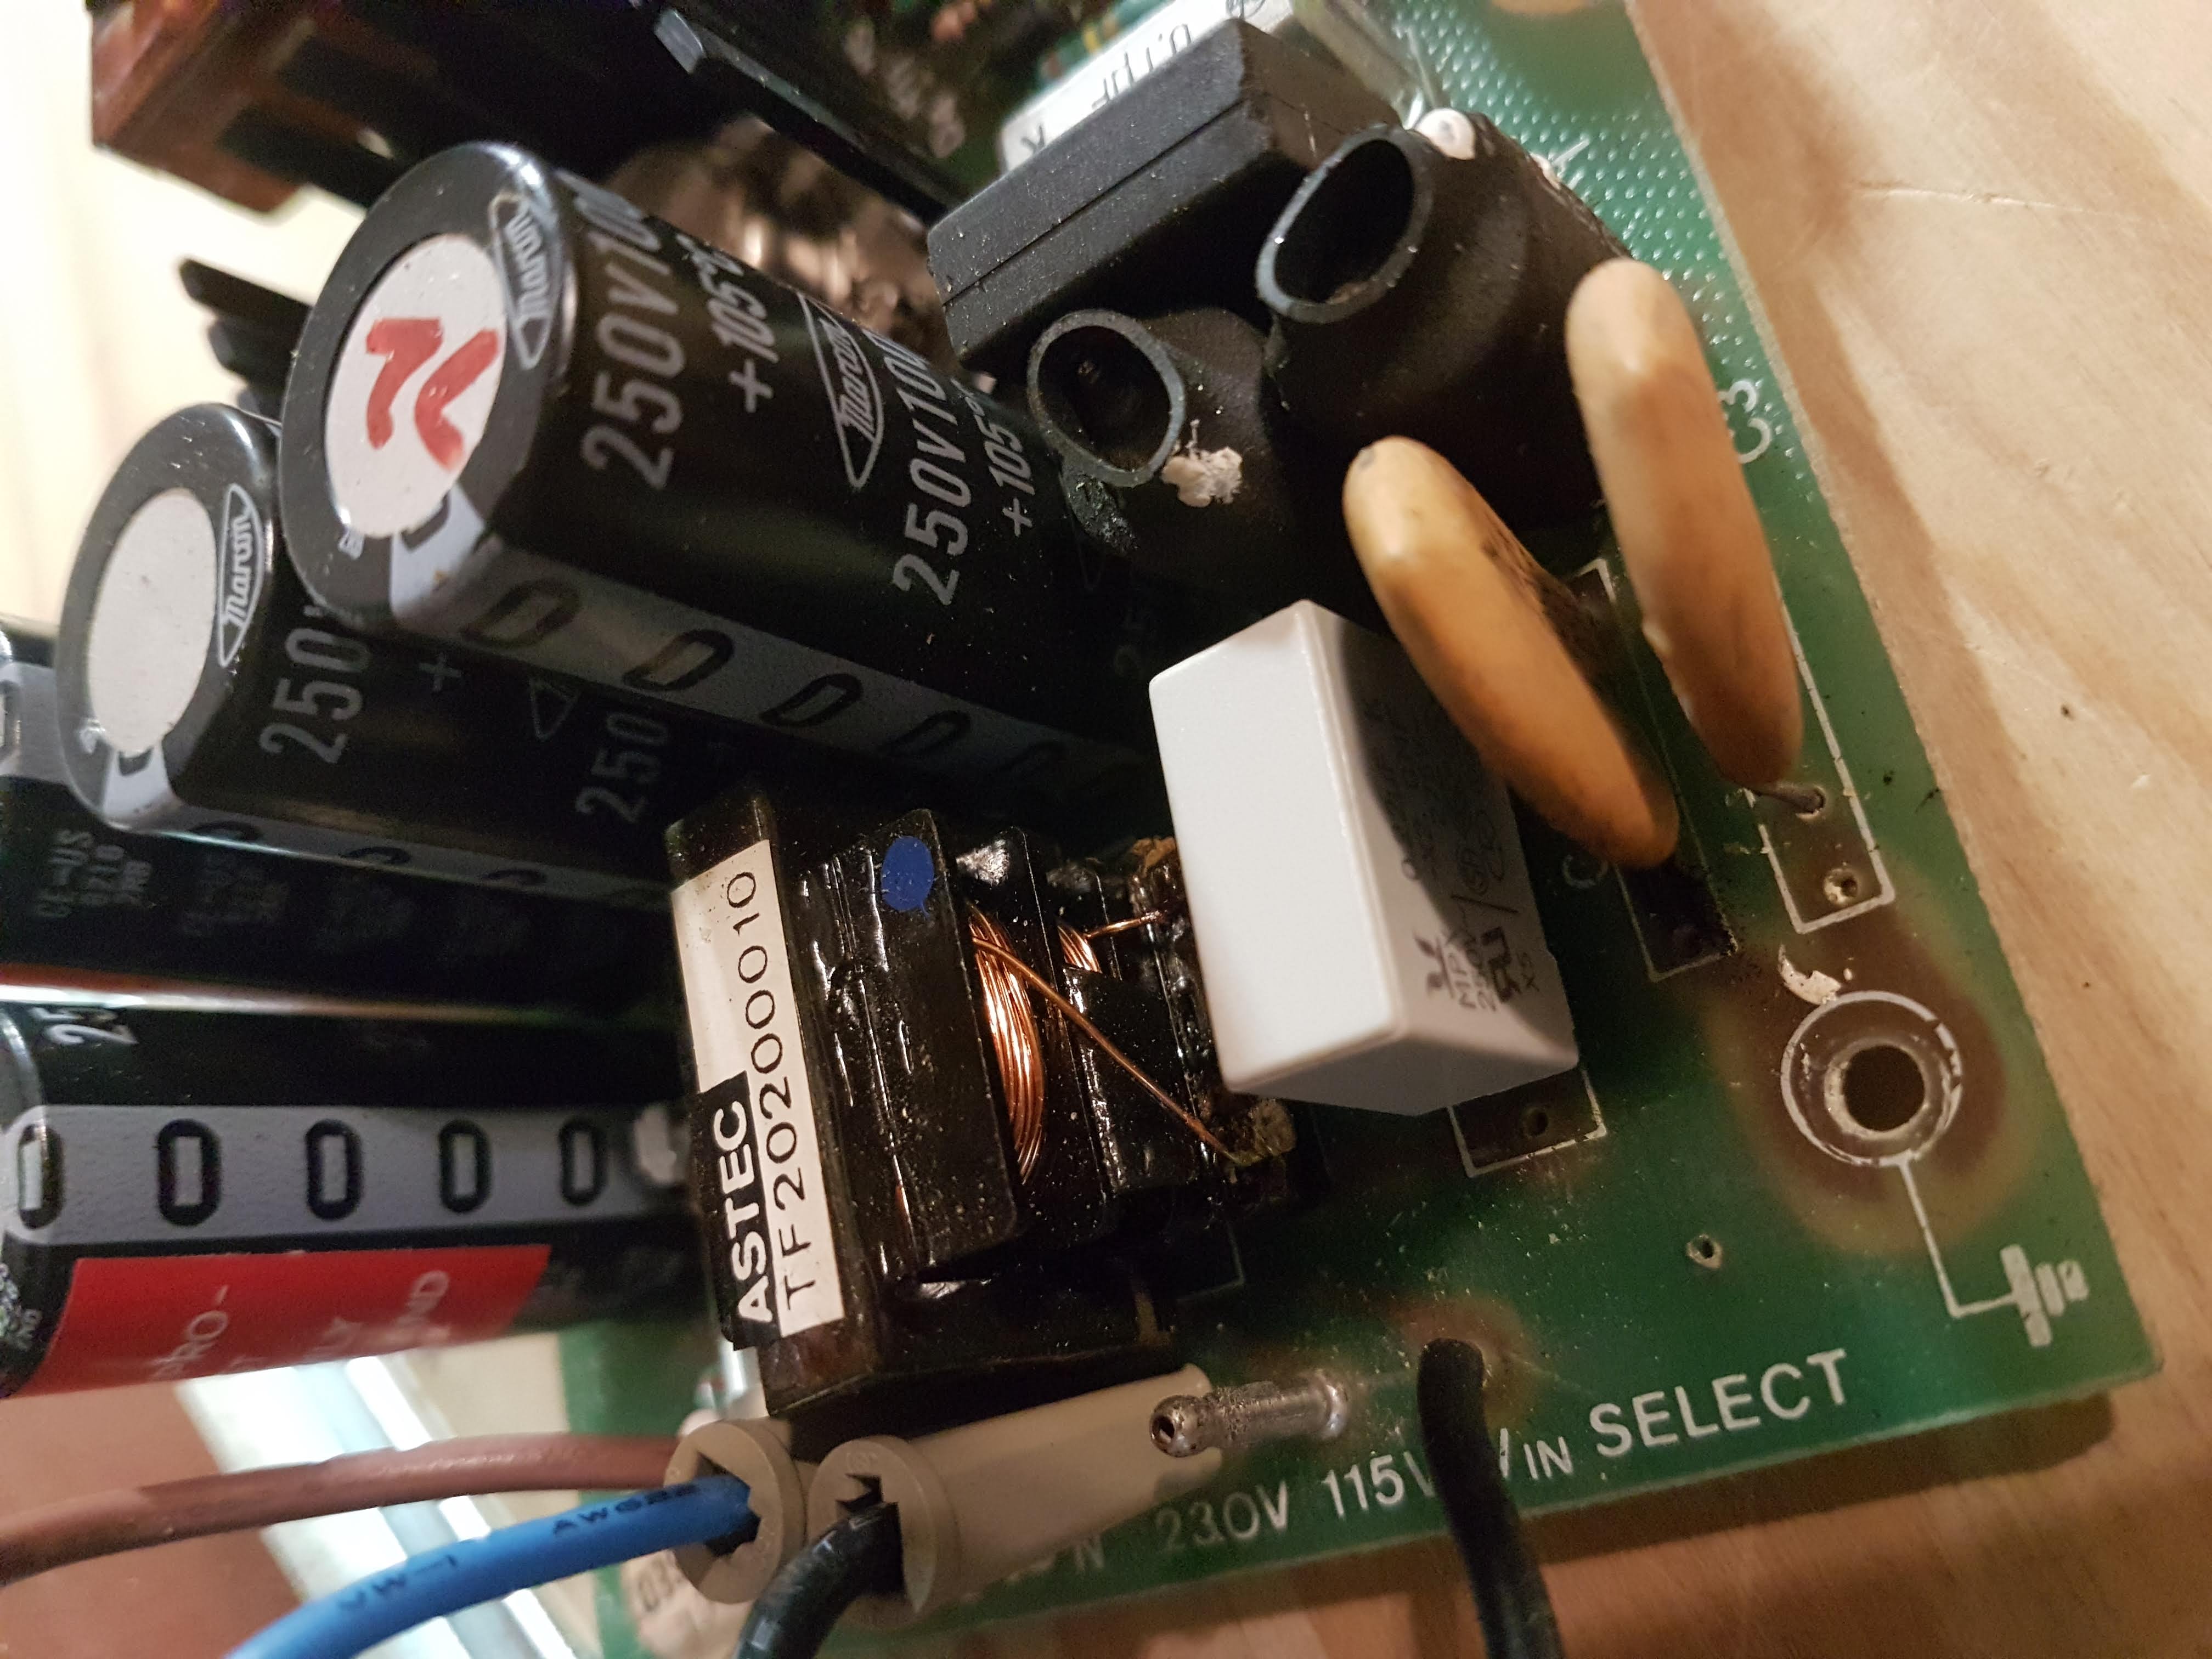
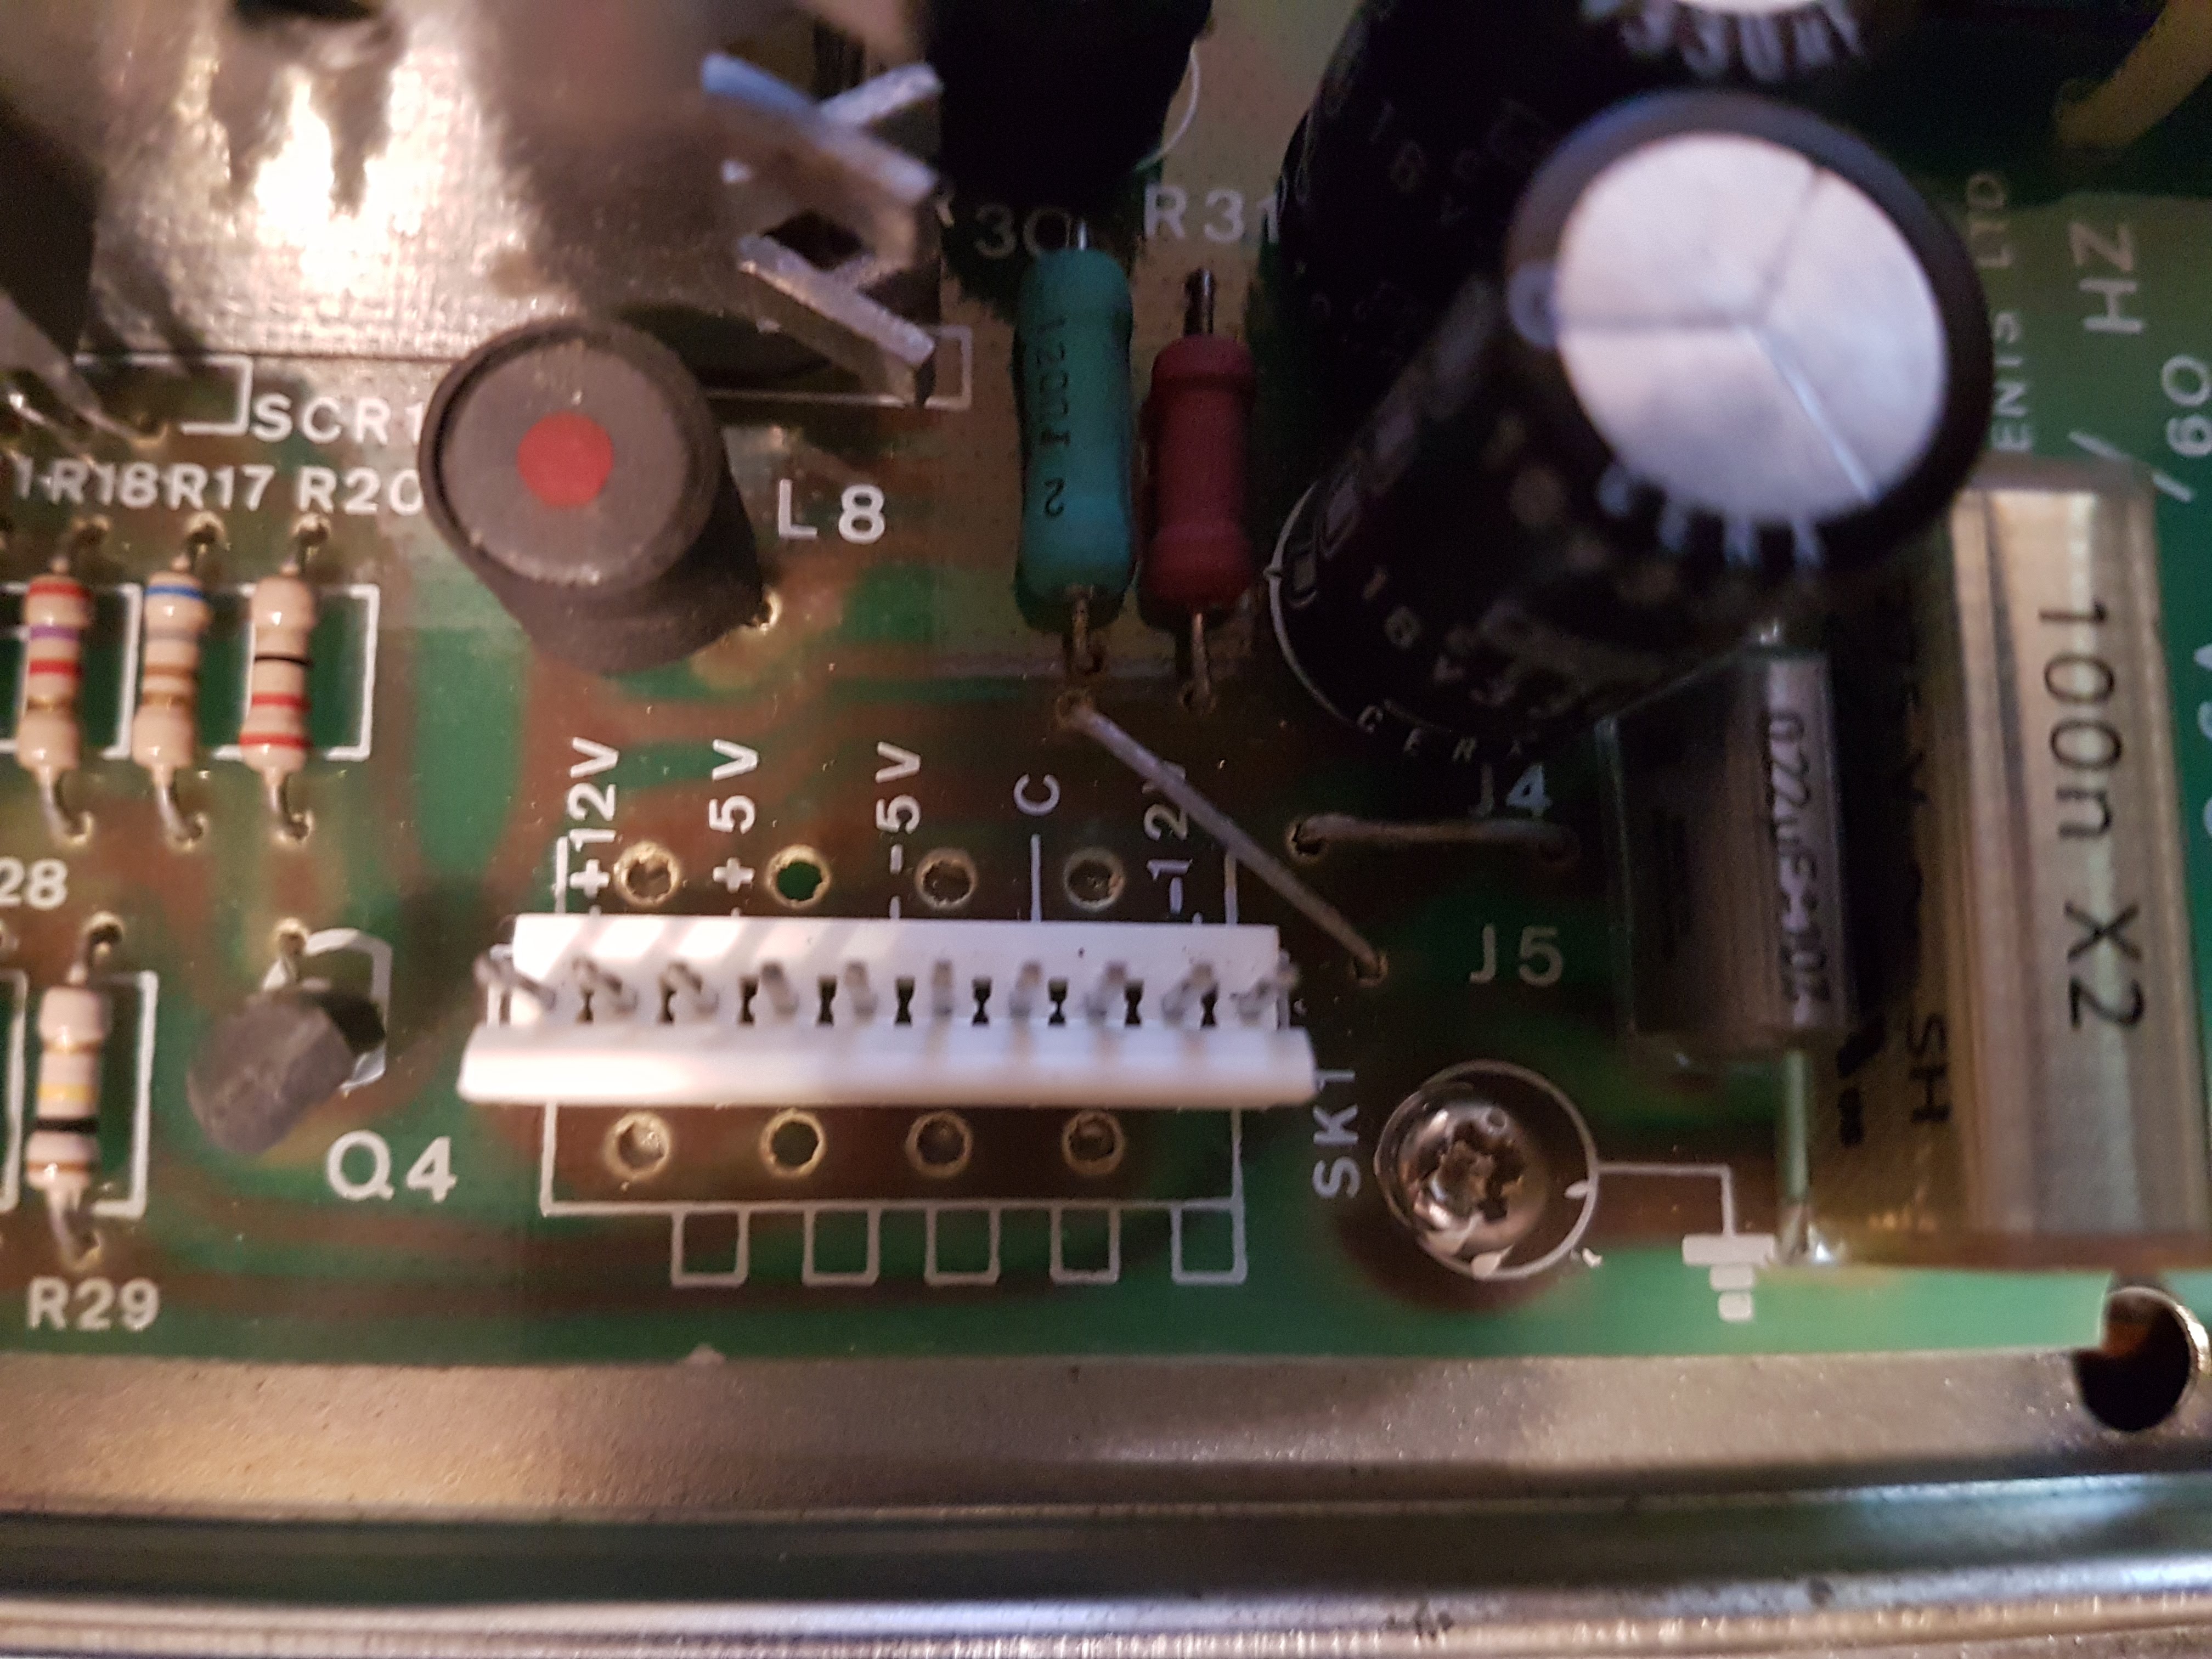
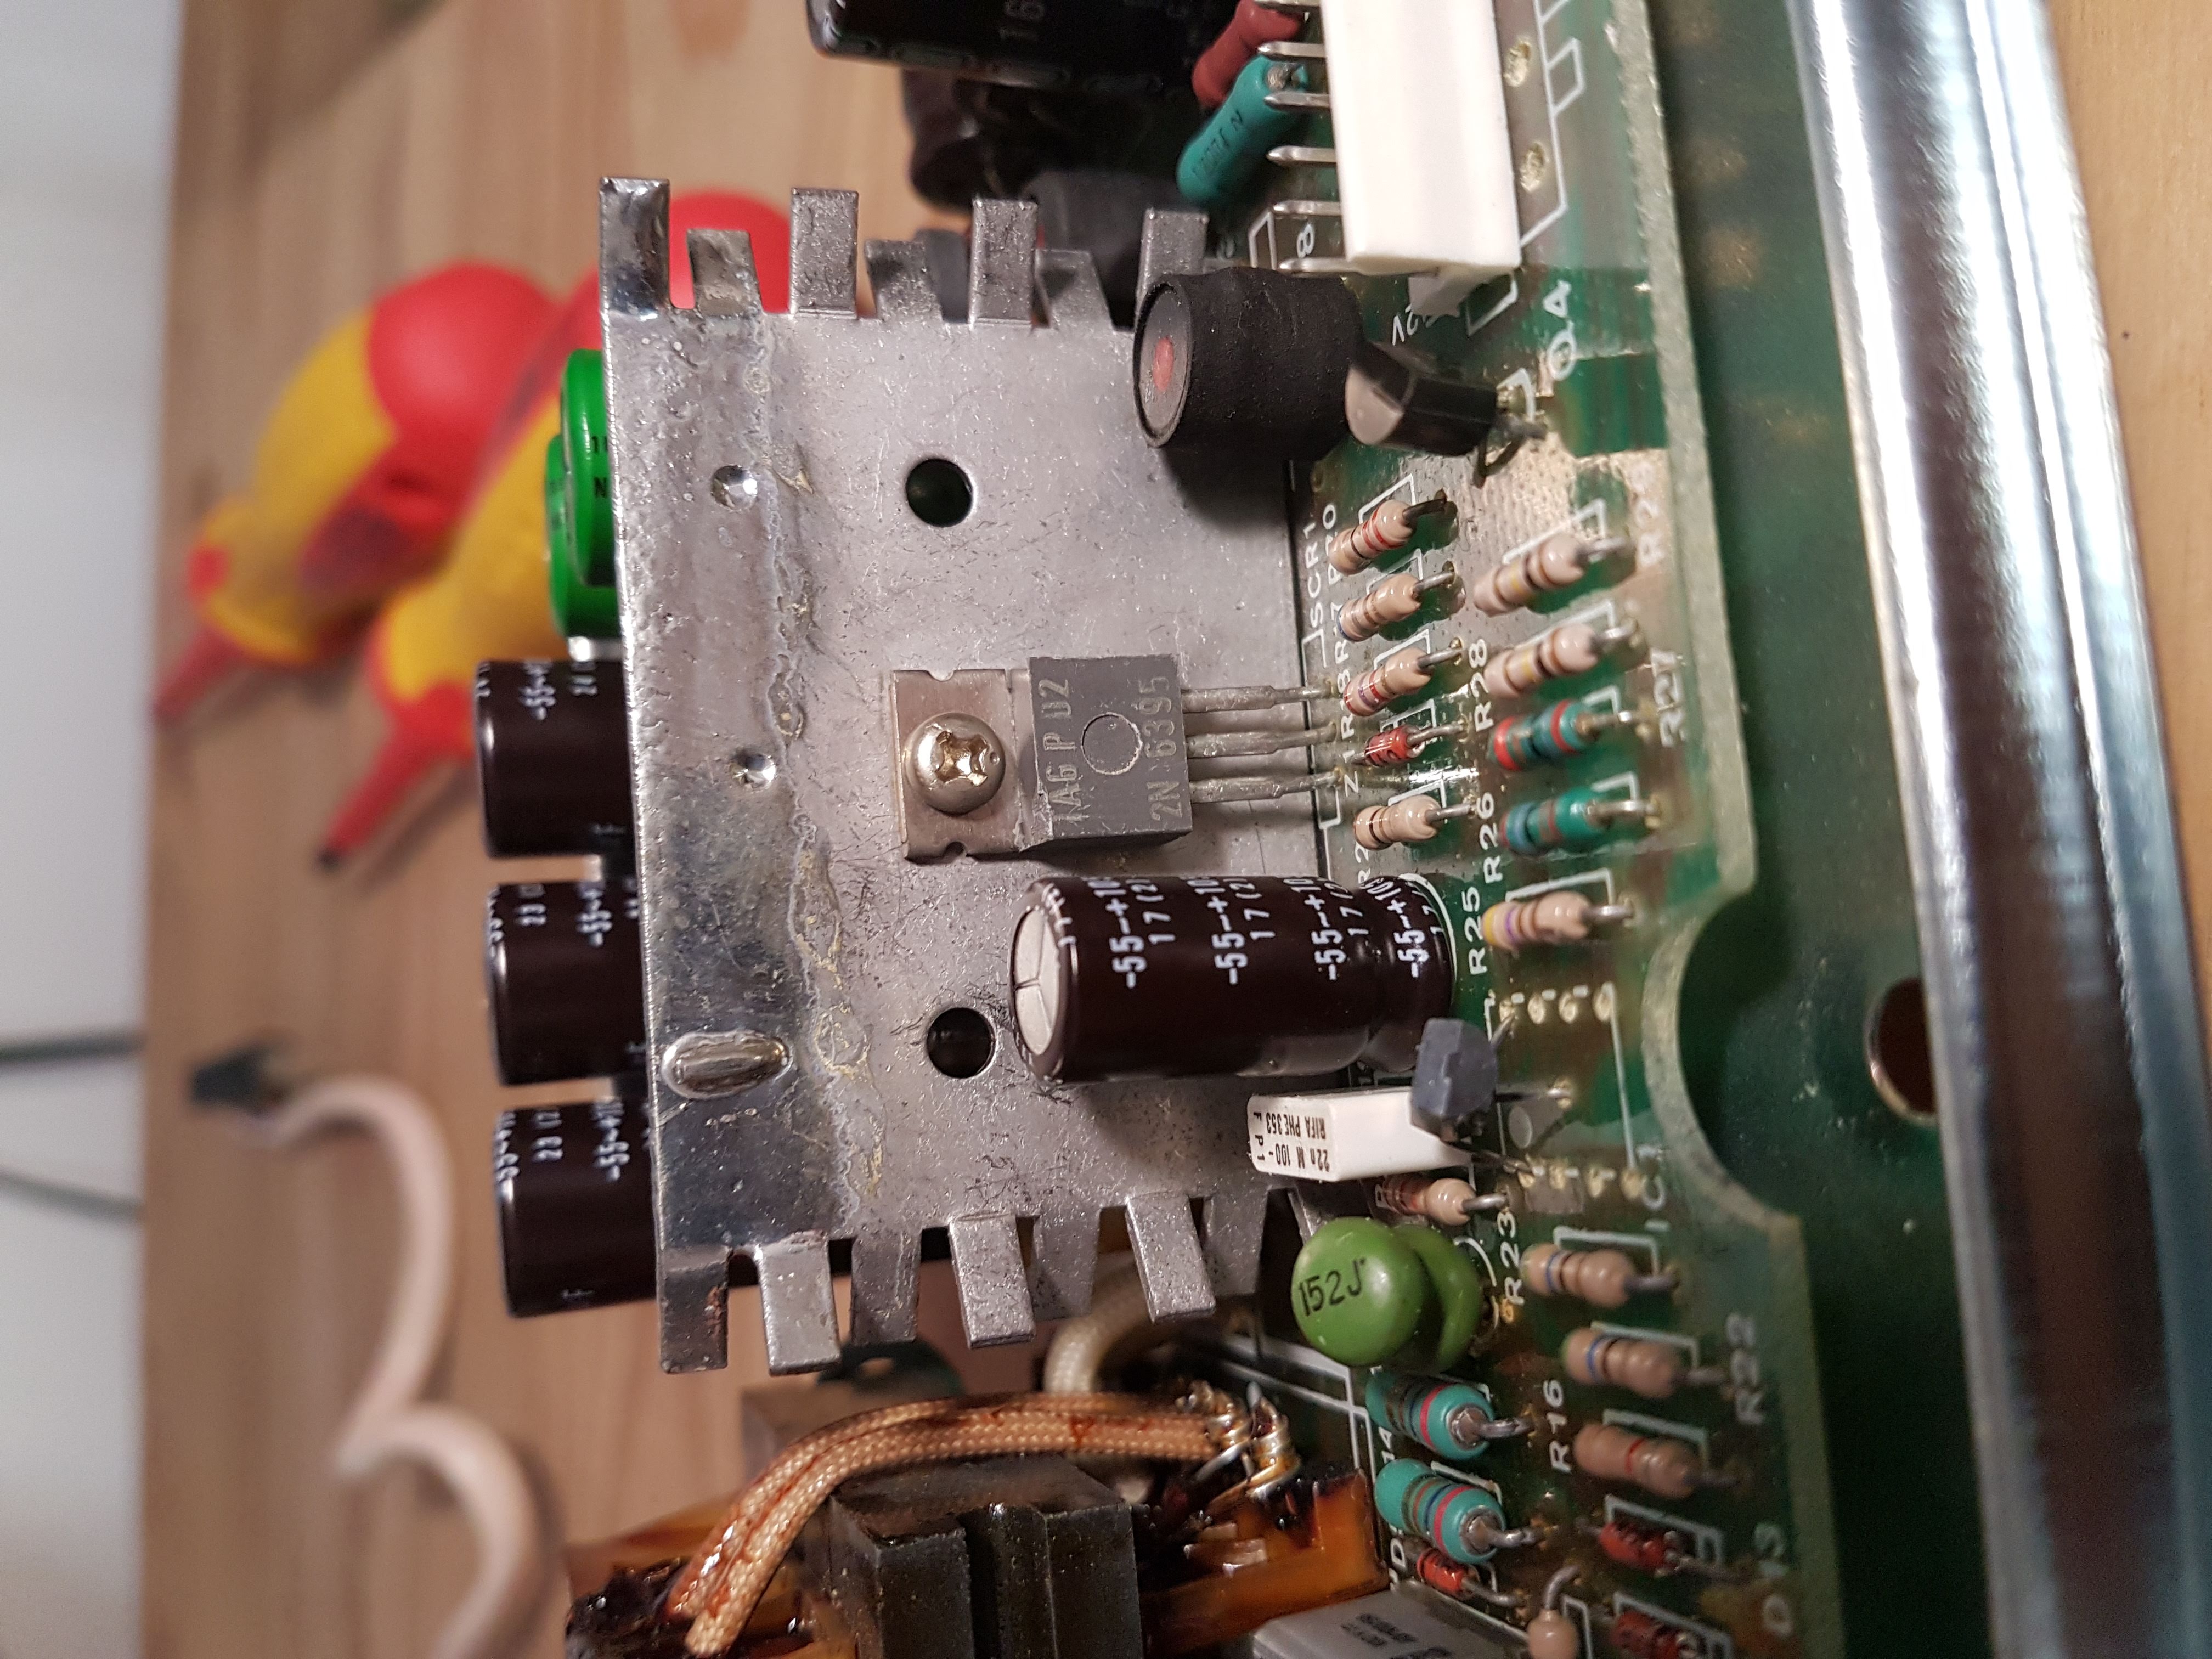
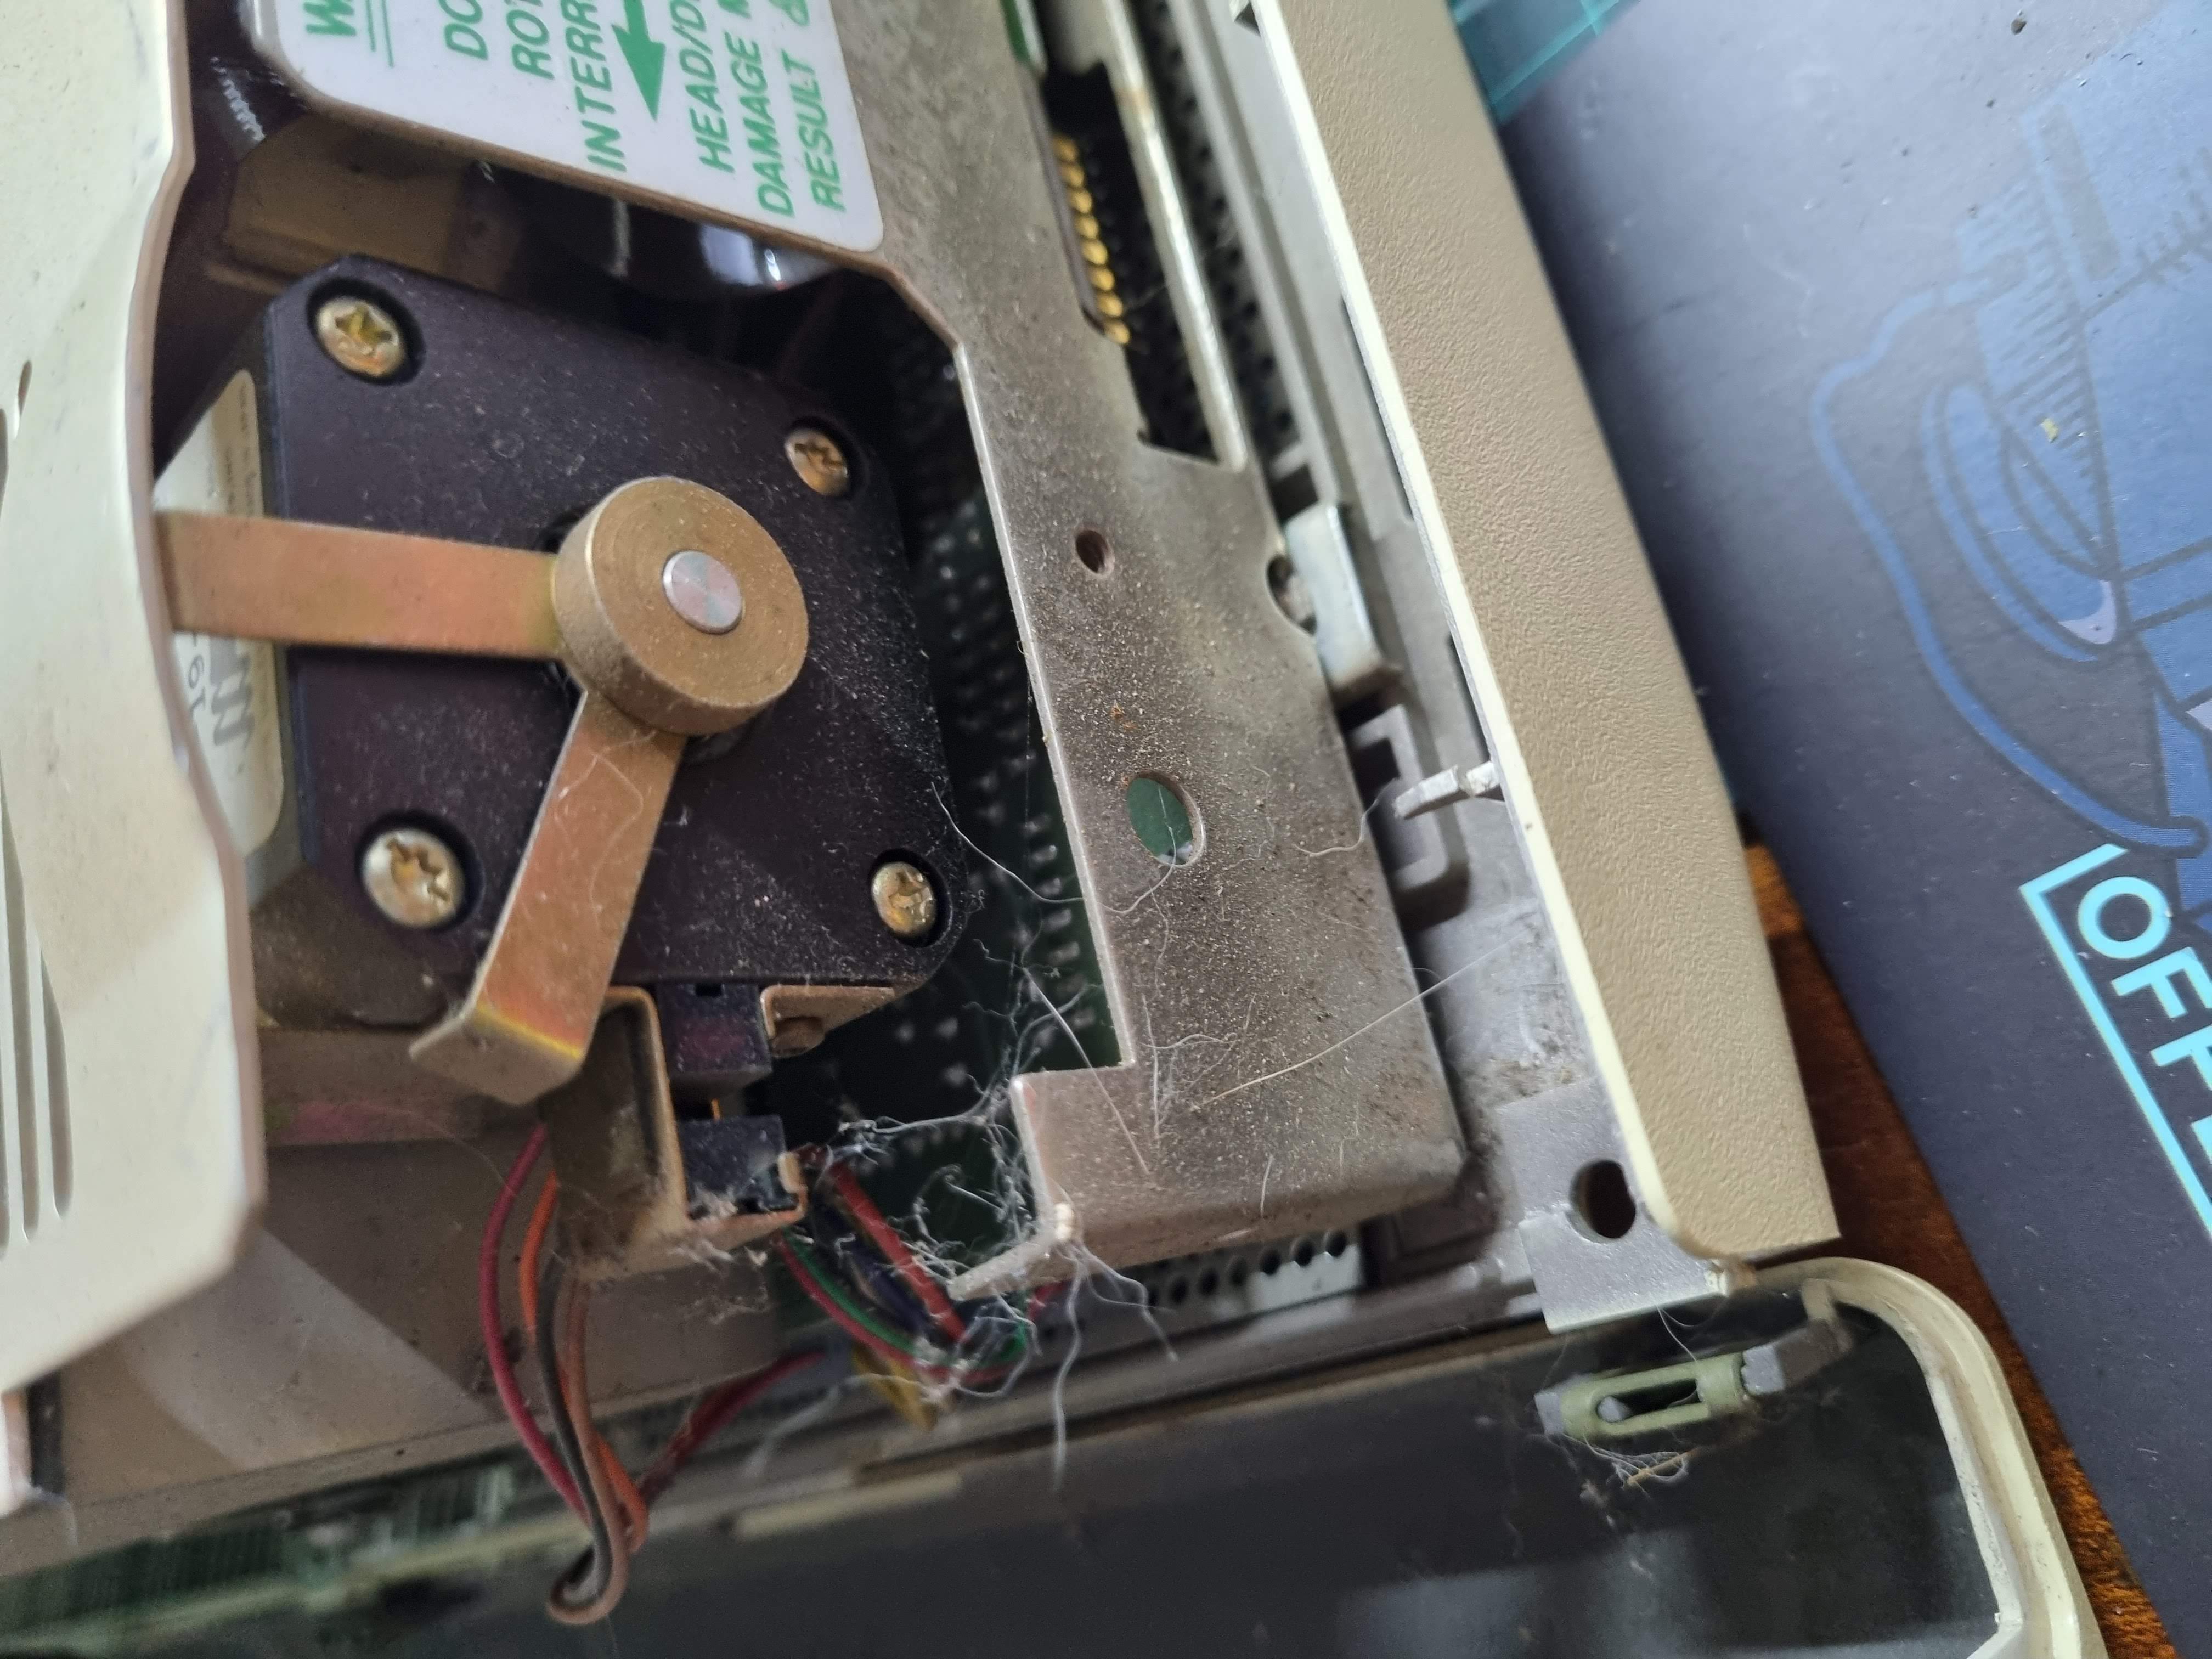
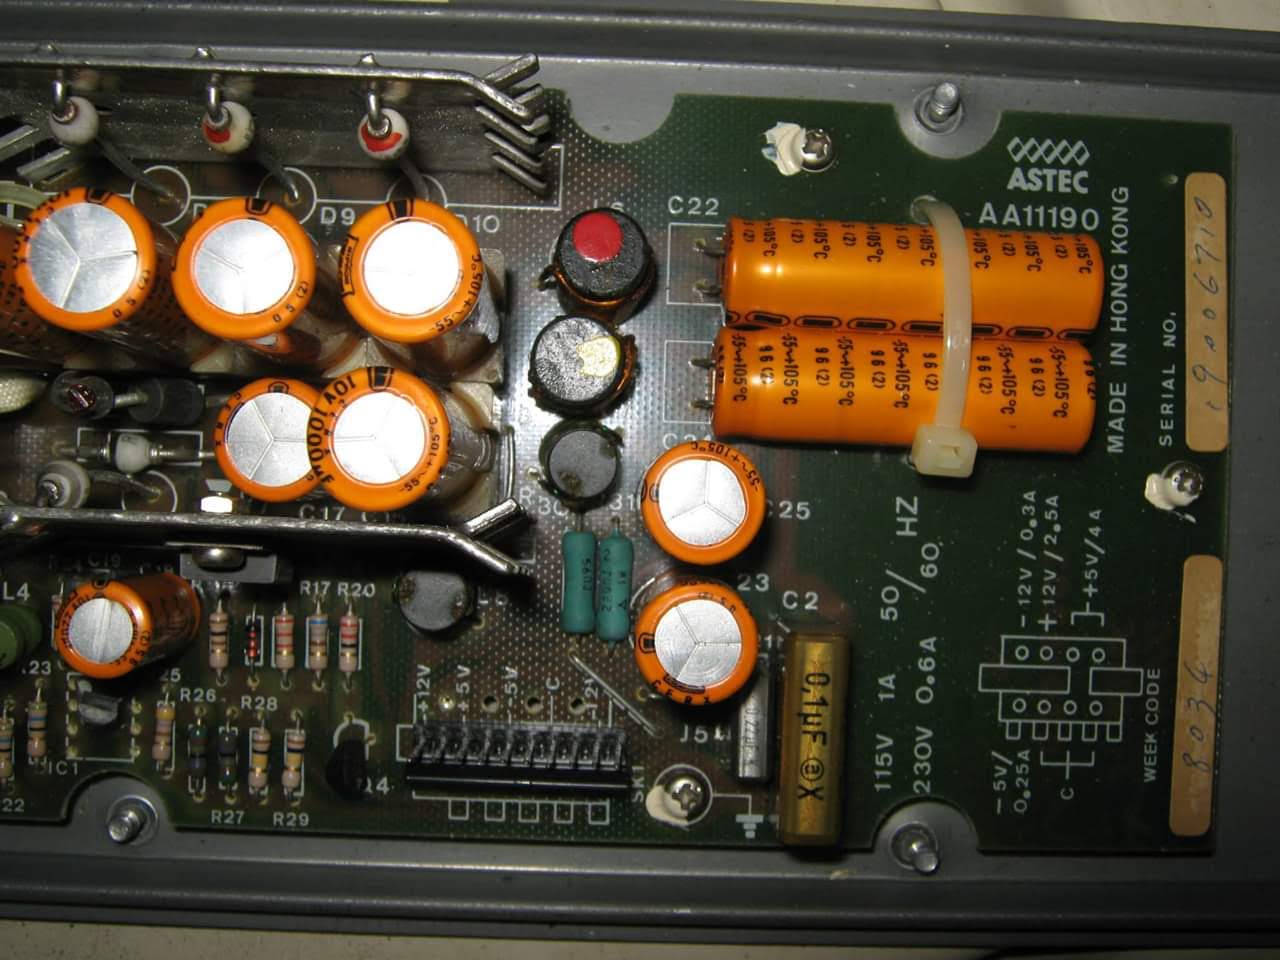
The restoration continues and I'm currently investigating why the voltage on the board is only 4.7v which I think may be causing problems with the PIC based keyboard controller. I also found another Profile so when I'm ready I now have two plus the original cable for it so hopefully it will work again someday also.
I have added a gallery of pictures below which I will sort and annotate at some point (probably once it's fully working)